

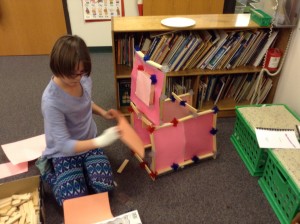
This year, the girls spent a huge chunk of our club time working on the Ozobot cardboard challenge. They had a blast! Each girl had to build a cardboard structure with an Ozobot pathway design in mind. See the video for the final creations. They sure are creative girls!
May 04
Ozobot video created for our Assembly – Girls STEM Club coding robots
The girls were so excited about the Ozobots that they couldn’t wait to share their experience at our Lower School assembly. Here is the video they created.
Apr 22
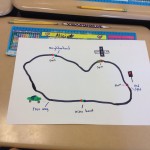
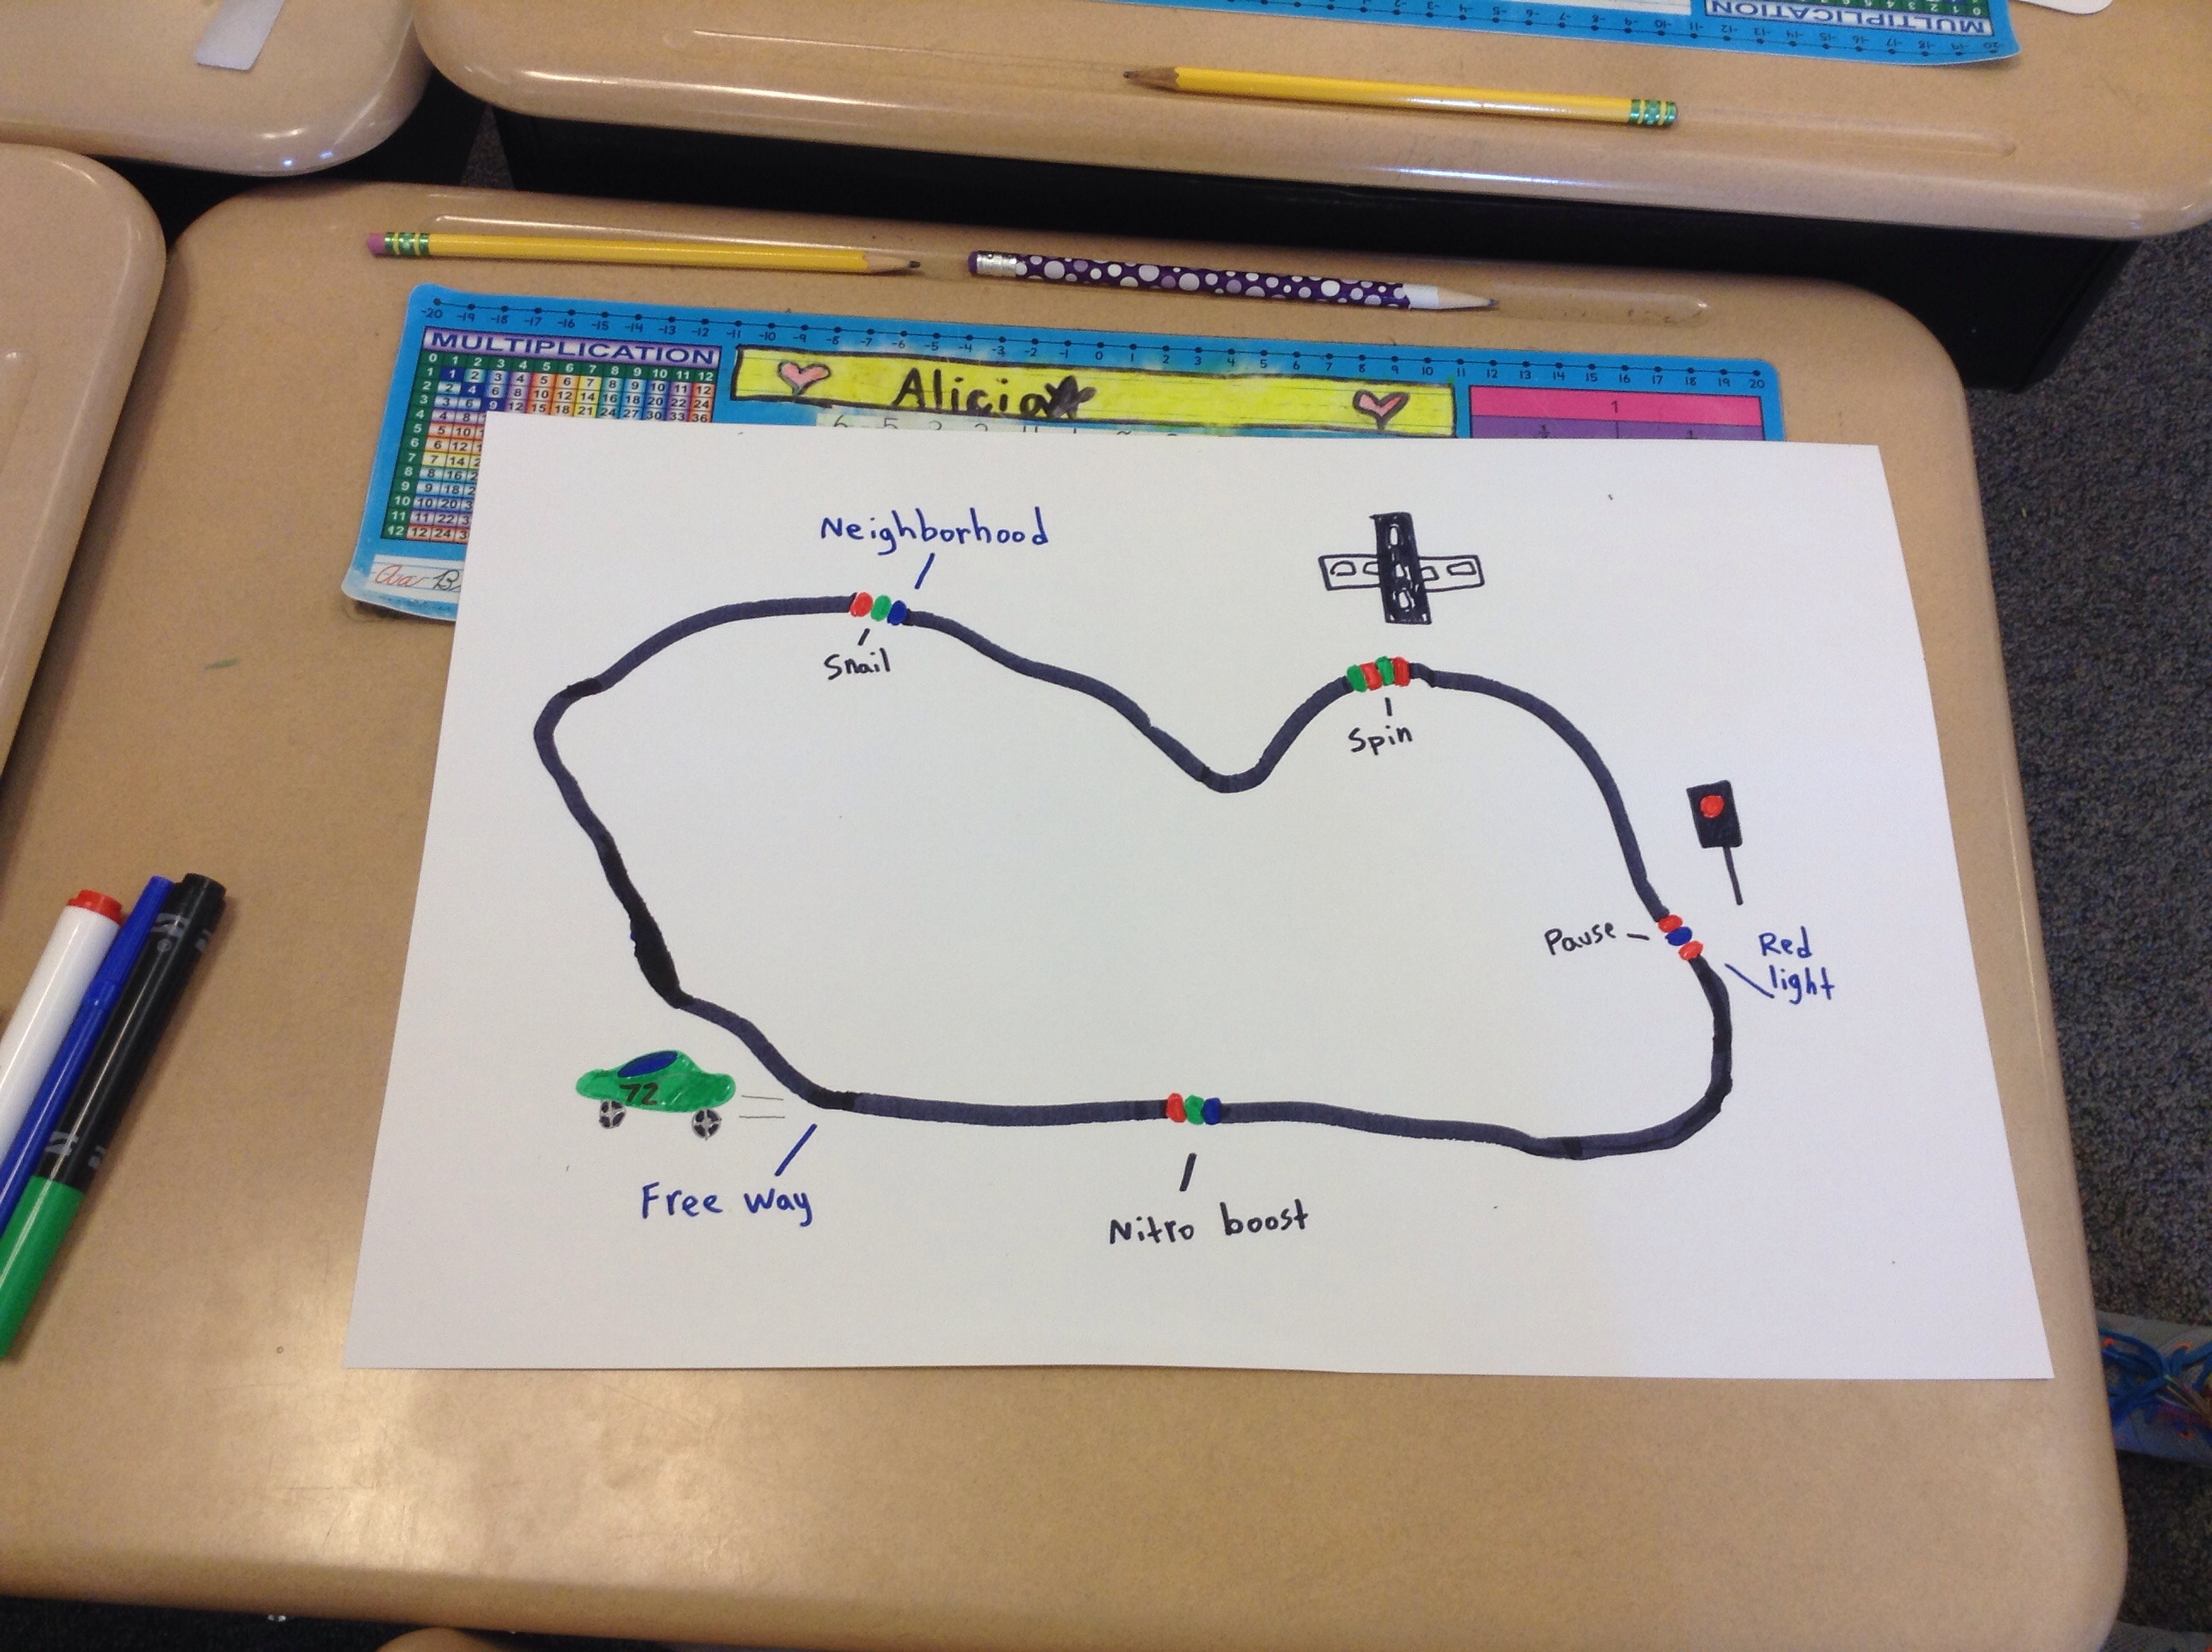
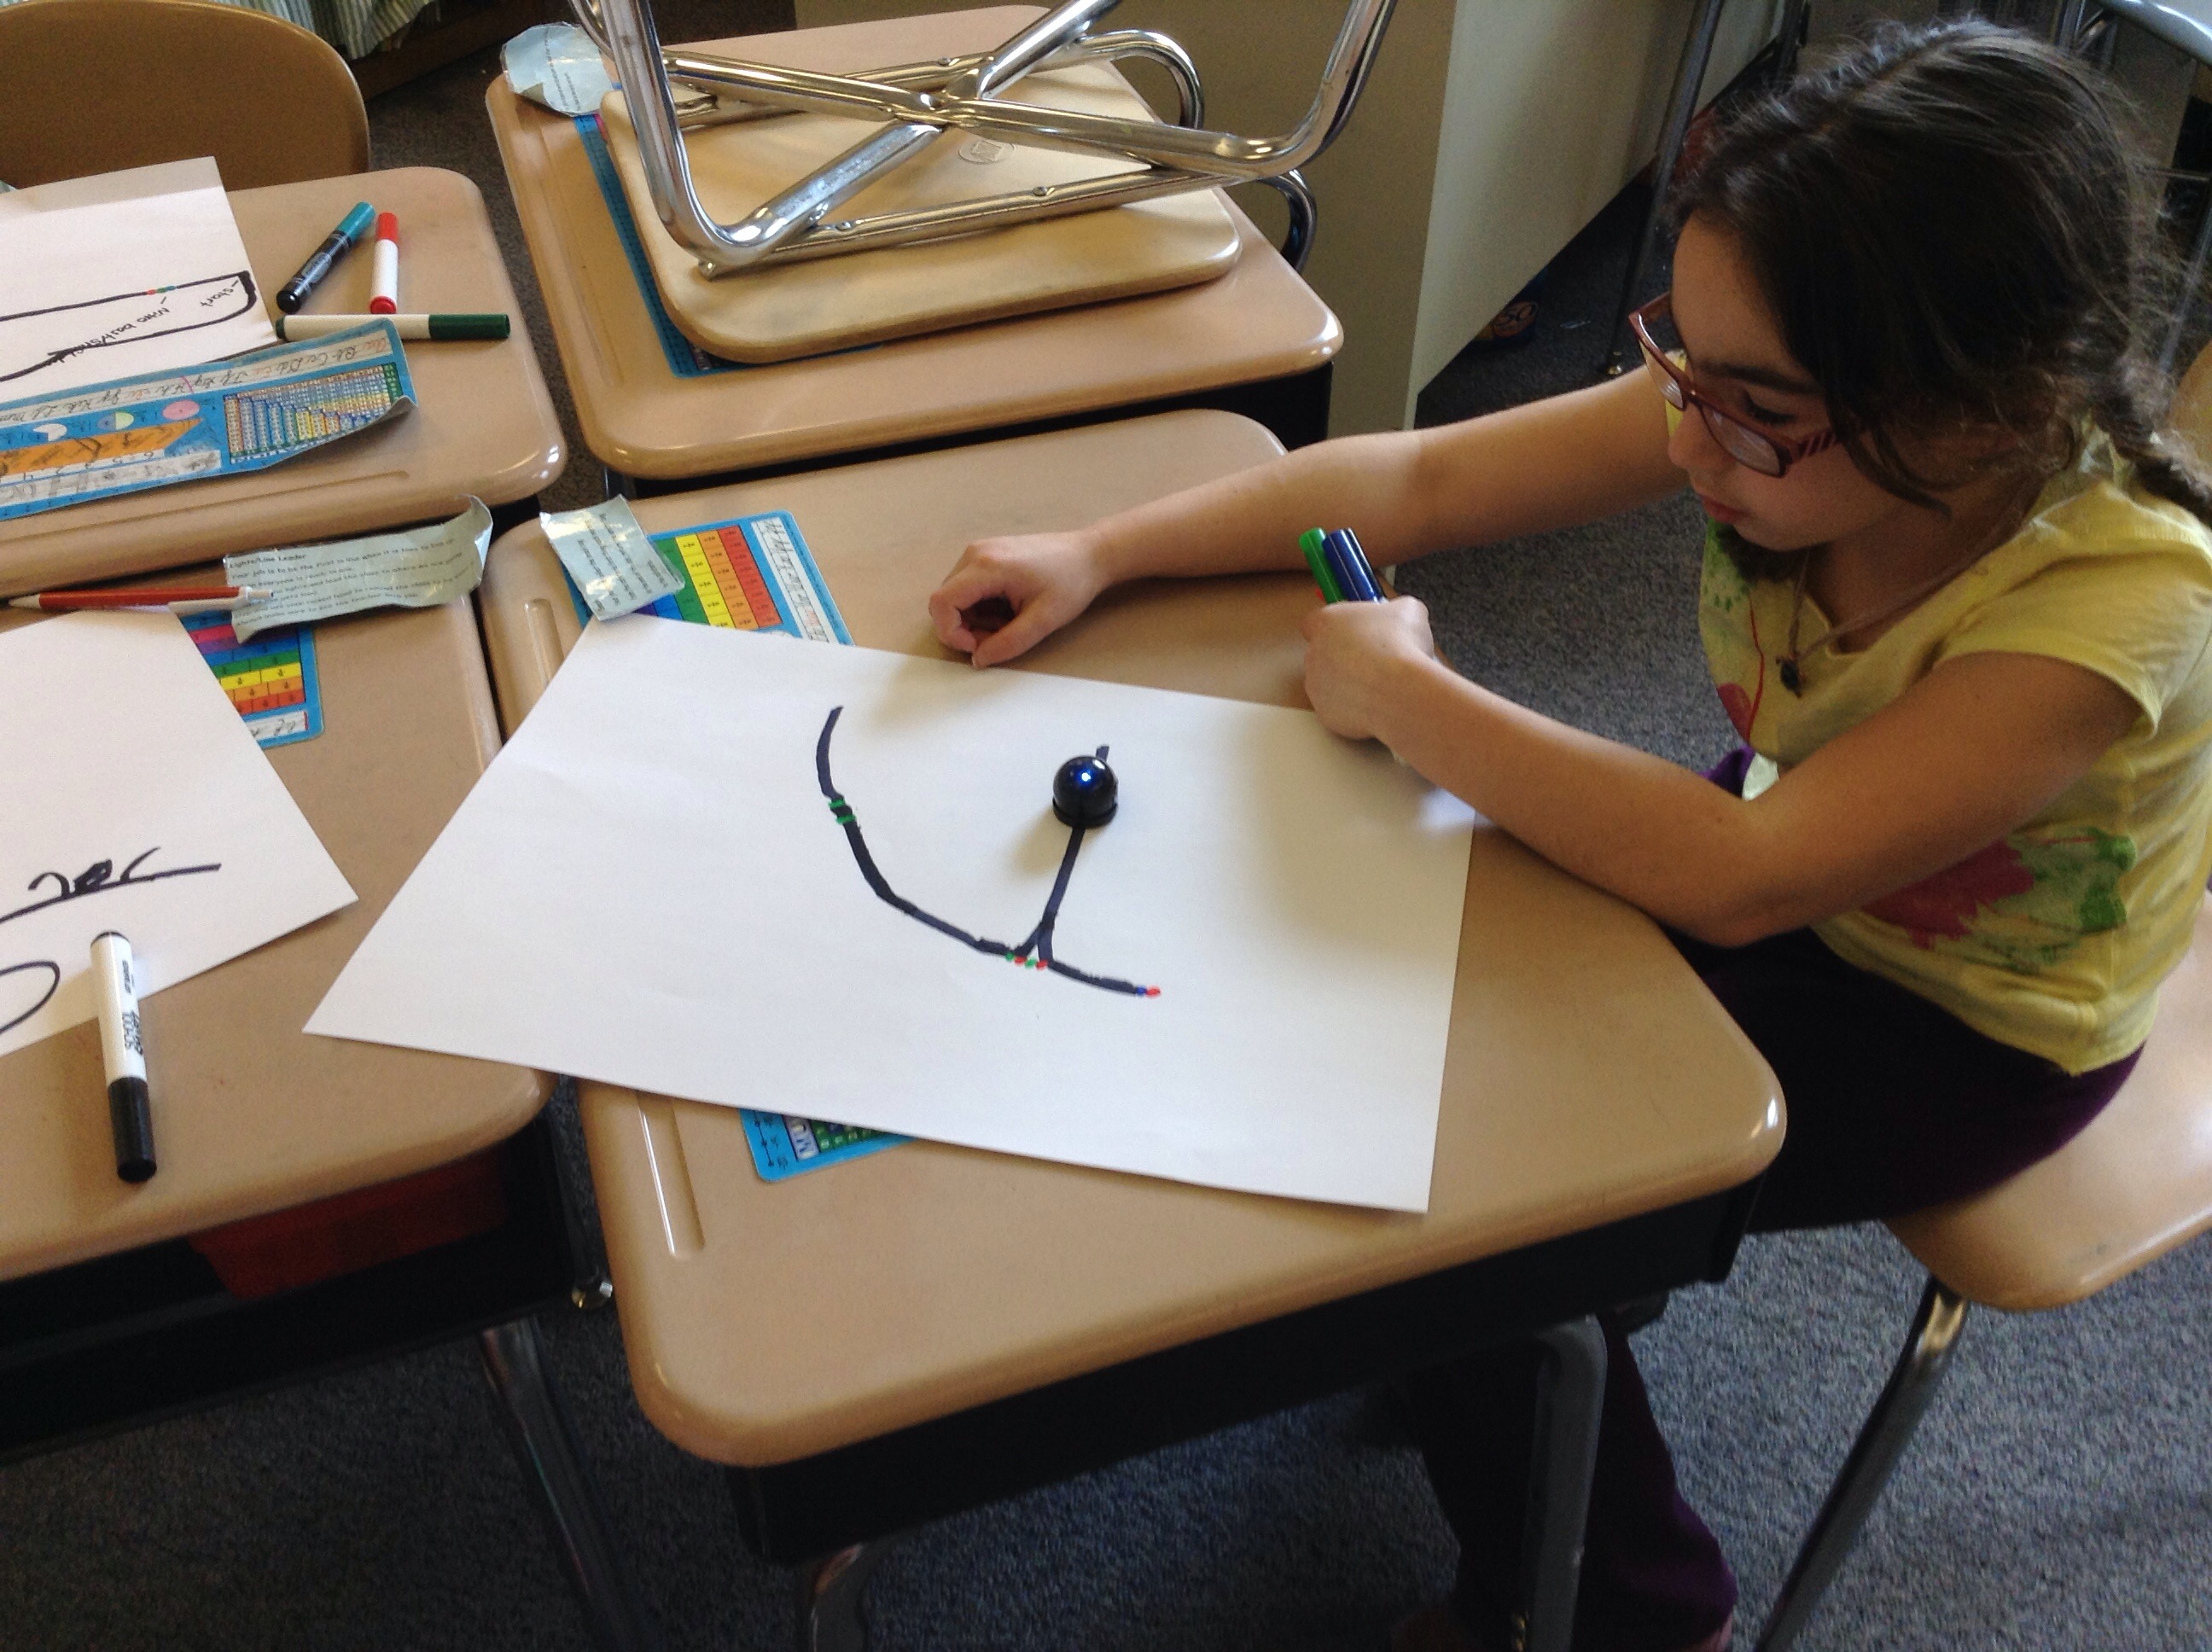
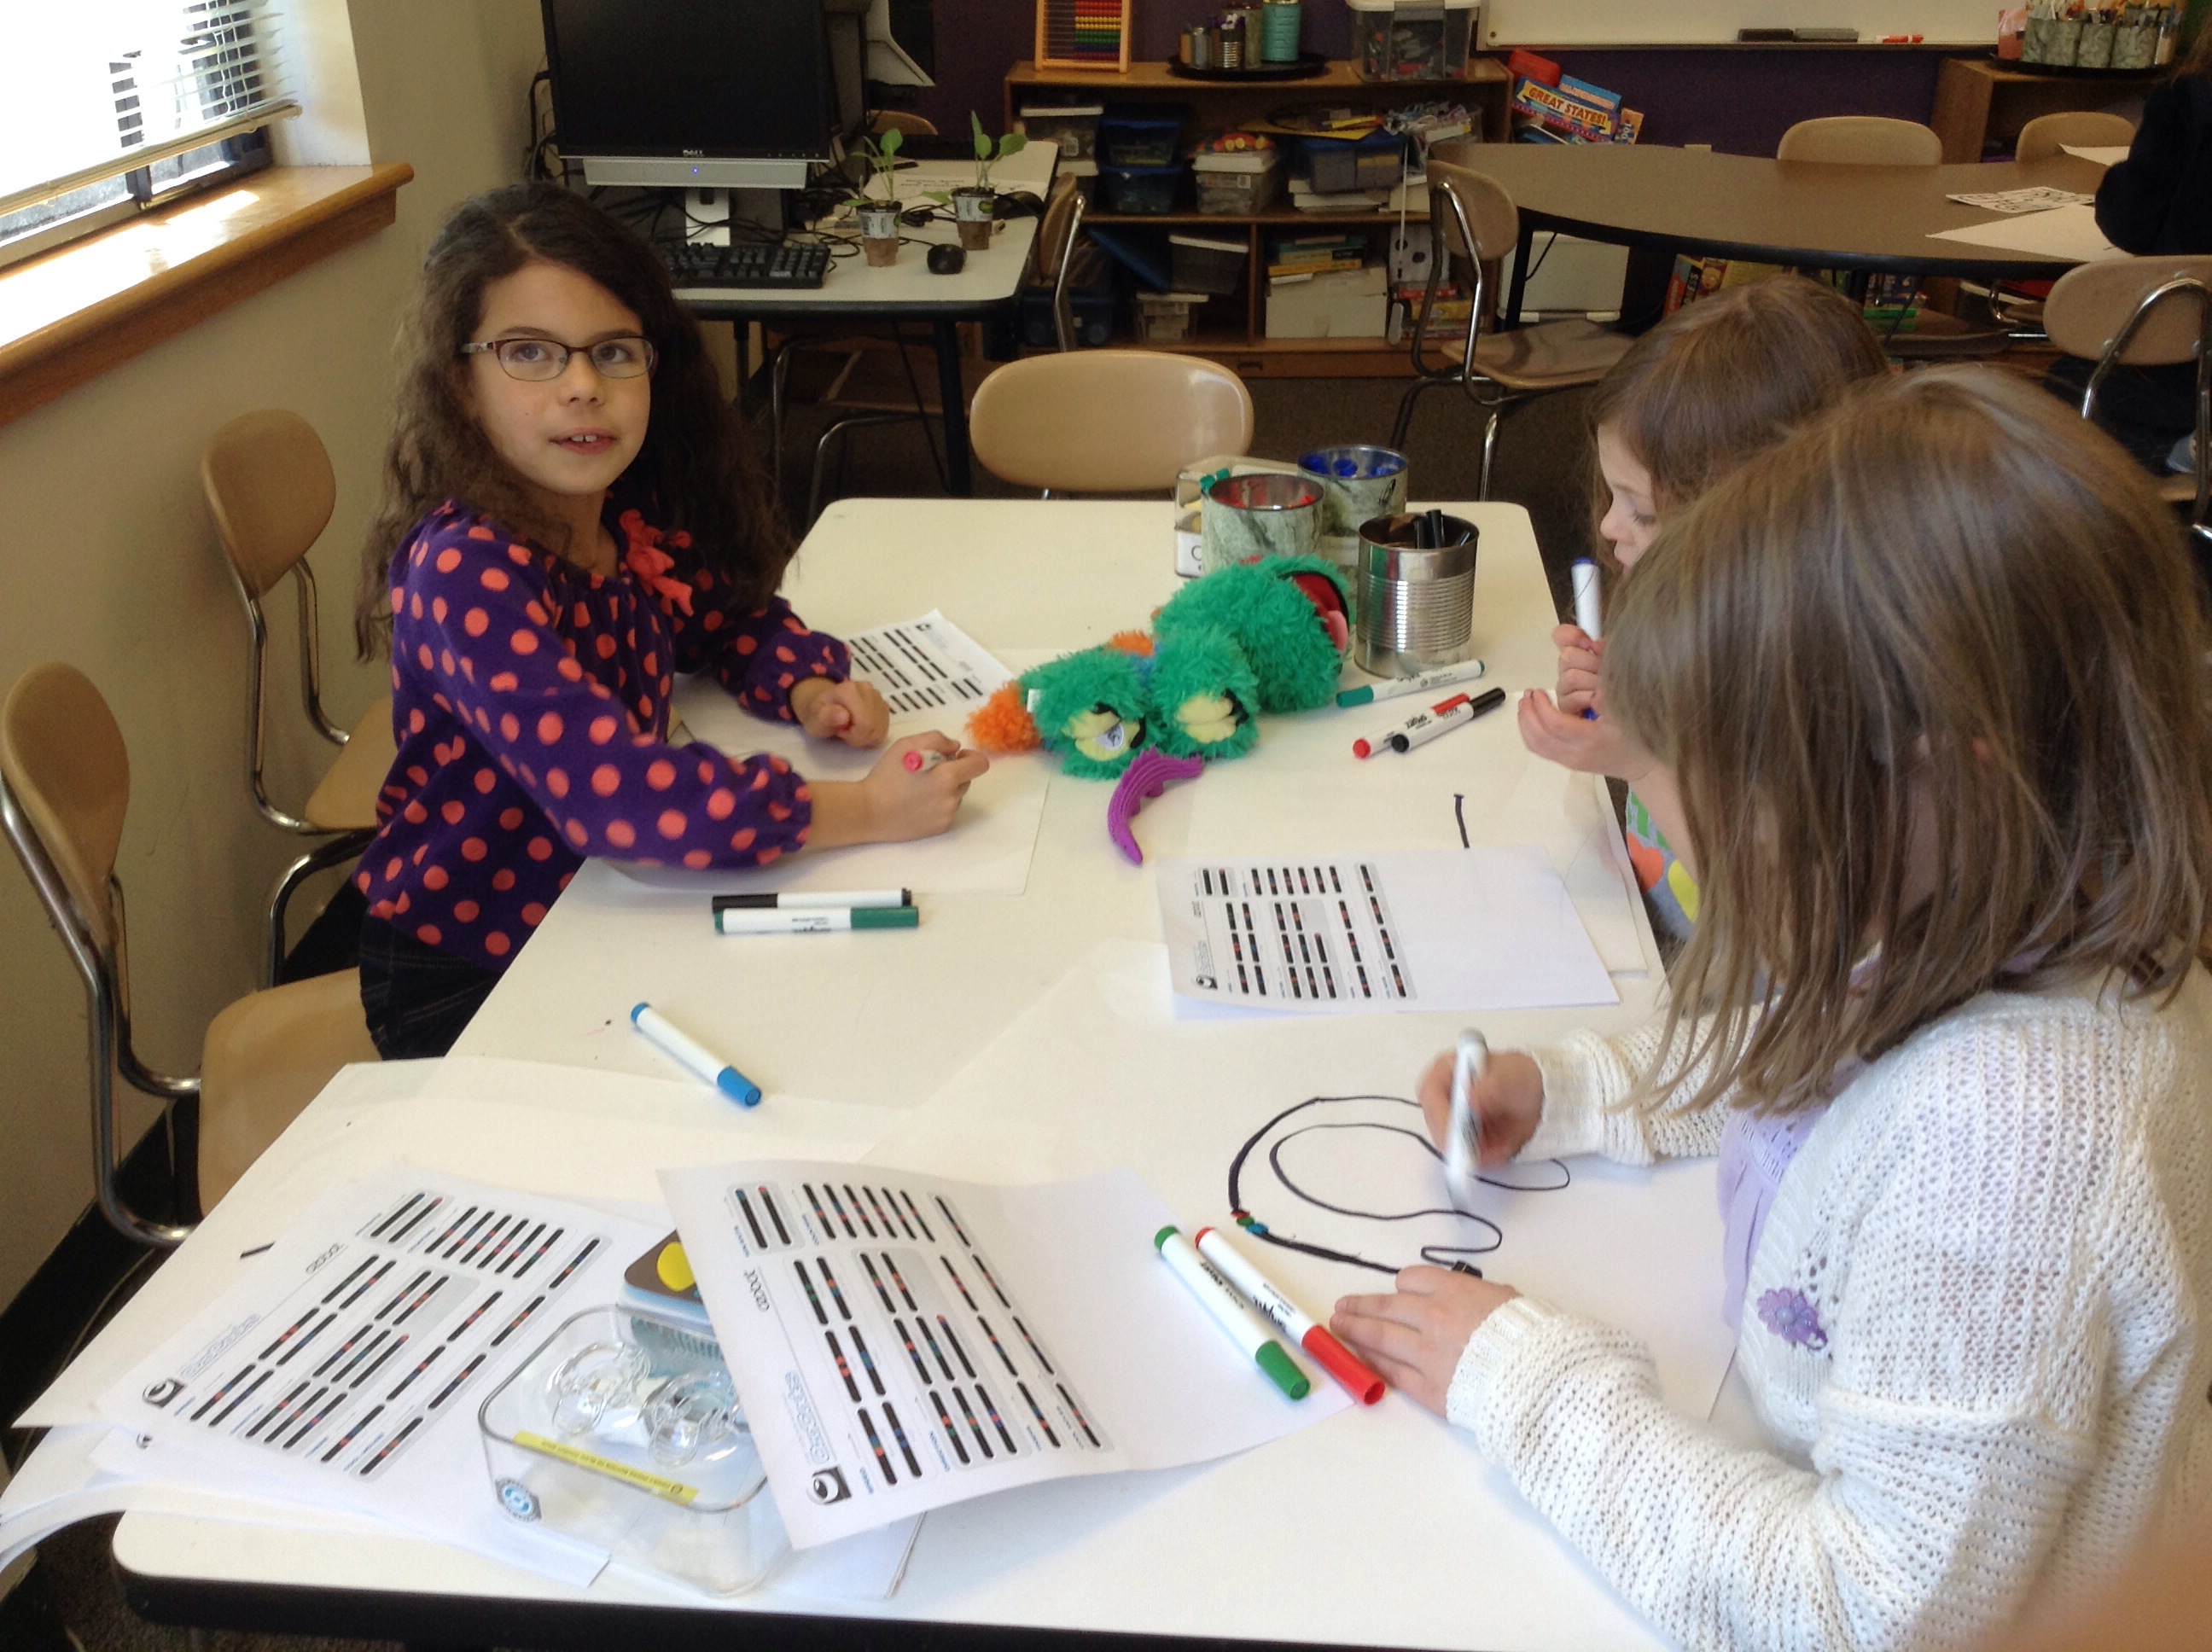
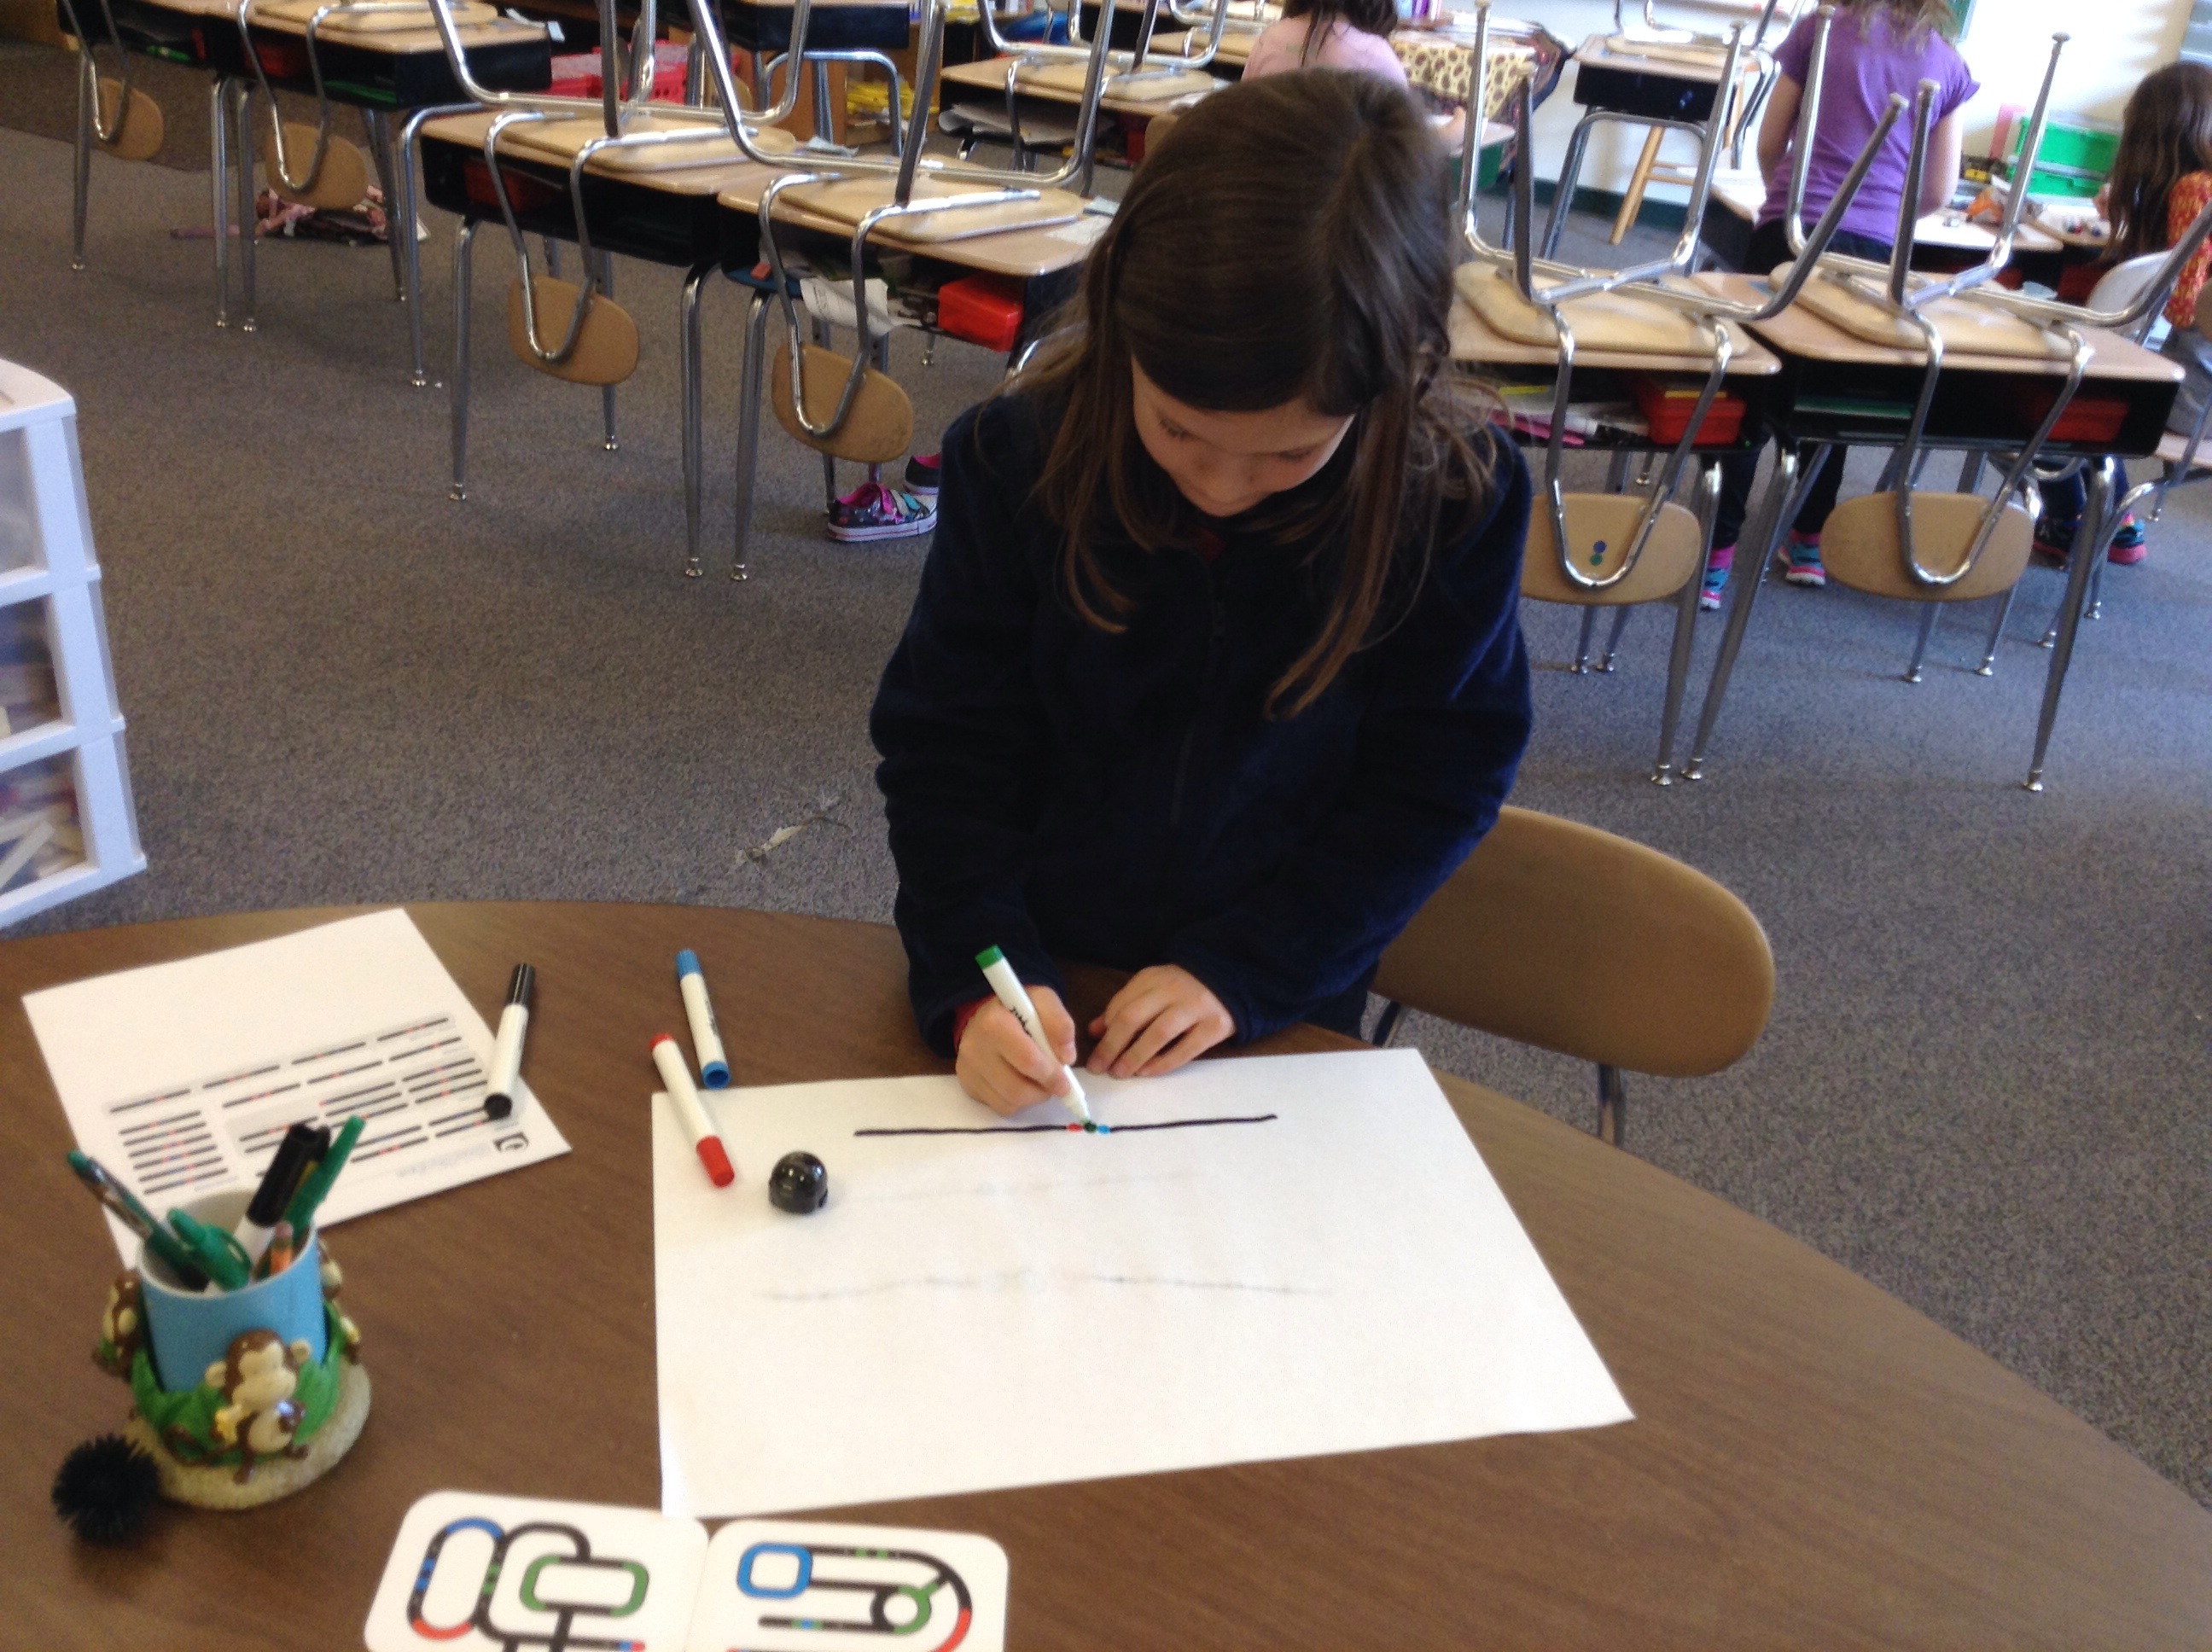
Stem activity for girls designing an ozobot map with 3 codes – coding robots ozobots
This week in STEM, the girls were given the challenge to design a map for their Ozobots that had 3 successful codes. Last week we tried, but I learned that I was not calibrating the Ozobots correctly. It always helps to read the directions! This past week the Ozobots worked beautifully! The girls were very excited to try some “trickier” codes such as “zigzag” and “backwards walk”.
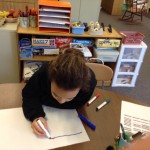
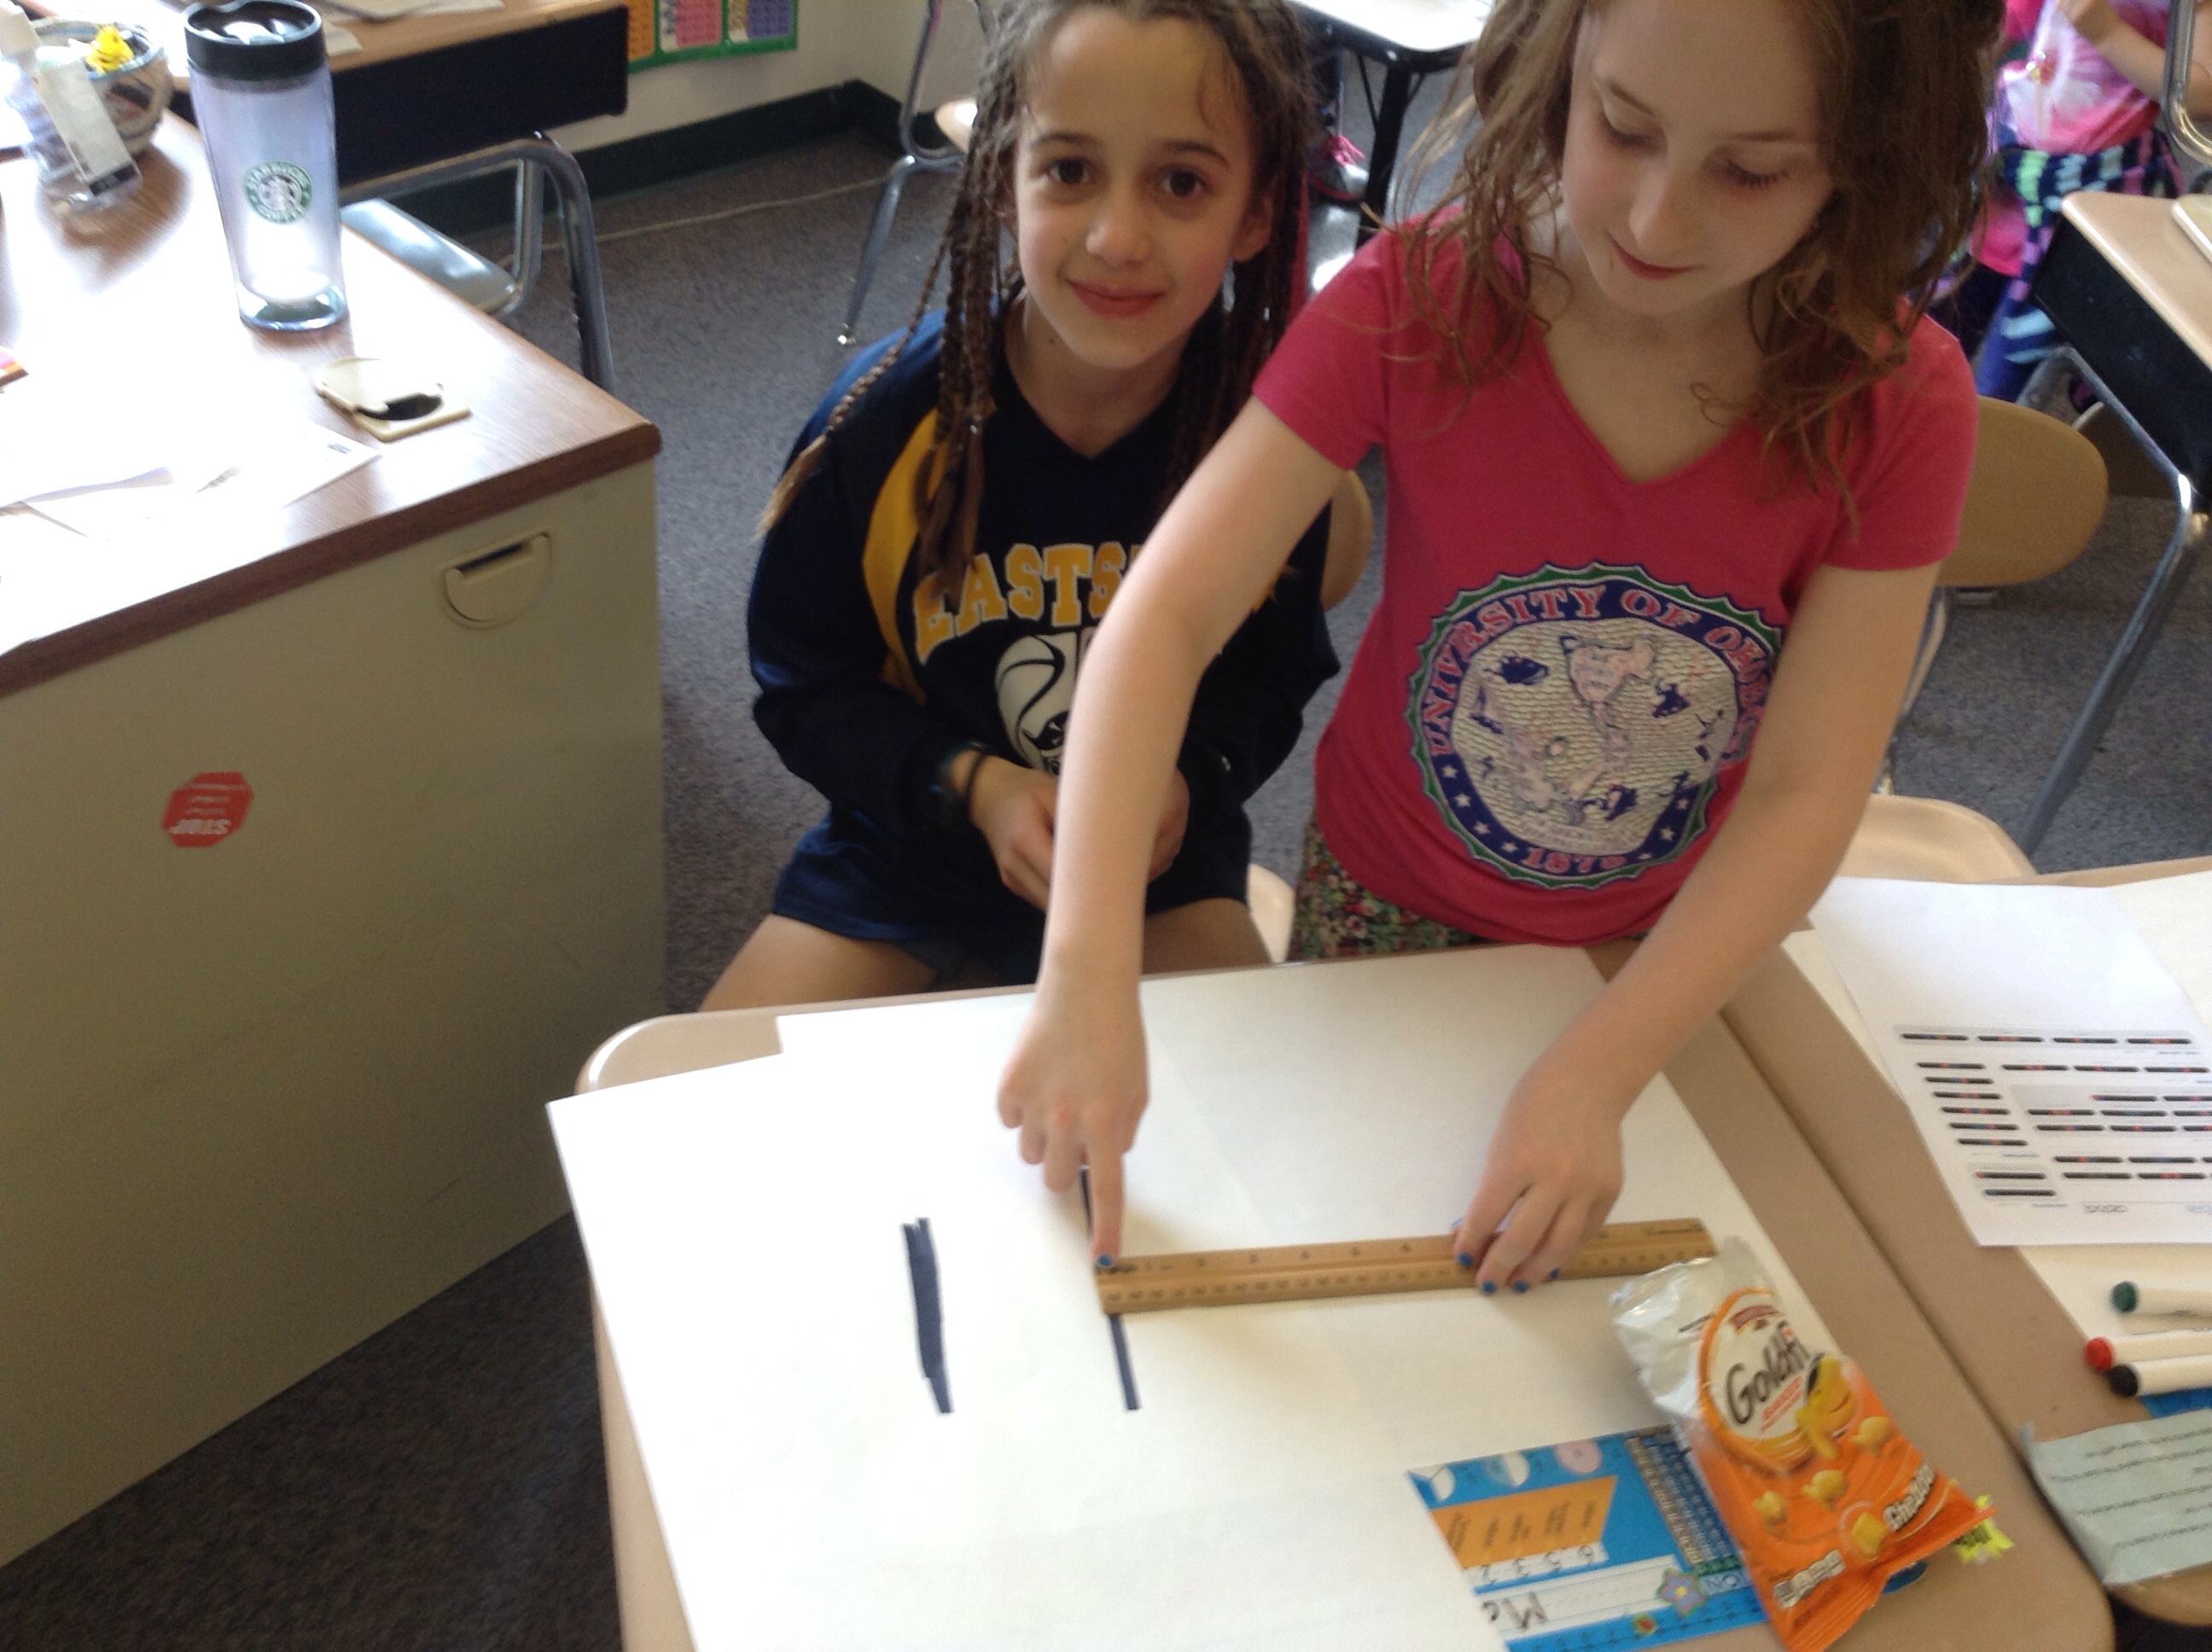
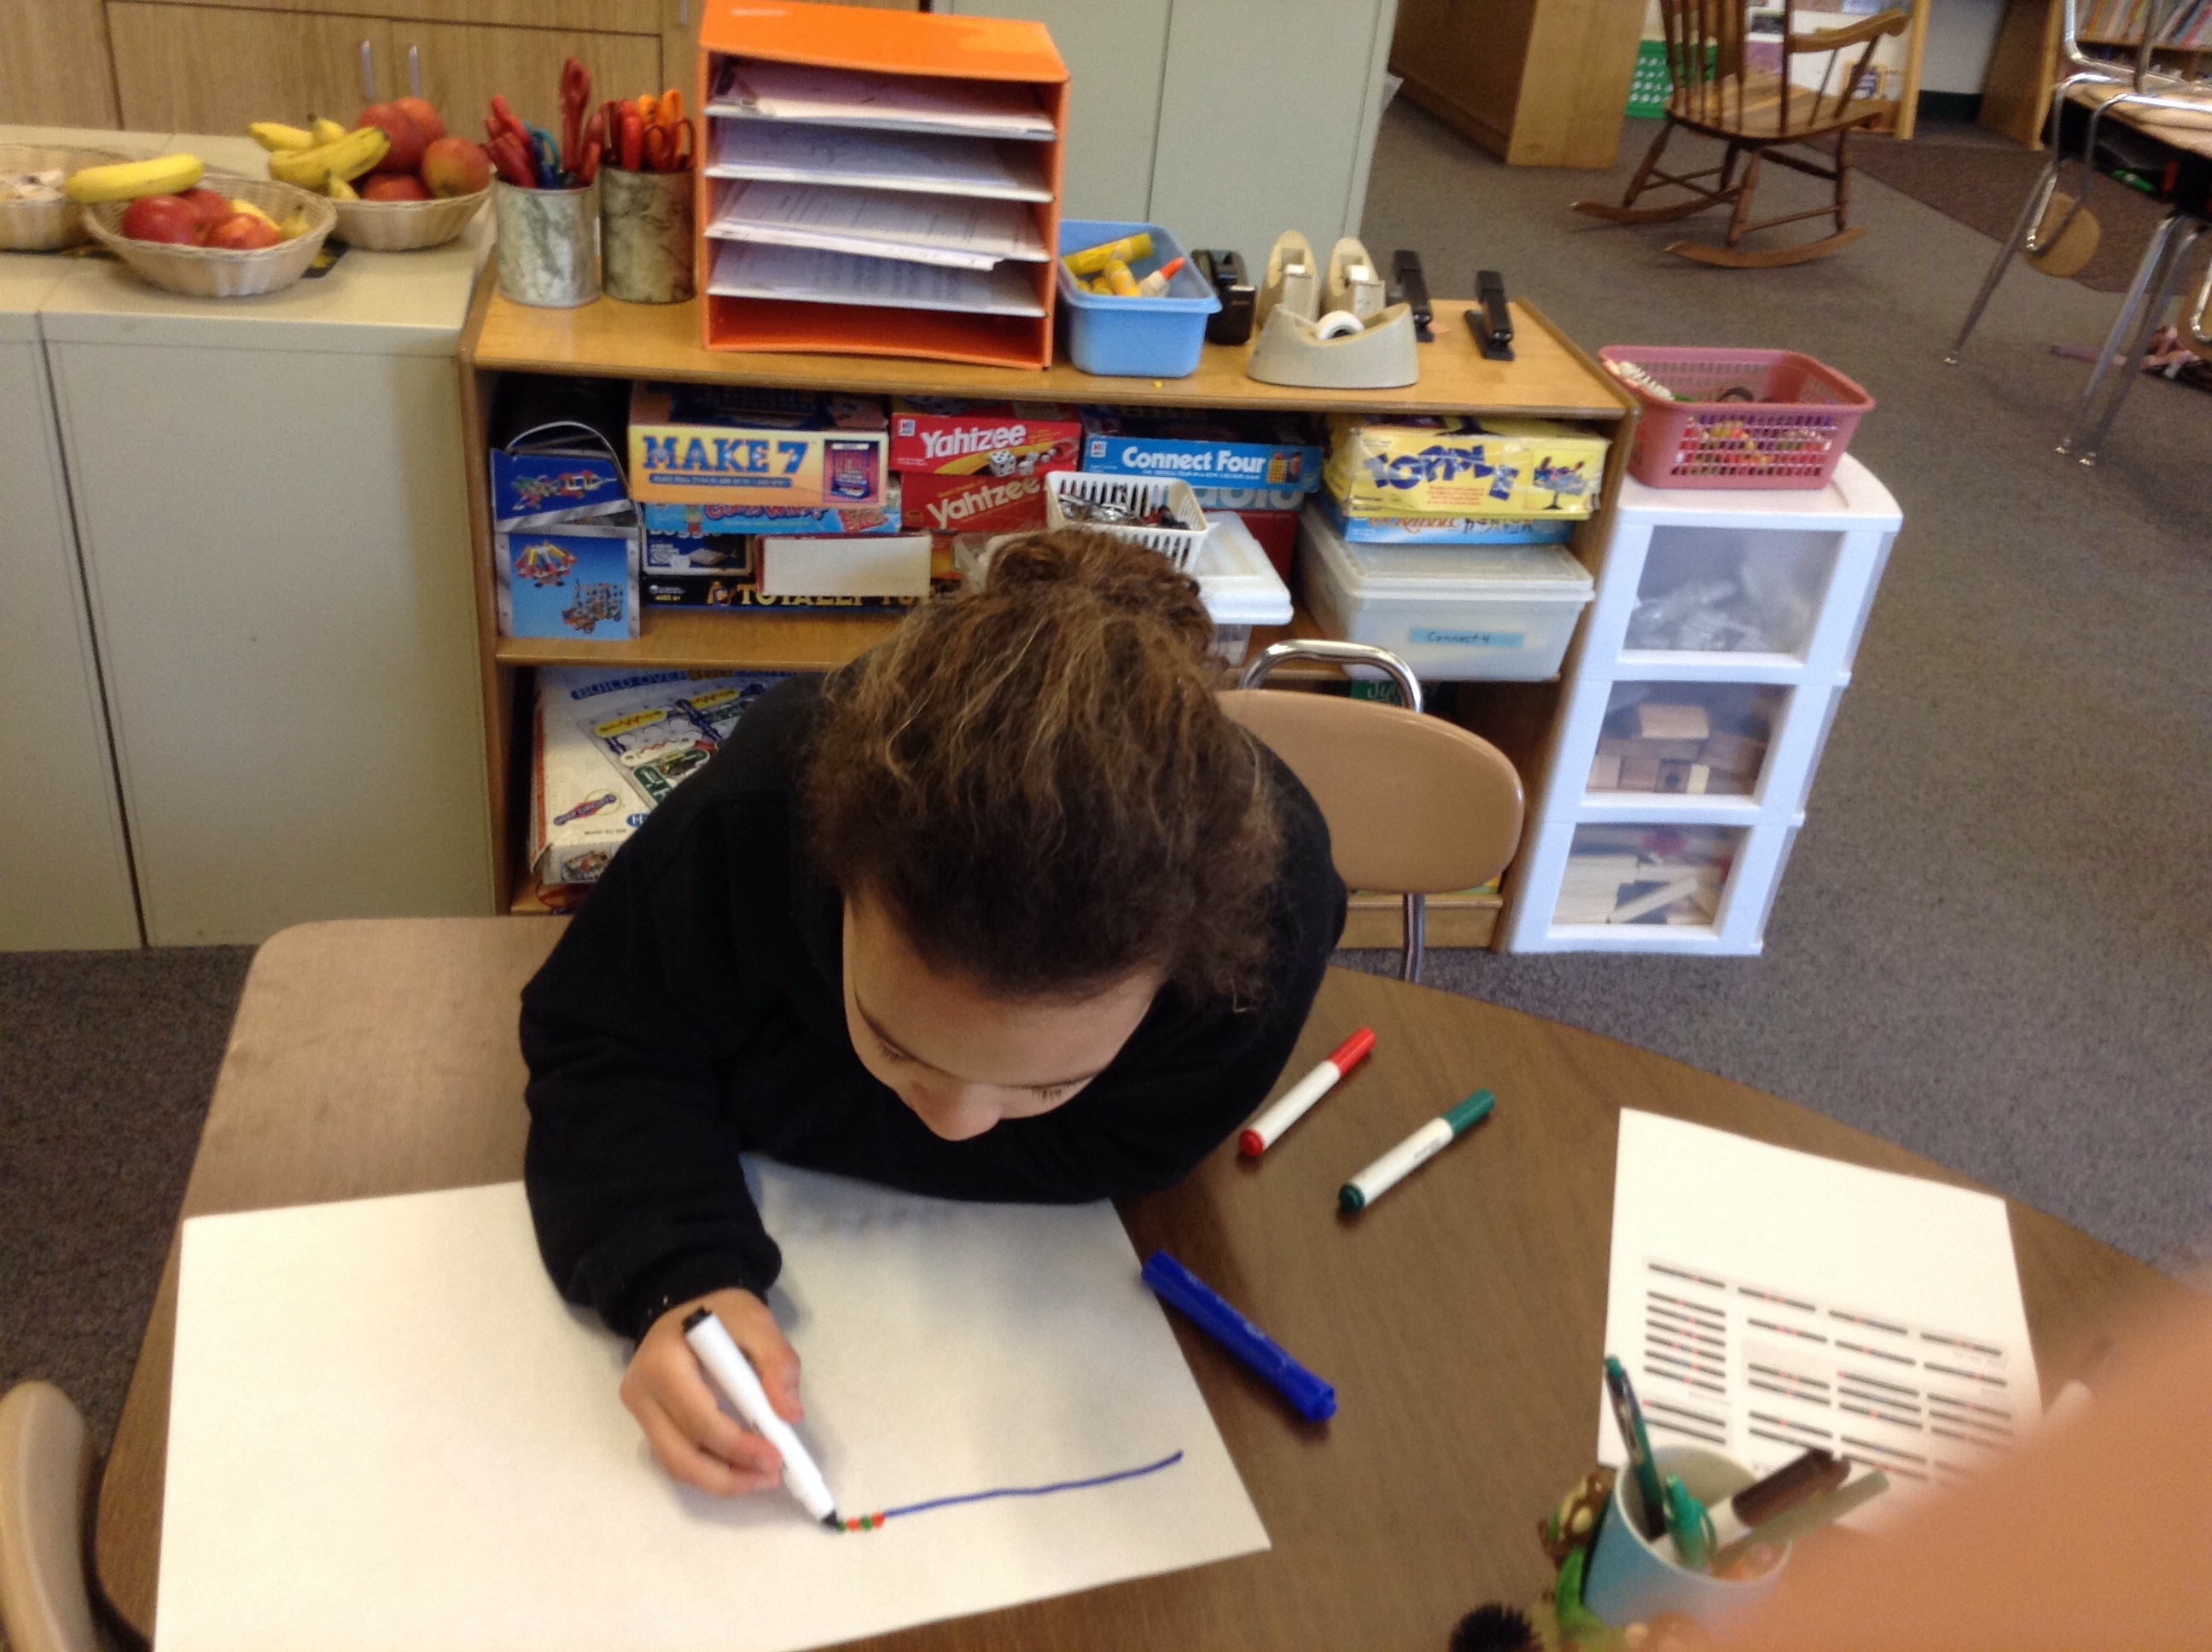
The first thing we did was gather around to talk about width. The lines should be about 1/4 of an inch thick. We tried to see what that looks like on a ruler. We also talked about drawing the color dots first.
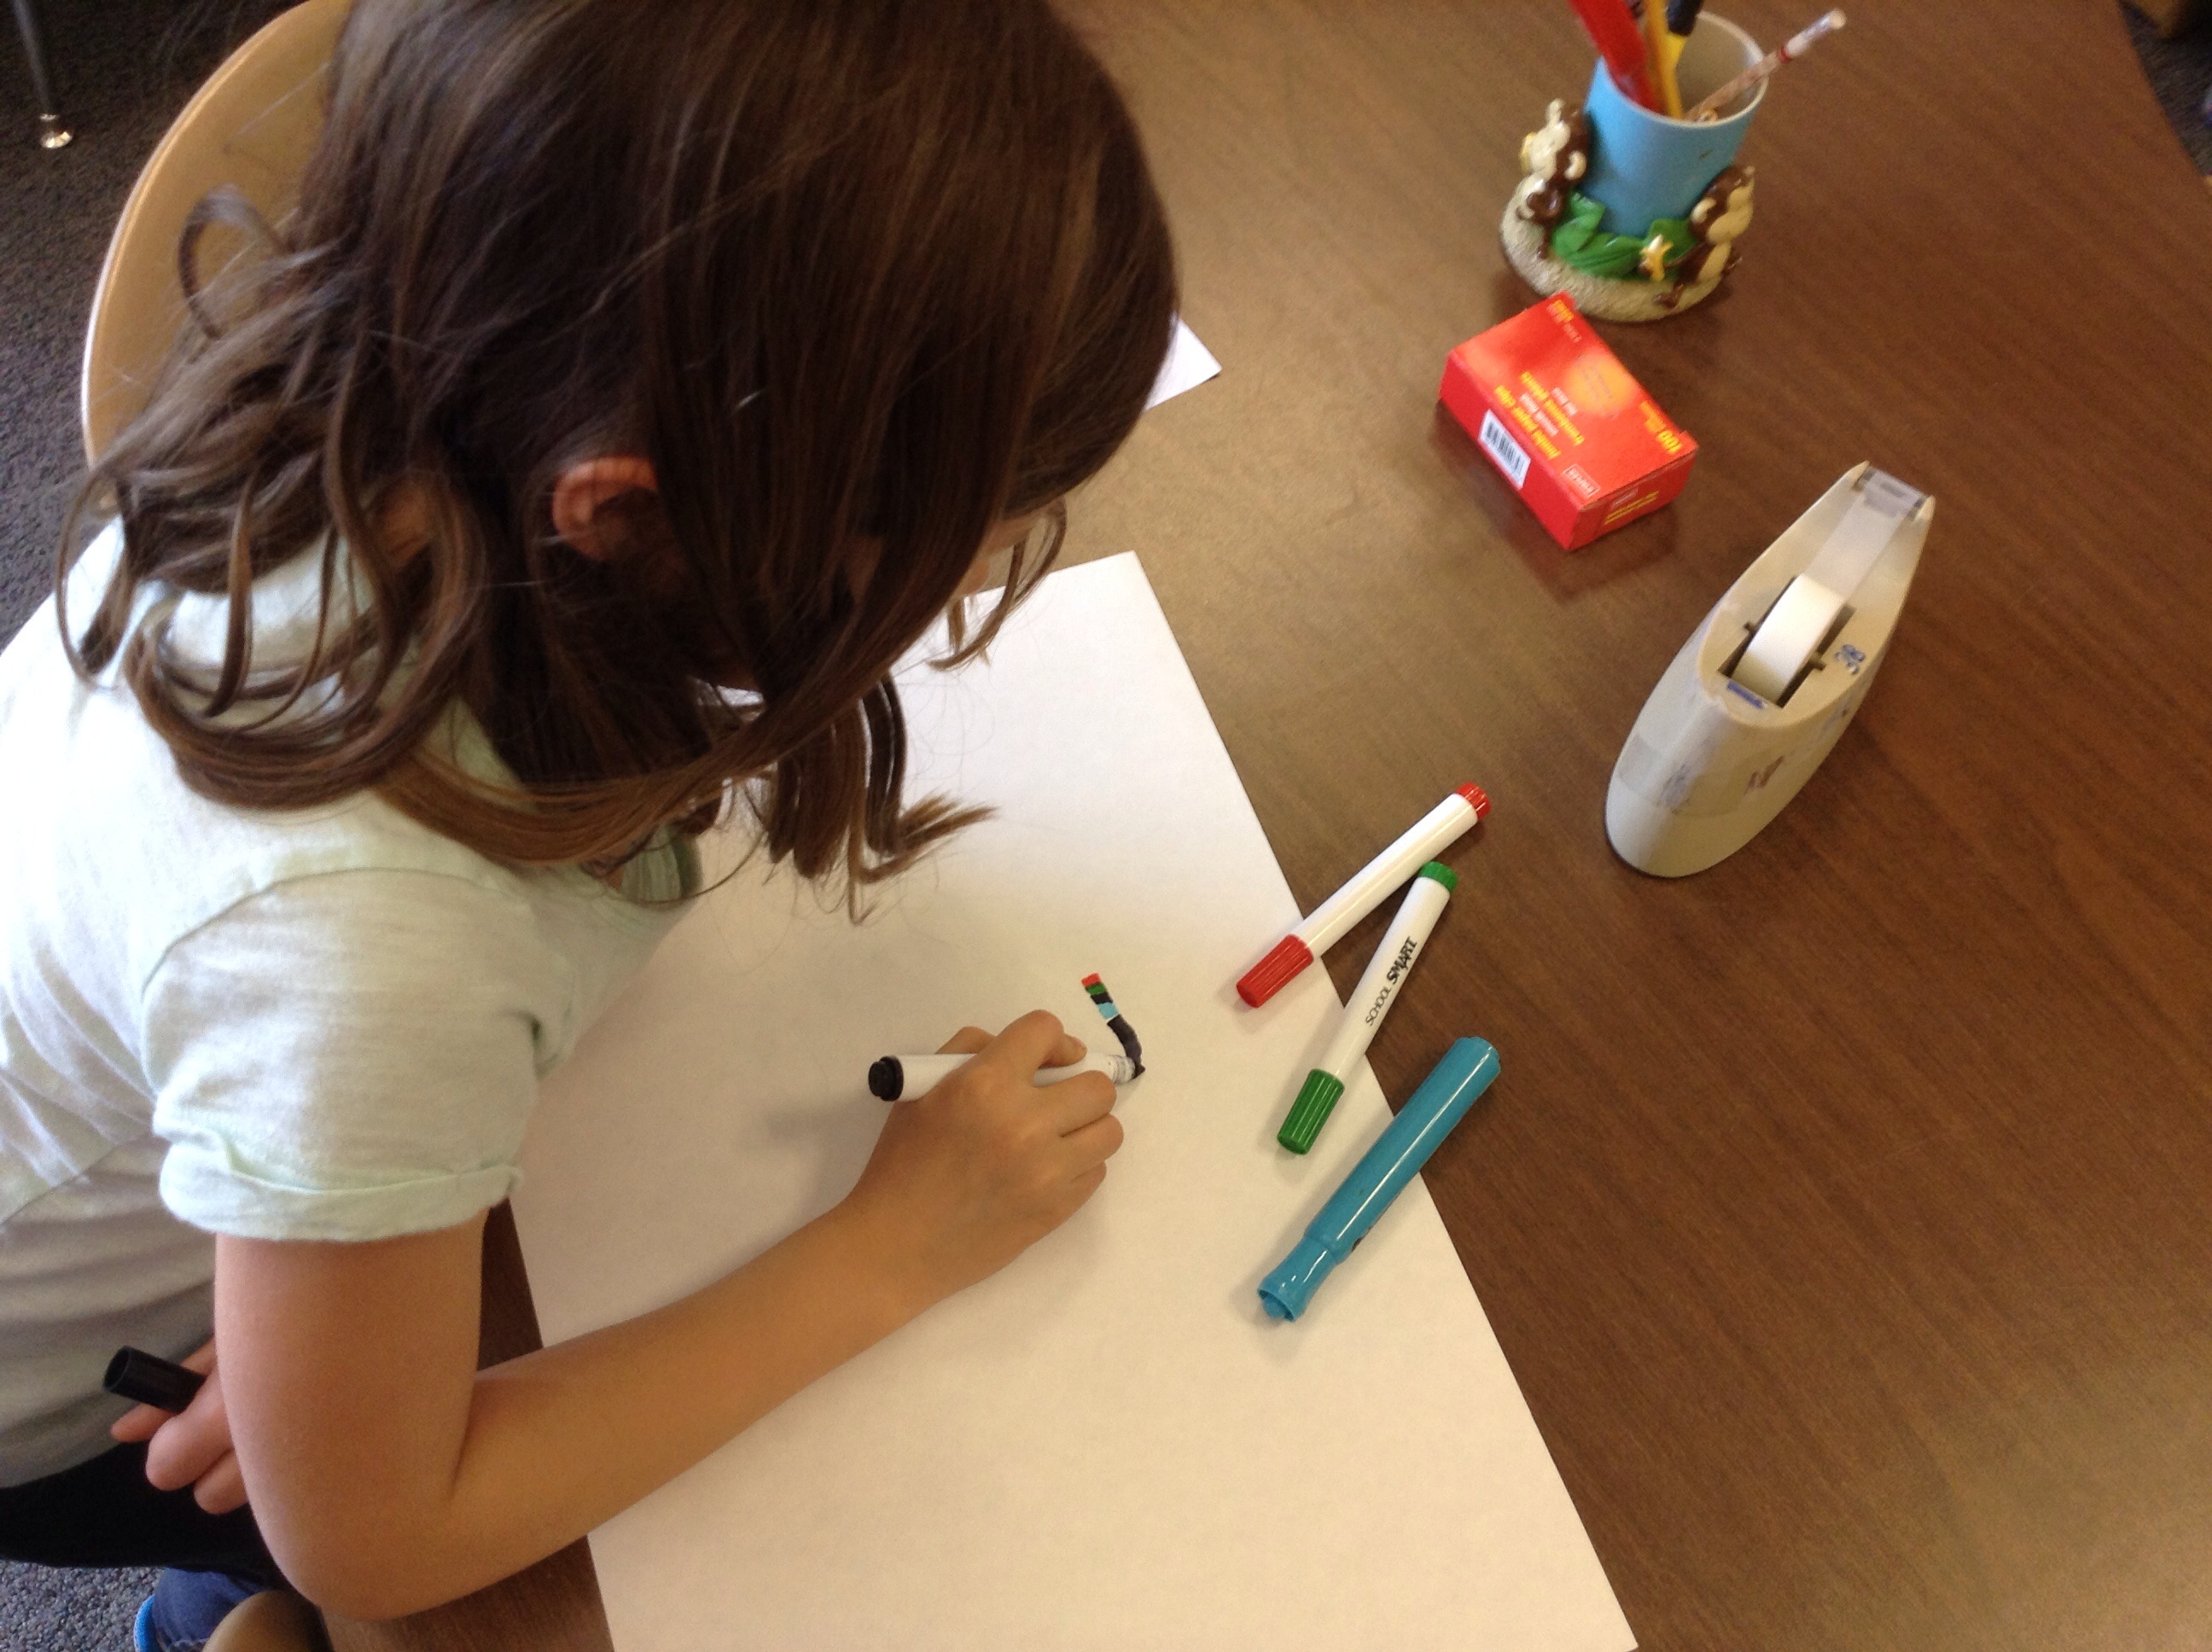
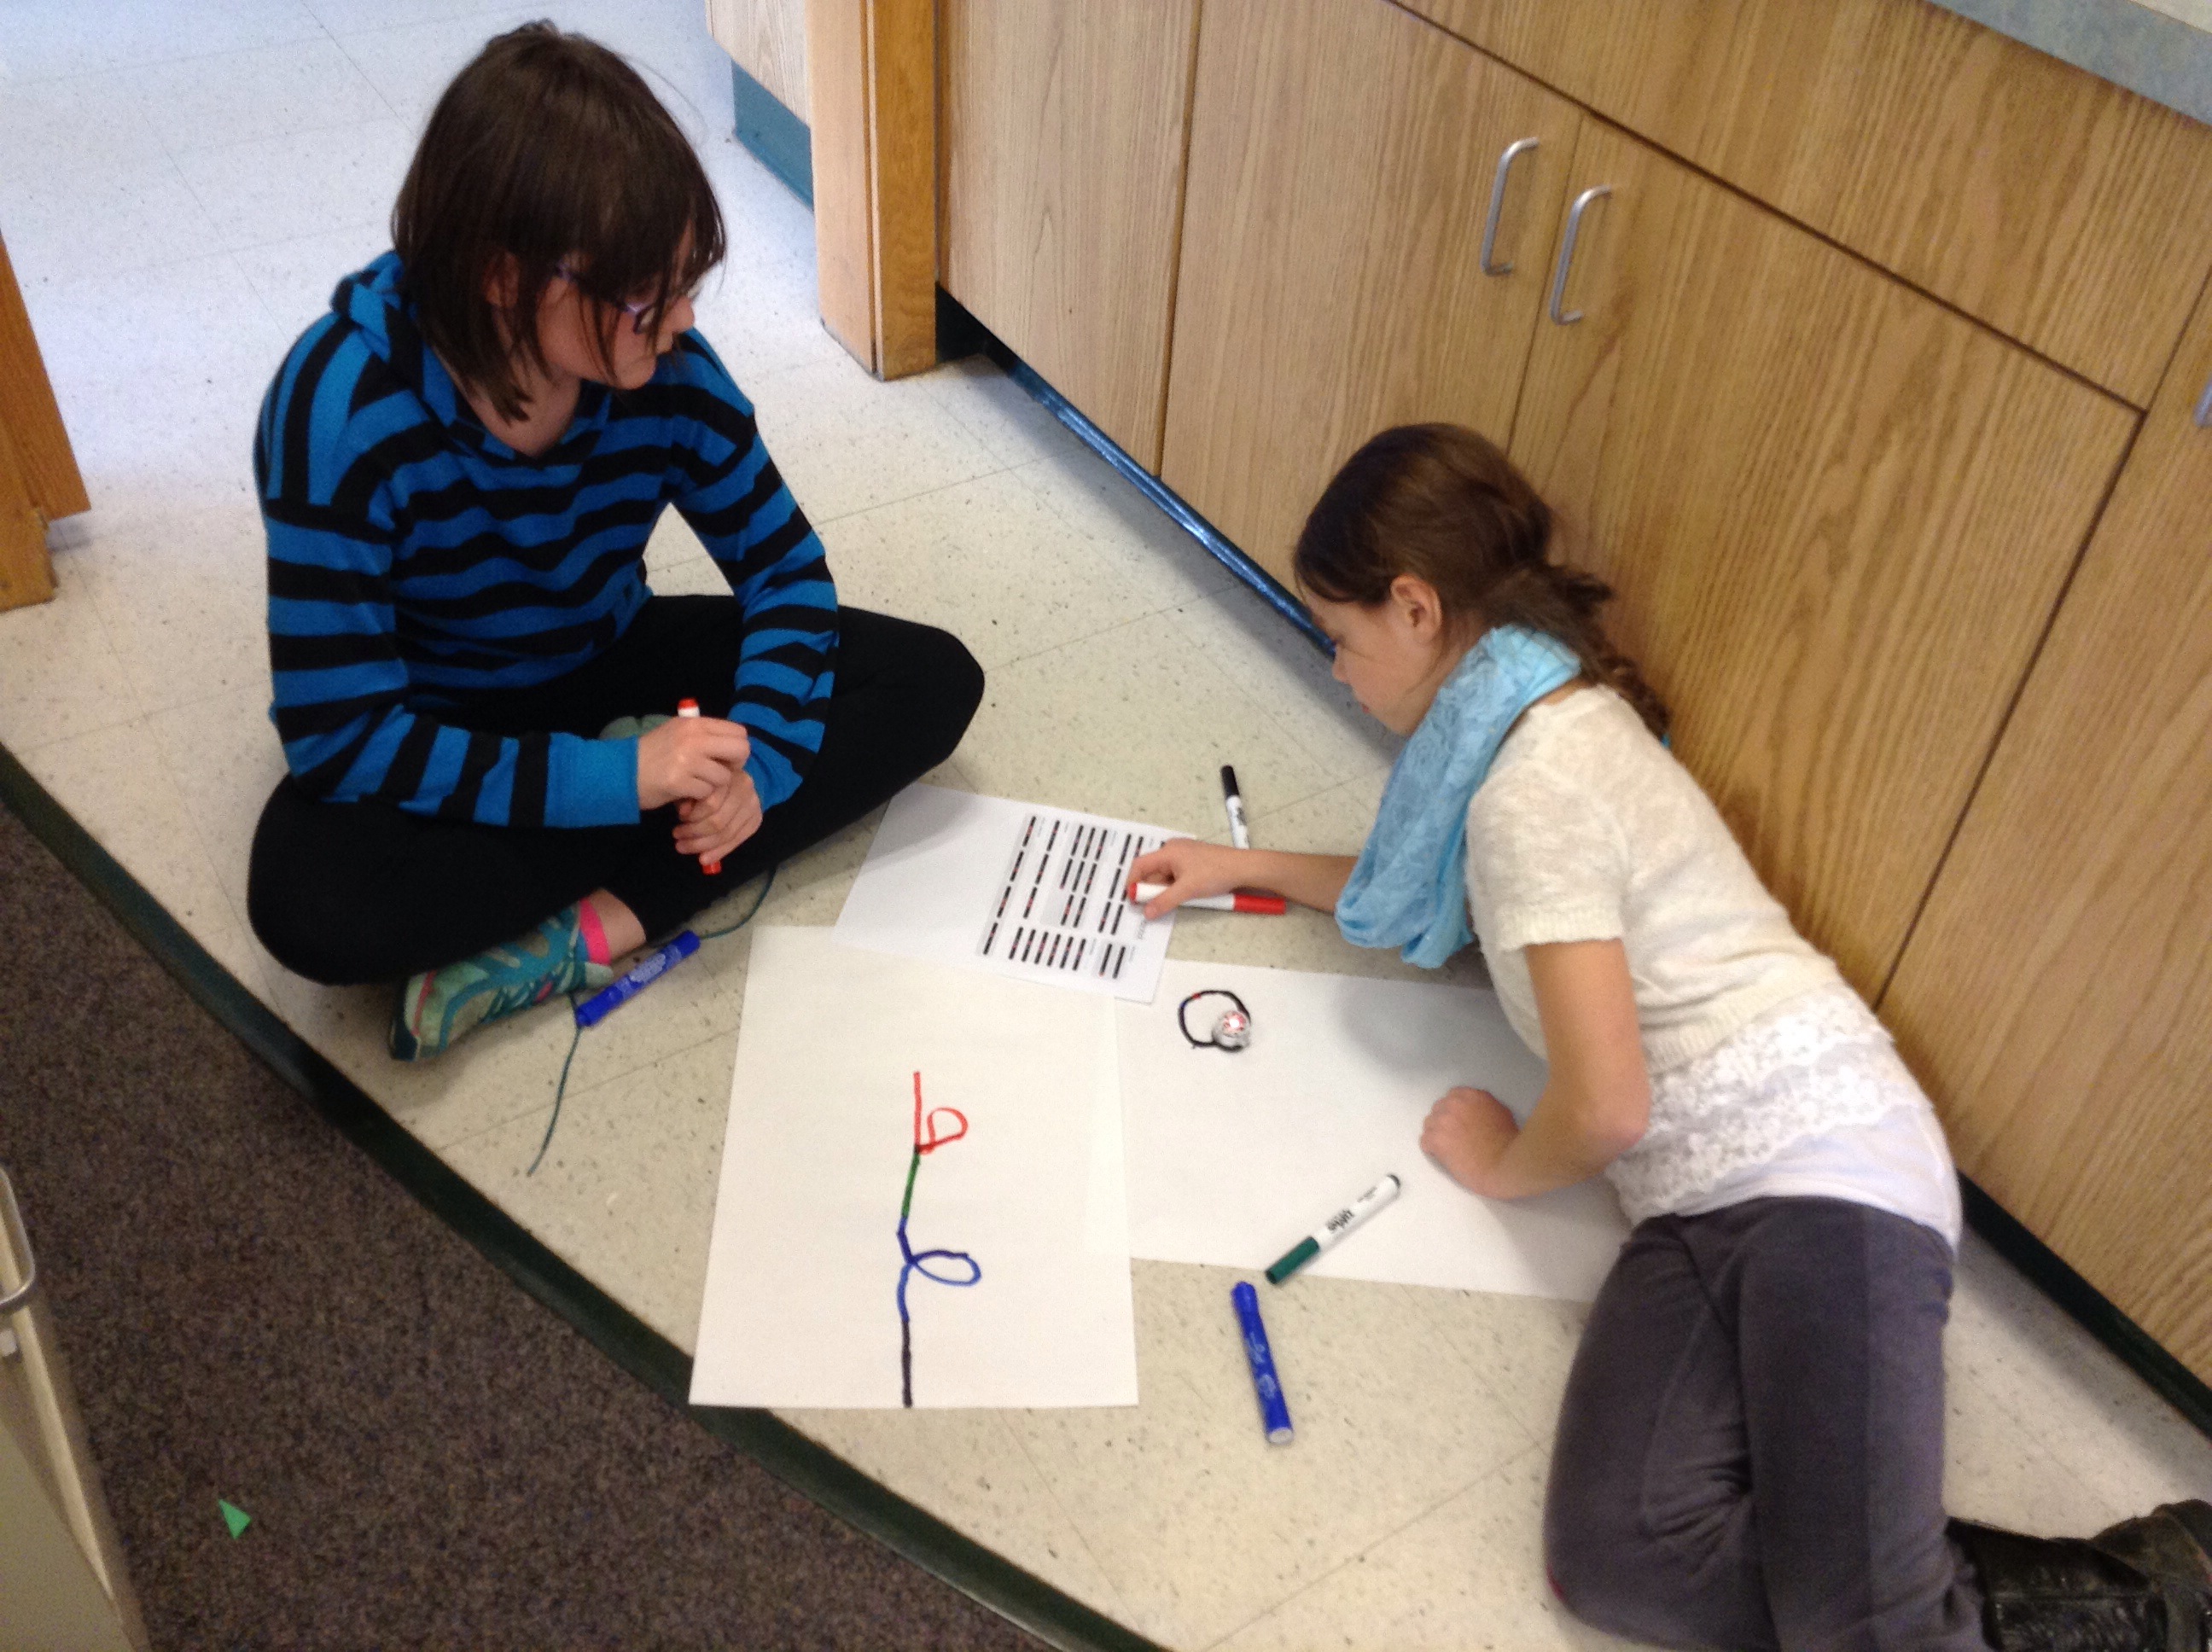
The girls loved creating their maps. Many of them were successful with creating more than three codes. Some of the girls were interested in becoming more artistic with their maps. This helps put the “arts” into STEM. I was proud of their tenacity over the last few weeks to learn how to work these robots.
Here are some videos of their success!
We are going to try to create a video to share at our assembly next week!
Apr 09
Girls STEM with Ozobots – learning to code, Ozobot coding STEAM
Today was the first Spring Session of Stem at Harley. The girls are learning how to code with these unique robots called Ozobots. An Ozobot is a small robot that helps kids learn about simple coding language. The girls were able to explore the idea of coding and controlling the tiny robots movements by color-coding lines. I love how this robot appeals to girls in particular that love to draw. When technology and art combine, there is an increase in motivation for girls! I thought they were perfect to try out in our STEM Club! They had a blast and were so into figuring out how to make them work!


I love how it is not as easy as you would think to draw the lines. The girls had to experiment with the thickness of the lines, the types of color hues they were using, and the size of the dot colors to get their robots to perform. They were so proud of their successes and very persistent when they failed. They can’t wait to work with them again next week.
Mar 15
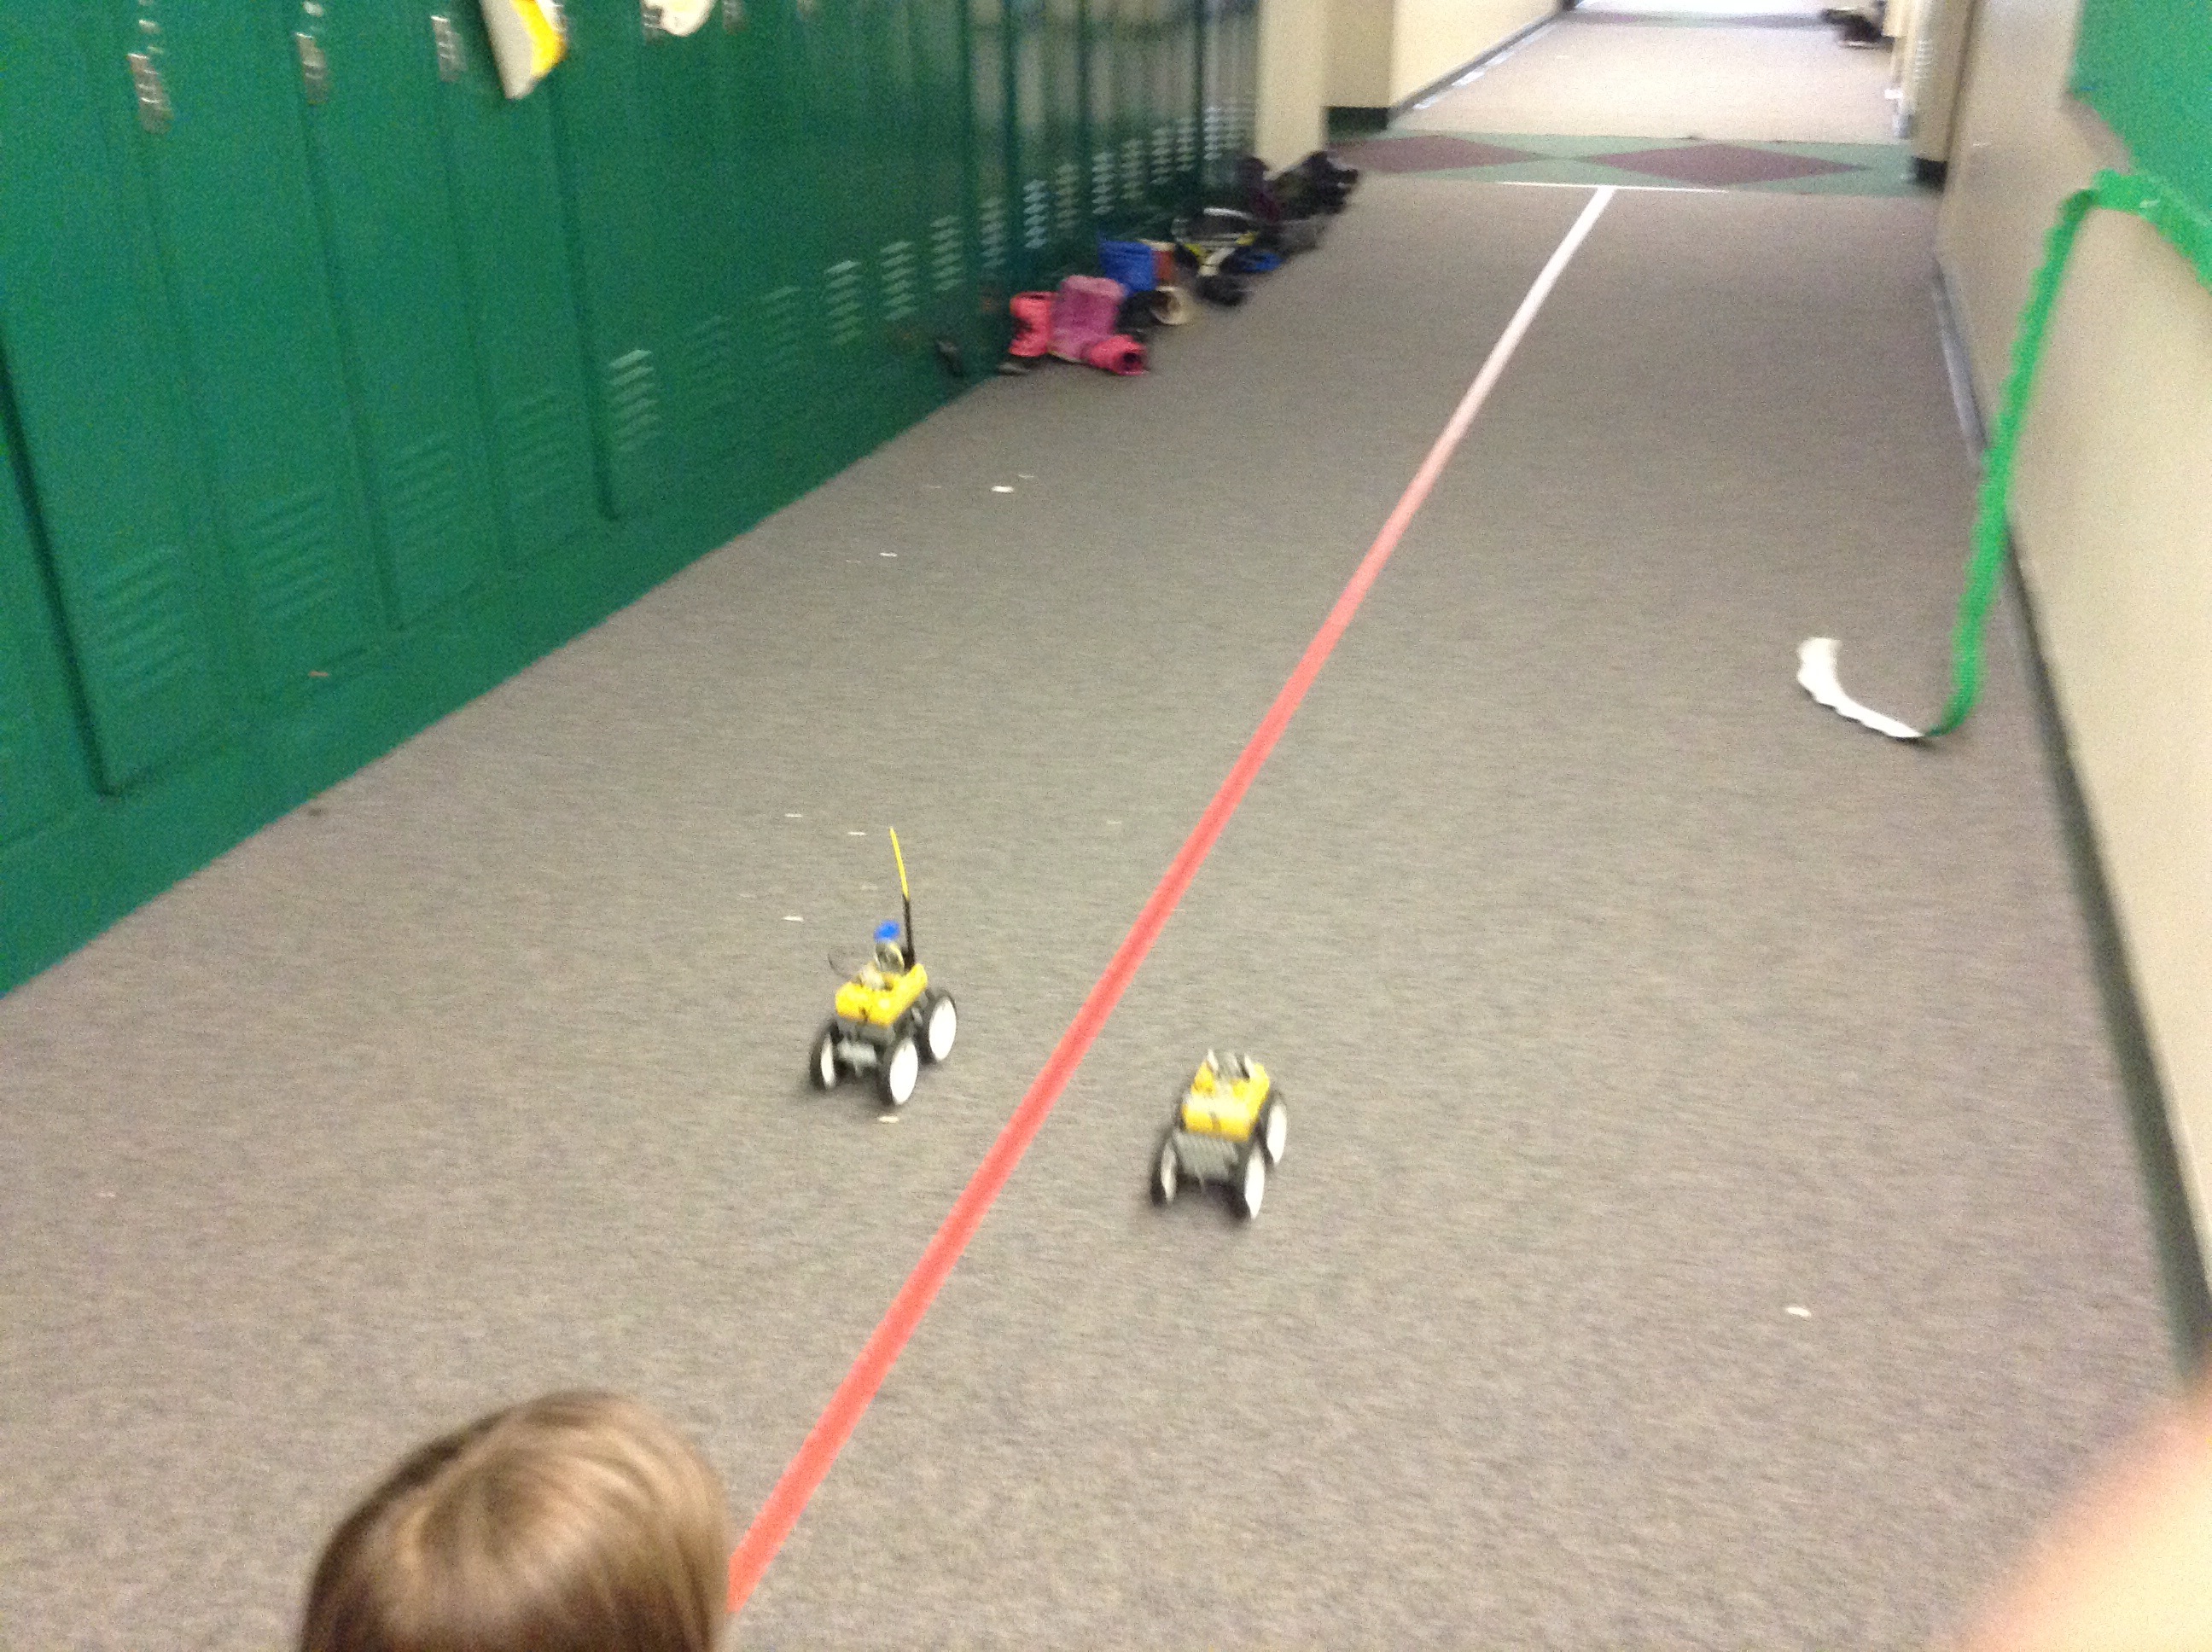
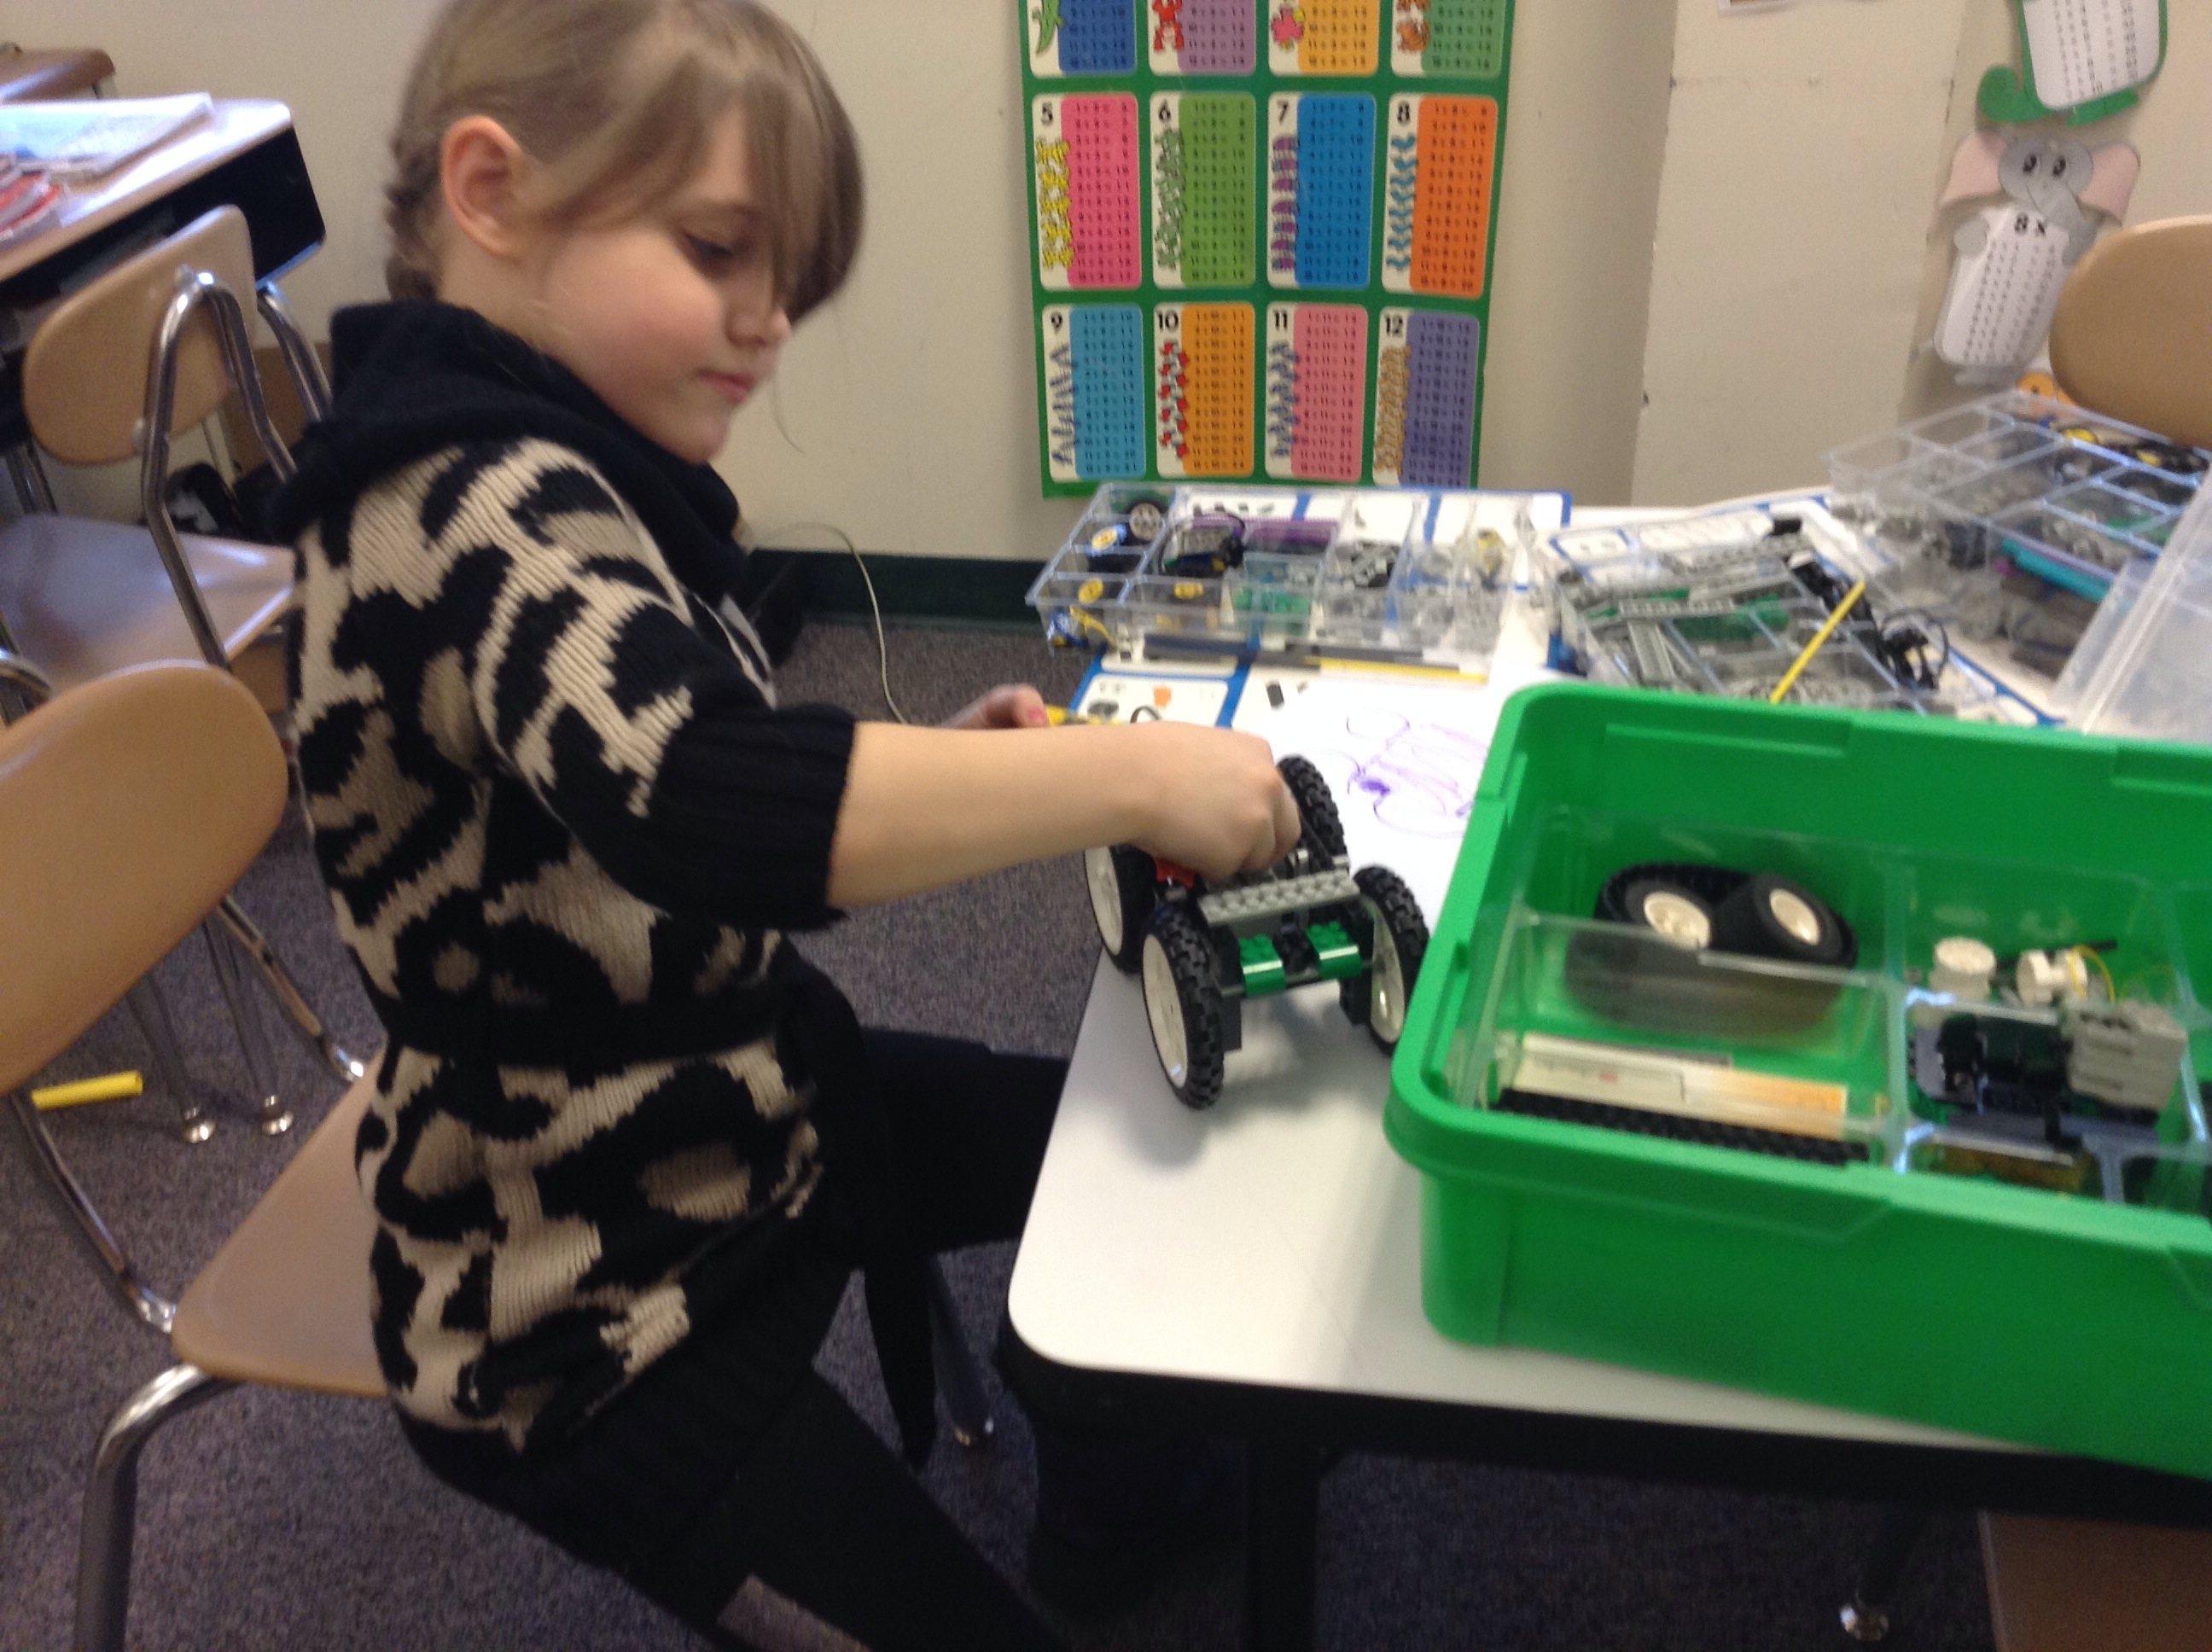
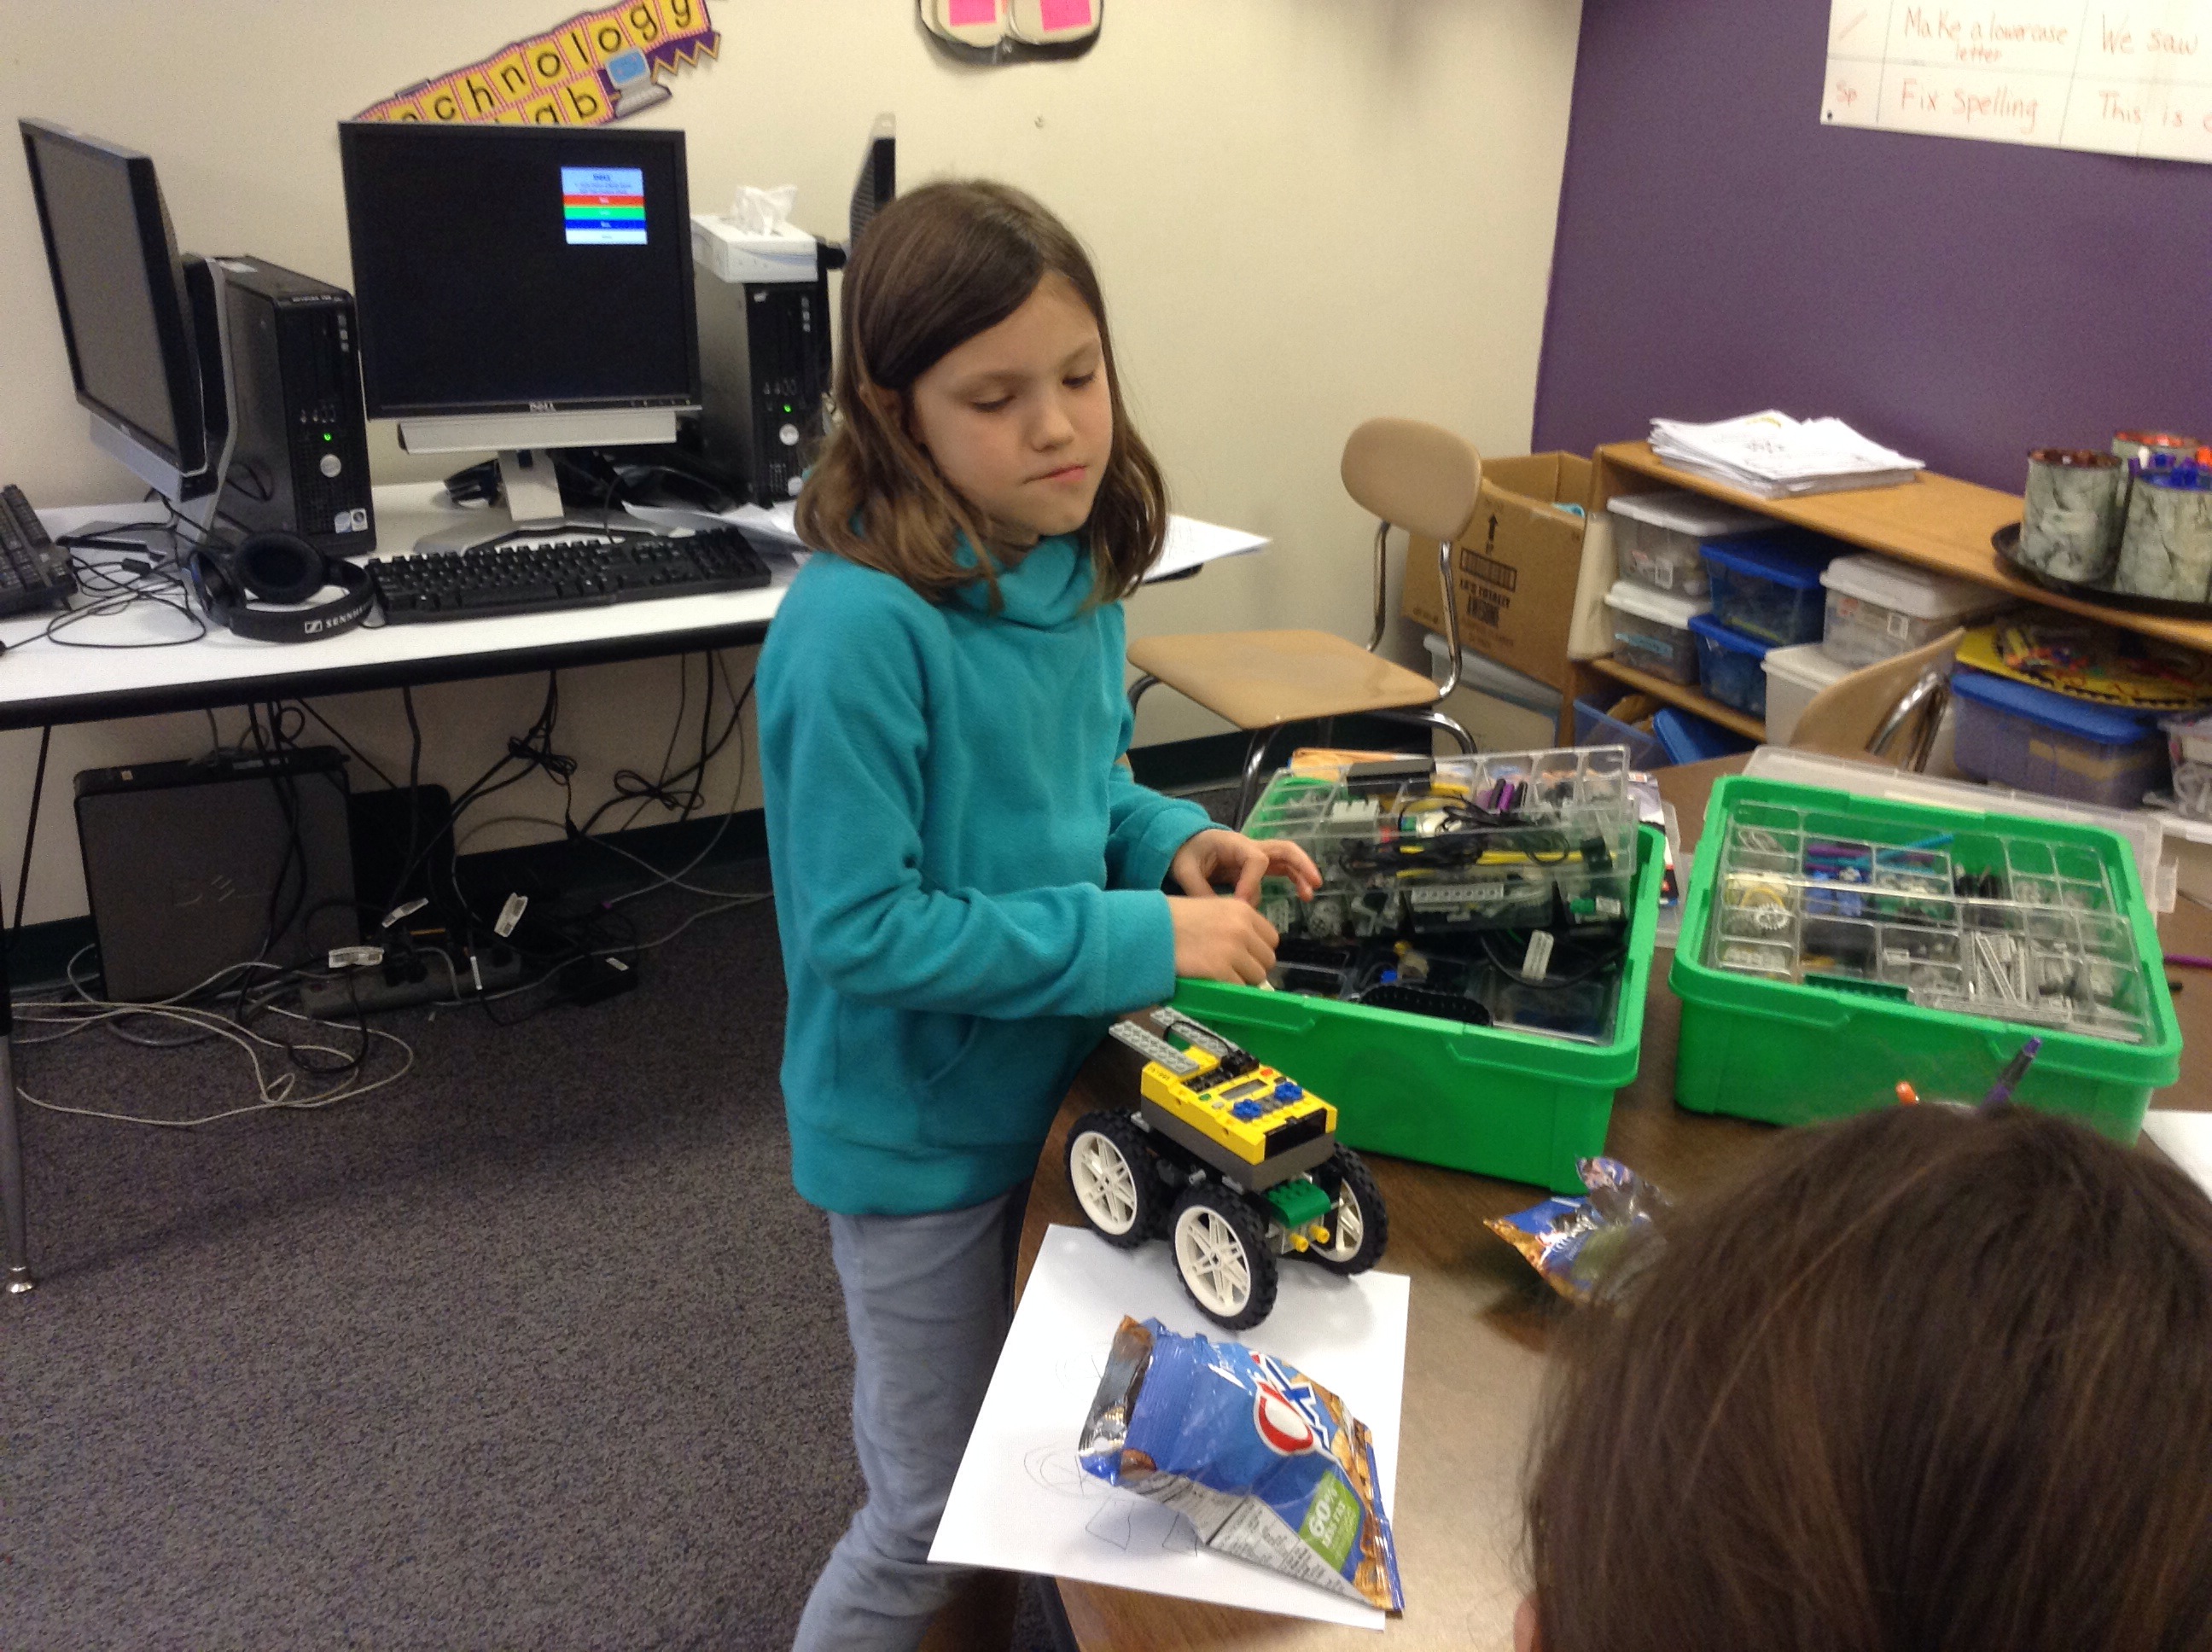
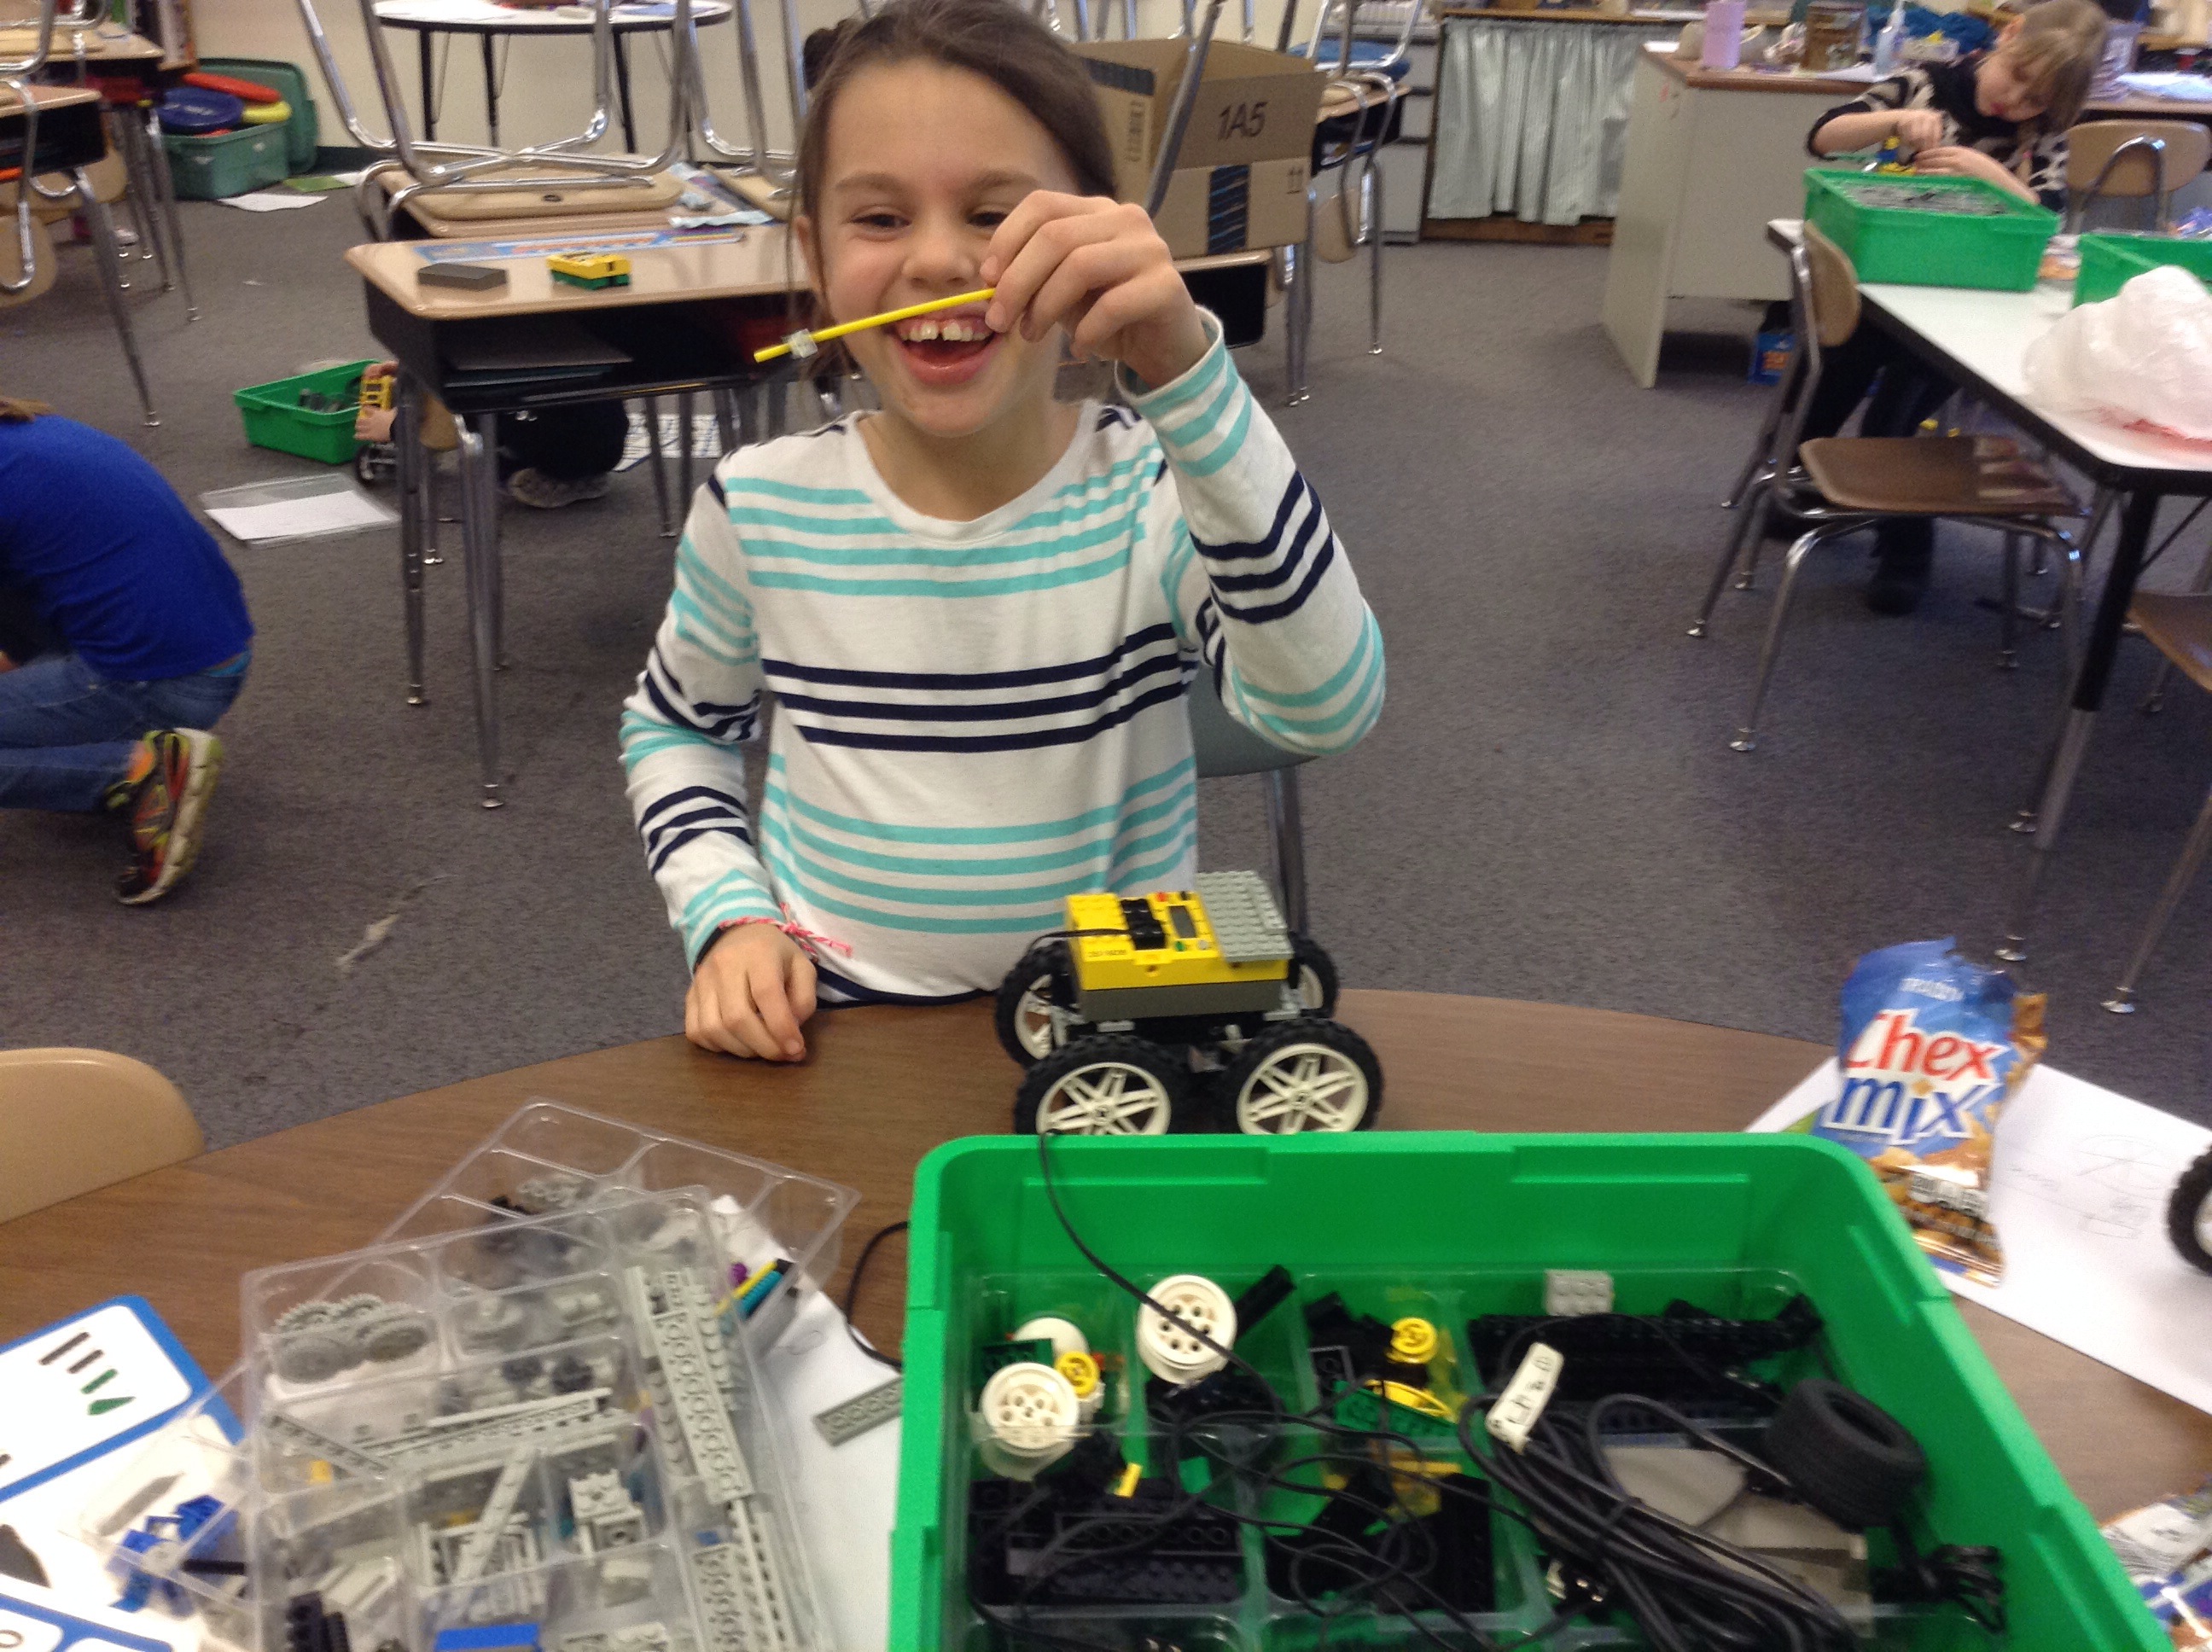
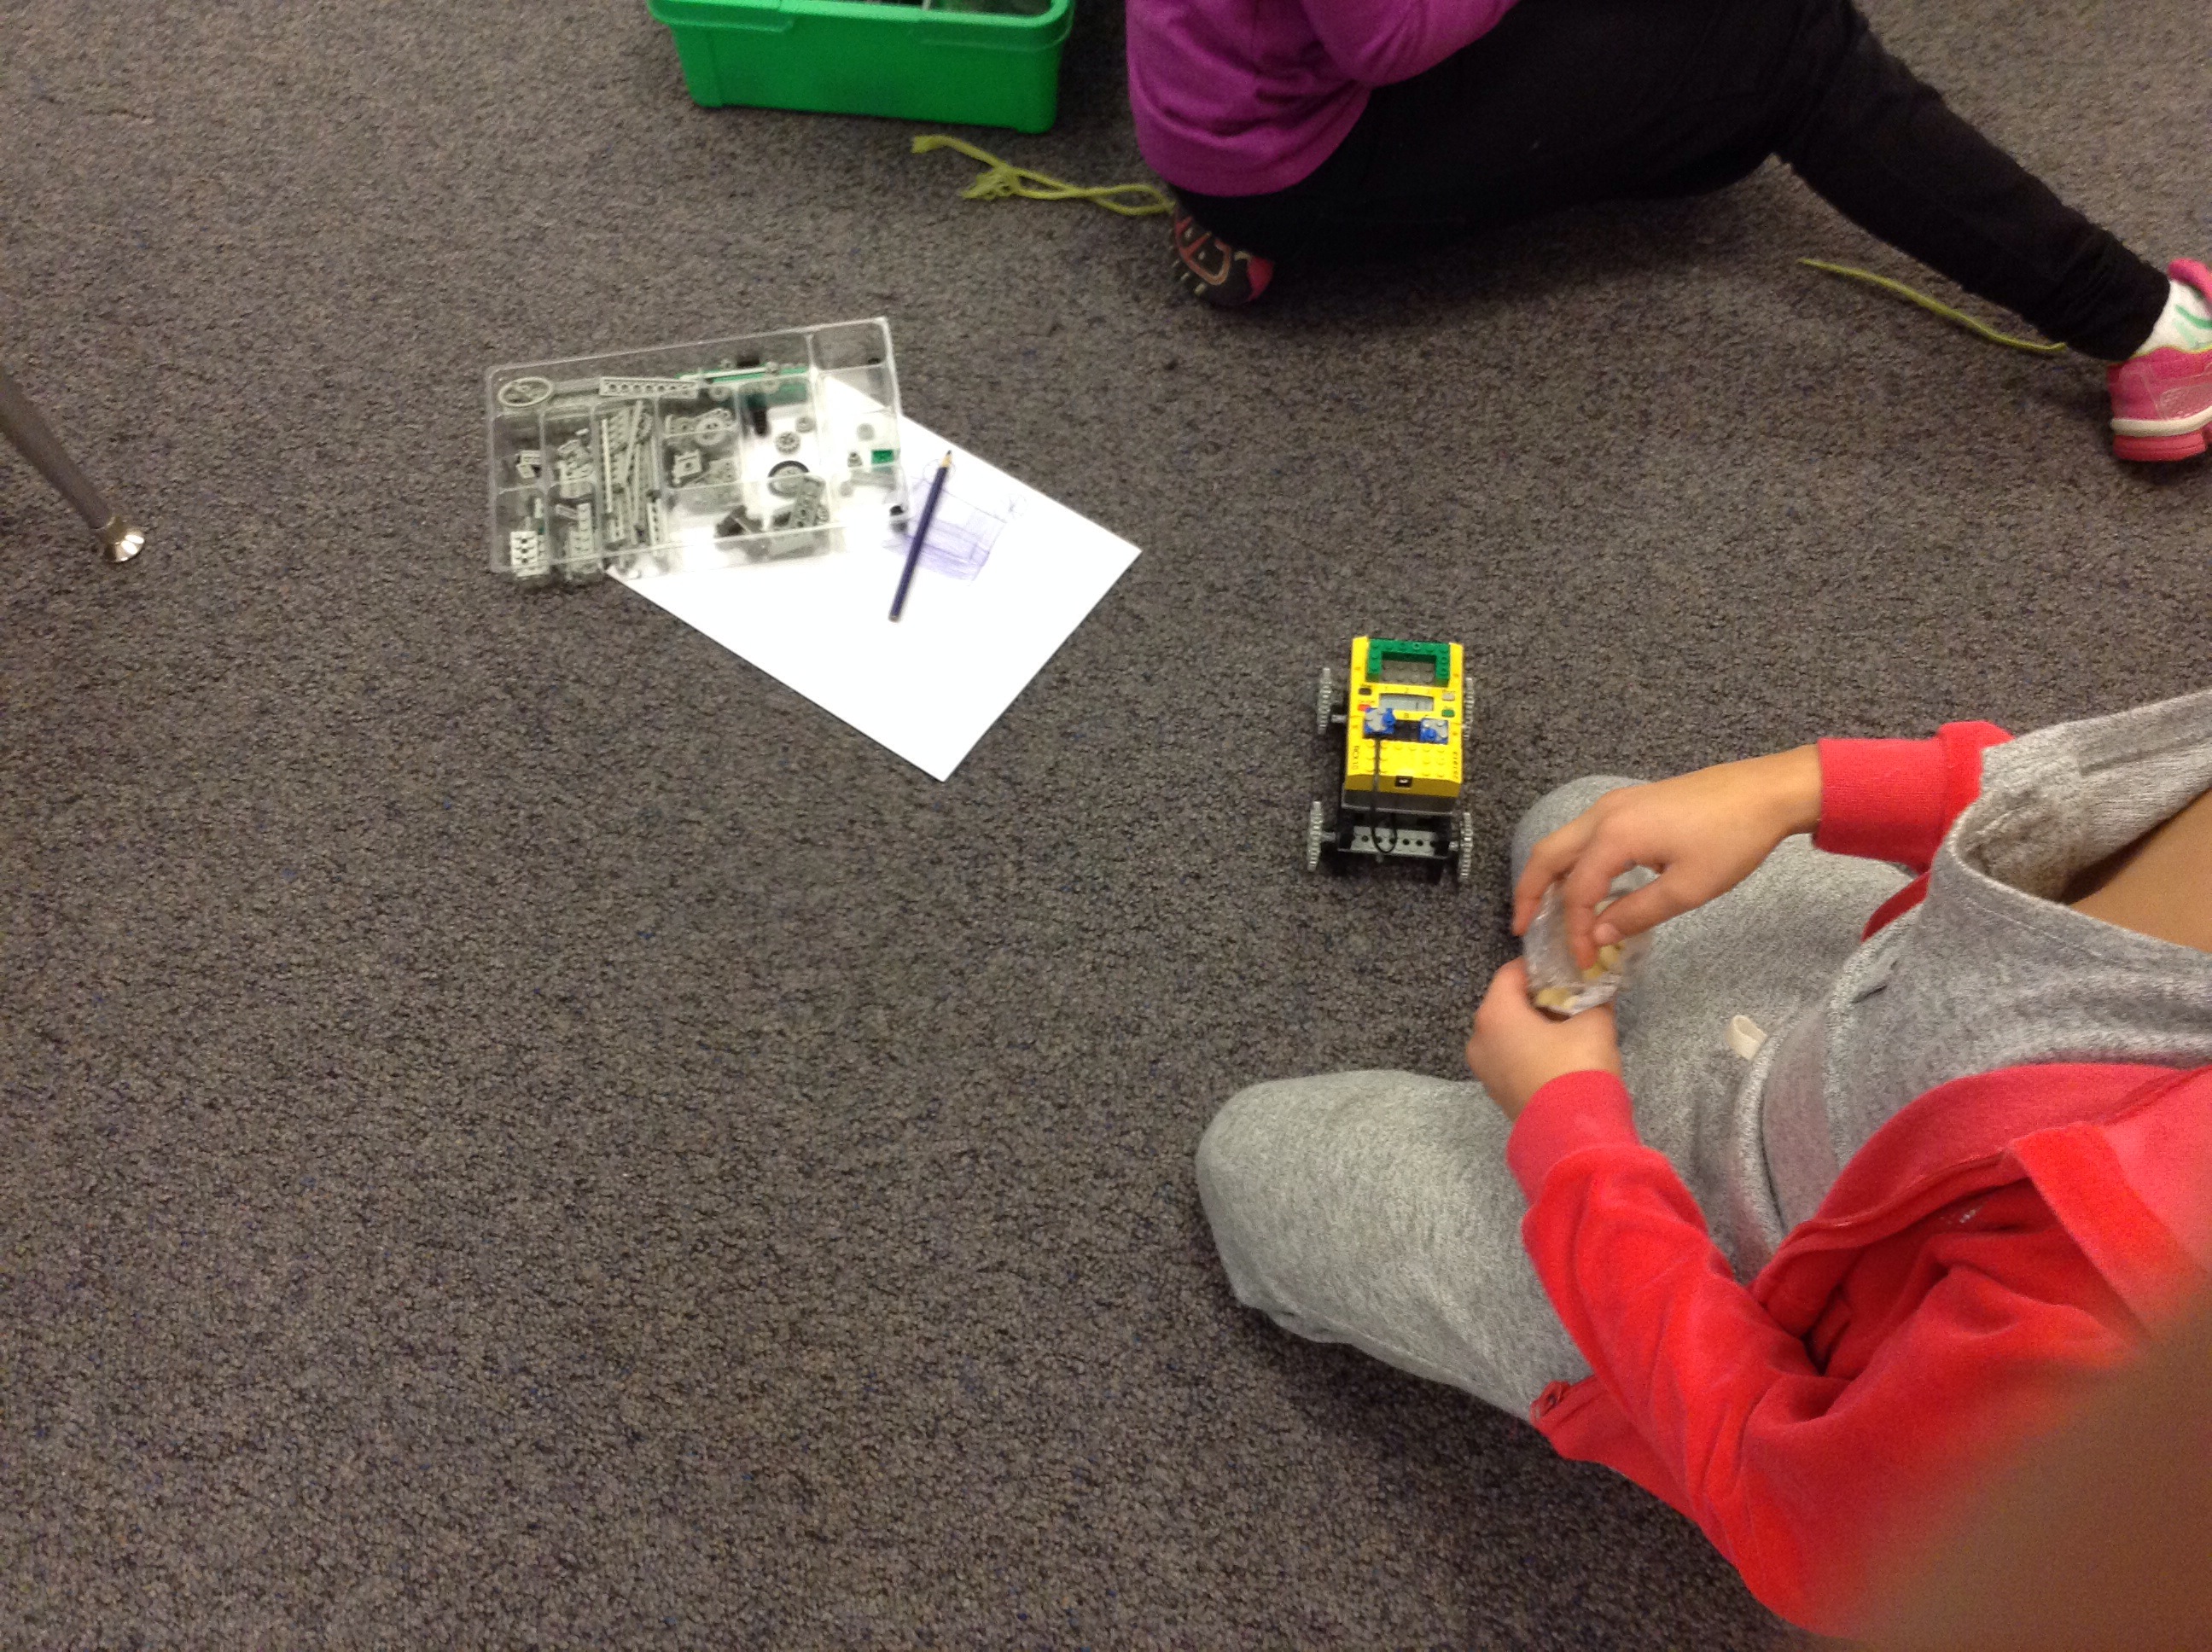
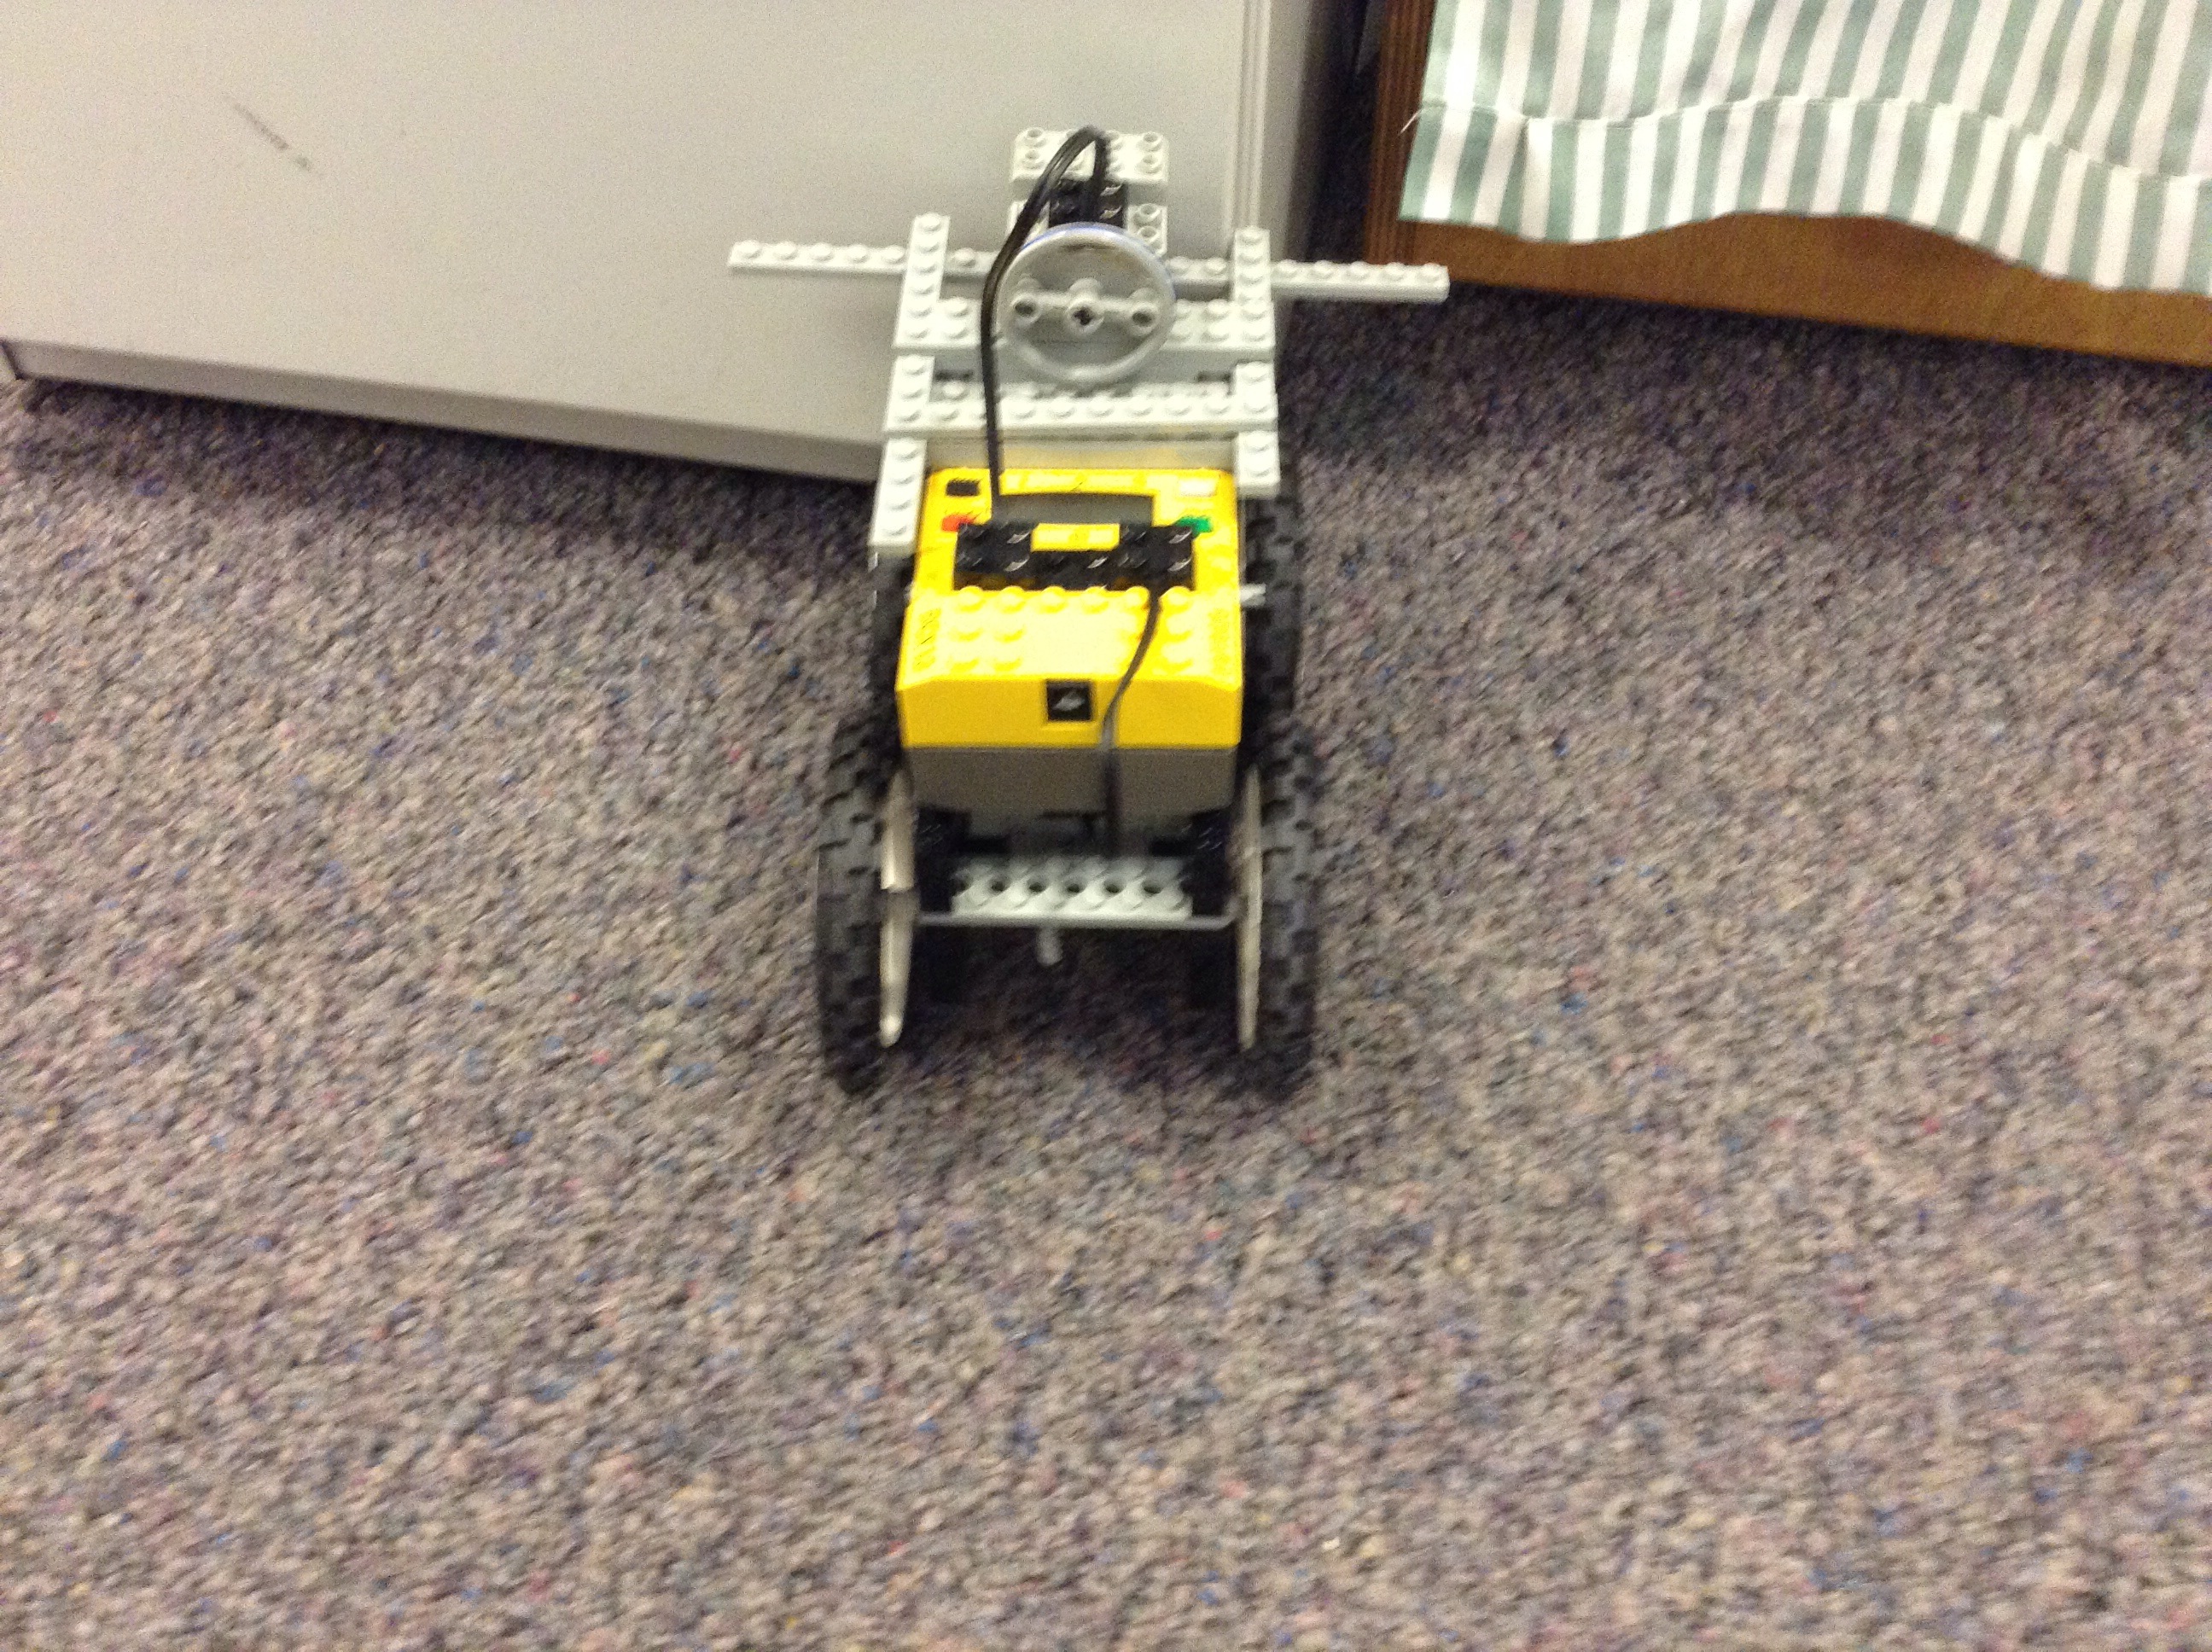
Lego Mindstorm kits STEM activity for girls car obstacle course and race
Finishing touches were made on the cars this past week. The girls figured out how to get steering wheels to turn, head lights to work, and one even did a double motor with all wheel drive! They were designing for two tasks- durability during the obstacle course and speed. They had a blast driving their cars through the tough terrain and race track. These kits were very cool!


Mar 05
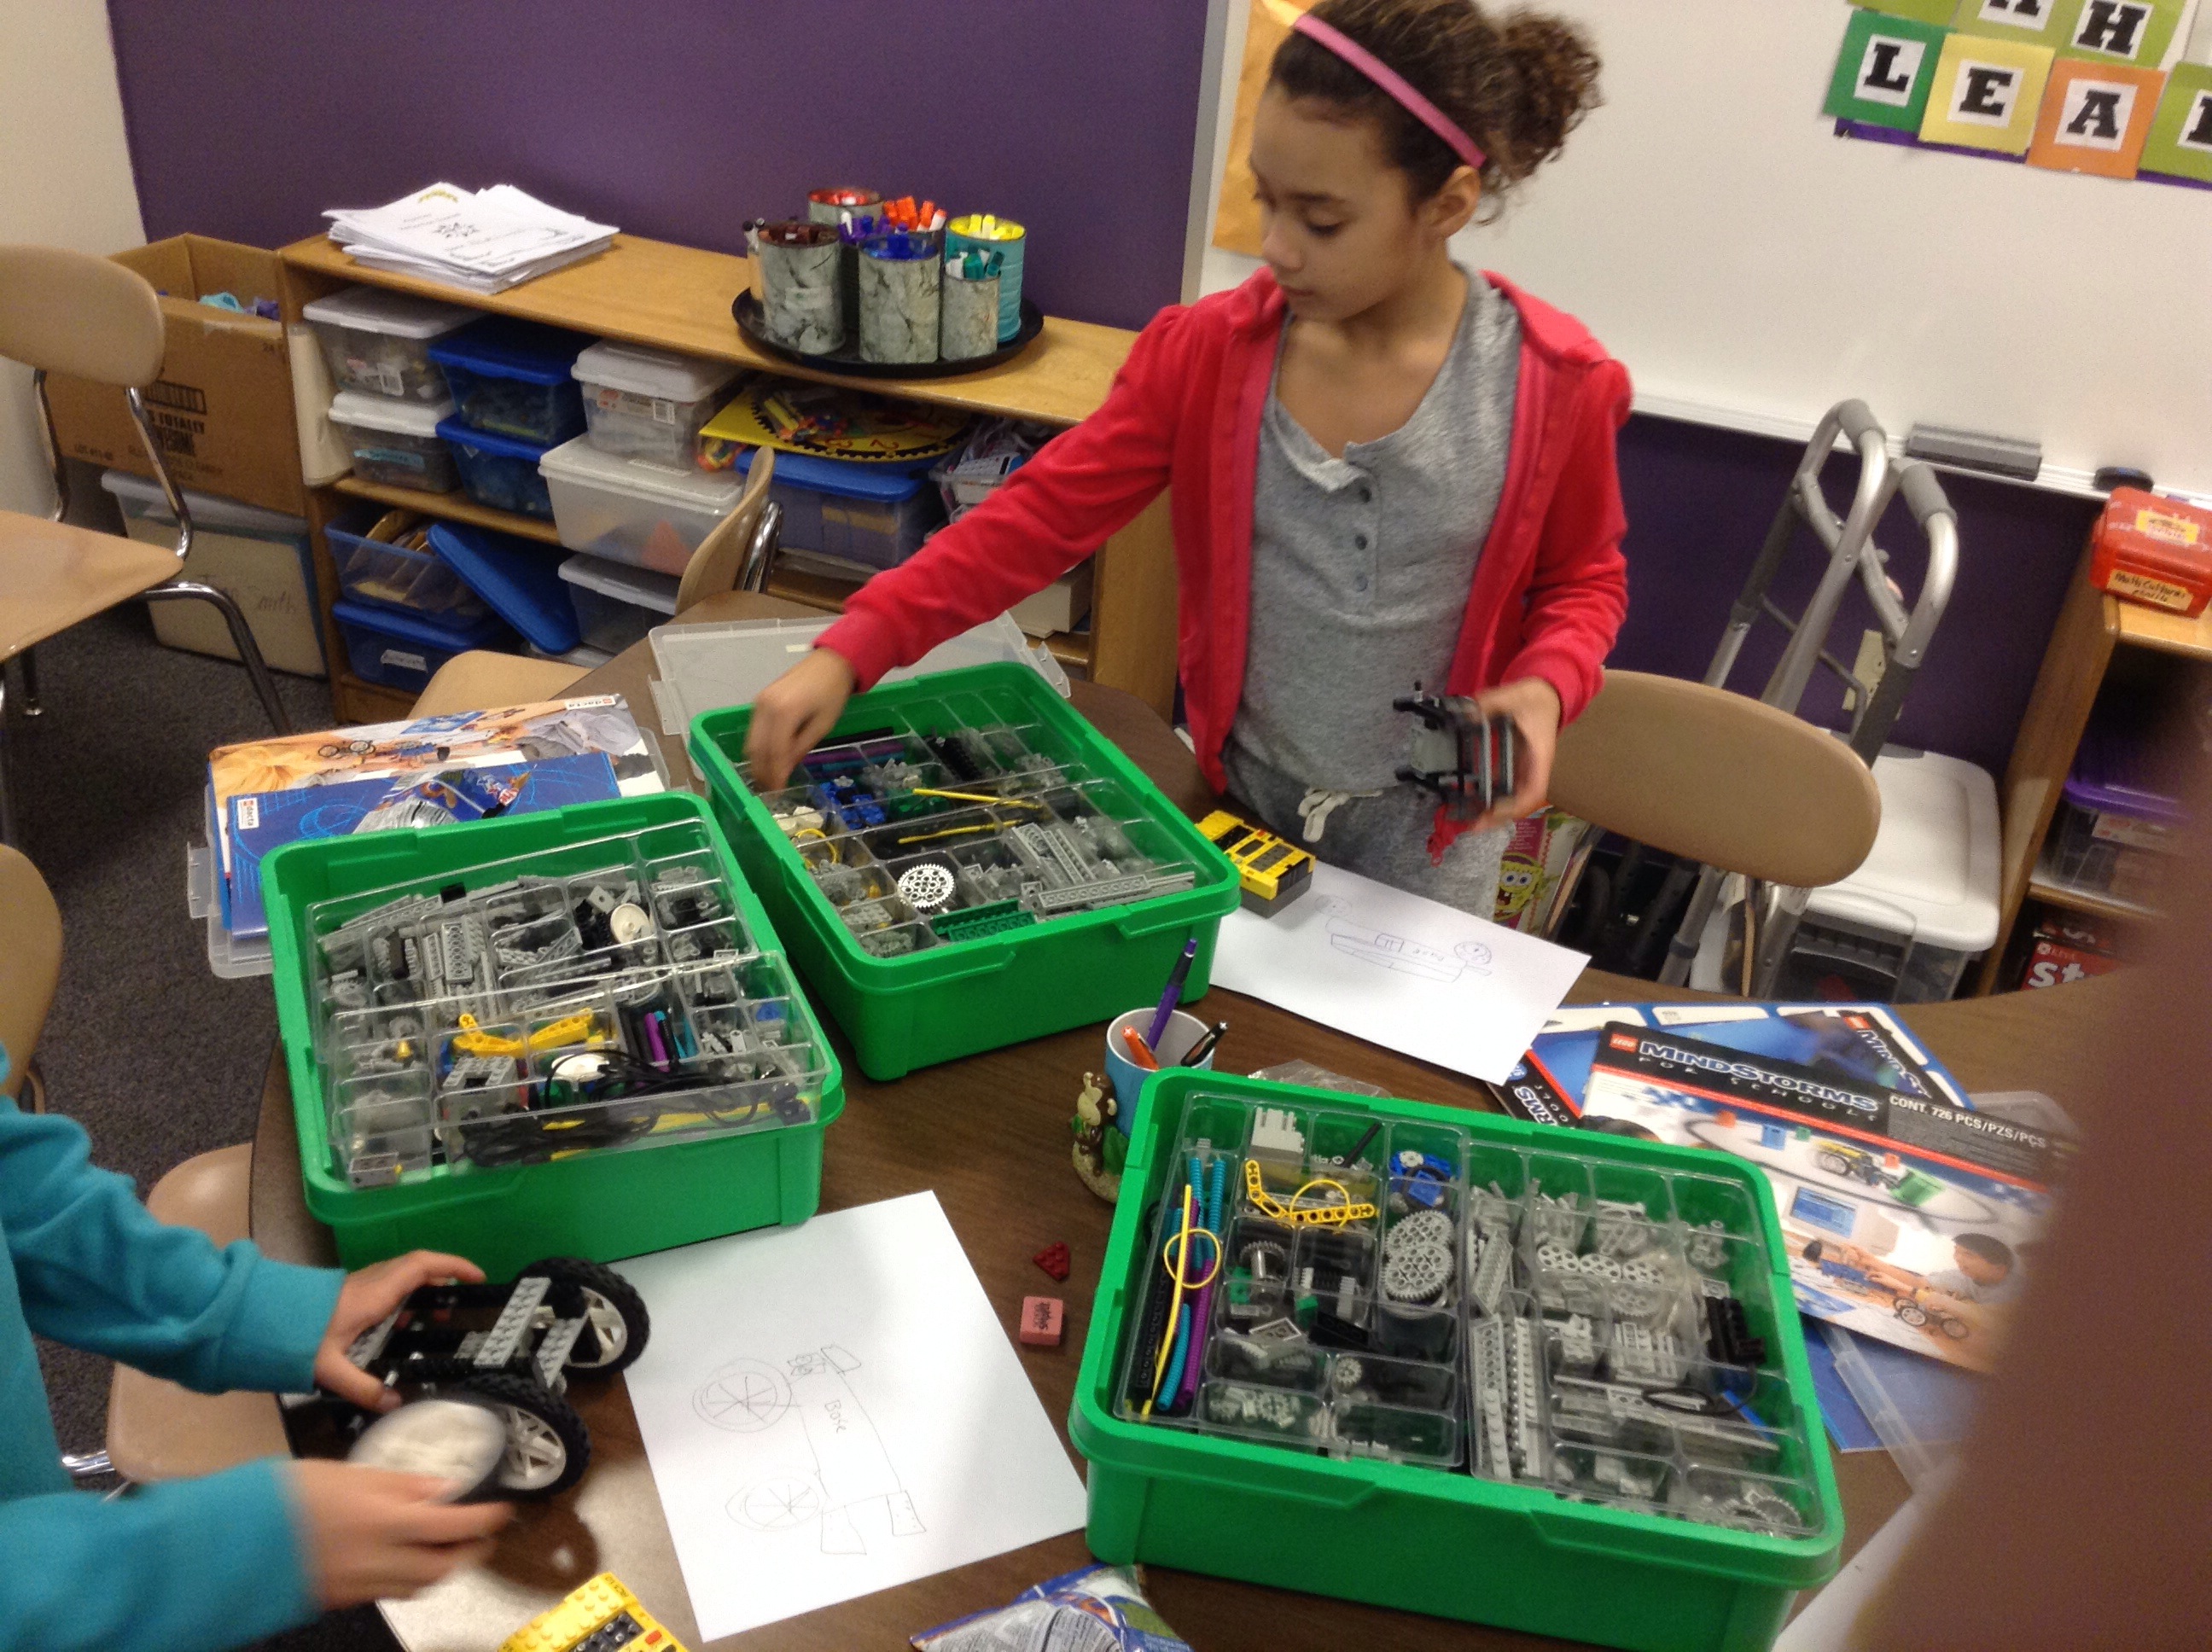
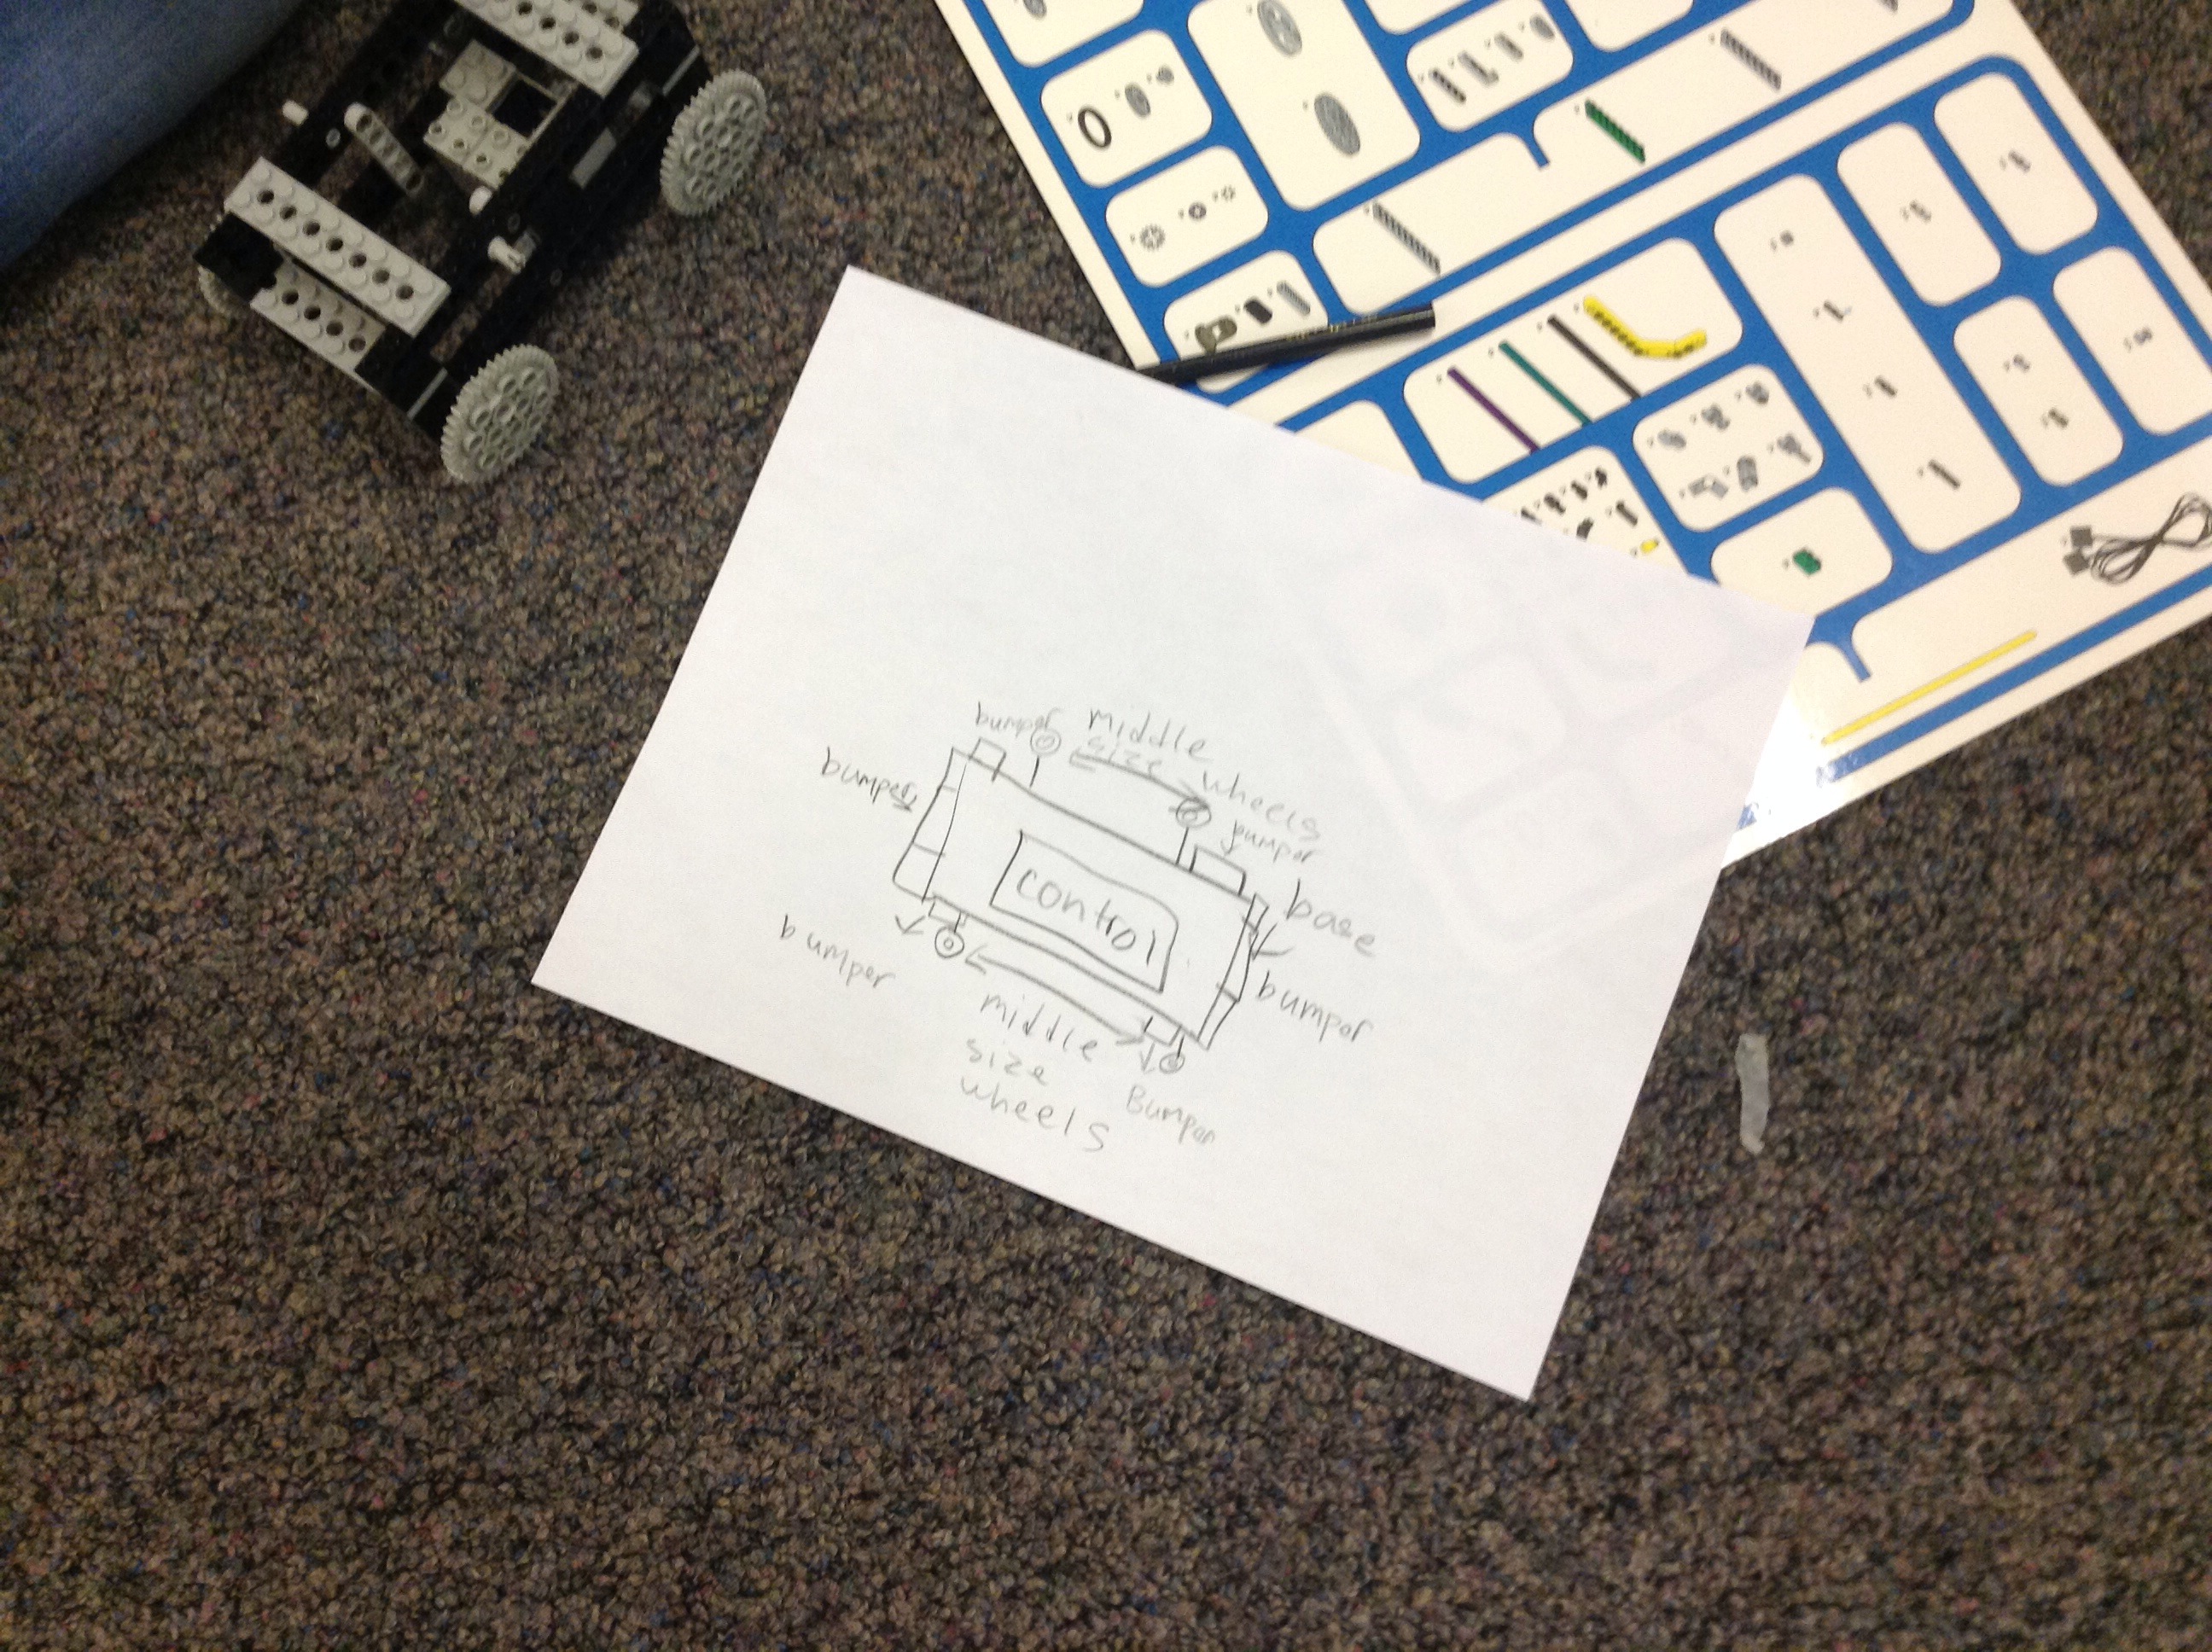
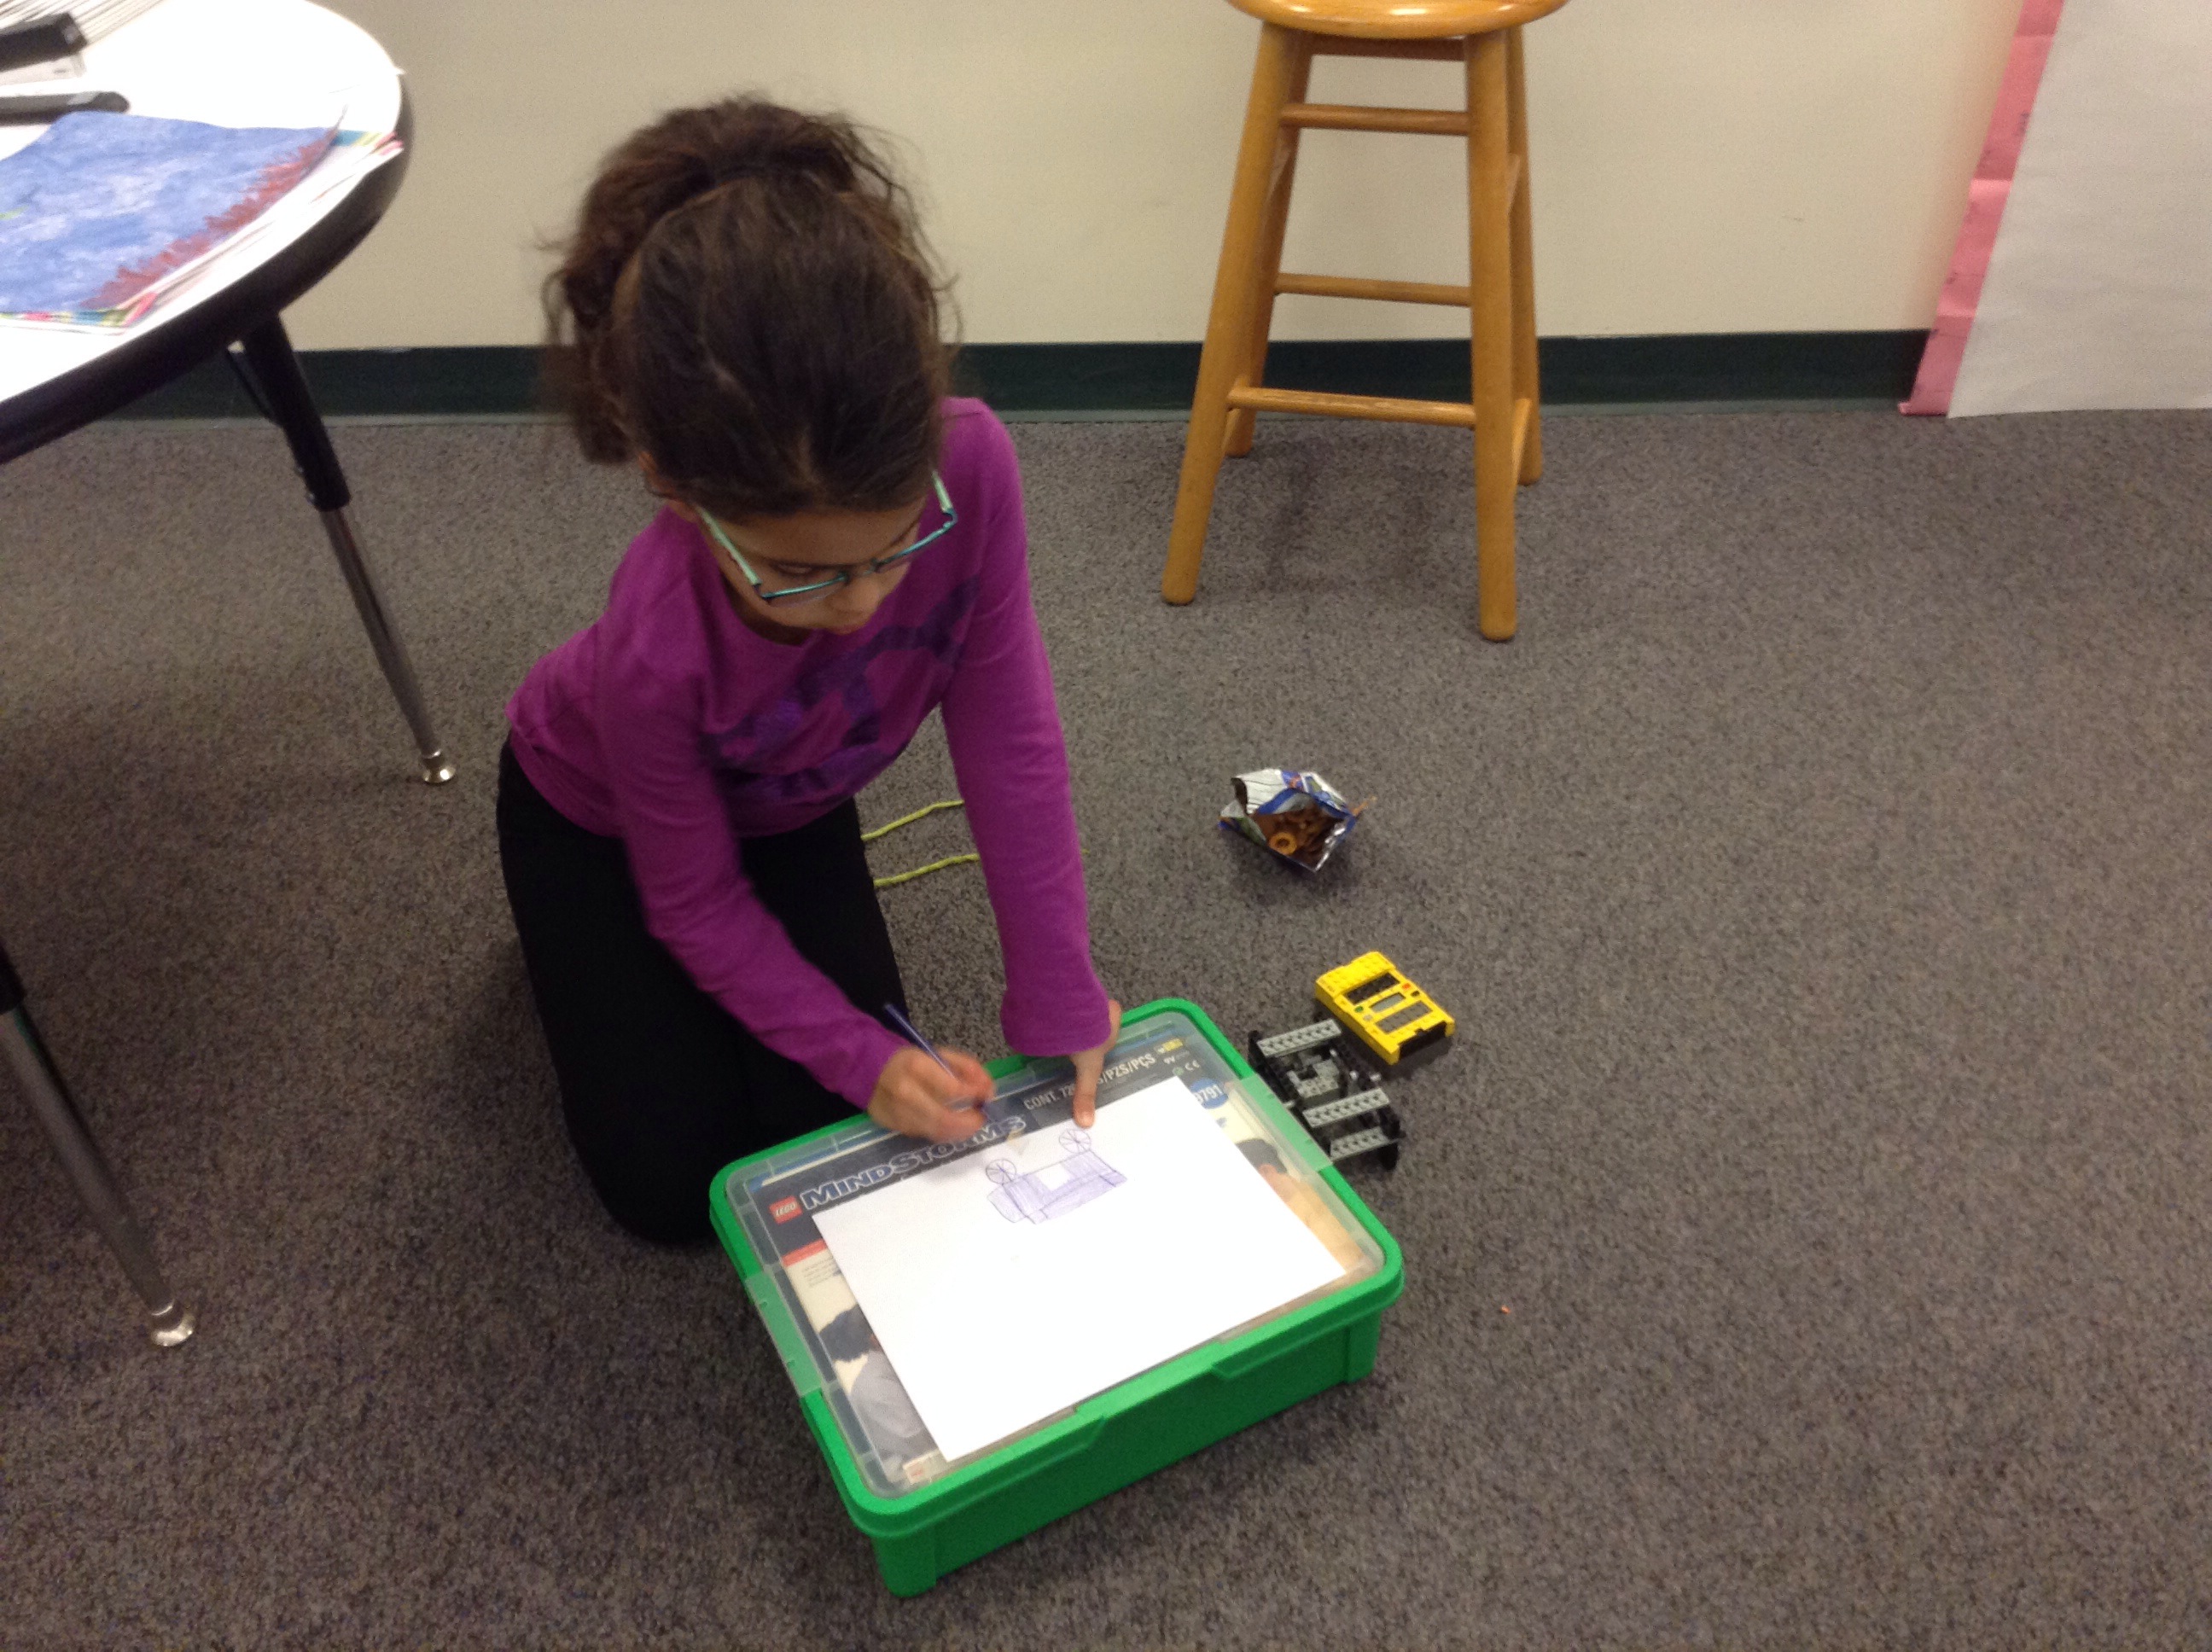
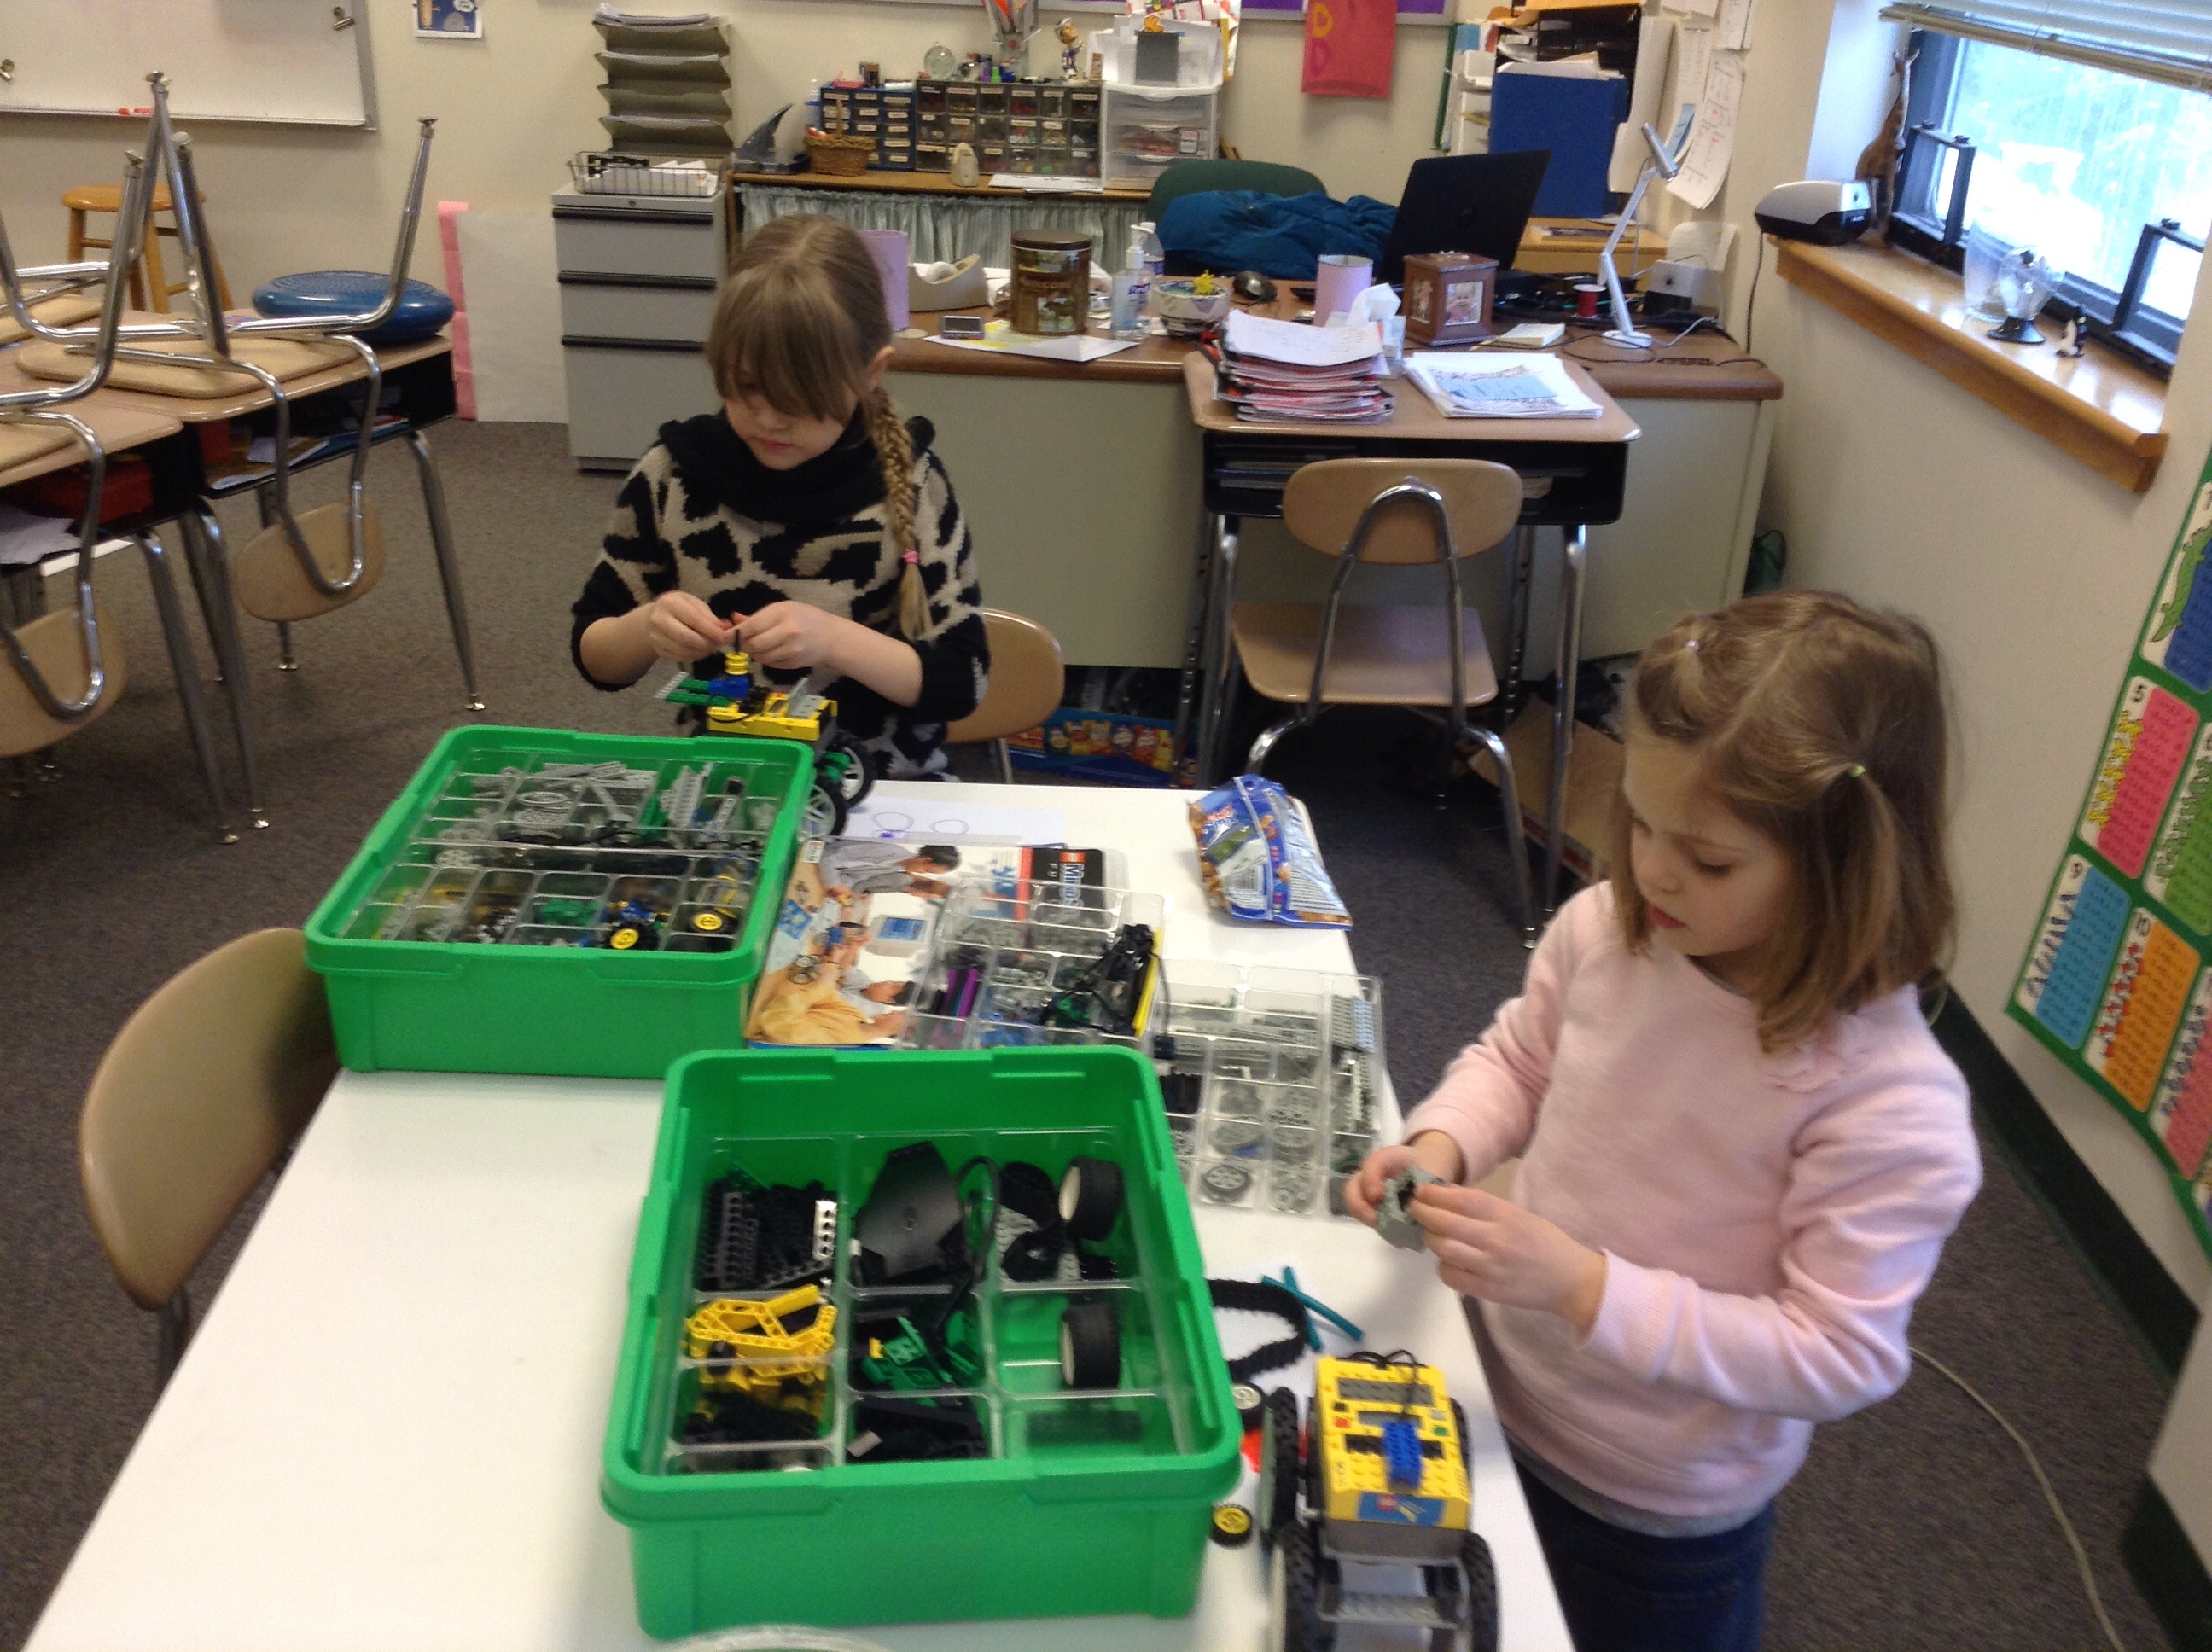
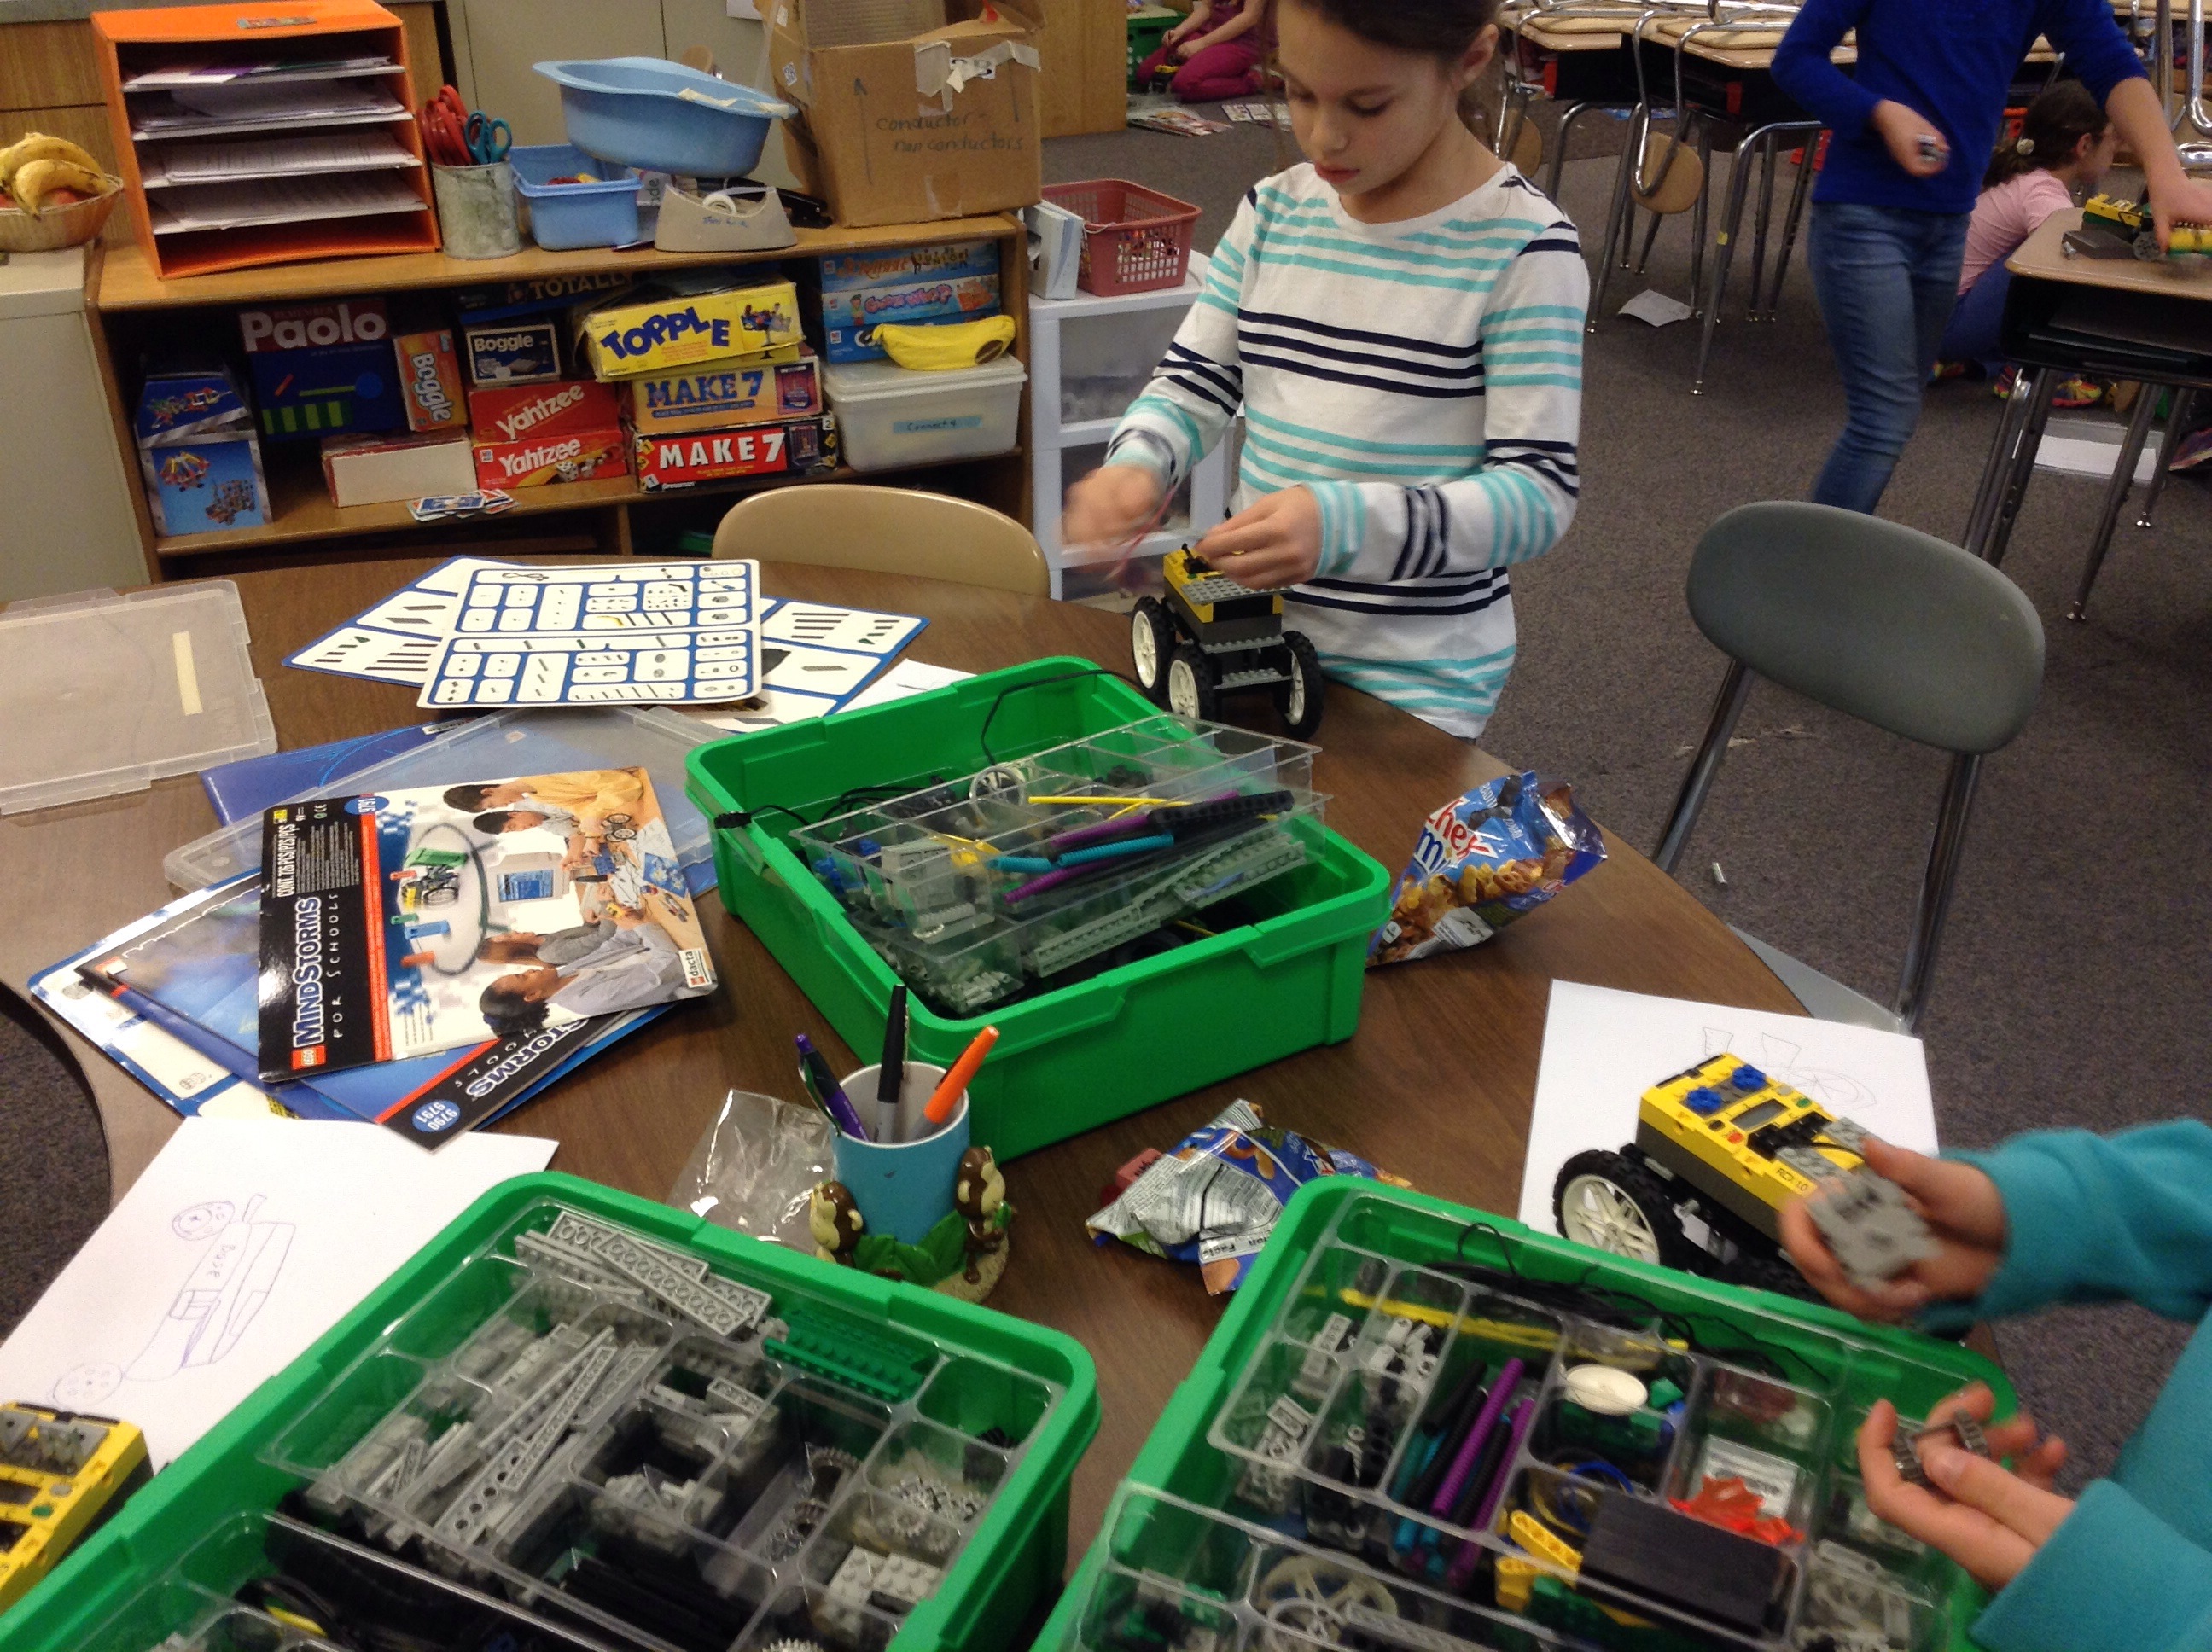
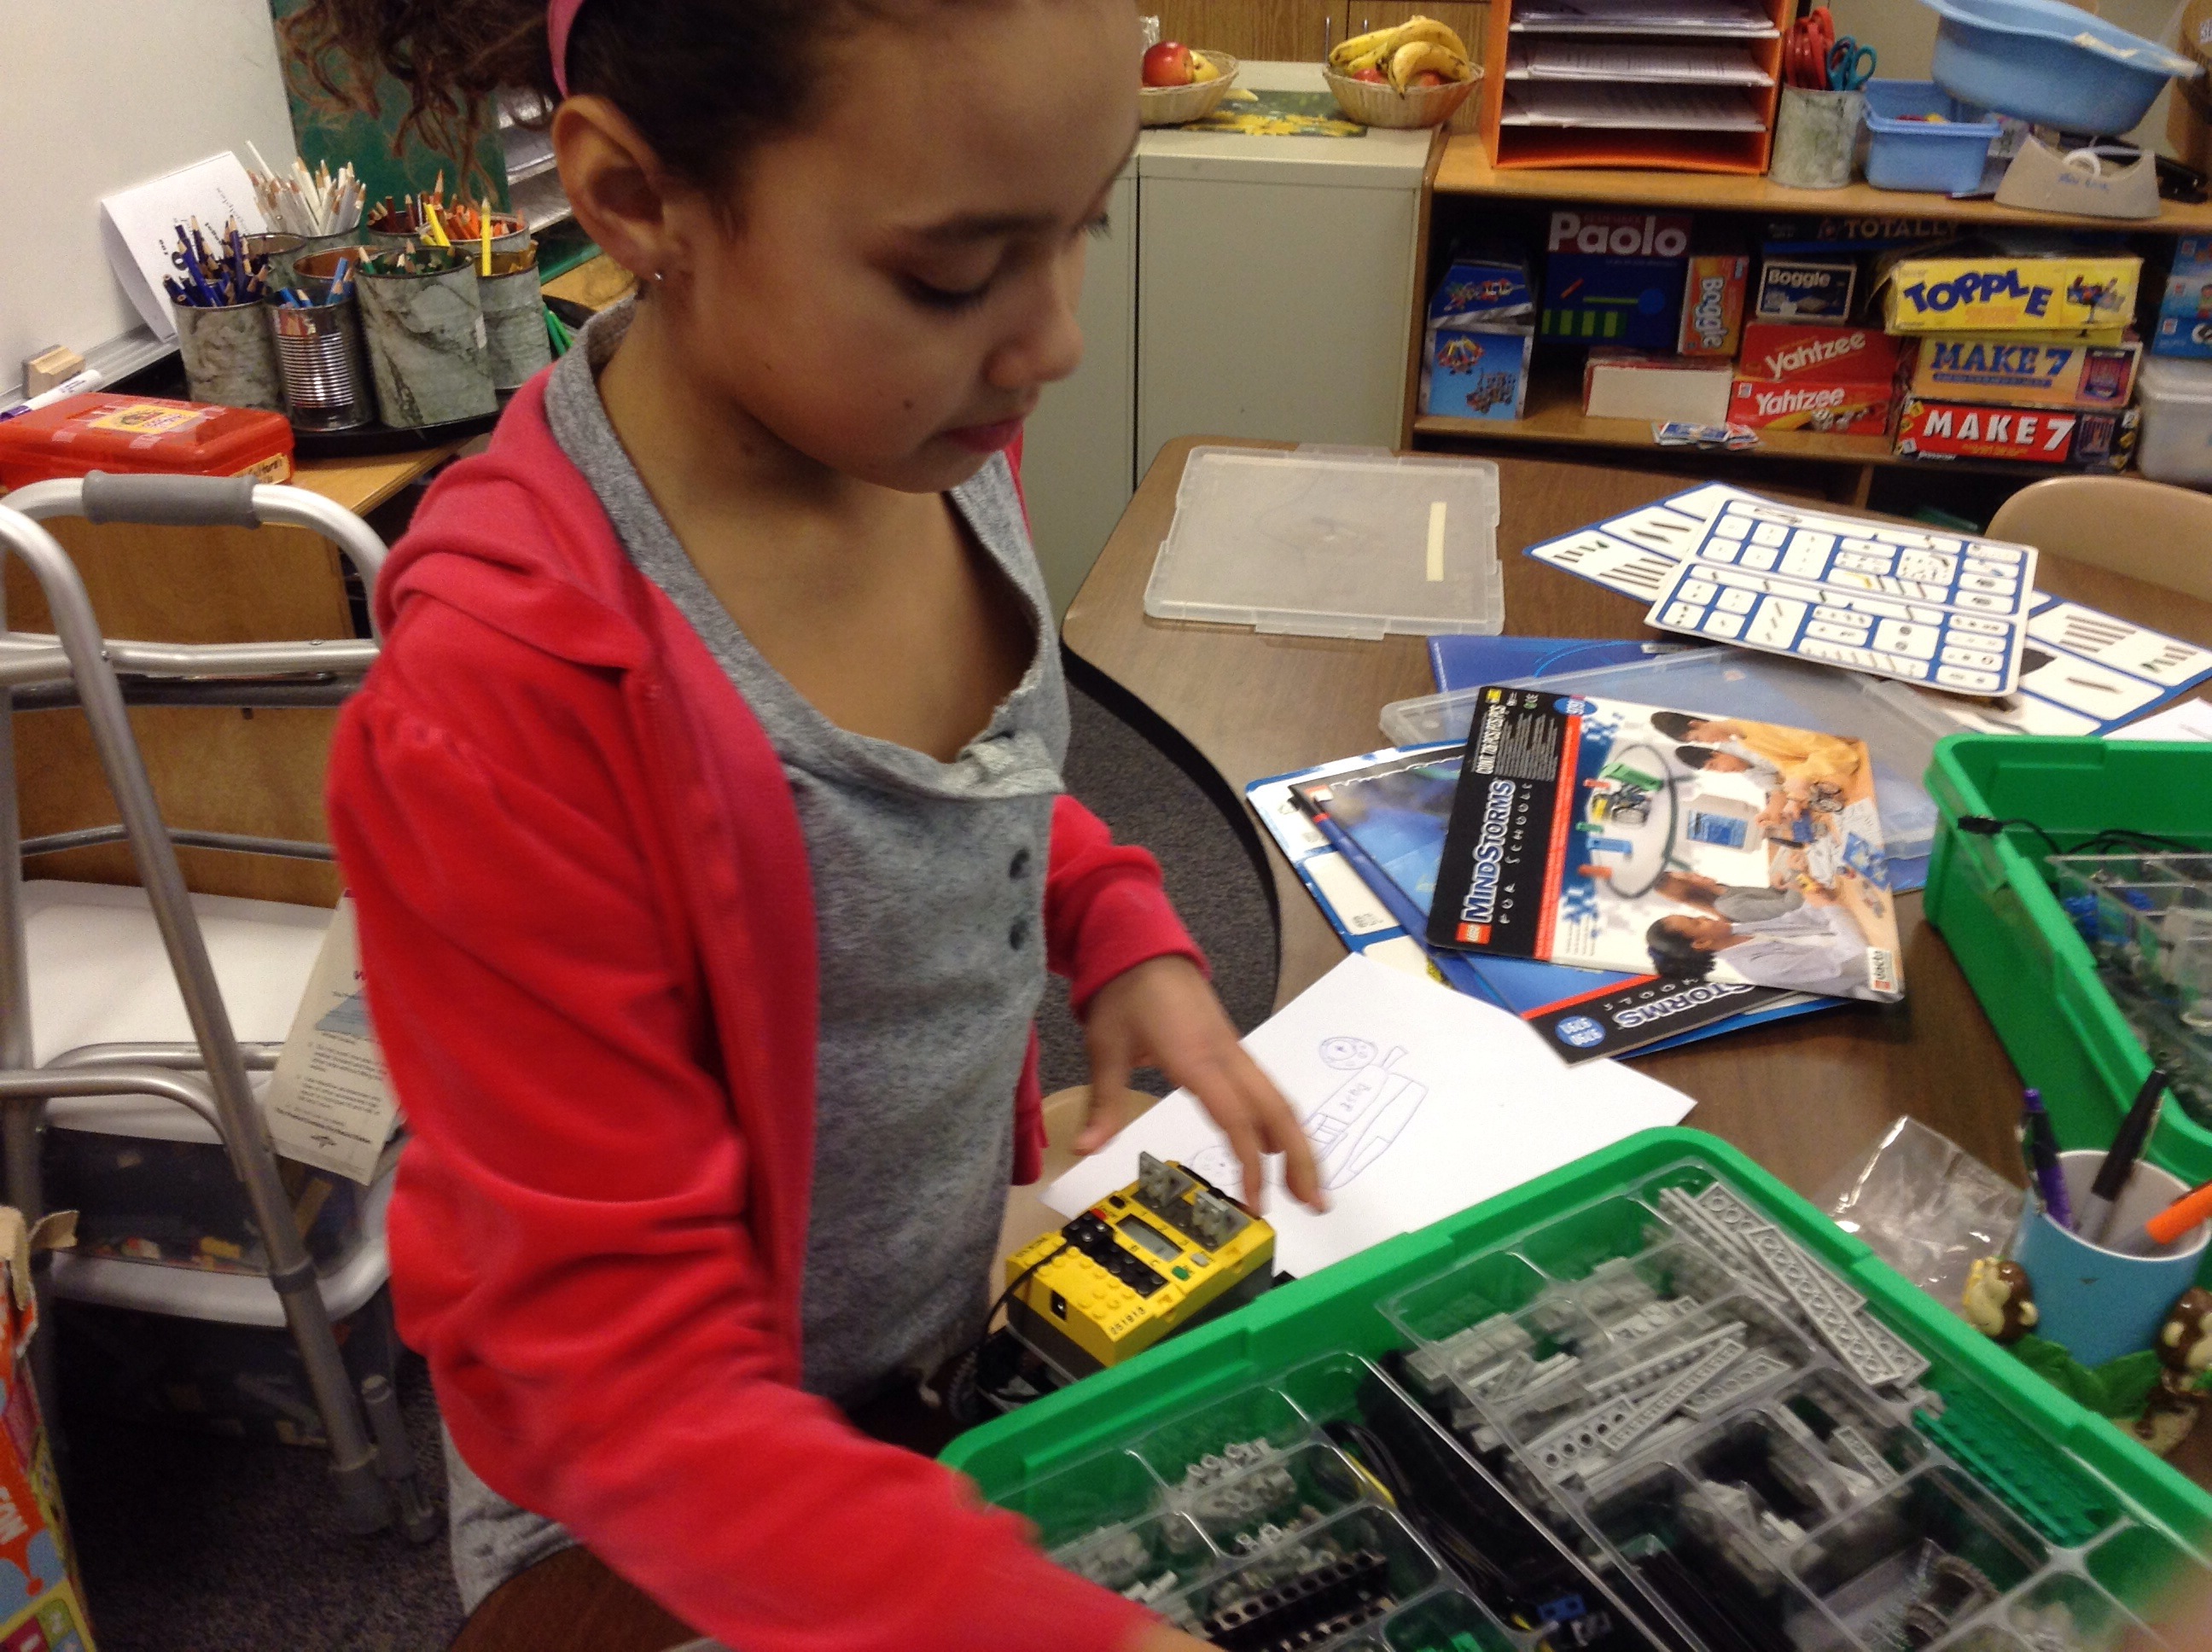
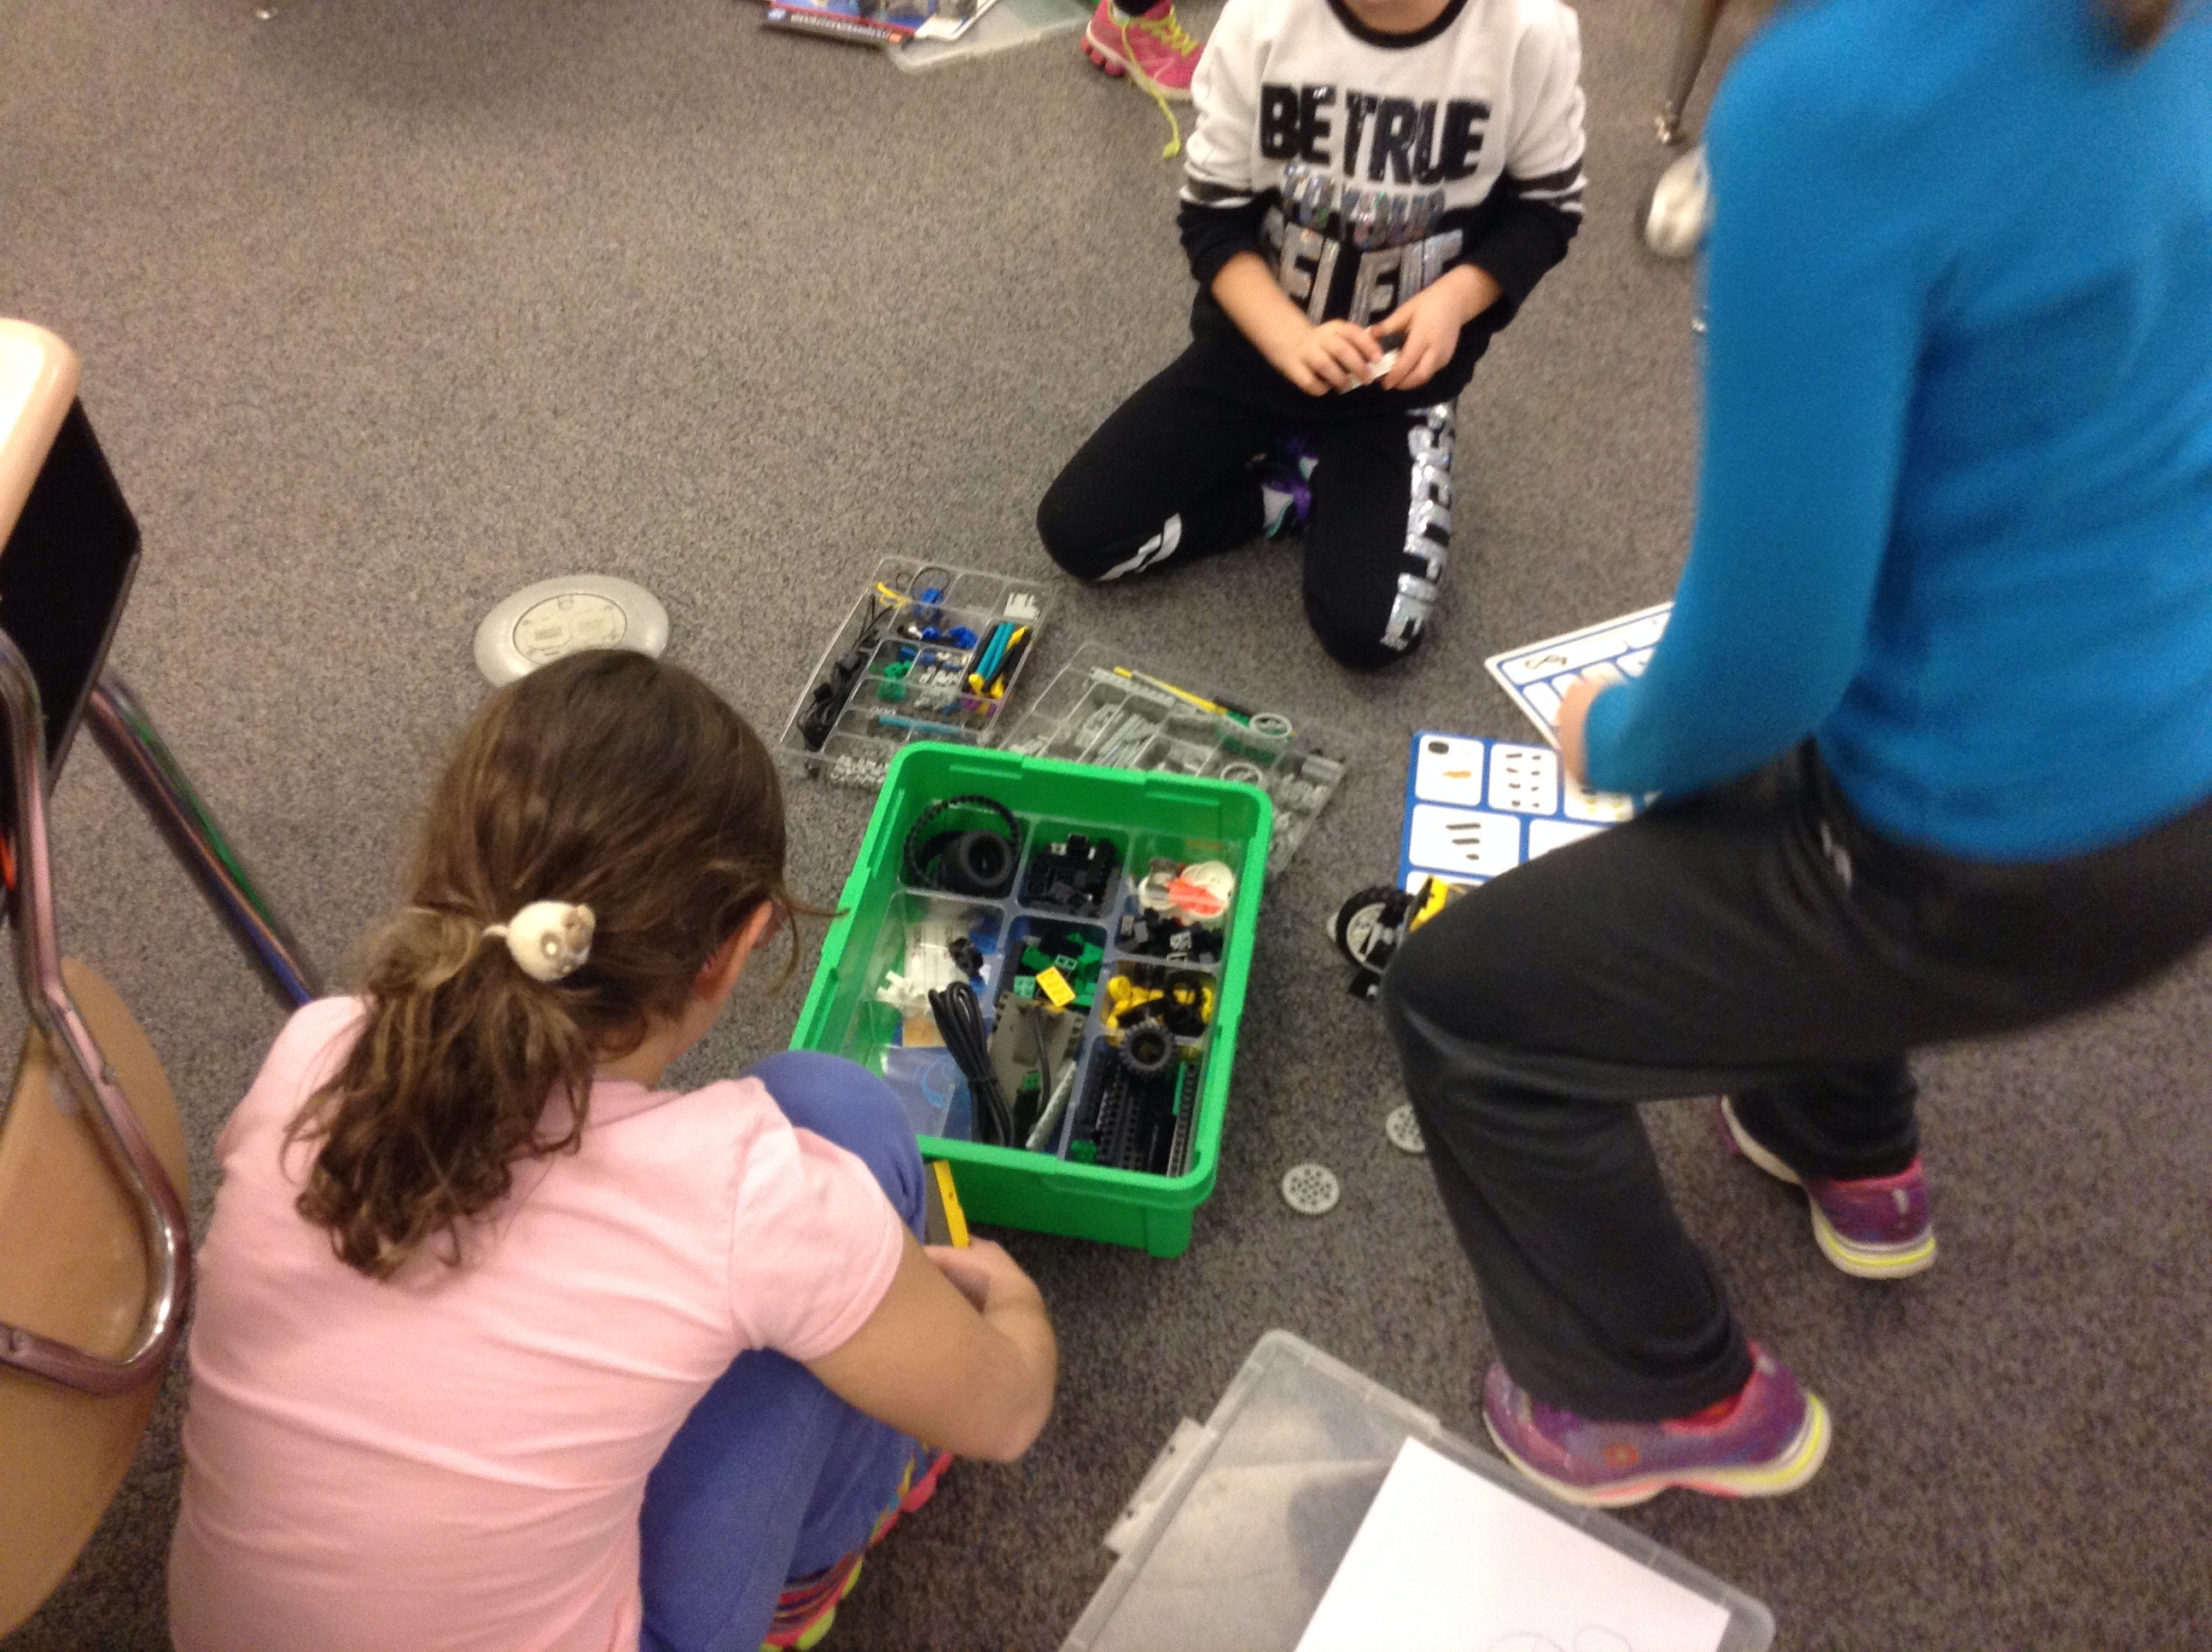
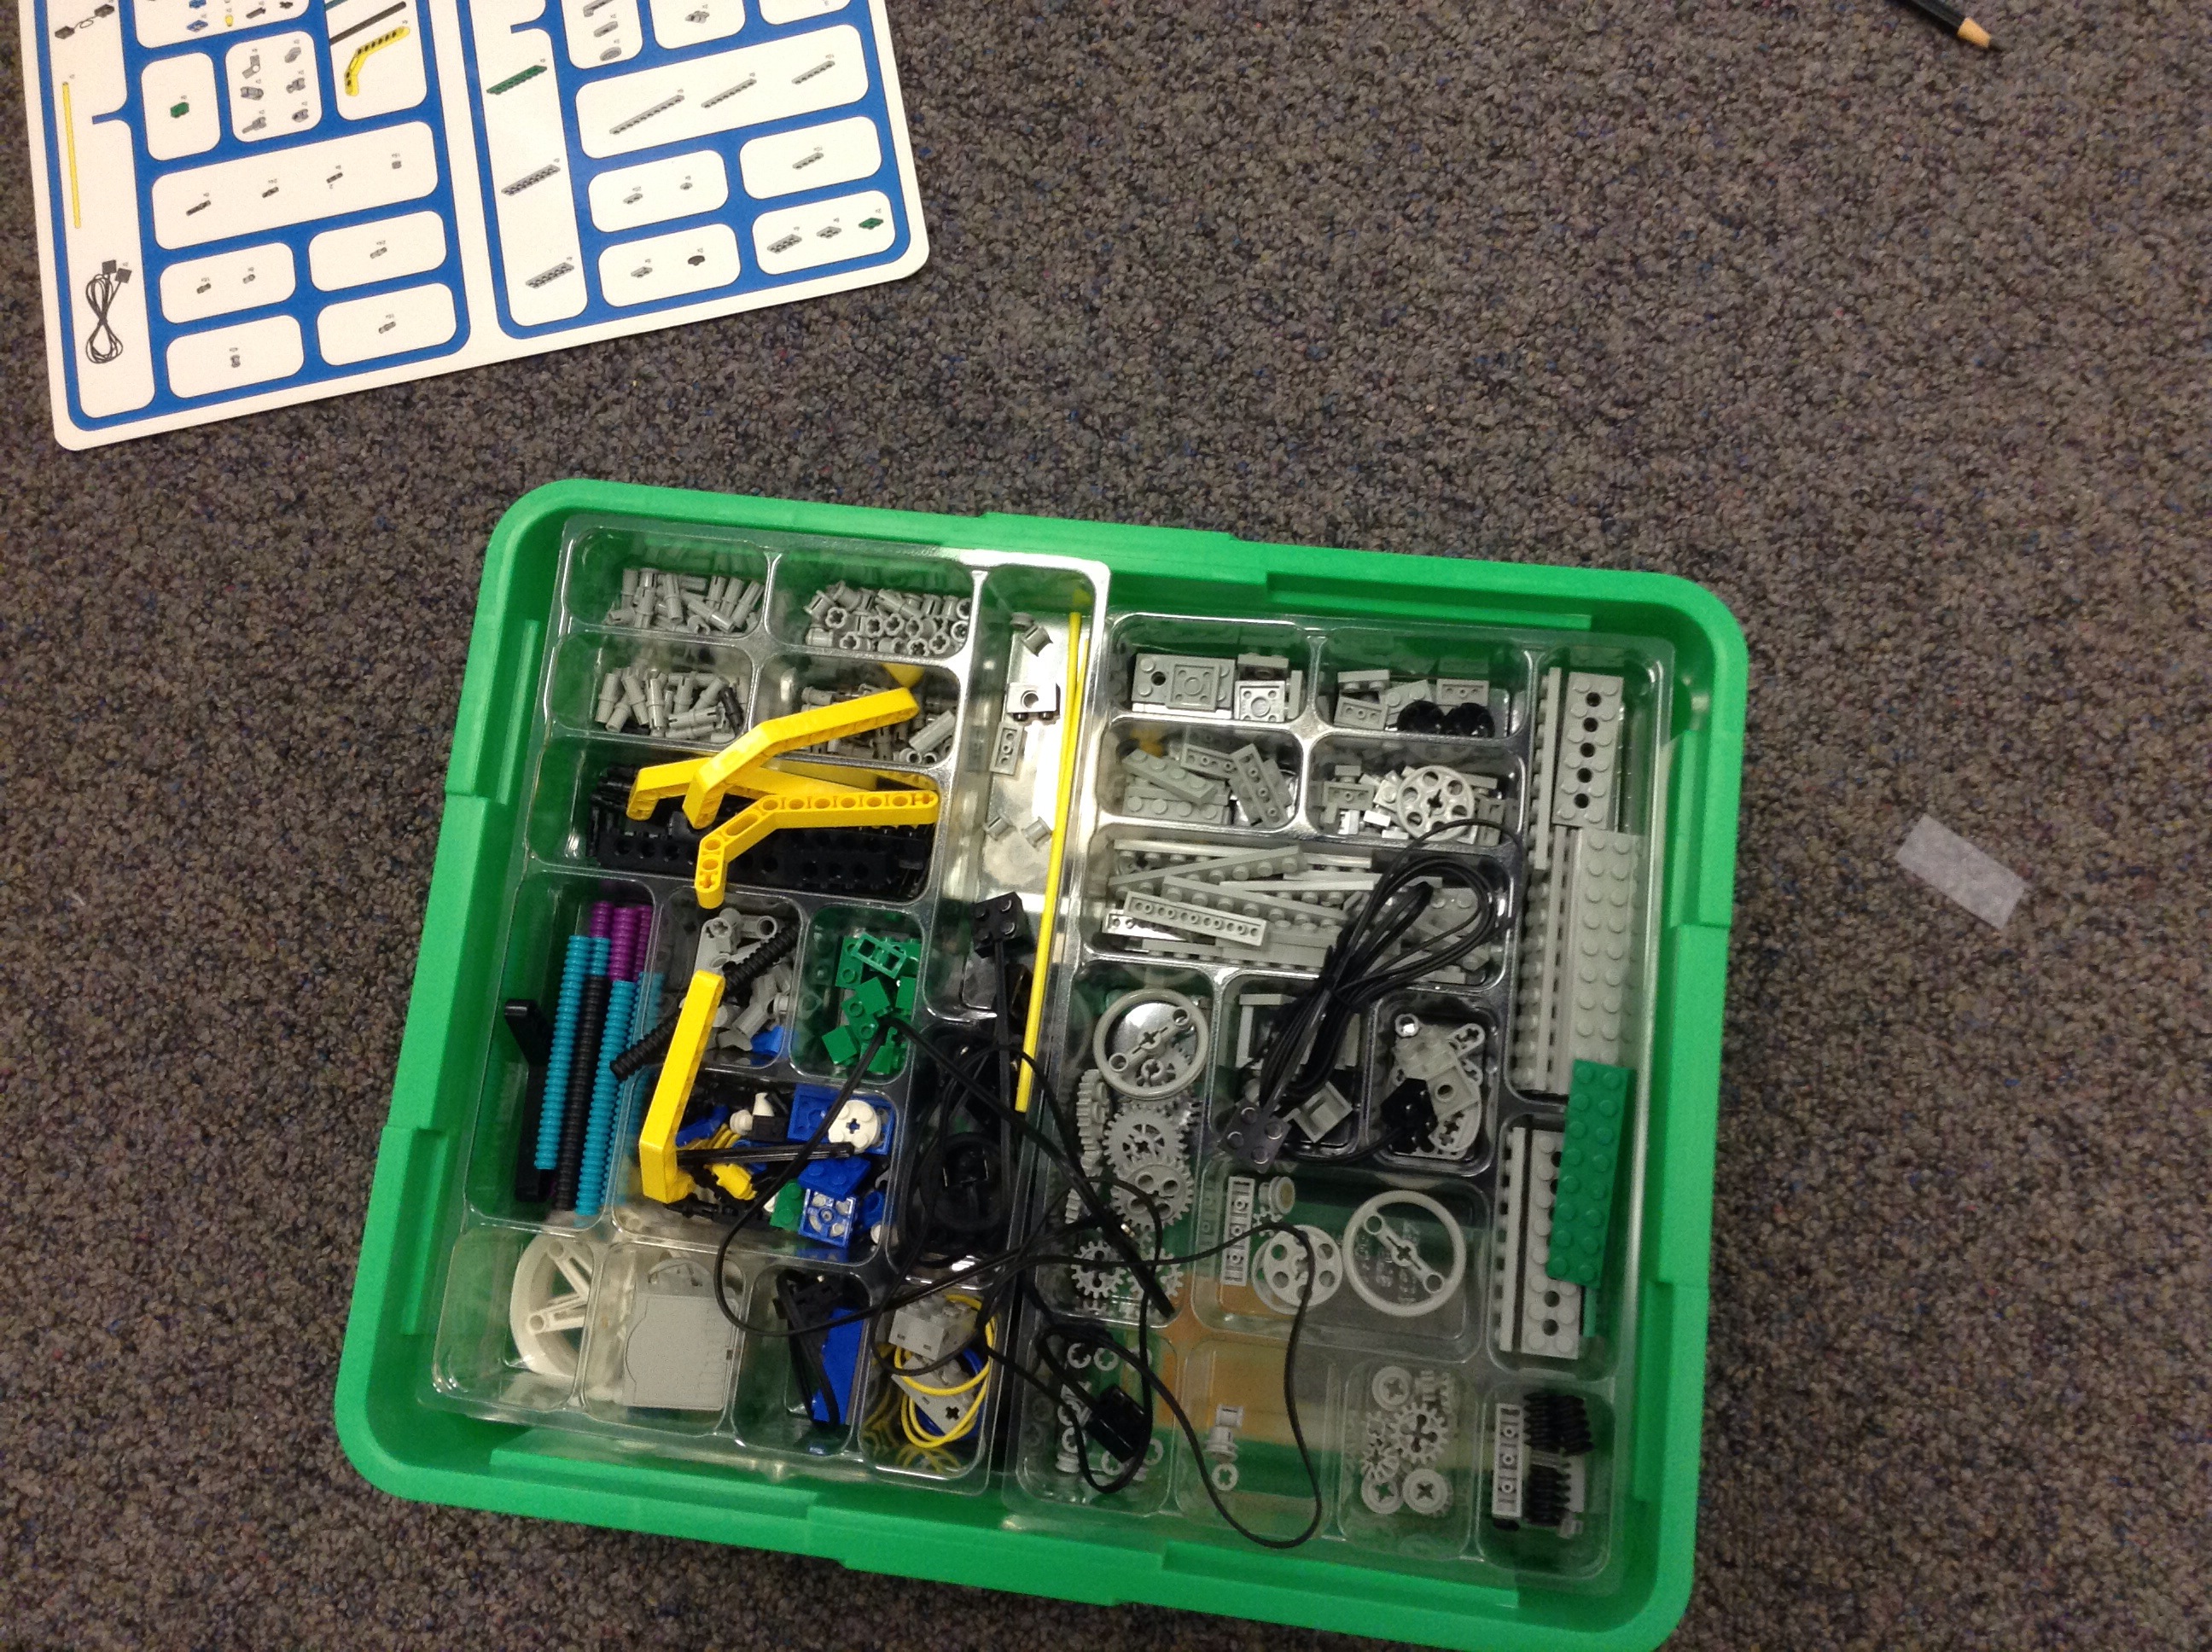
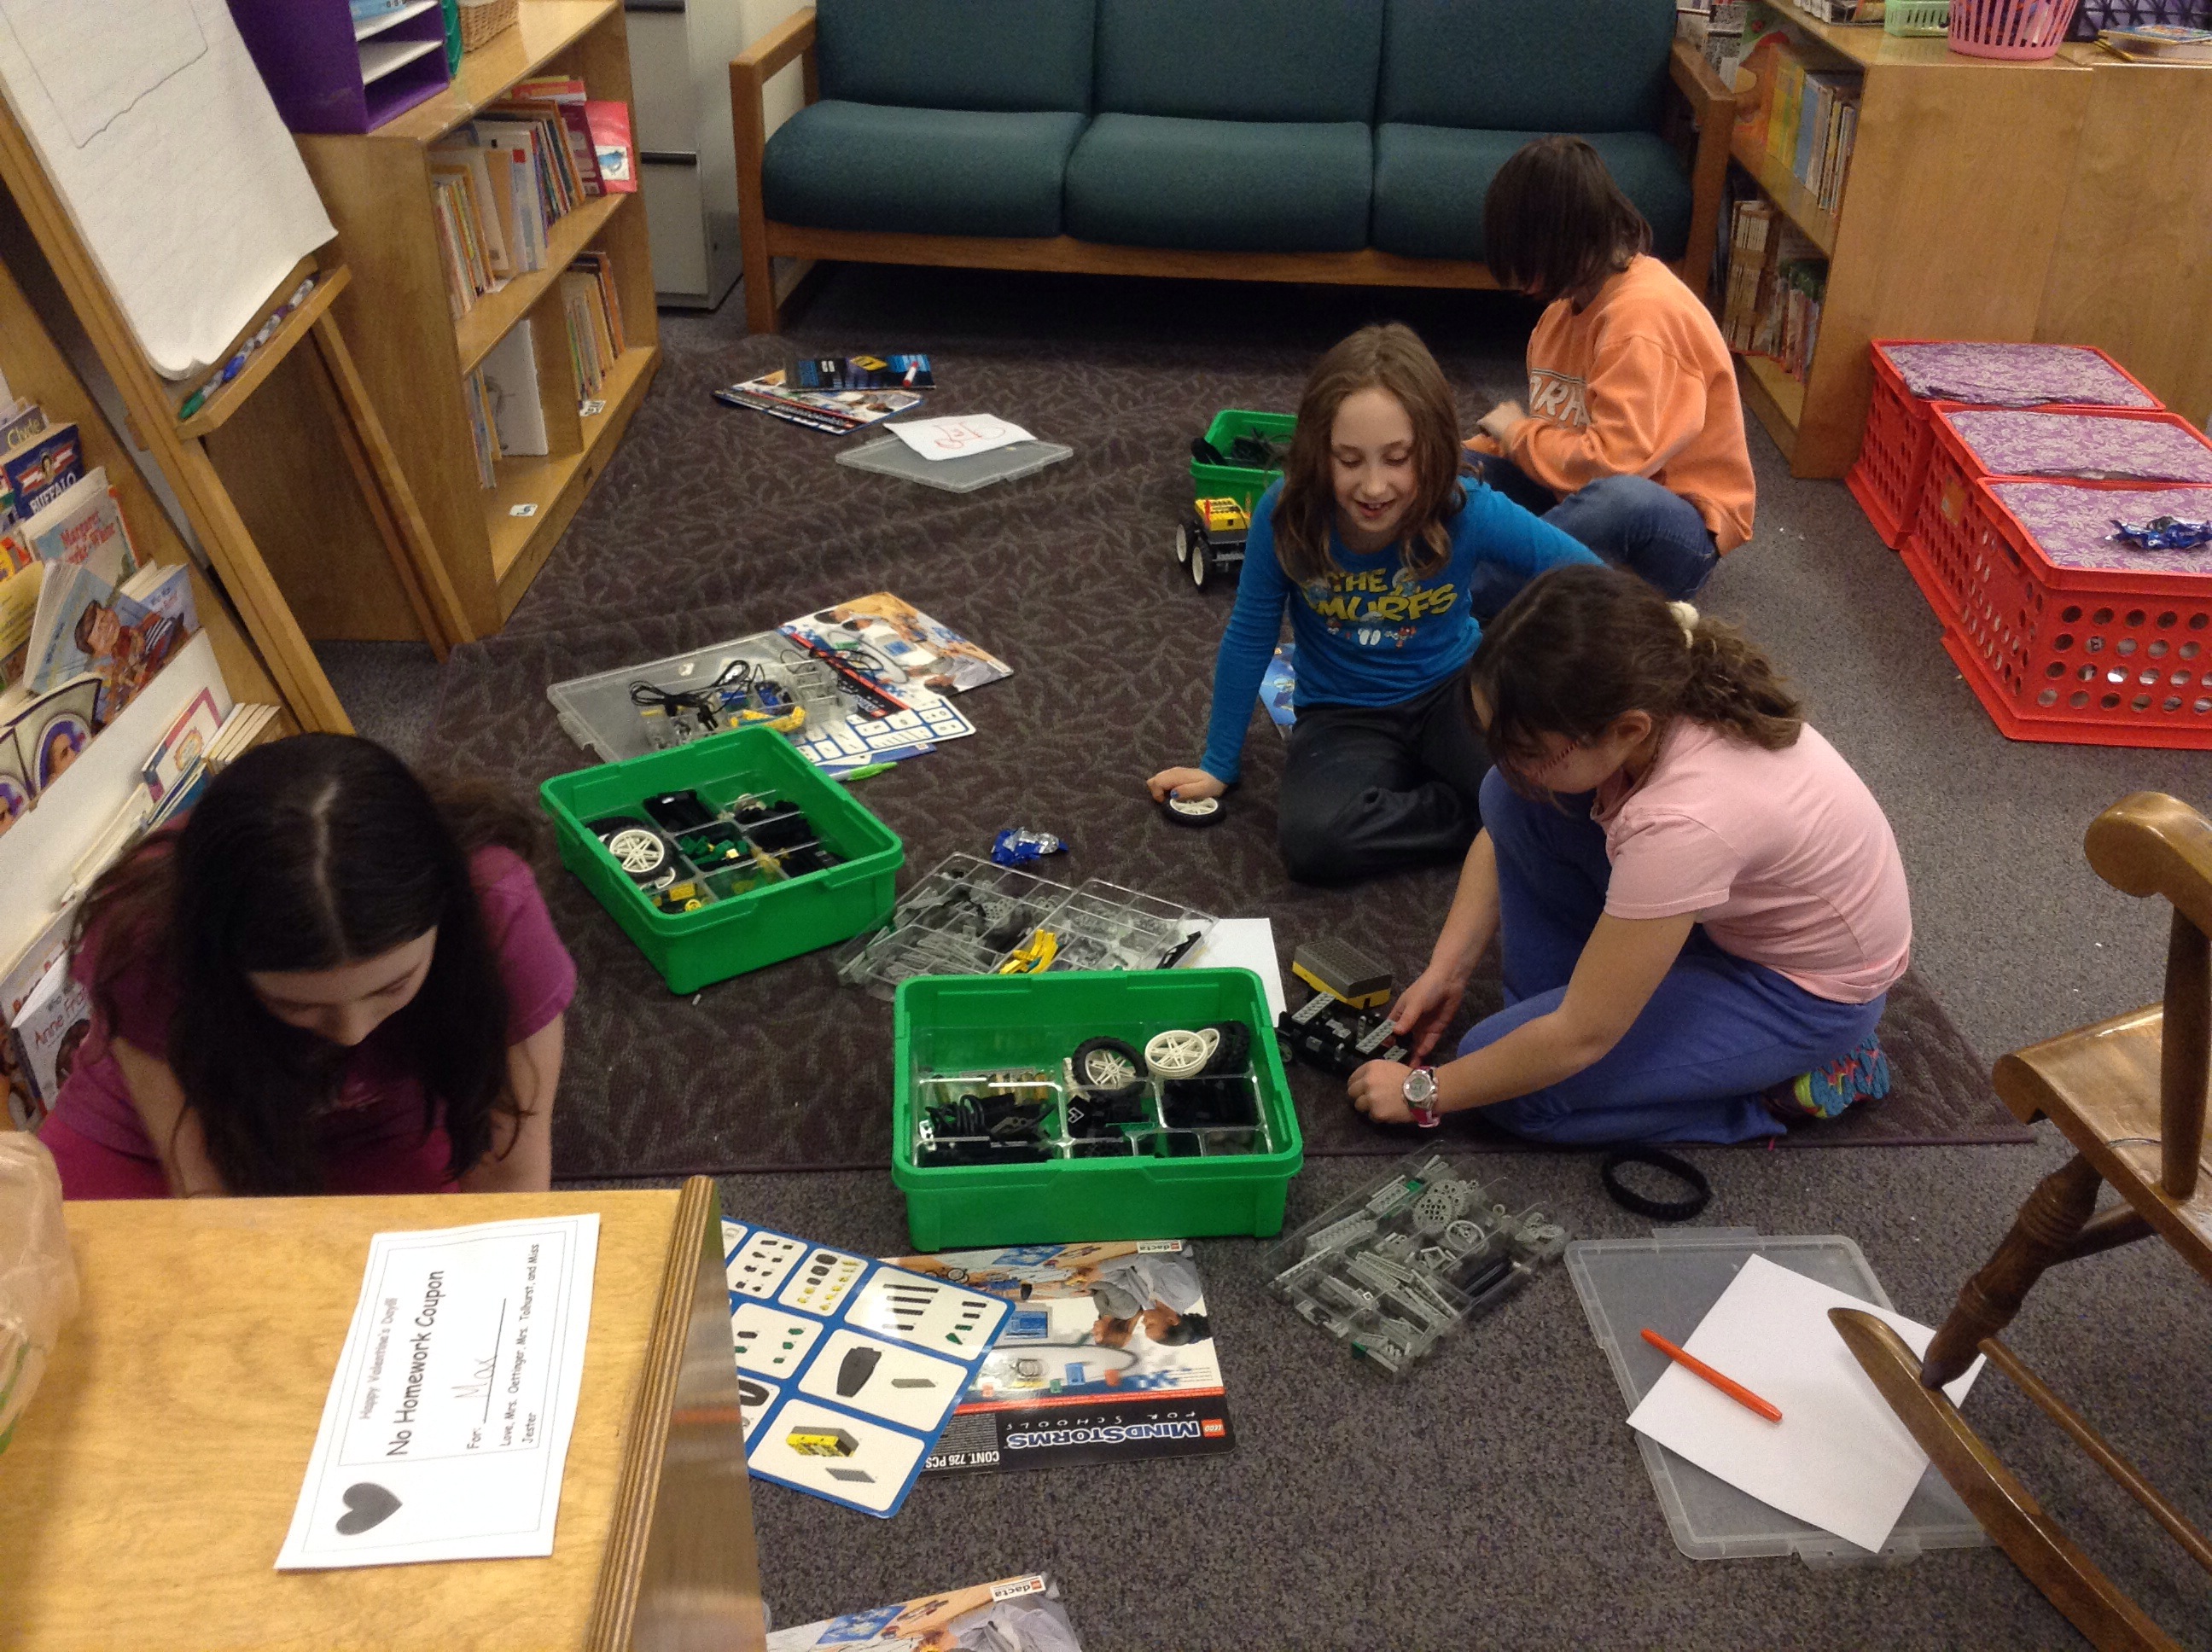
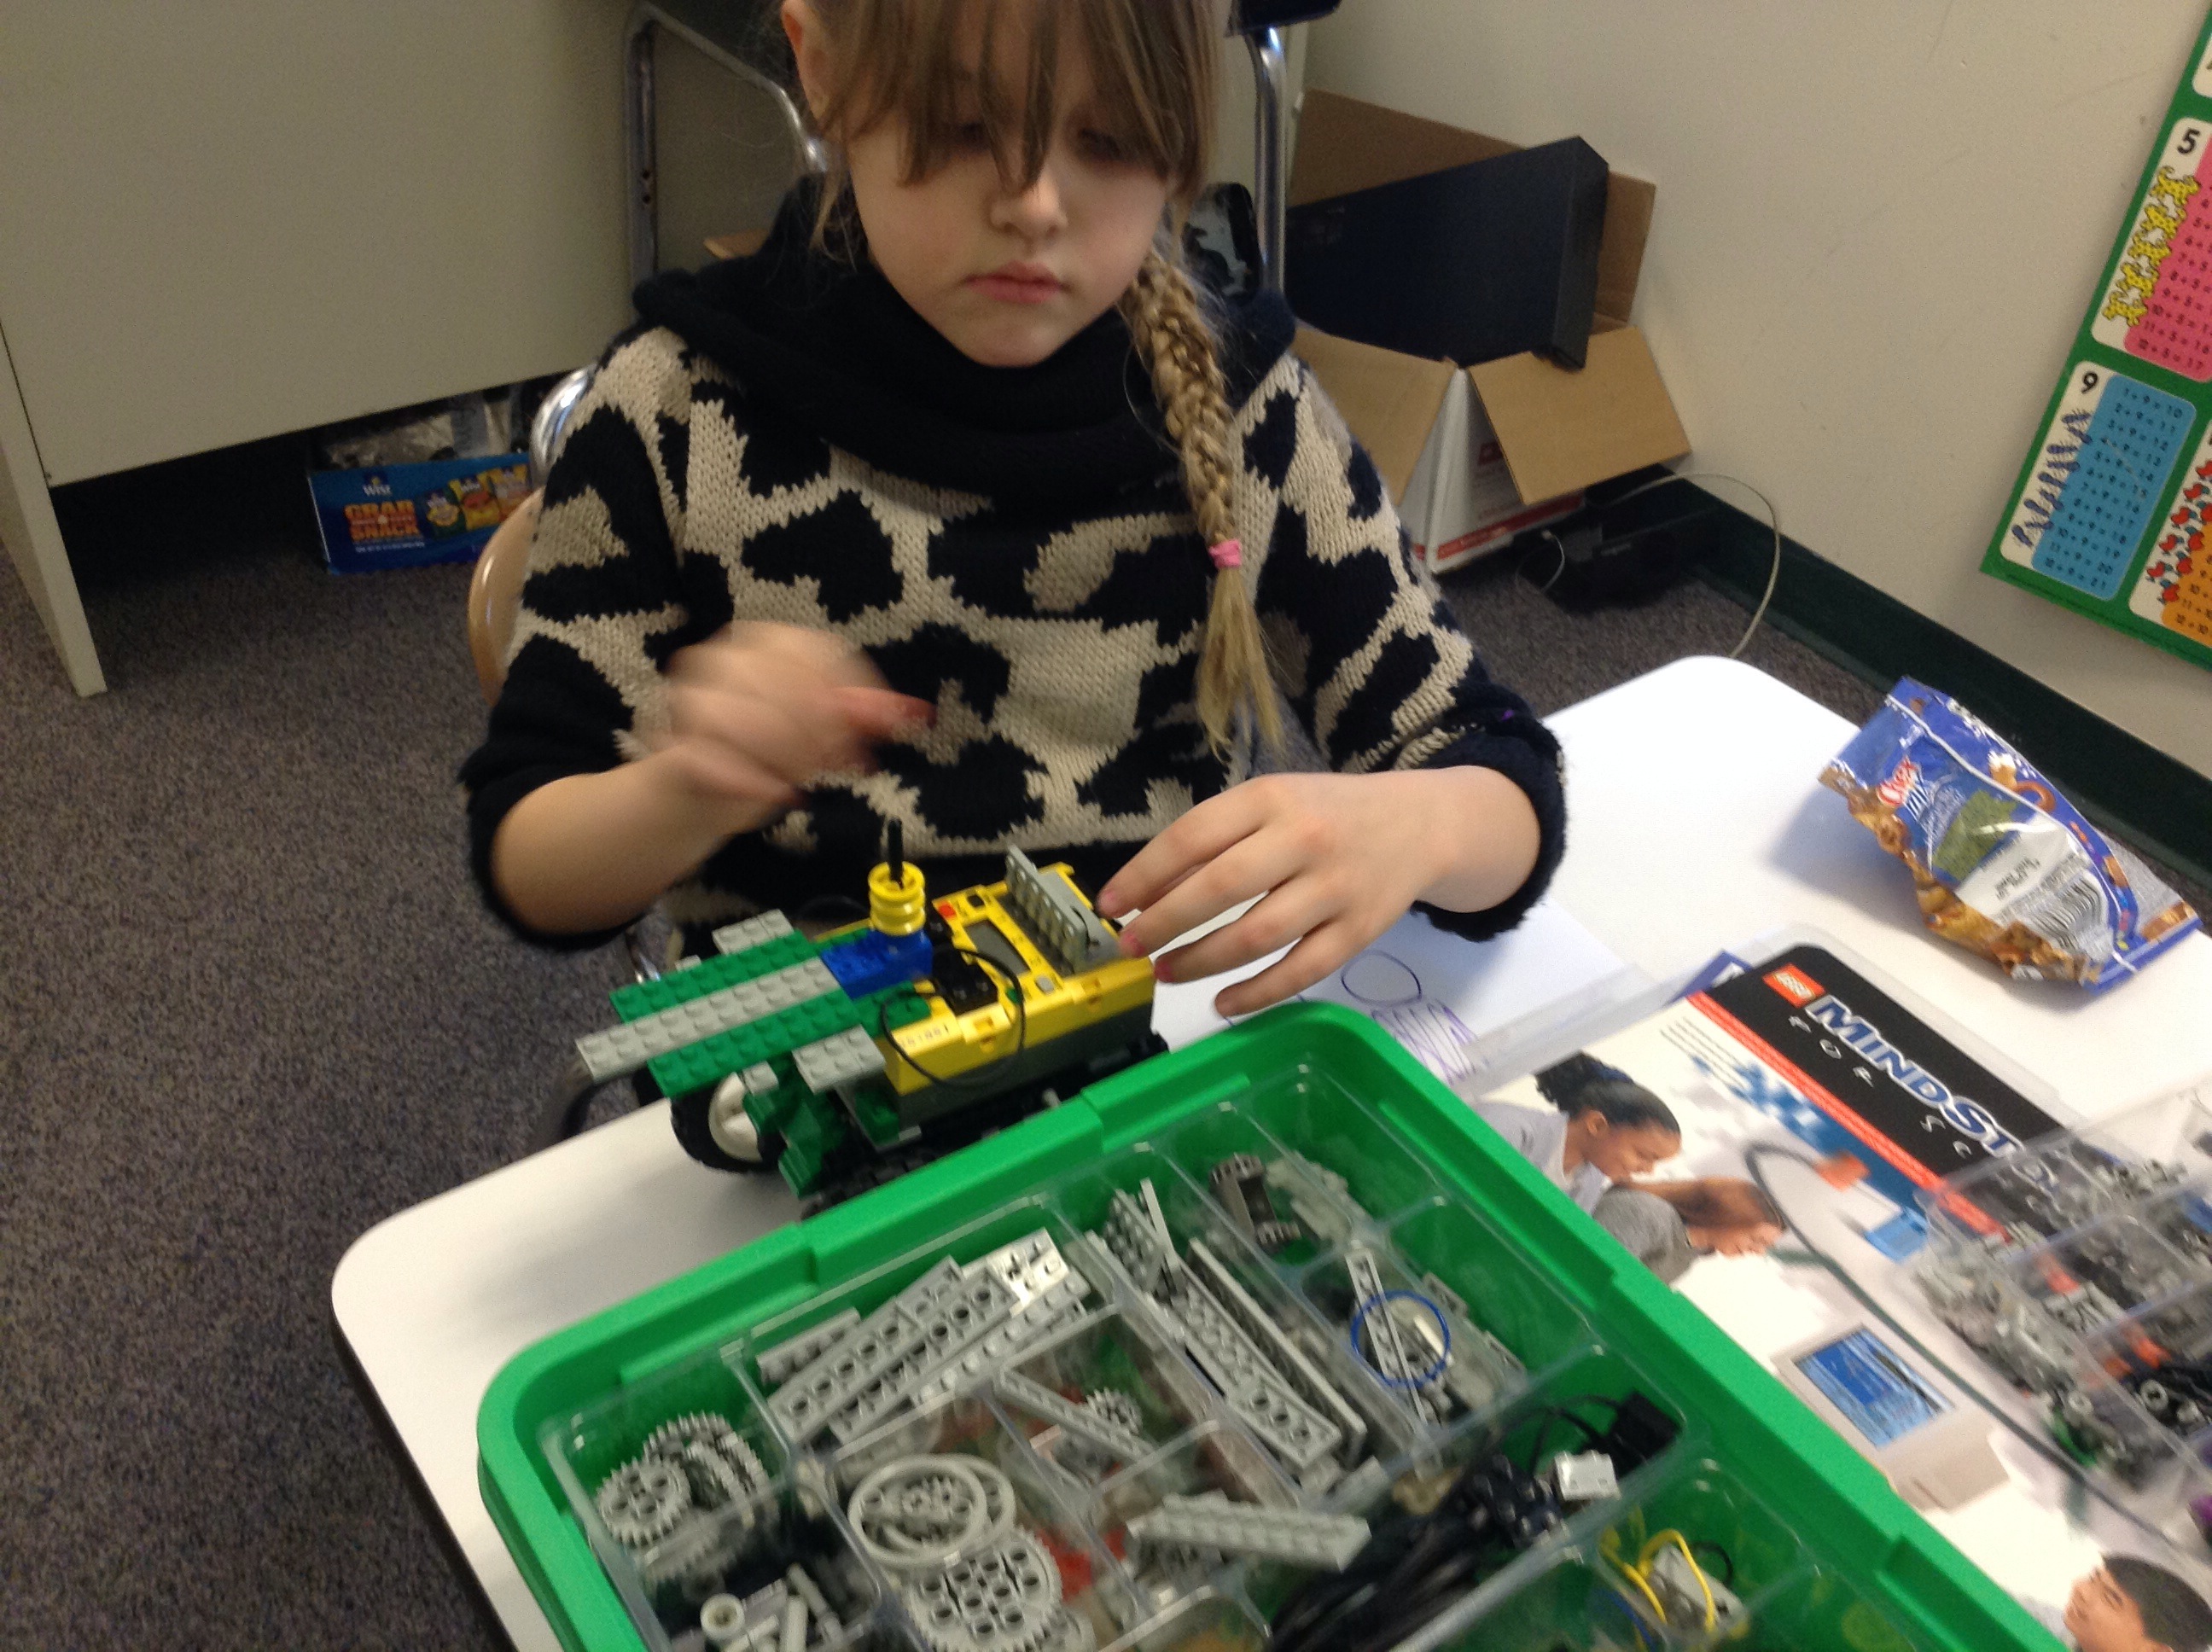
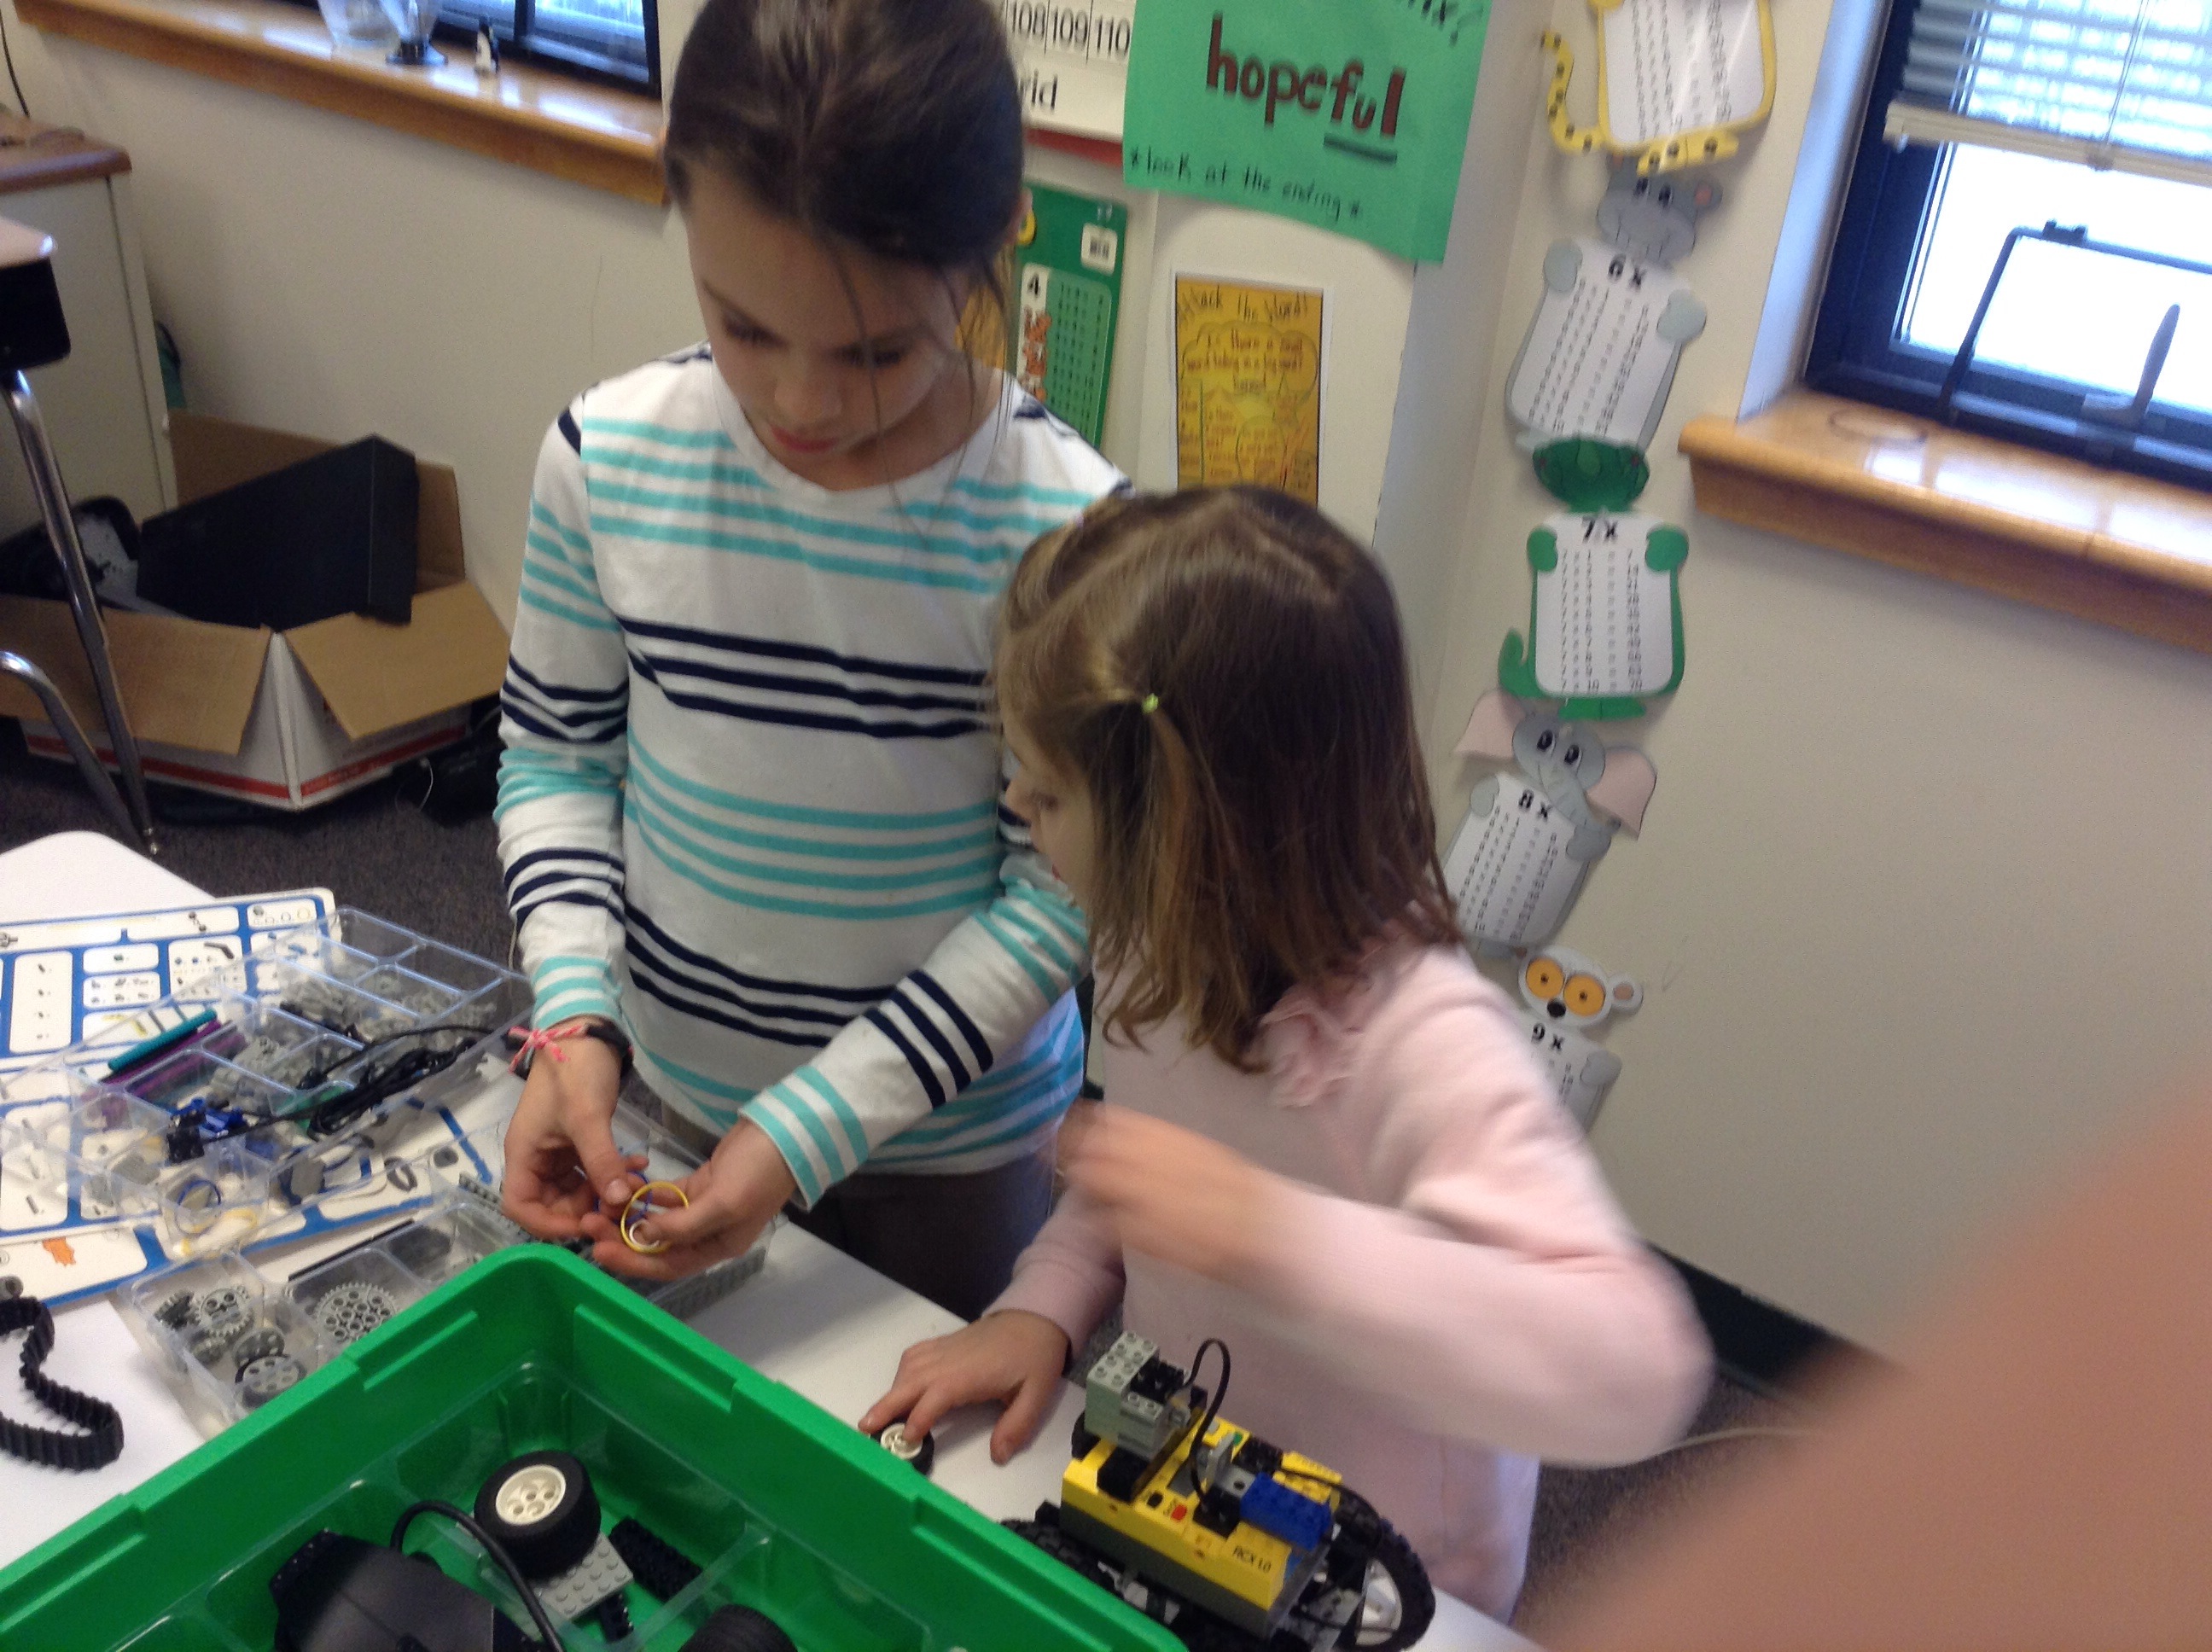
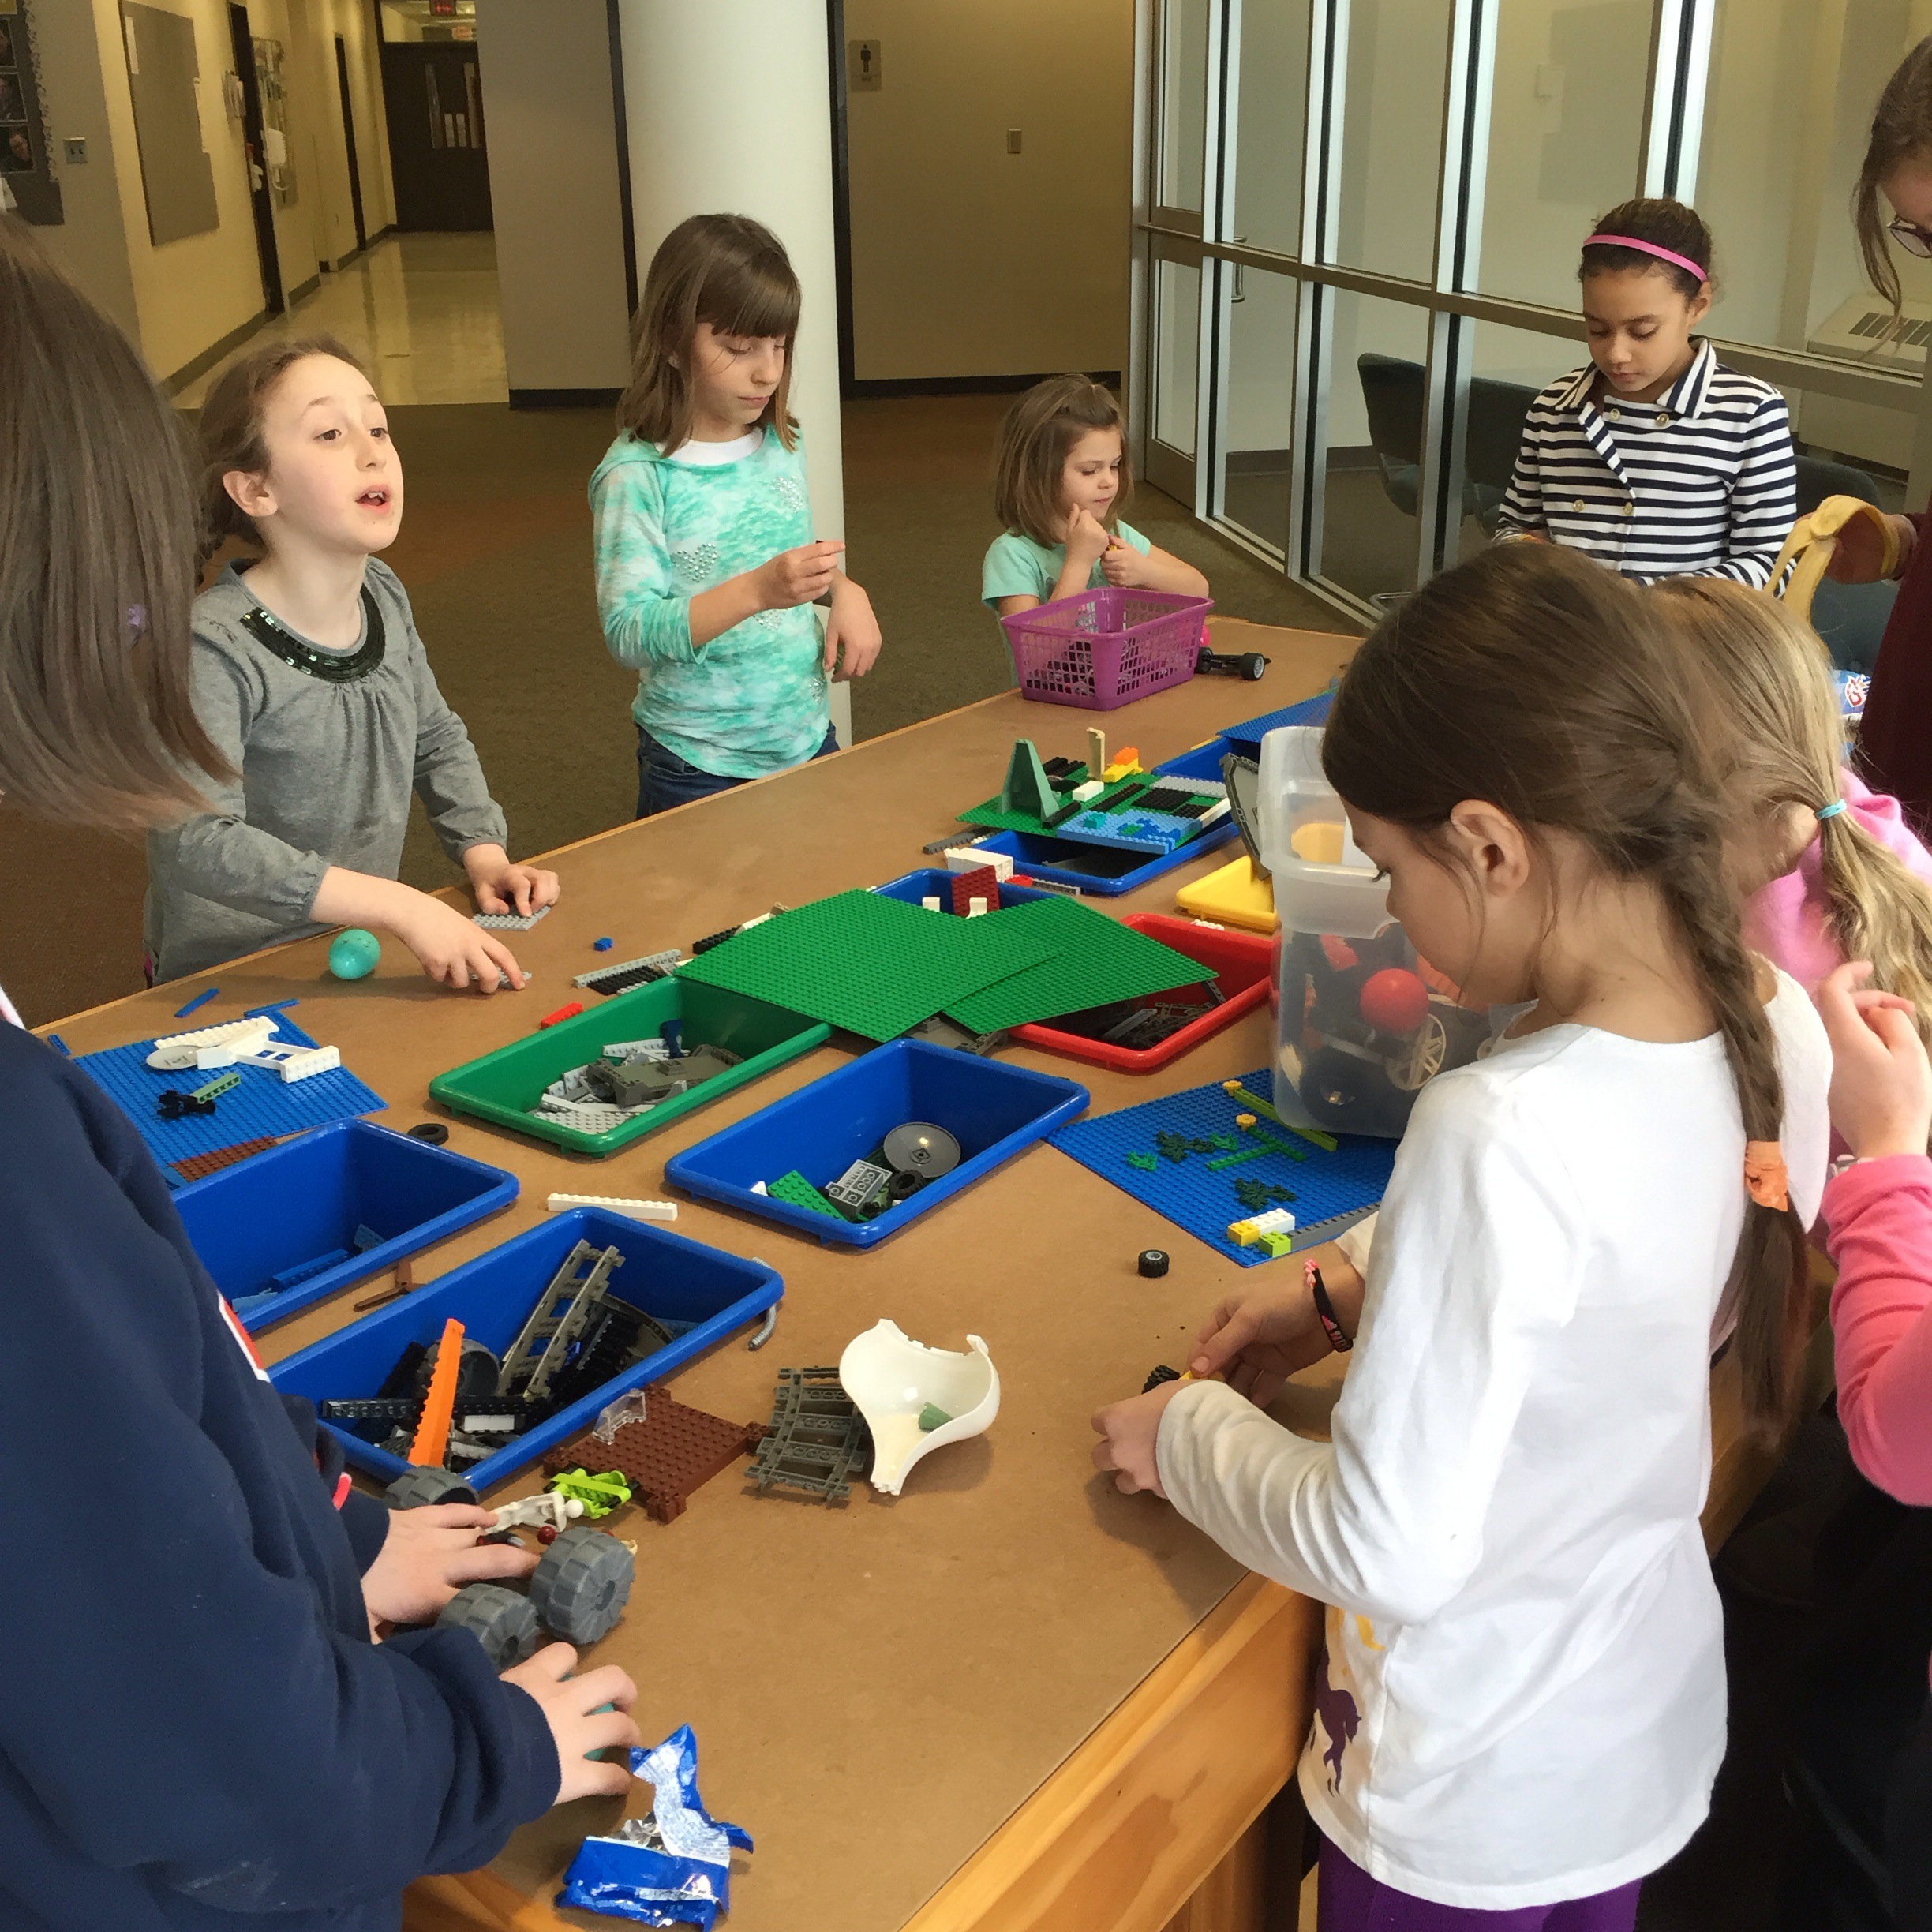
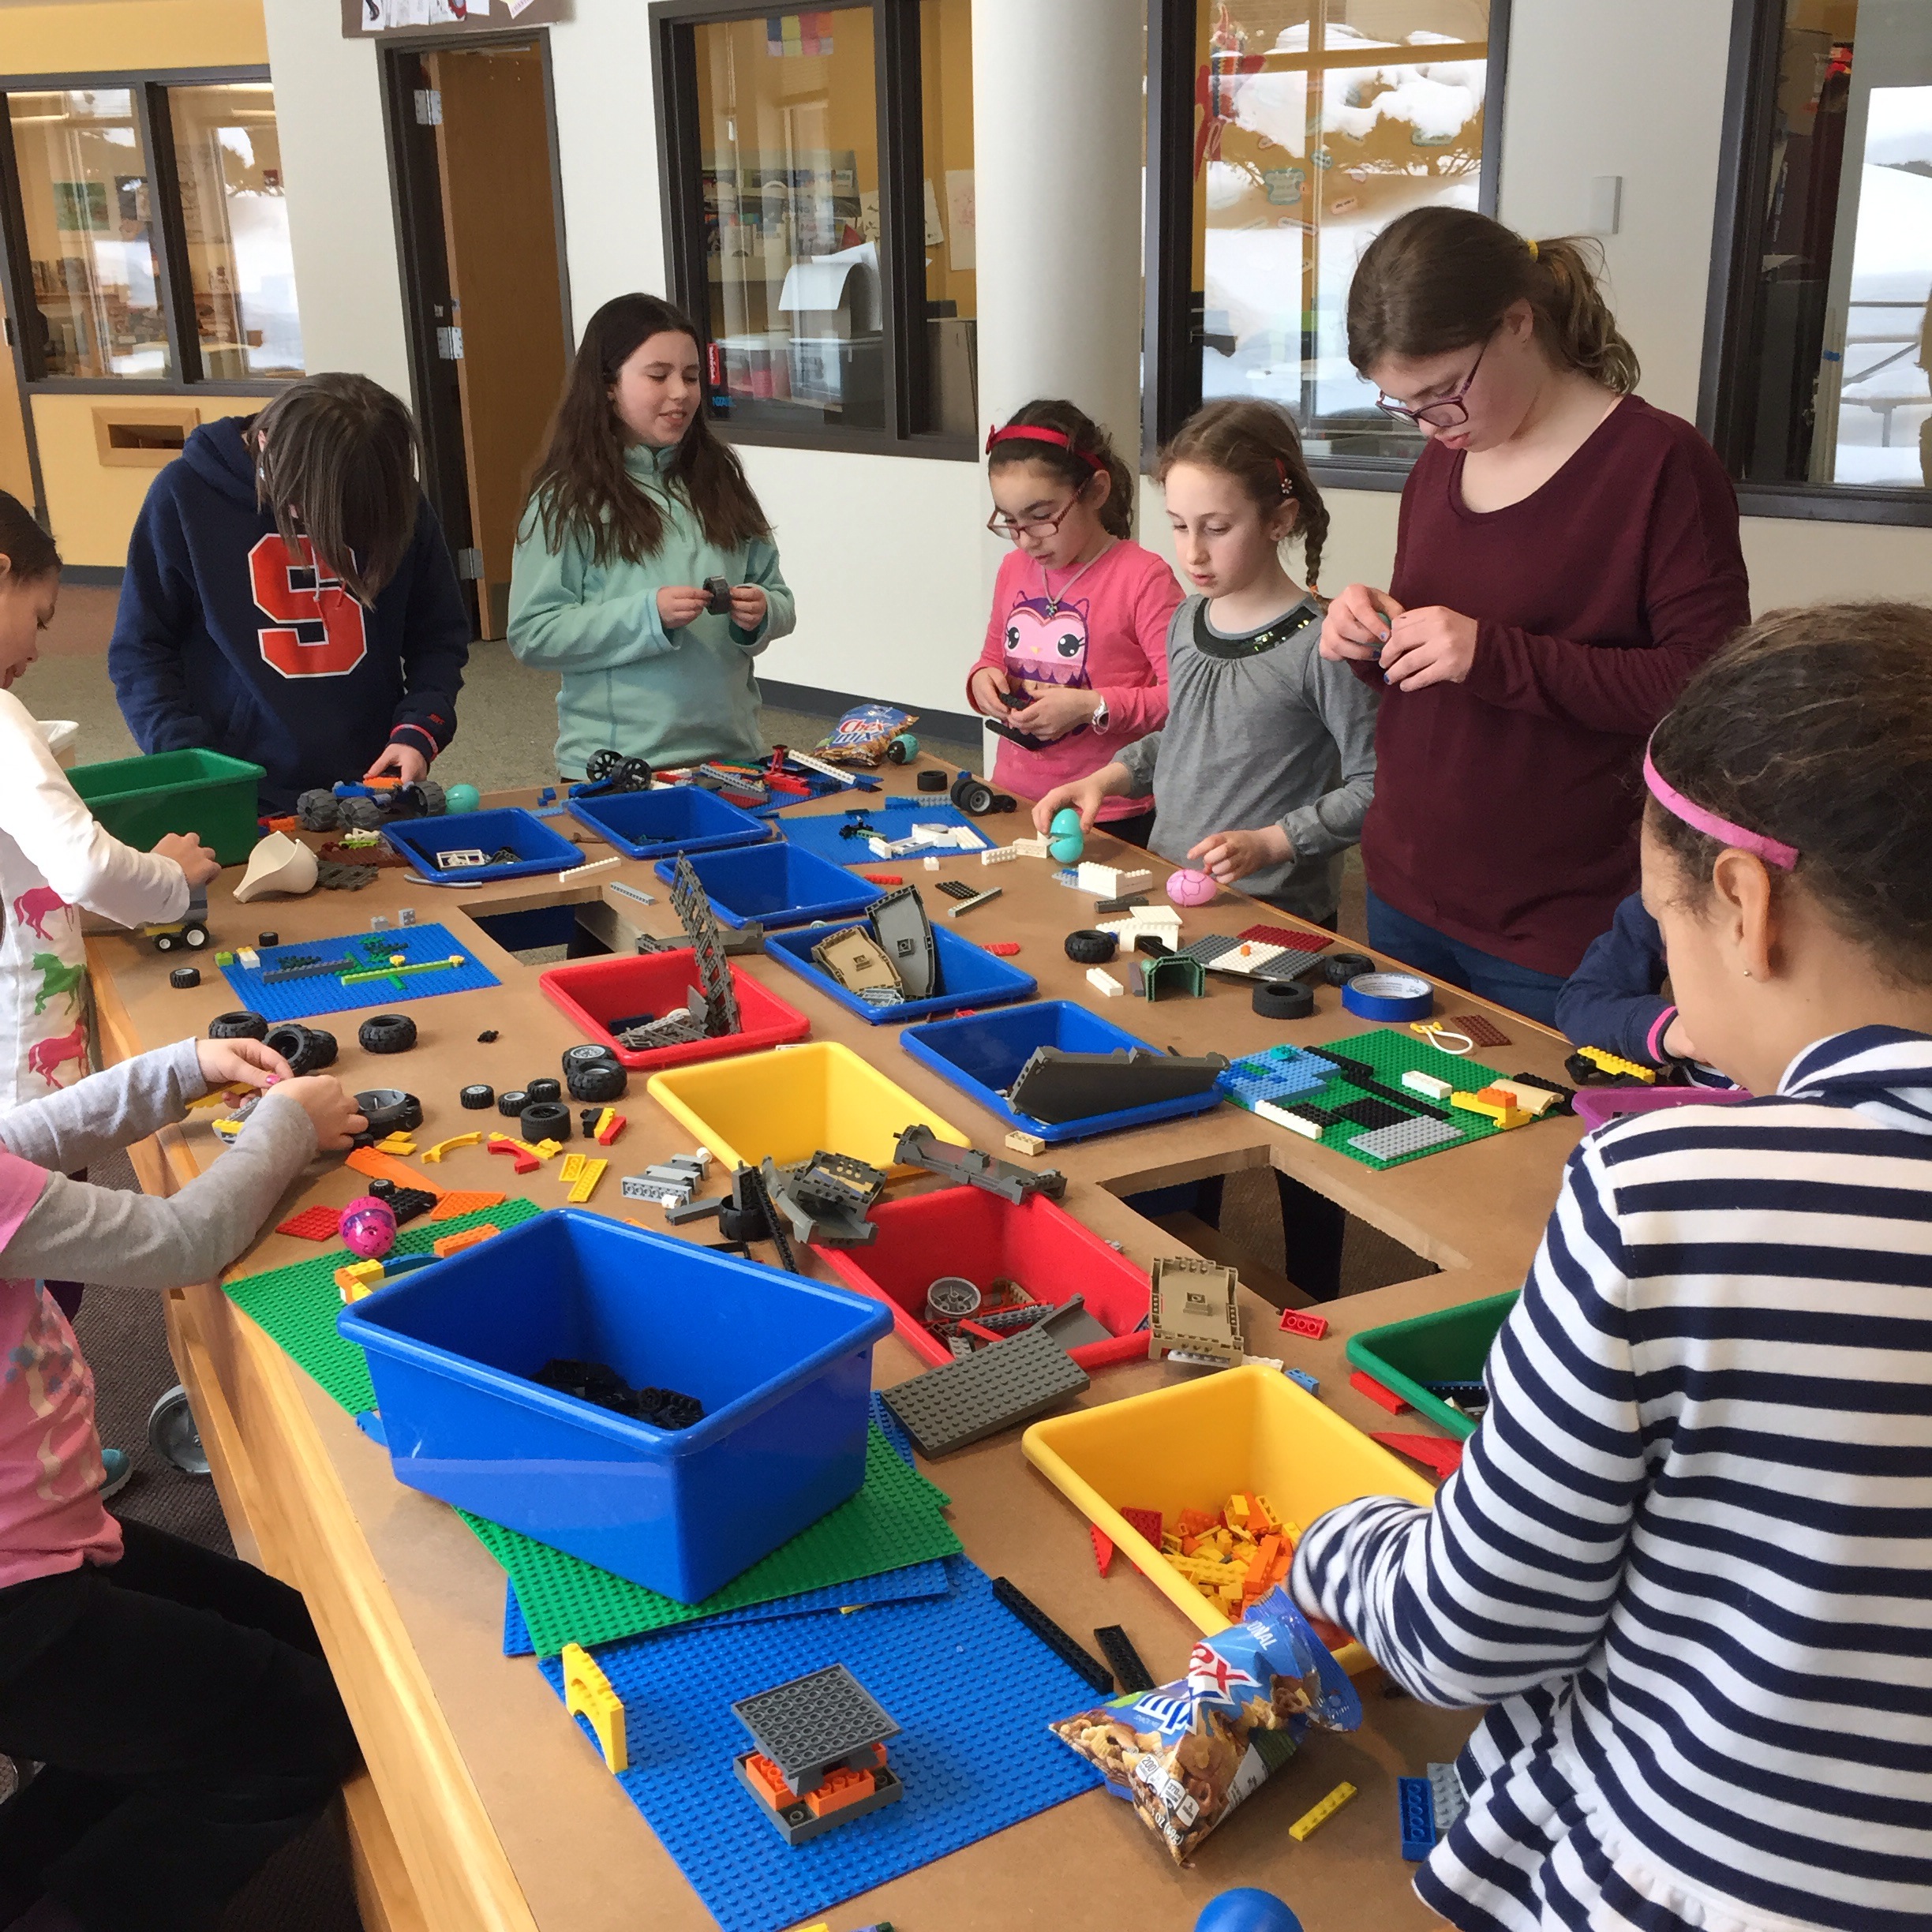
Lego Mindstorms STEM activity for girls. Designing a car
This week, the girls worked with Lego MIndstorm kits to design a car. First they brainstormed and drew a plan, then they selected wheels, and finally they begin building. What I loved about about it was how quickly the girls starting asking questions and trying out different connections to see if they could get their cars to do anything else besides drive forward. Many of them had drivable cars by the end of class. Next week, we will do any modifications to our designs and race them. Hopefully we will have time to do an obstacle course, too!

E
Mar 02
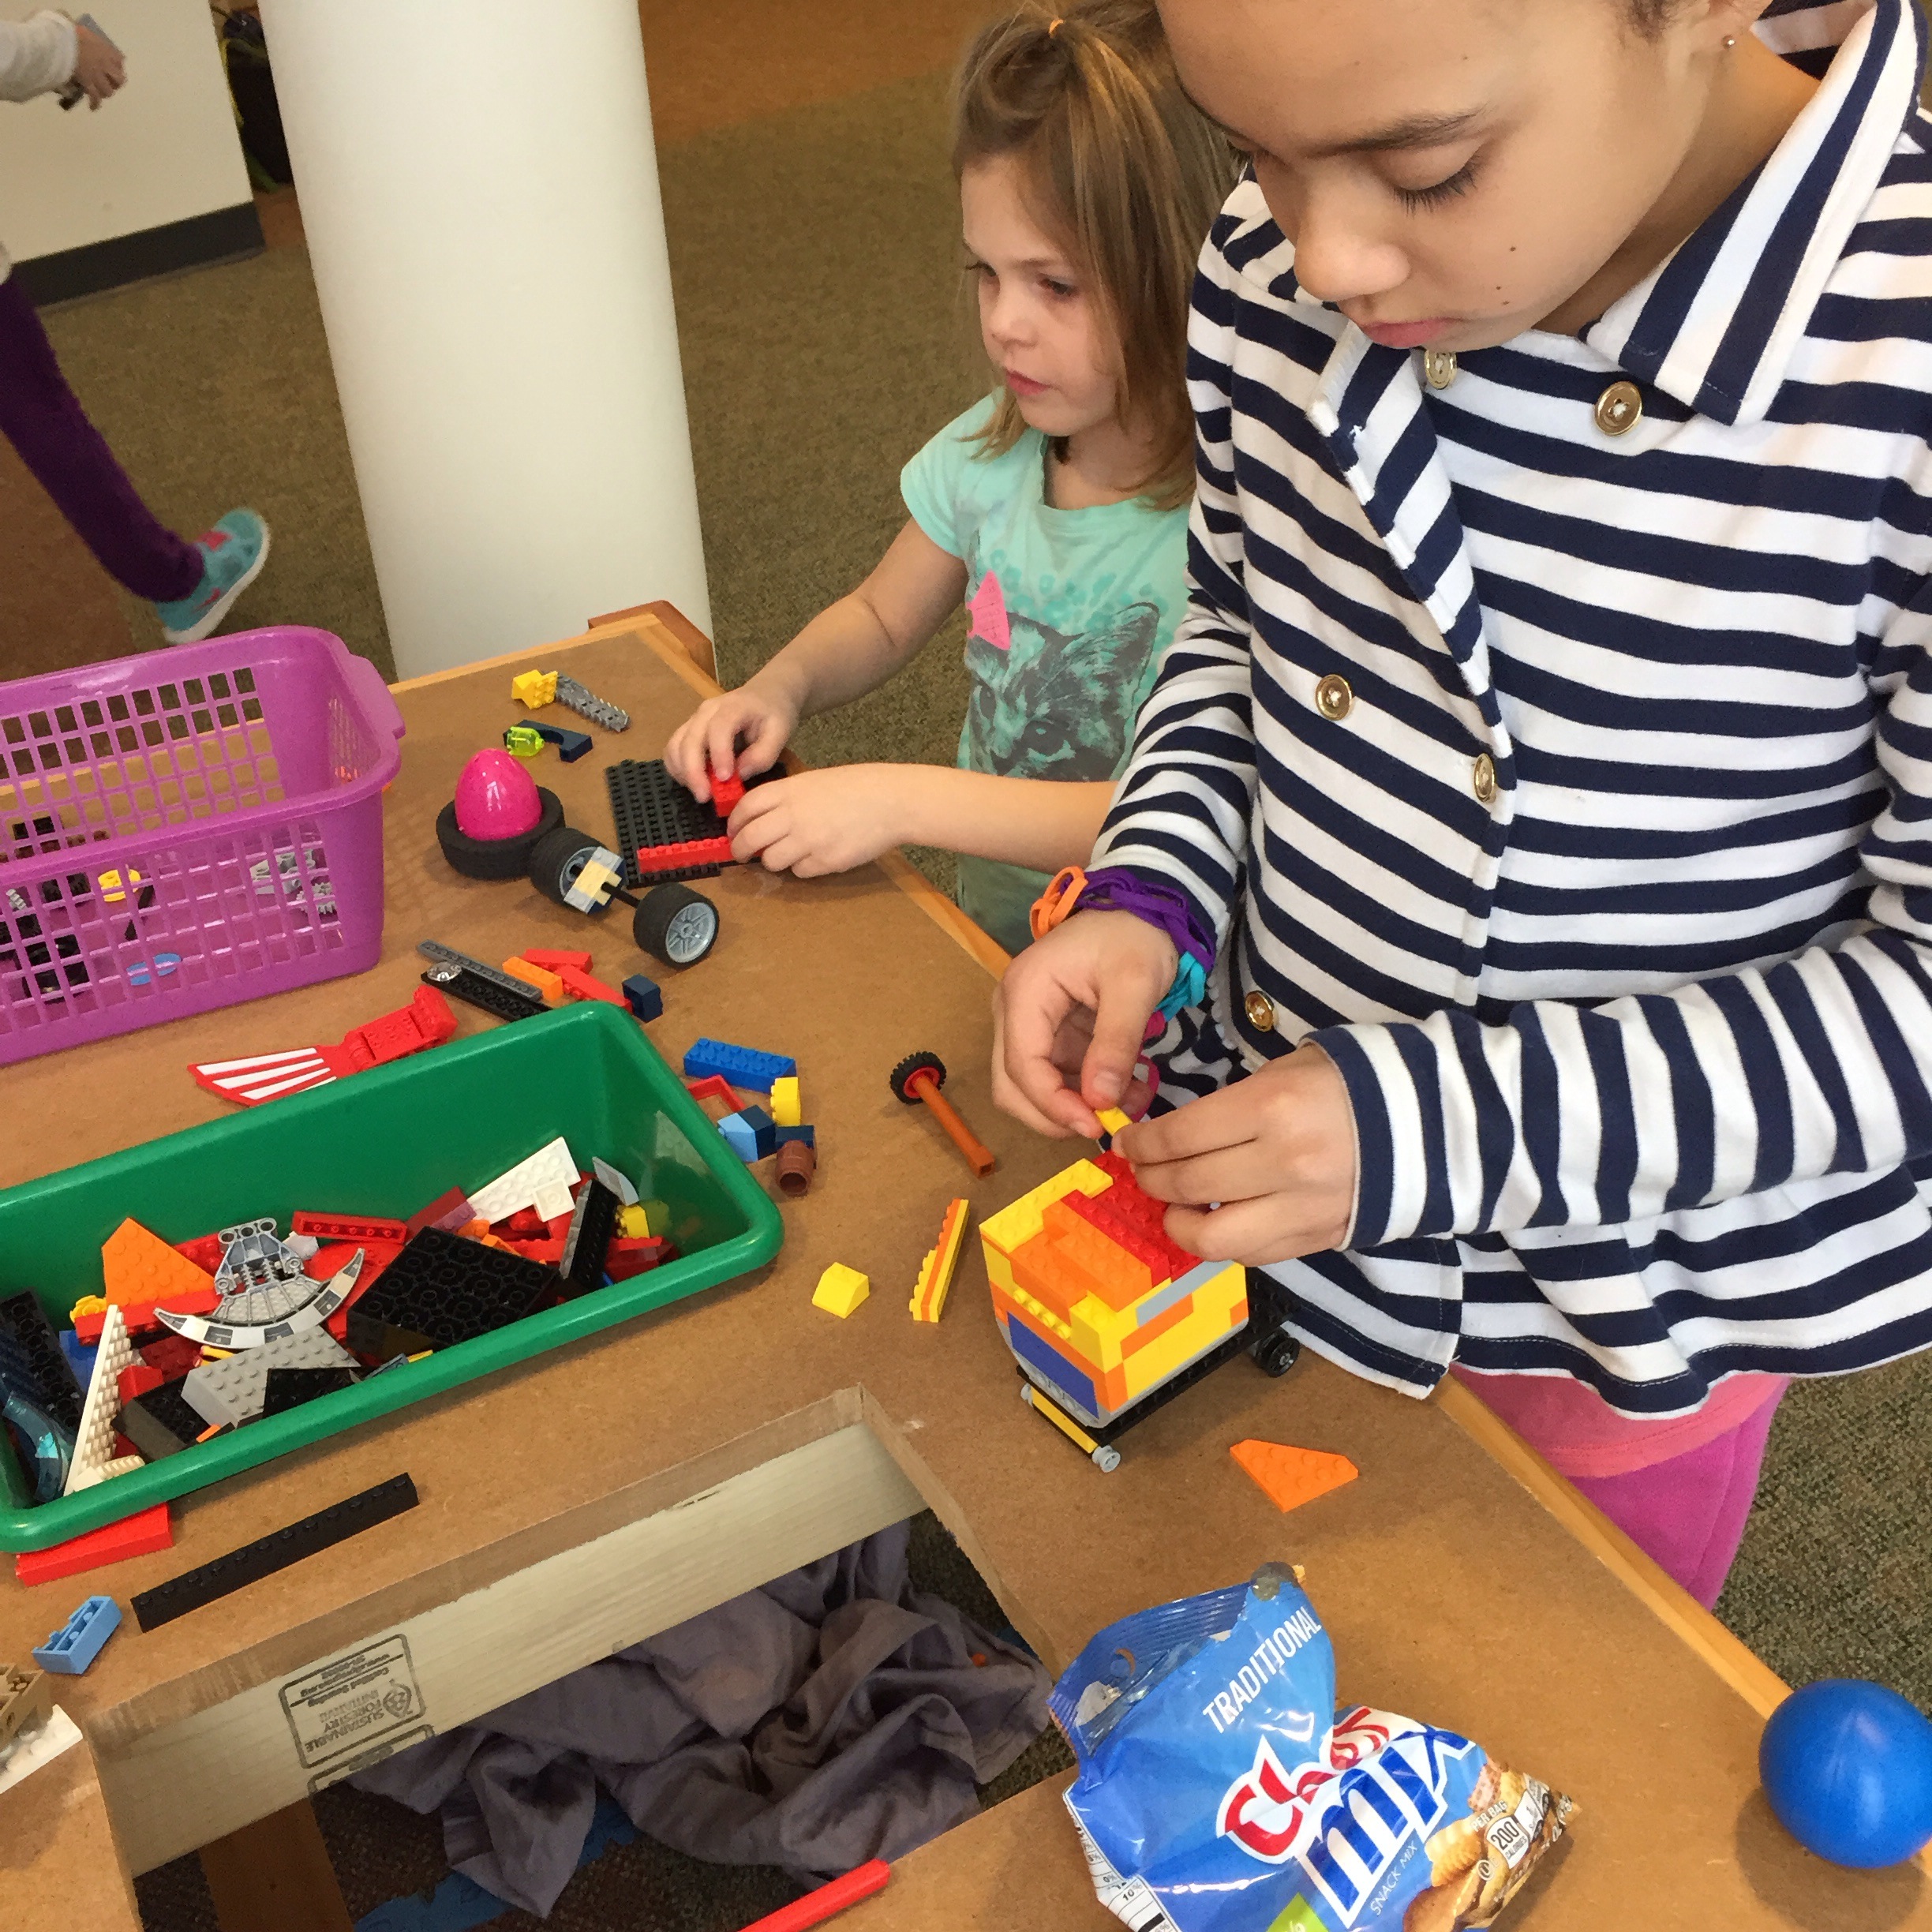
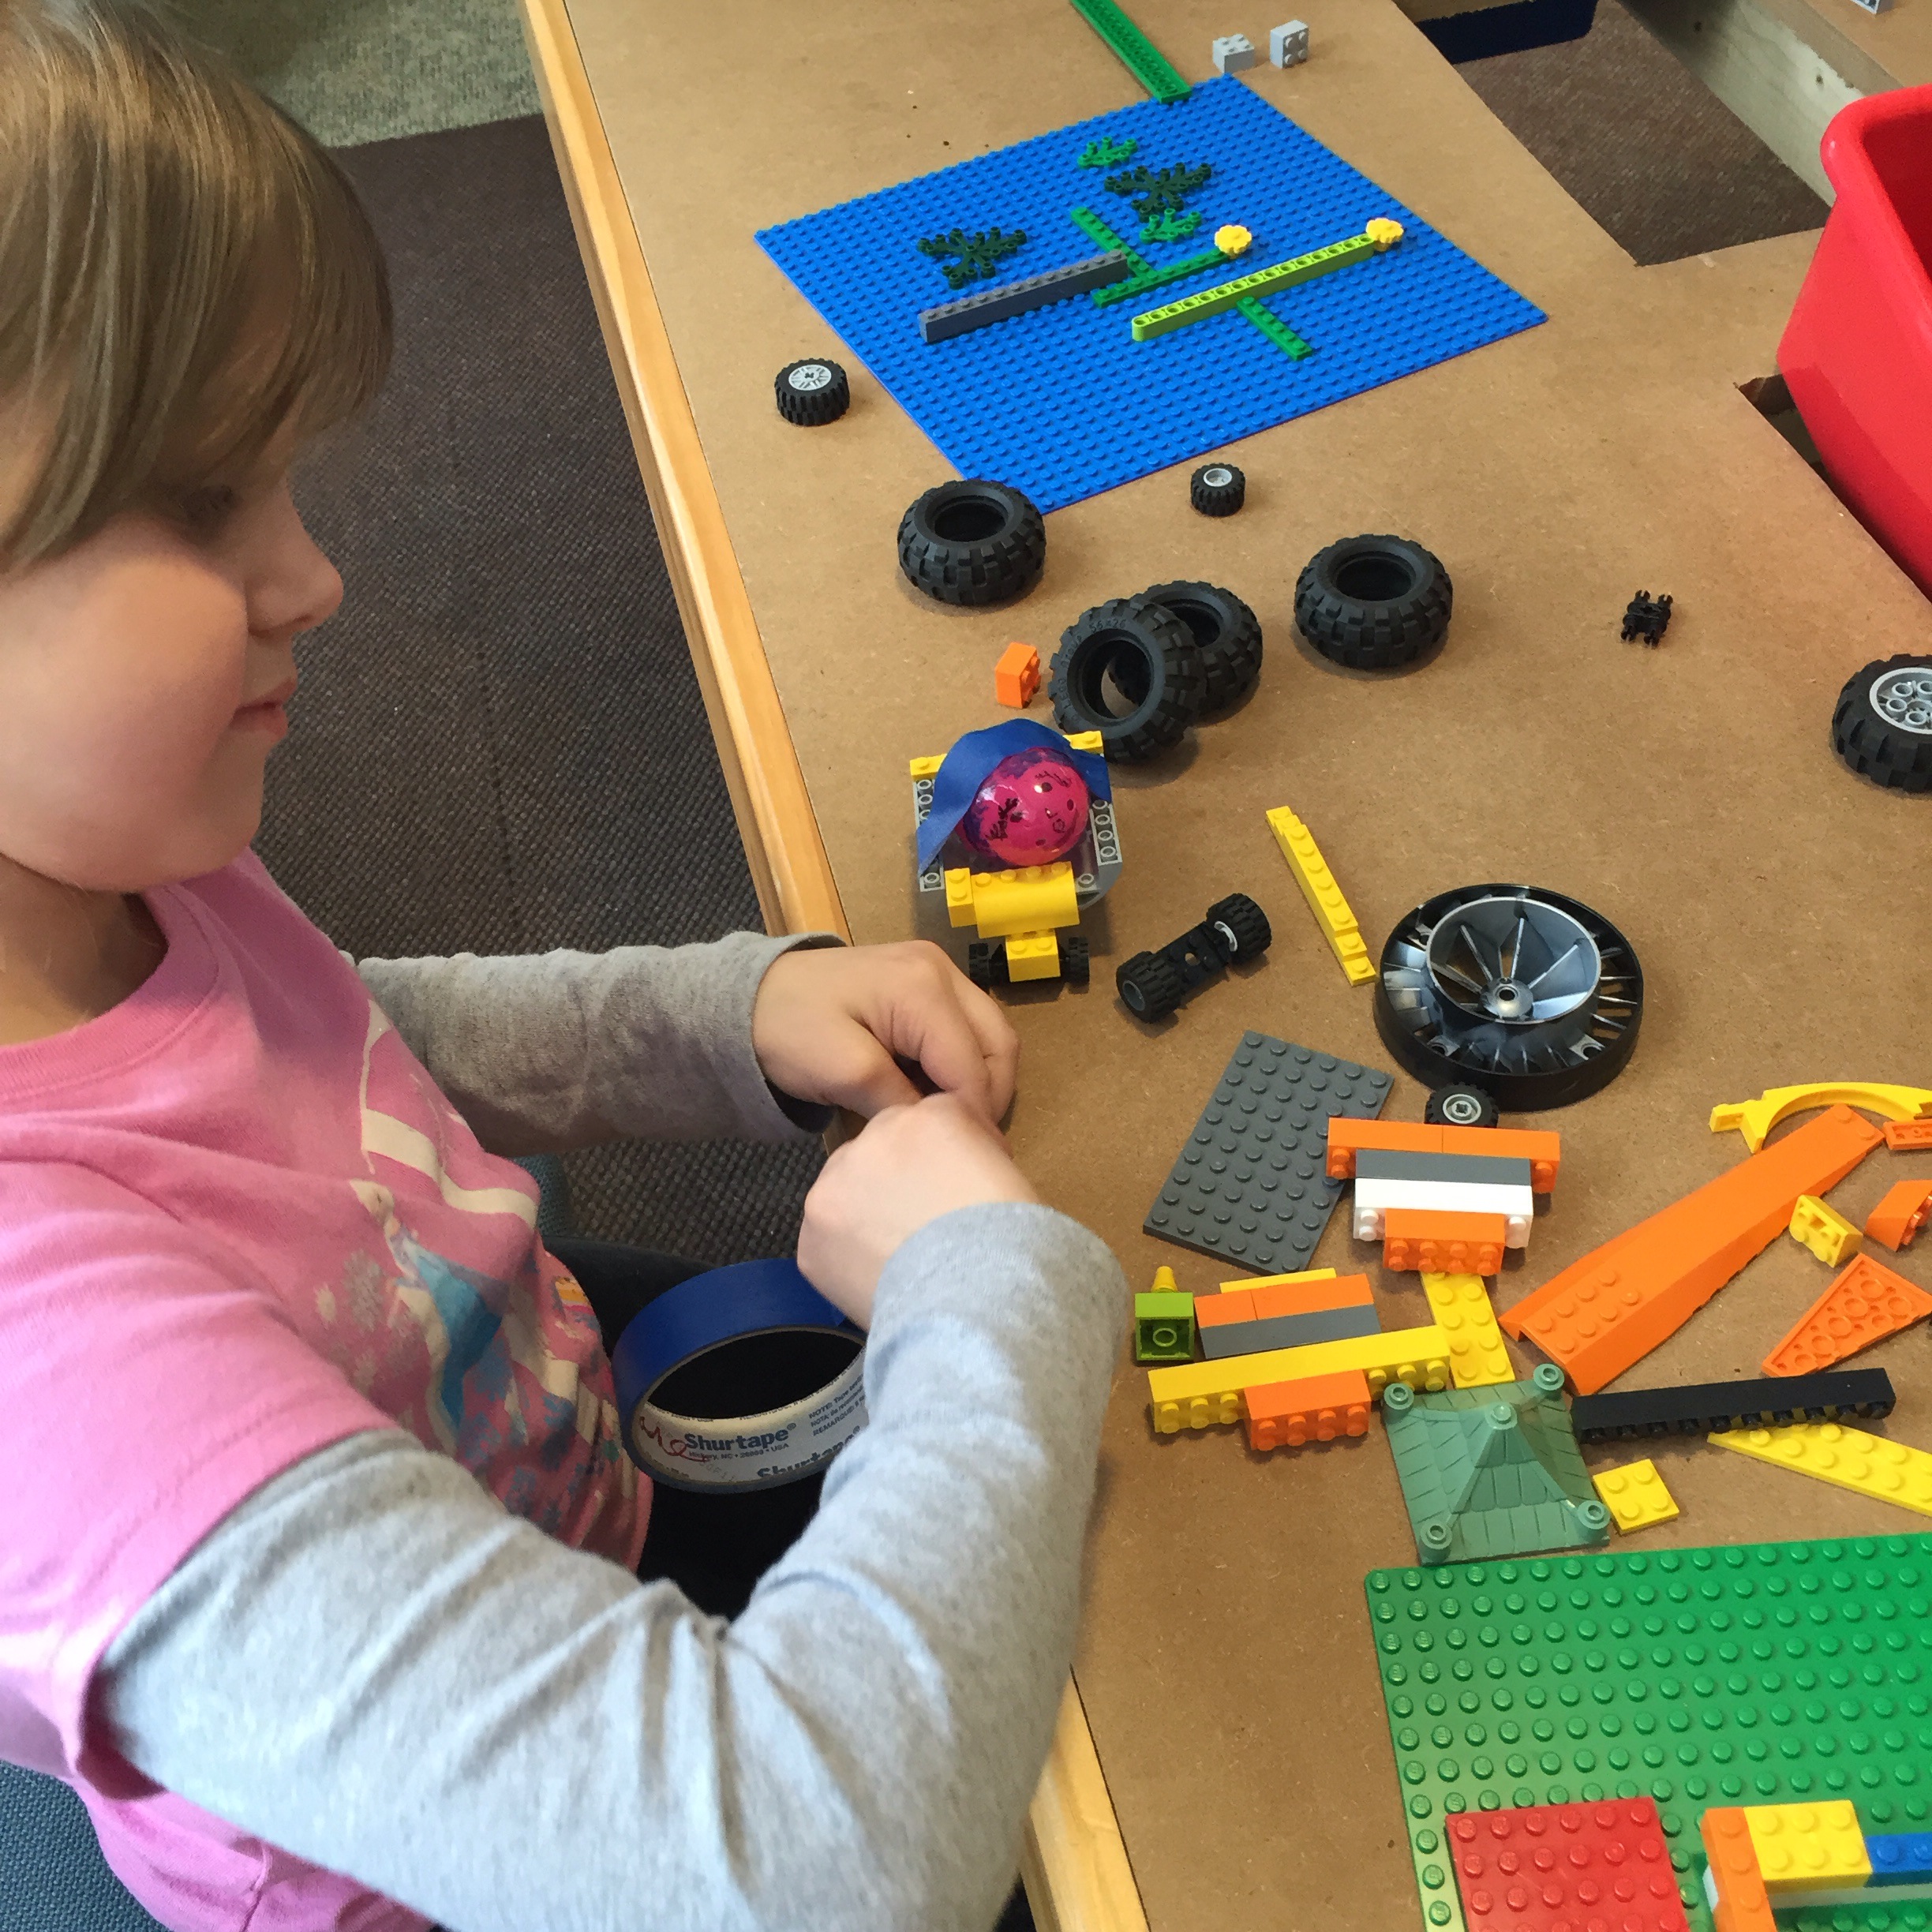
Making Lego egg cars
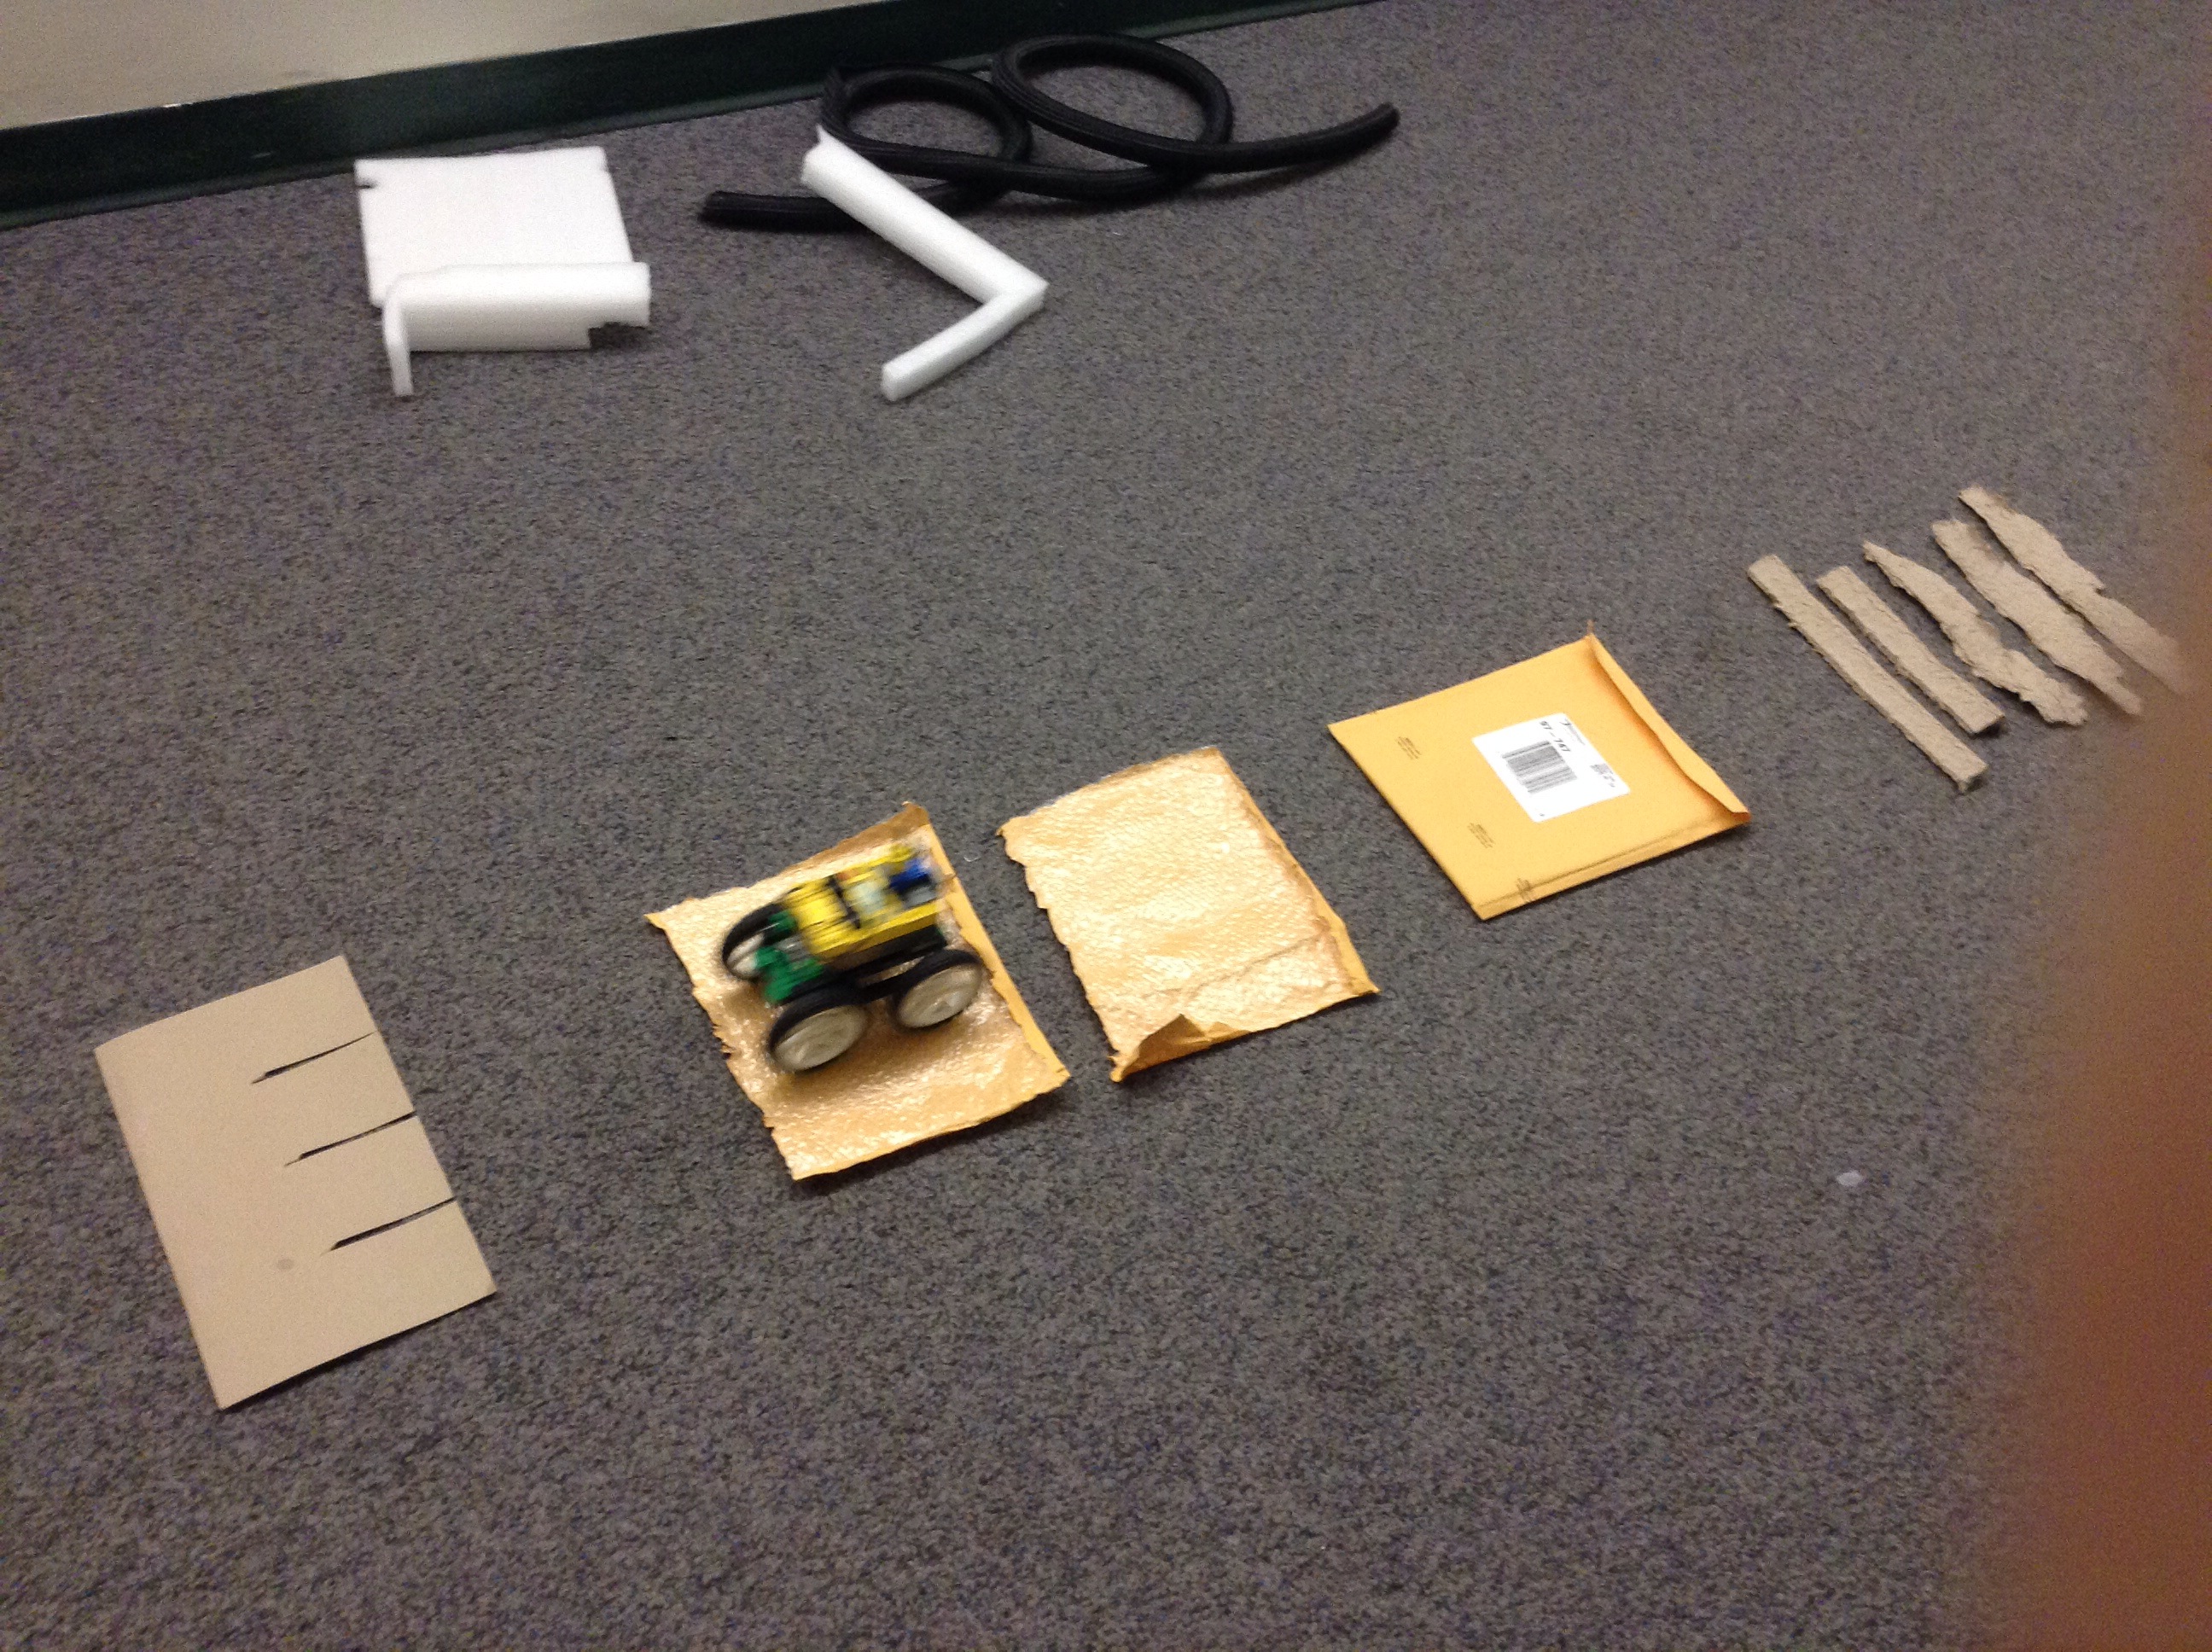
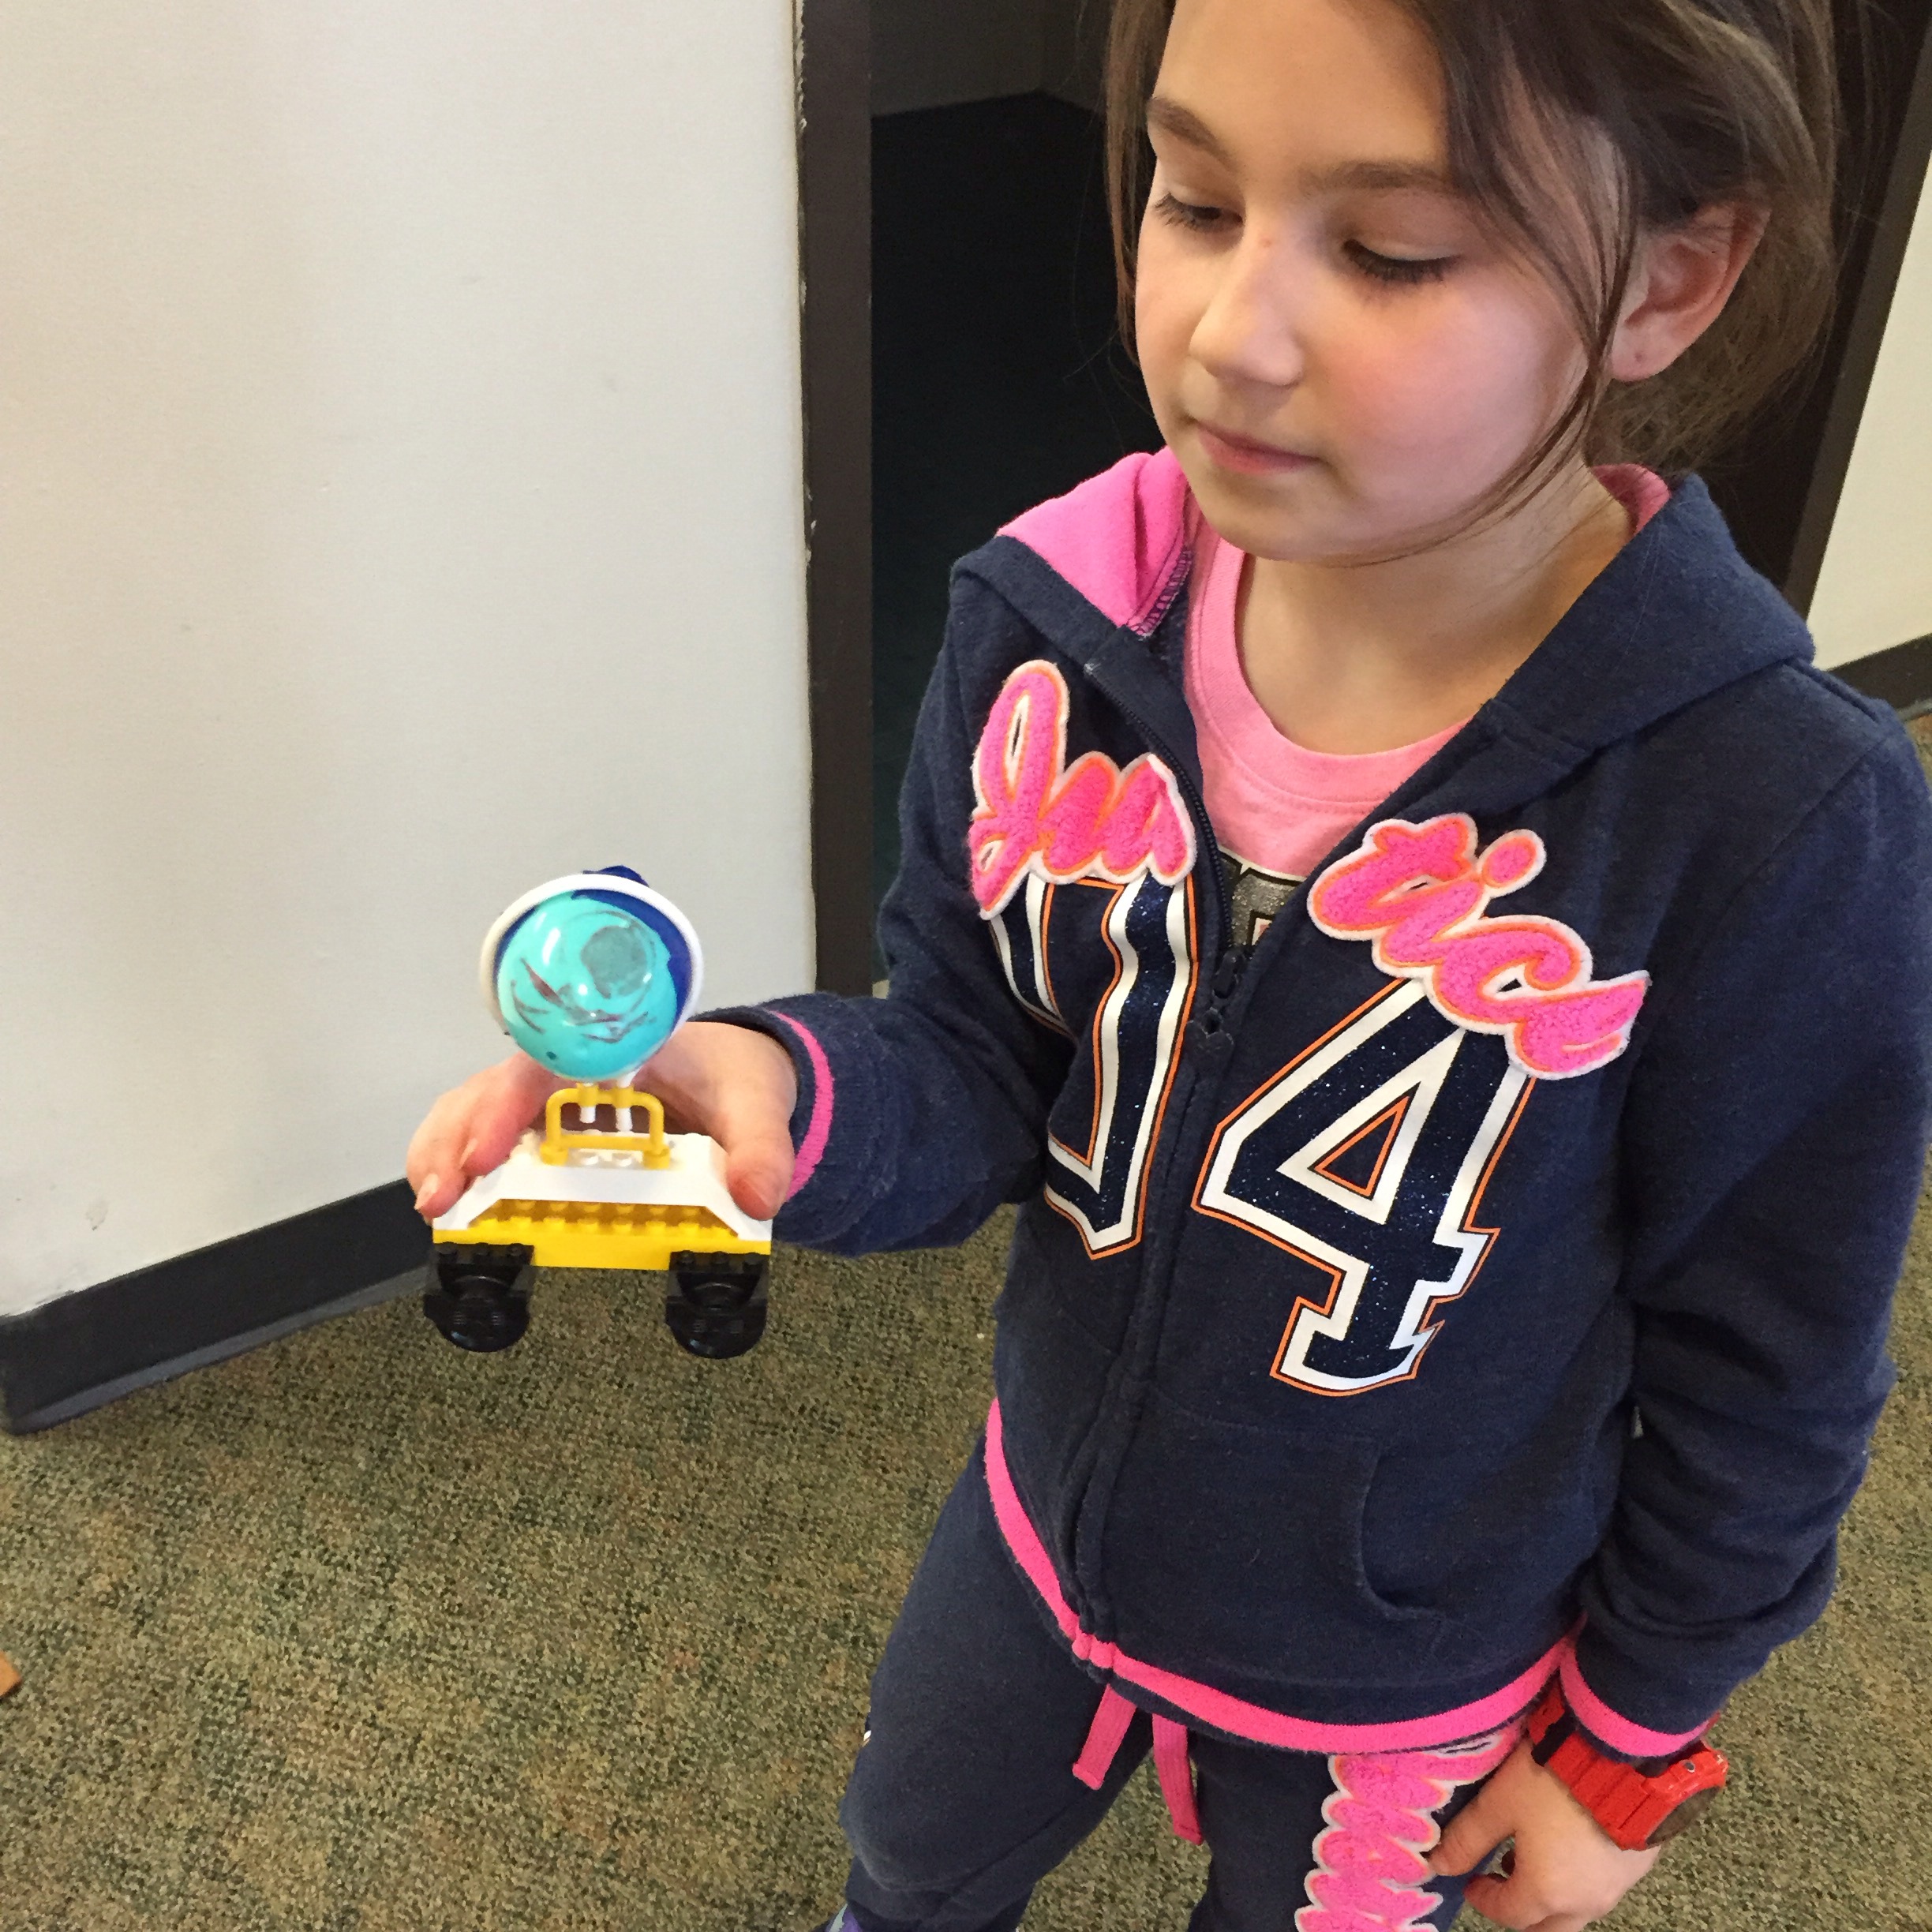
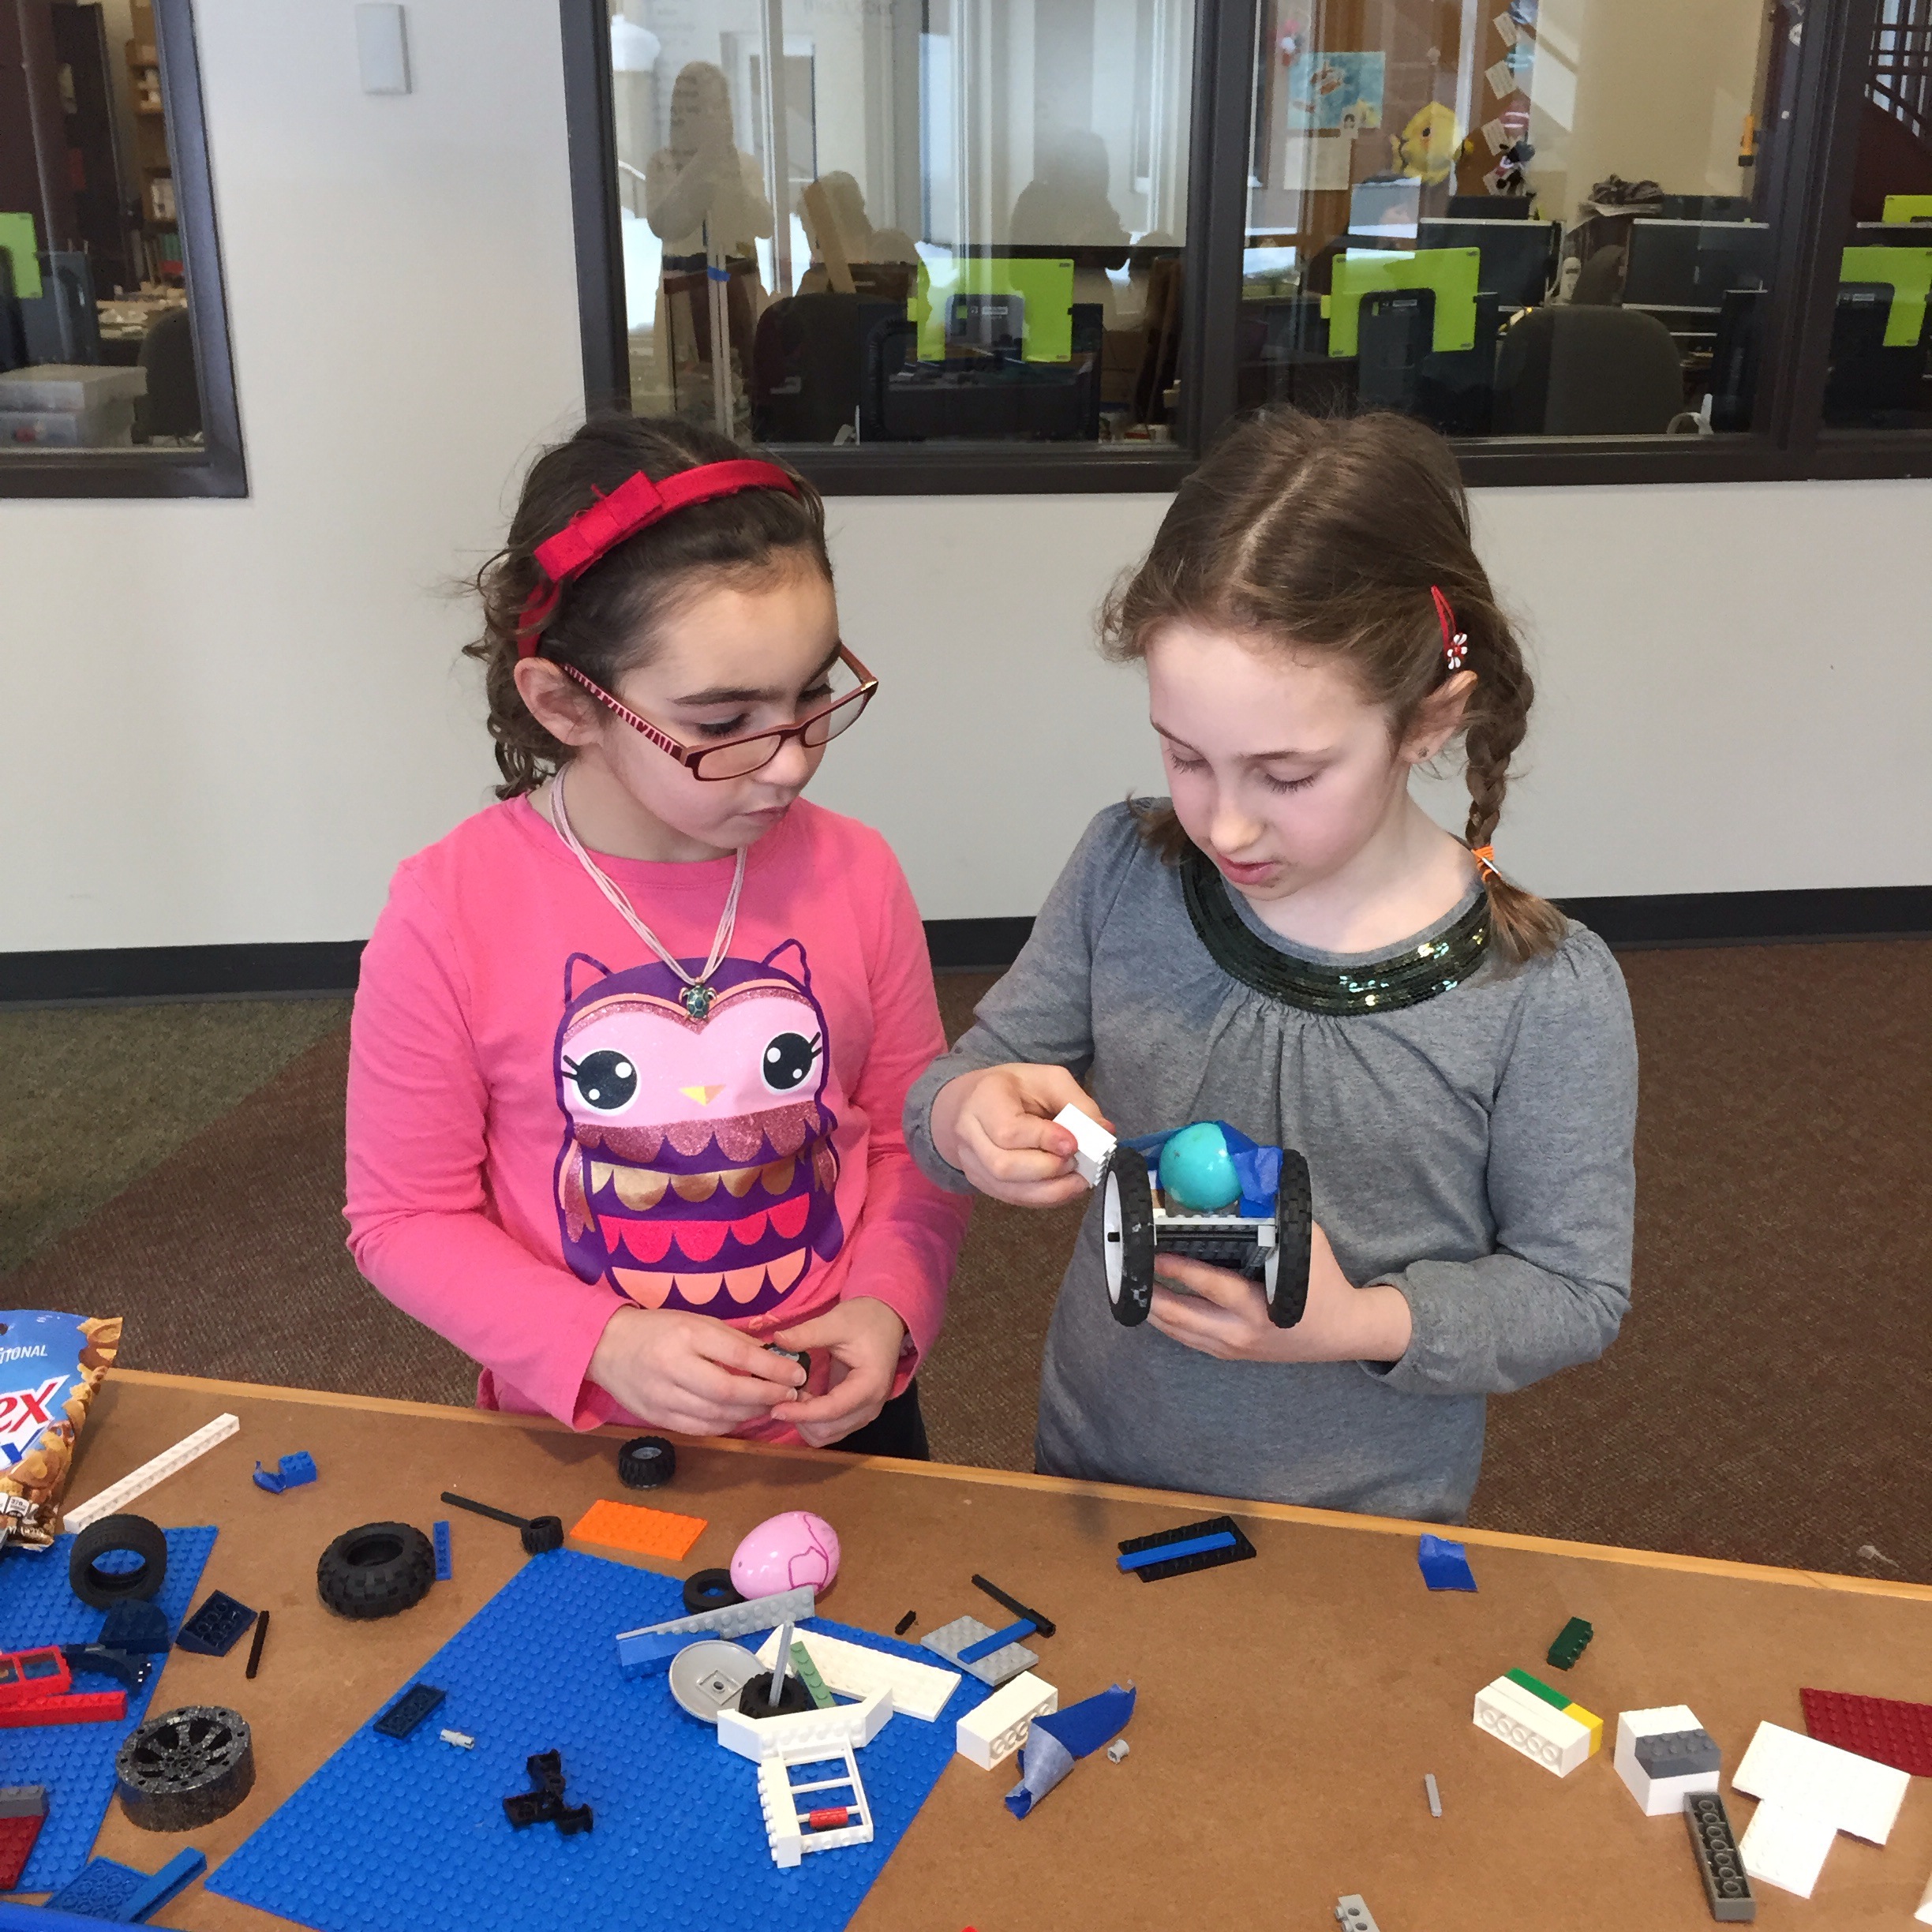
The girls had a fun task this week that is in preparation for building with Lego Mindstorm kits. They had to design a car that could safely race an egg (plastic of corse!). First they selected an egg and gave it a name and a face.
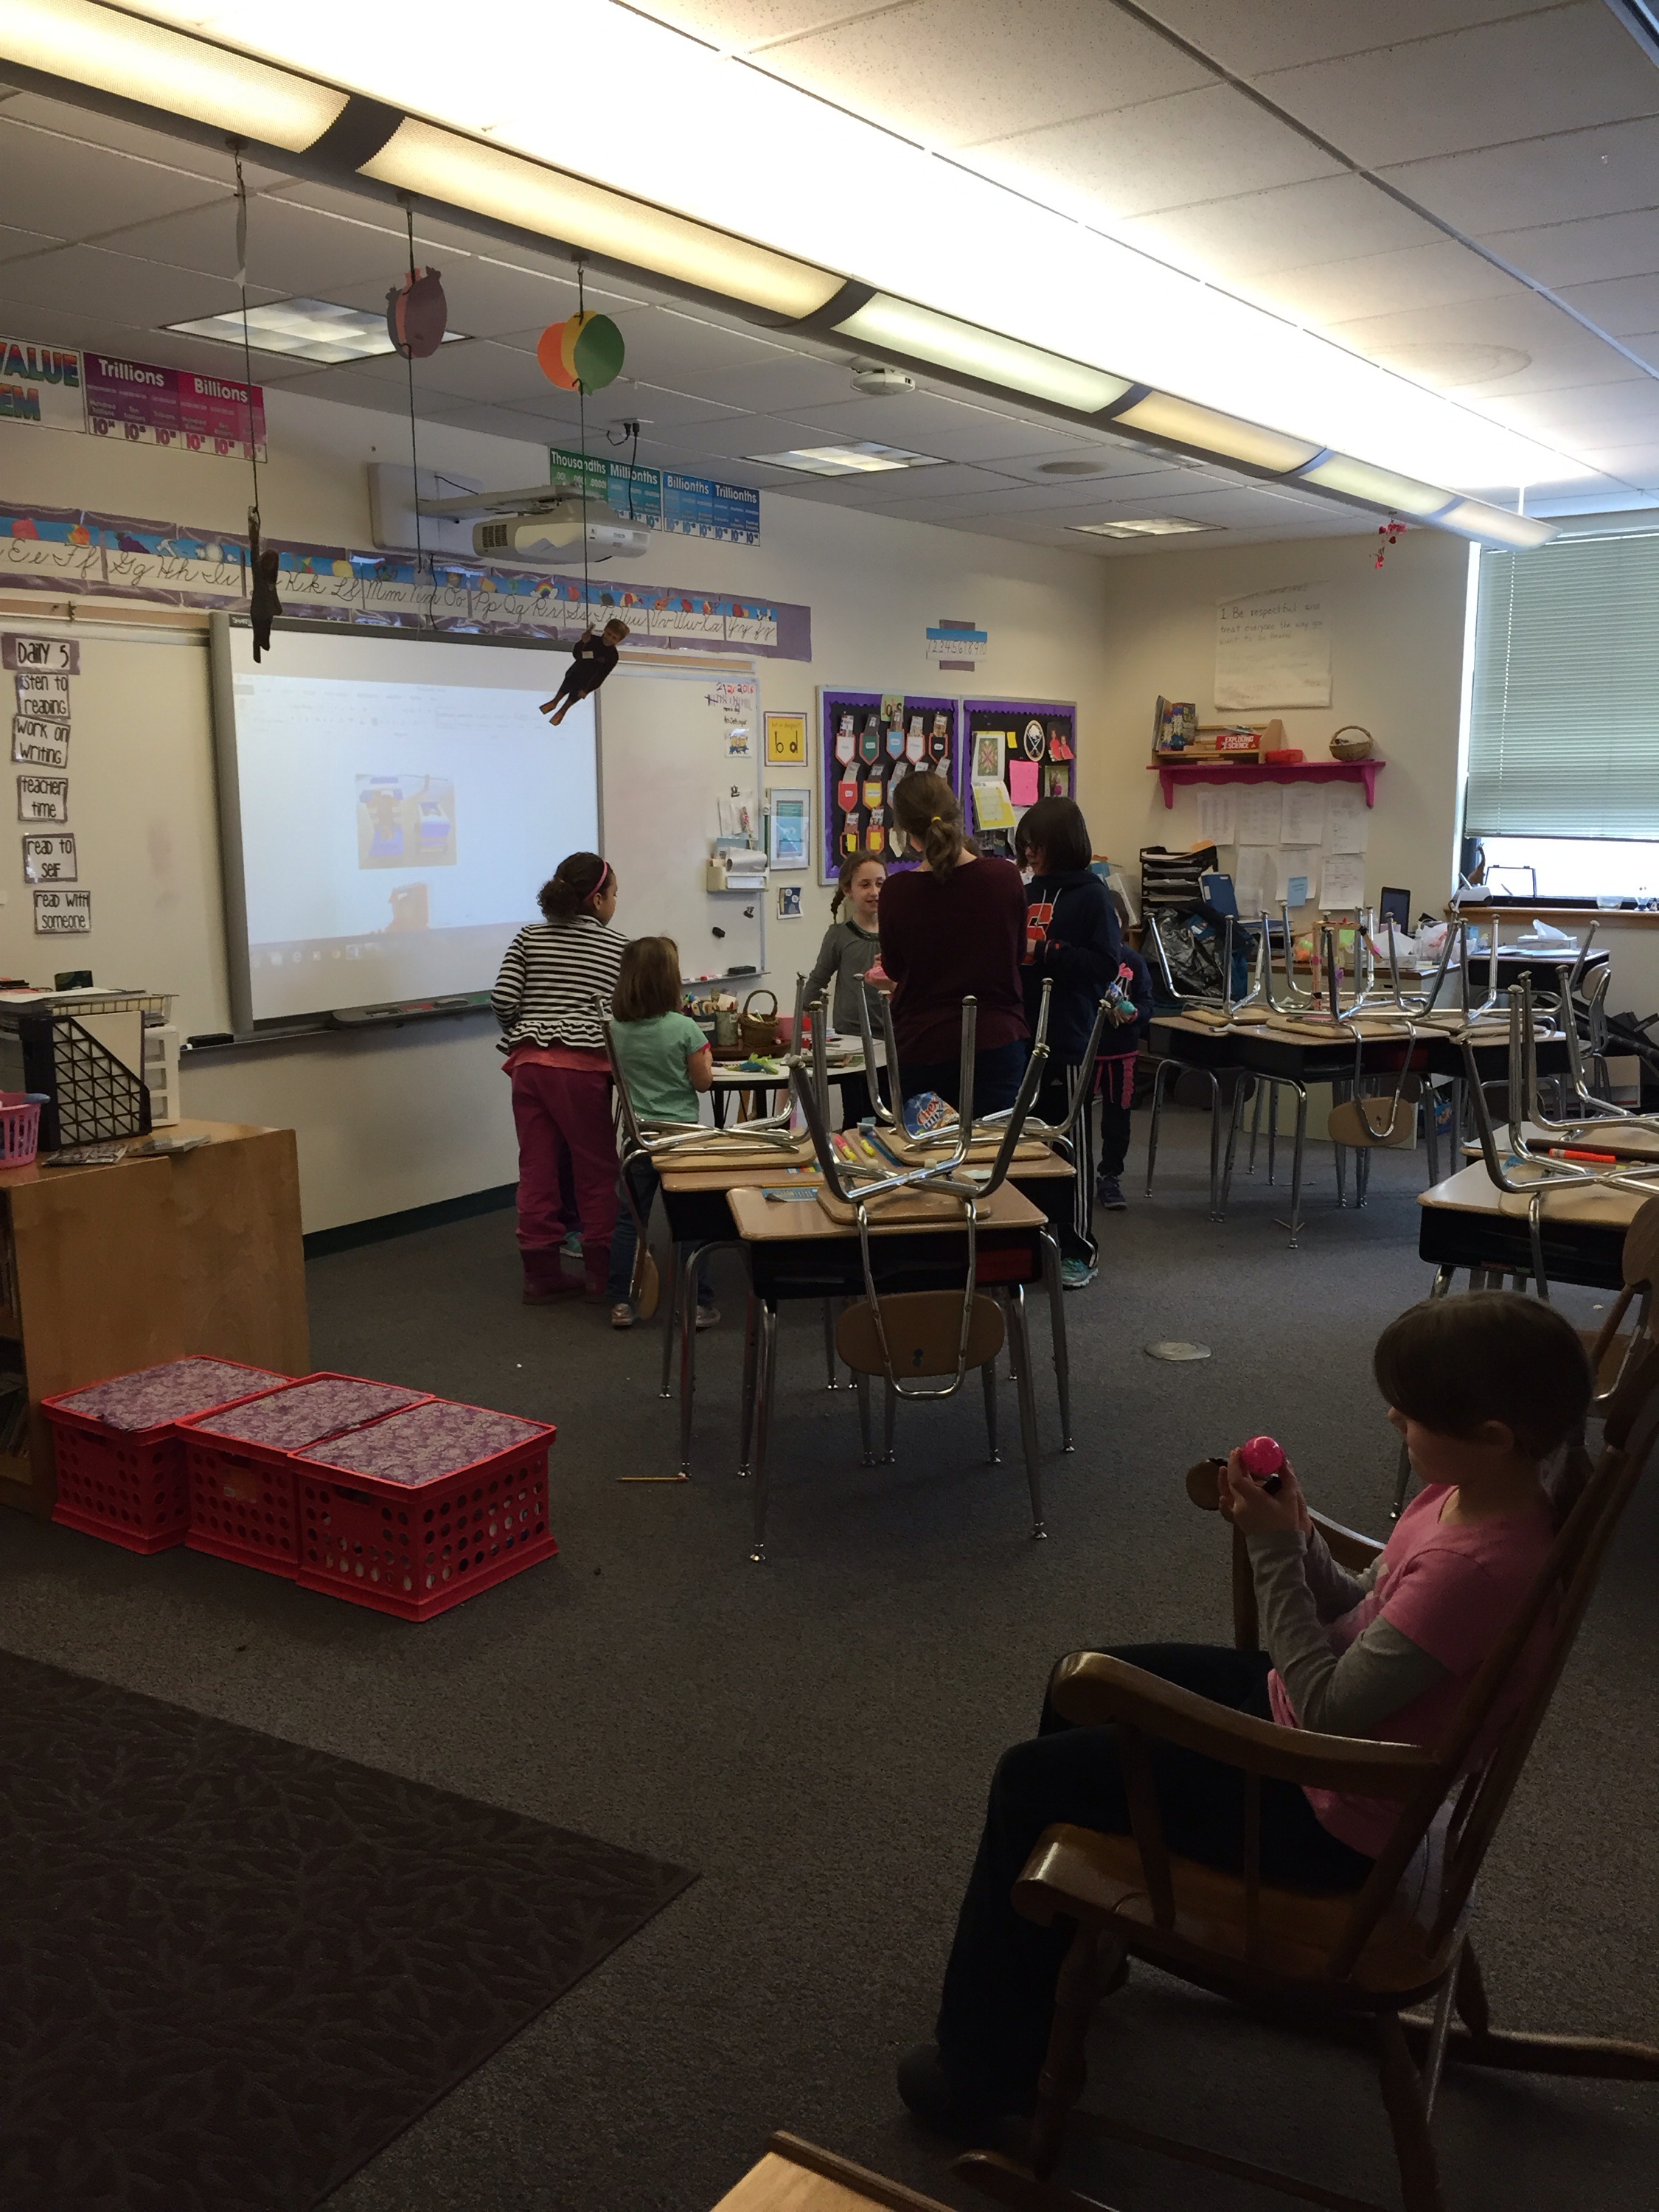
Next they had to select the right wheels for the job and design their car to safely transport their egg. There was lots of great design thinking involved! The girls were very focused on the task. They had many different designs and loved seeing what each one came up with. When they finished they tested their car and made modifications if they needed it. They even got a chance to race each other!

these girls rock! Great job!
Jan 25
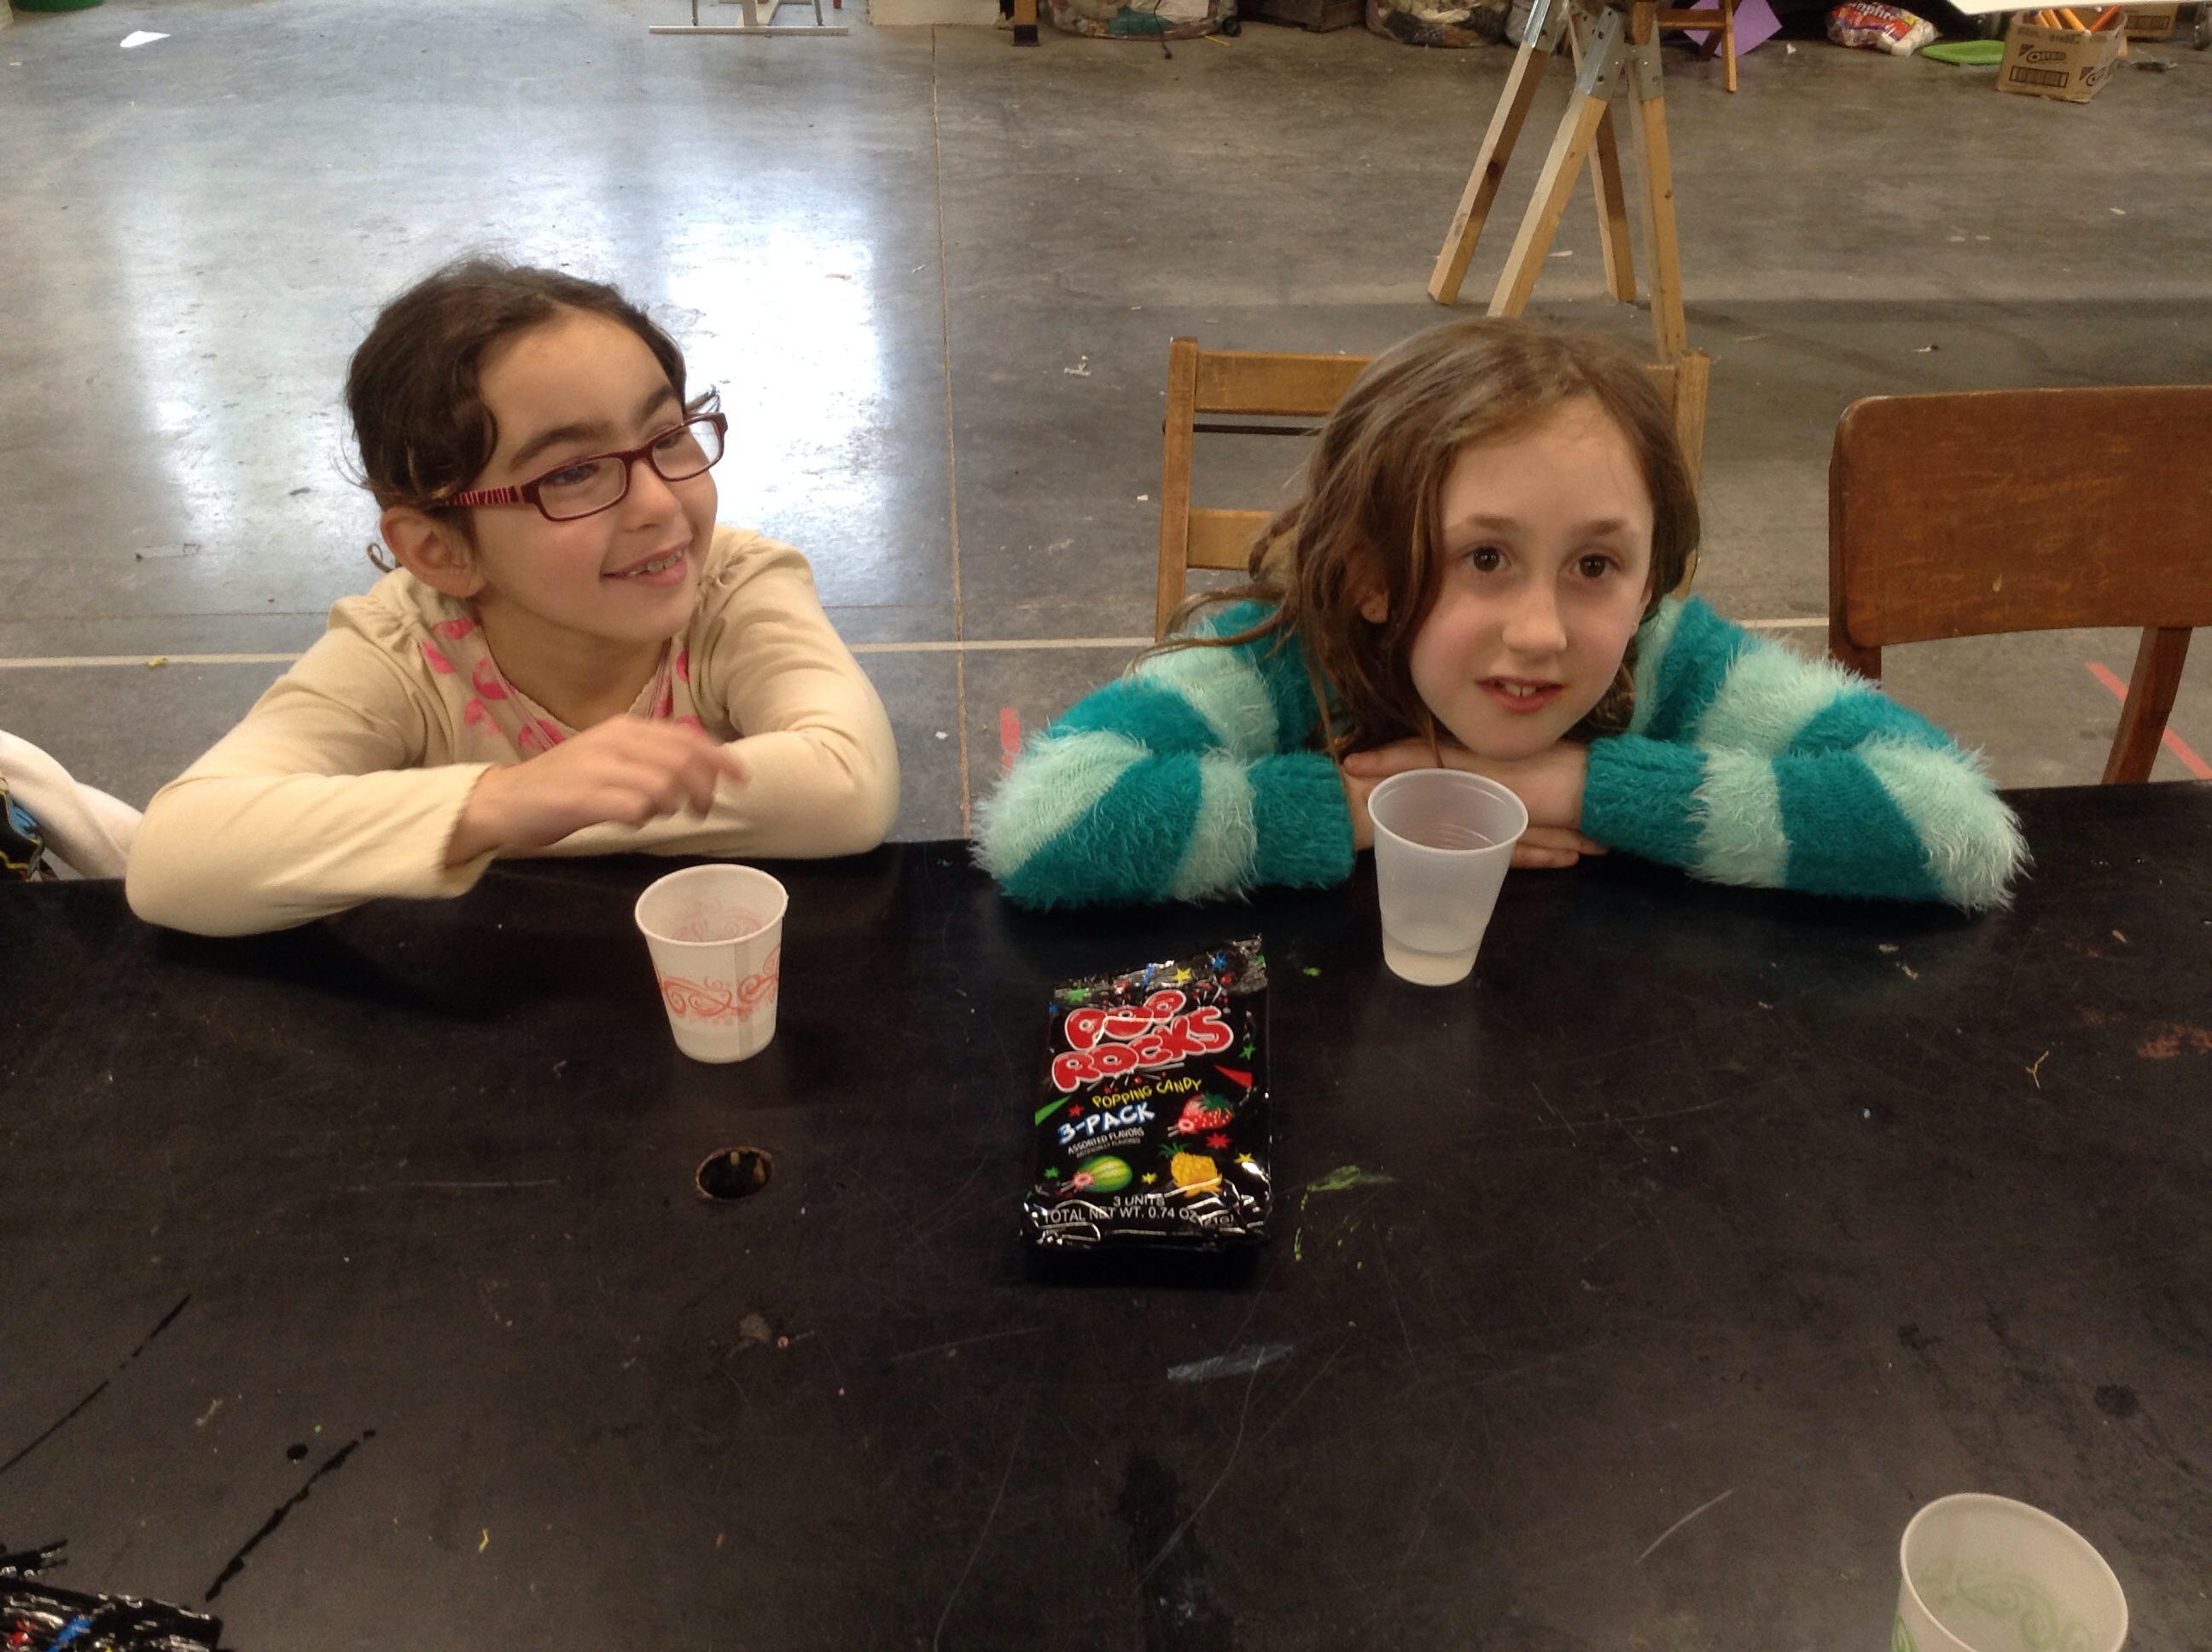
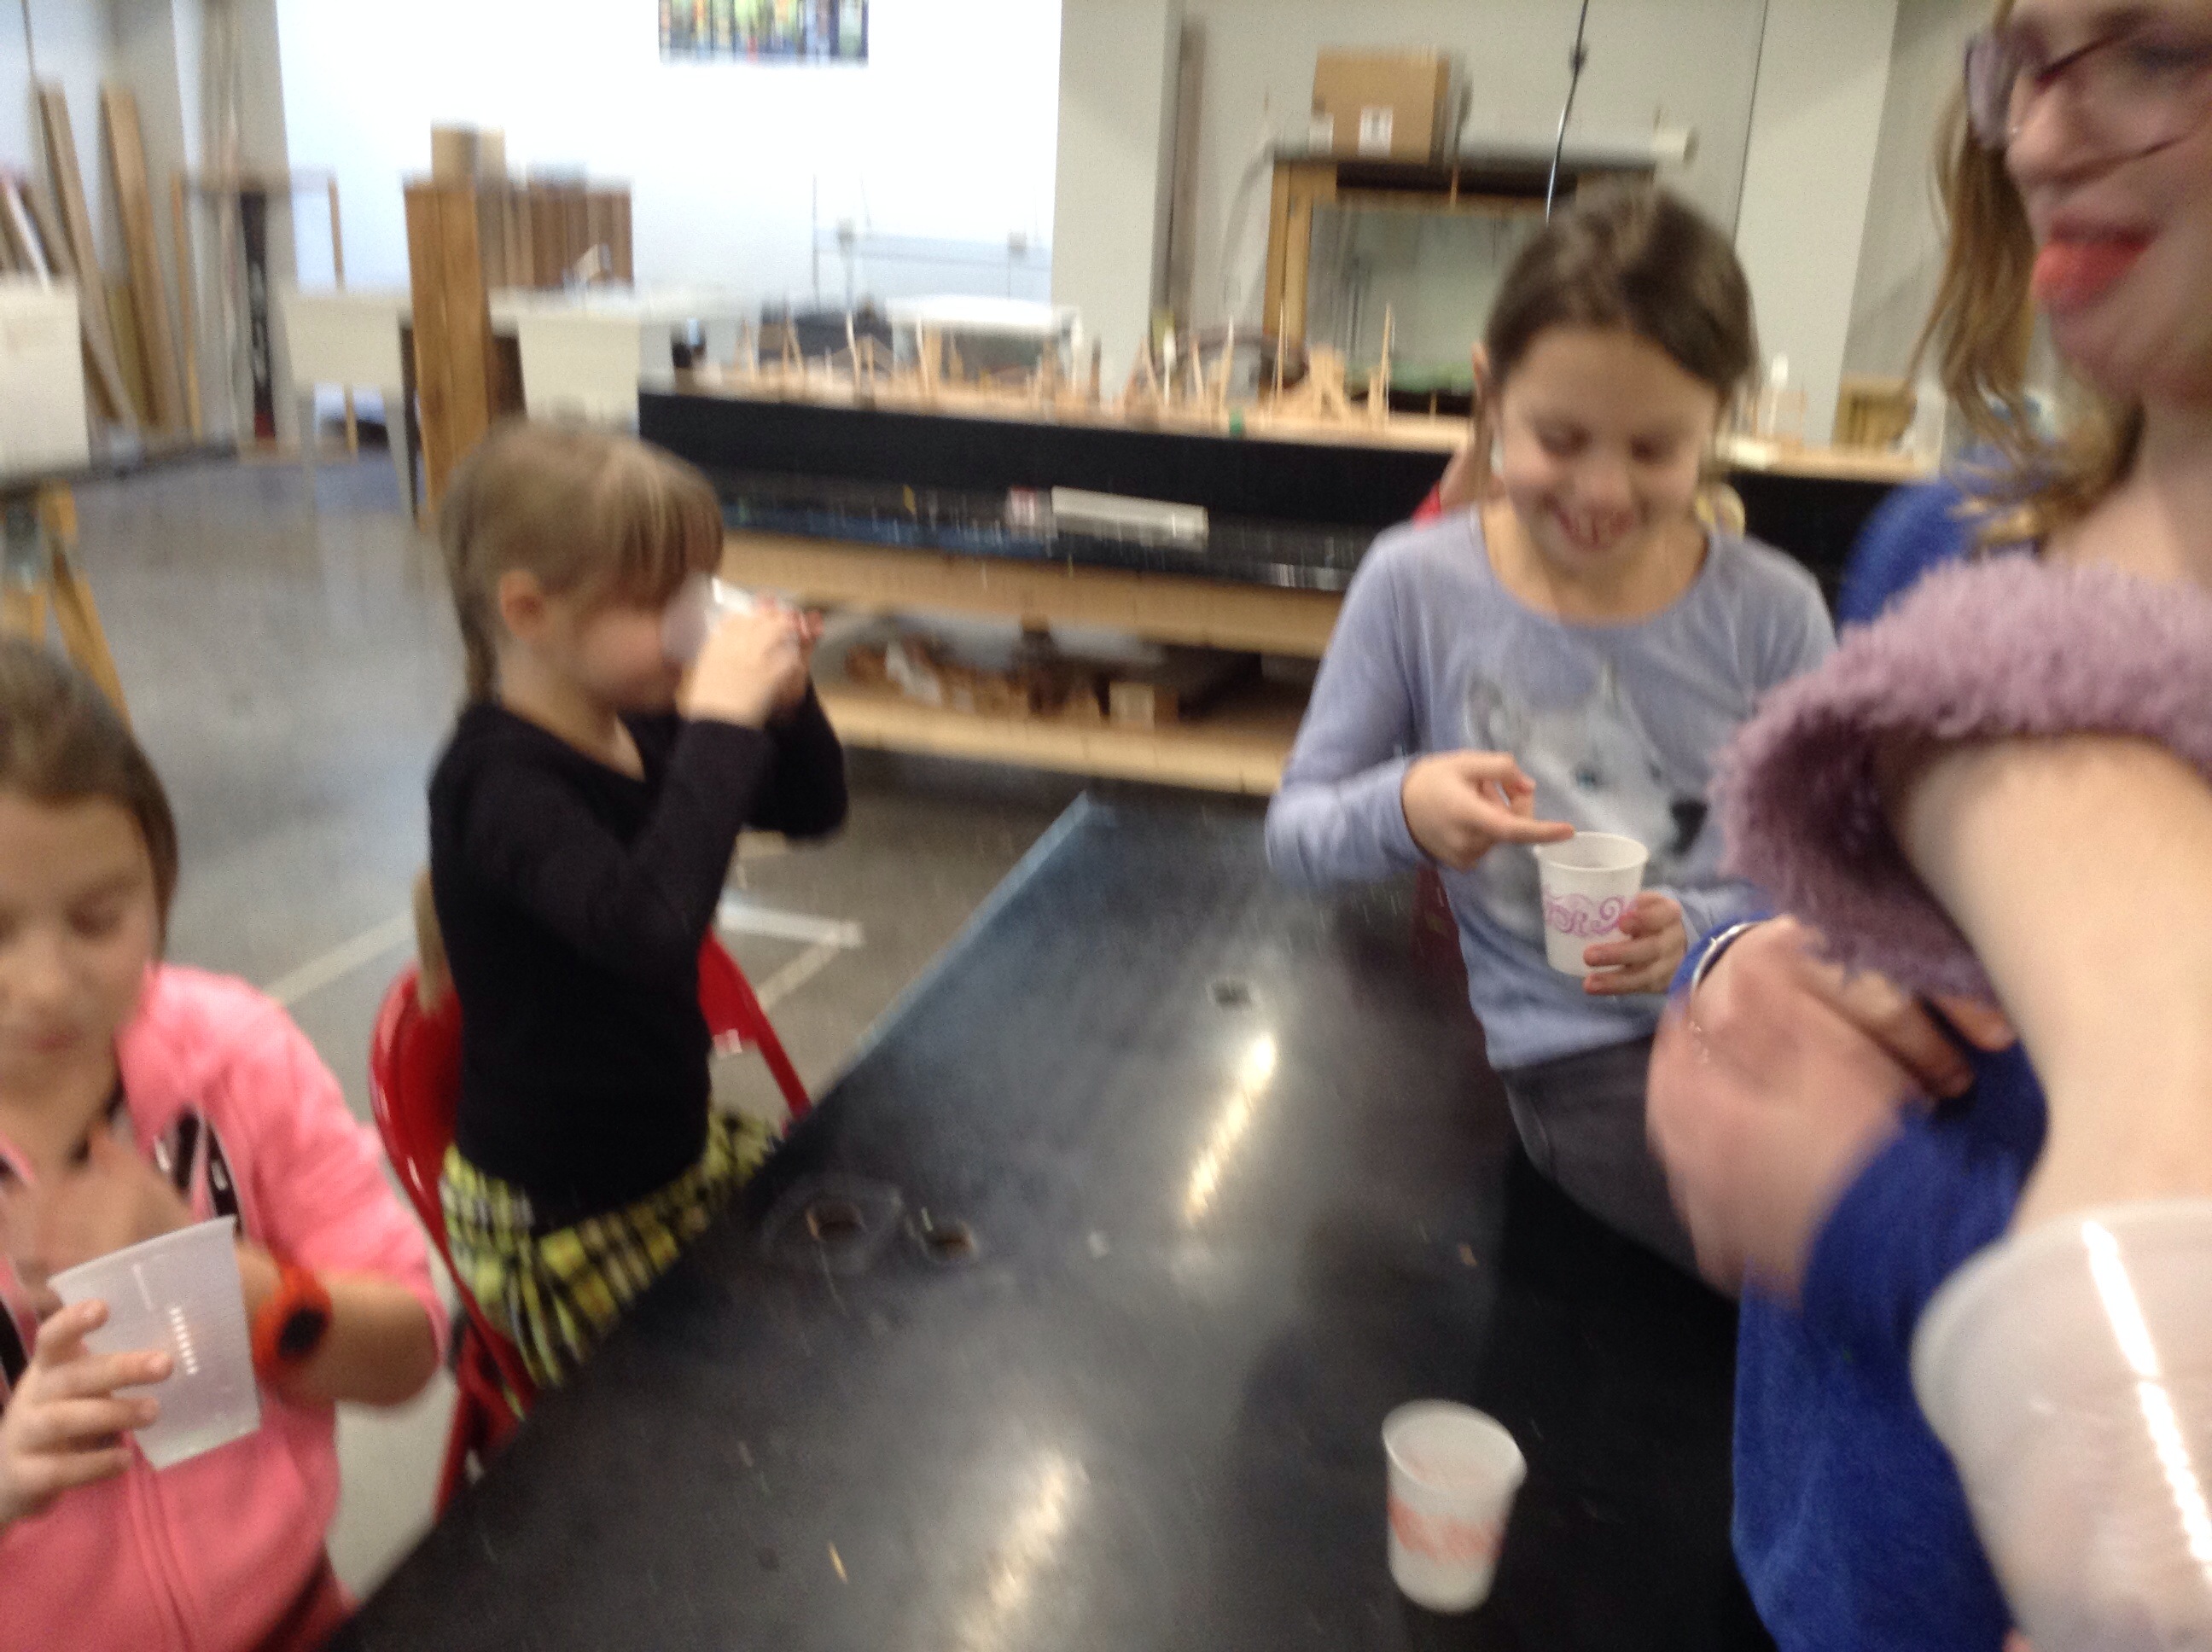
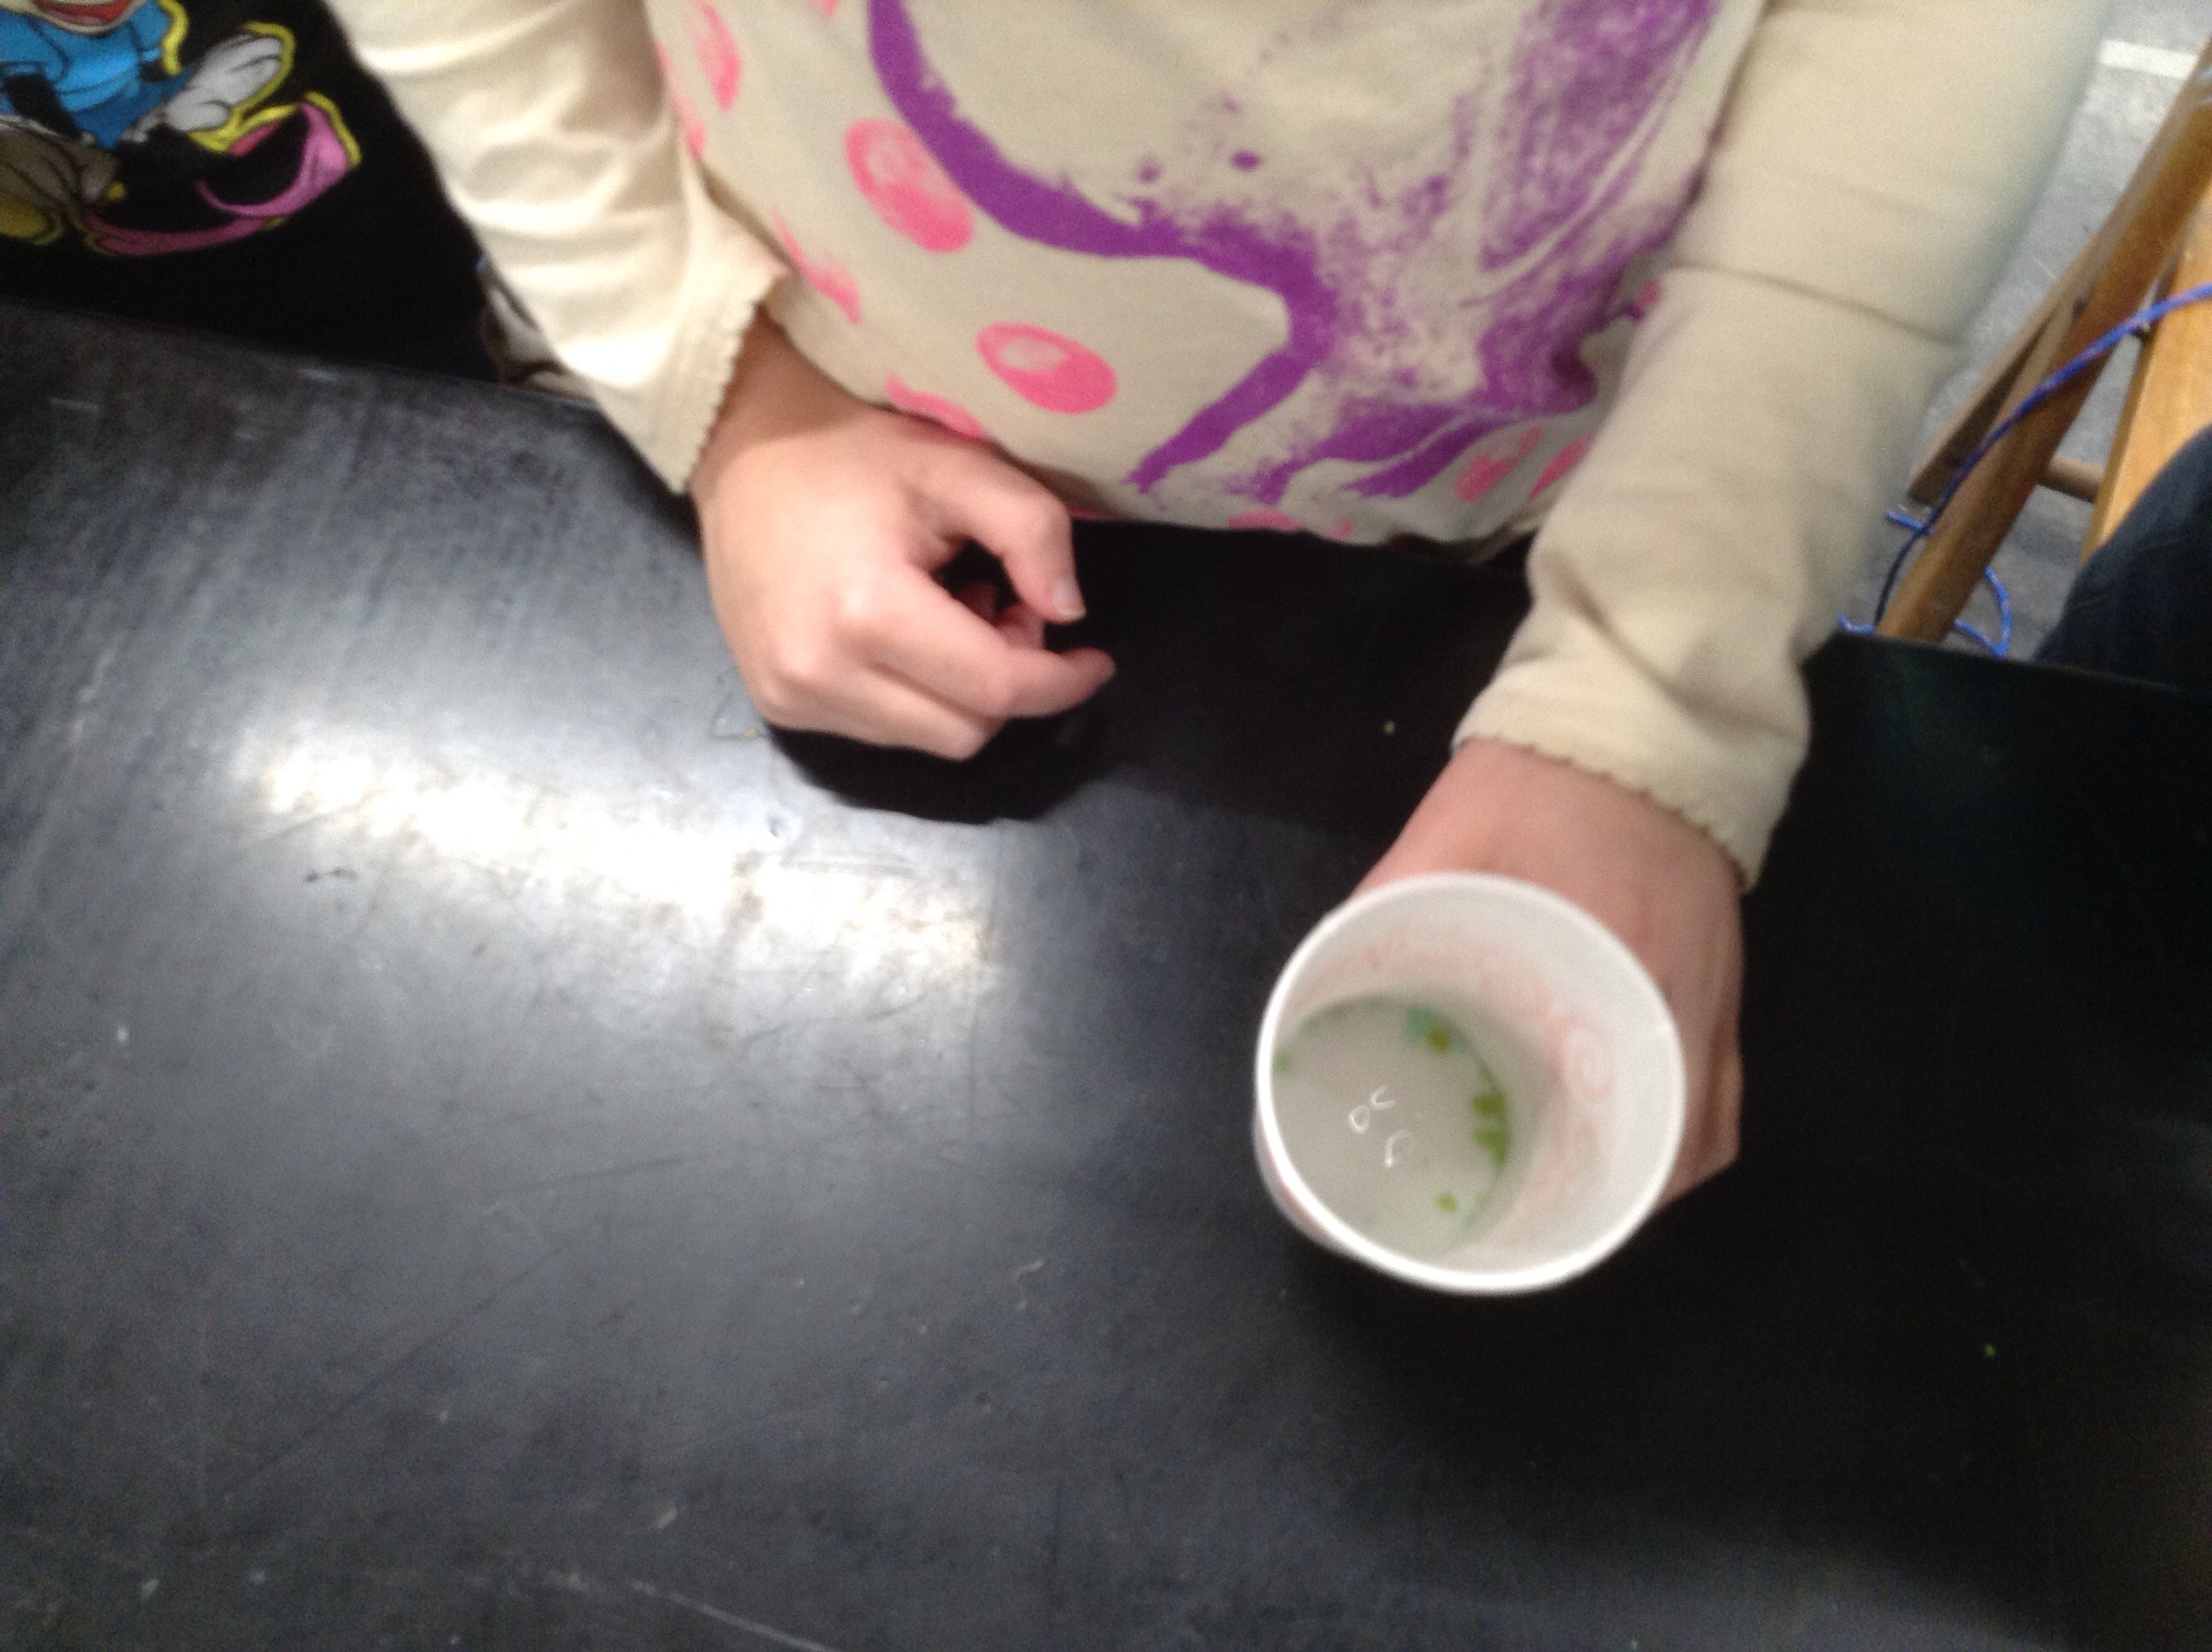
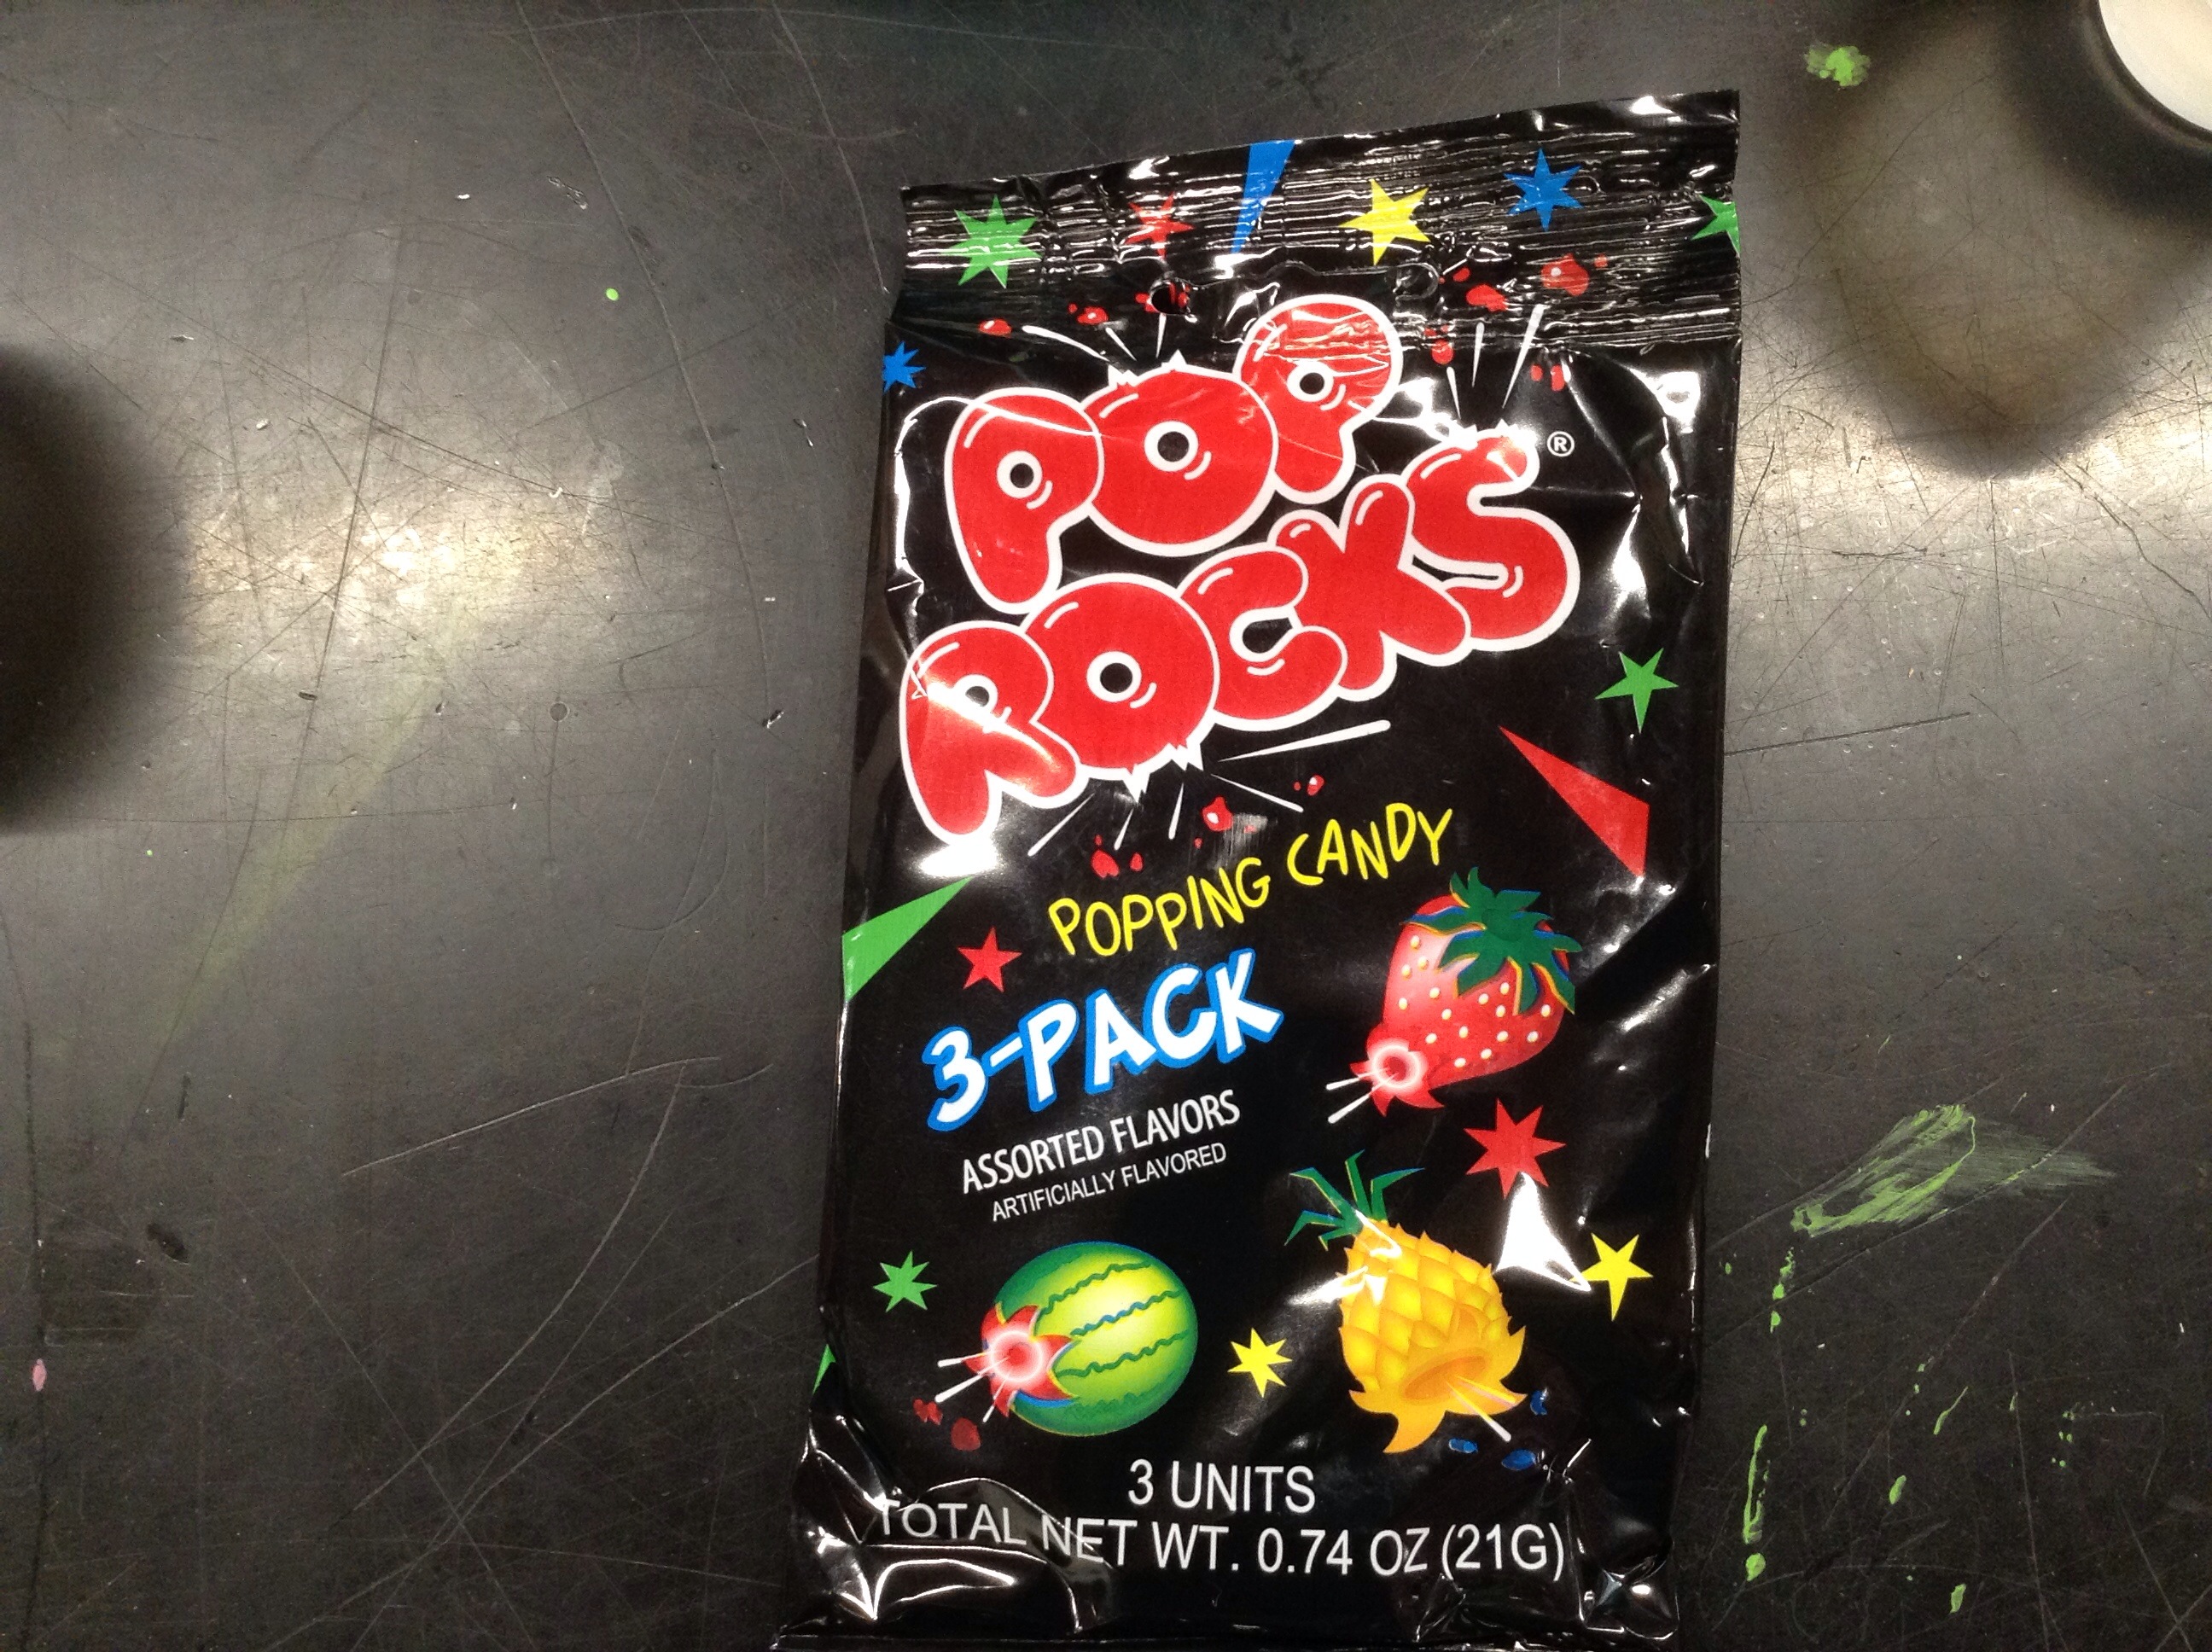
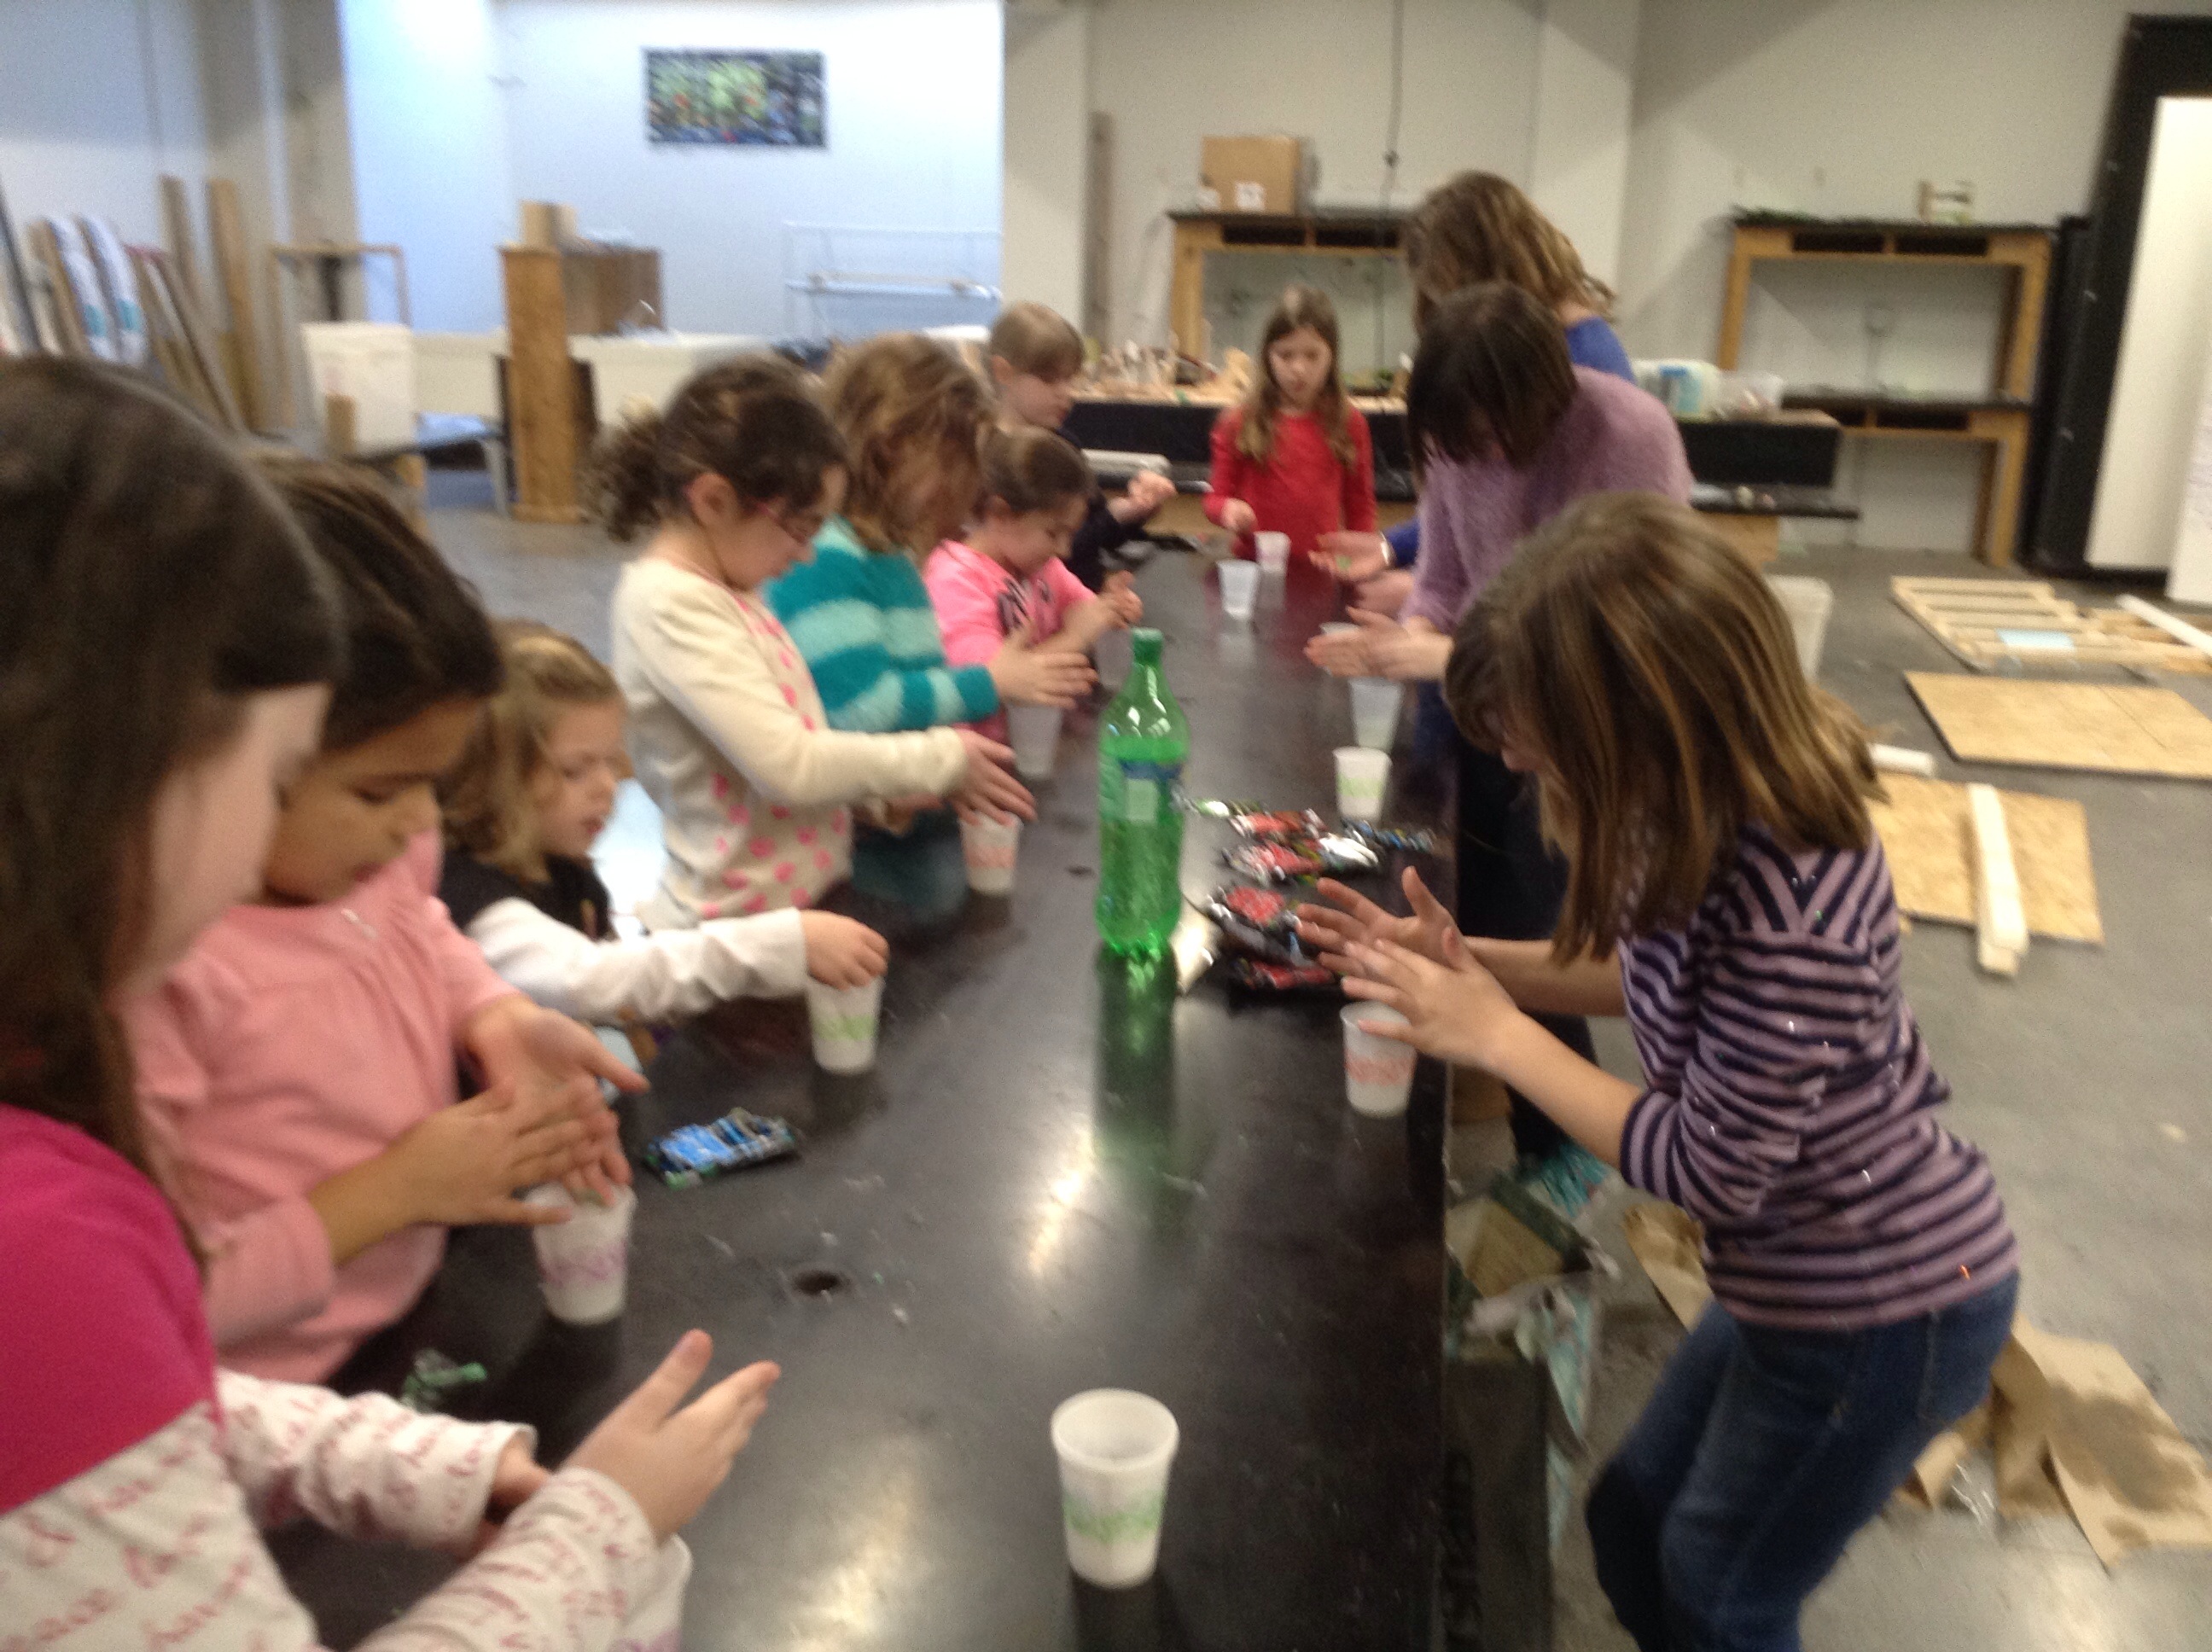
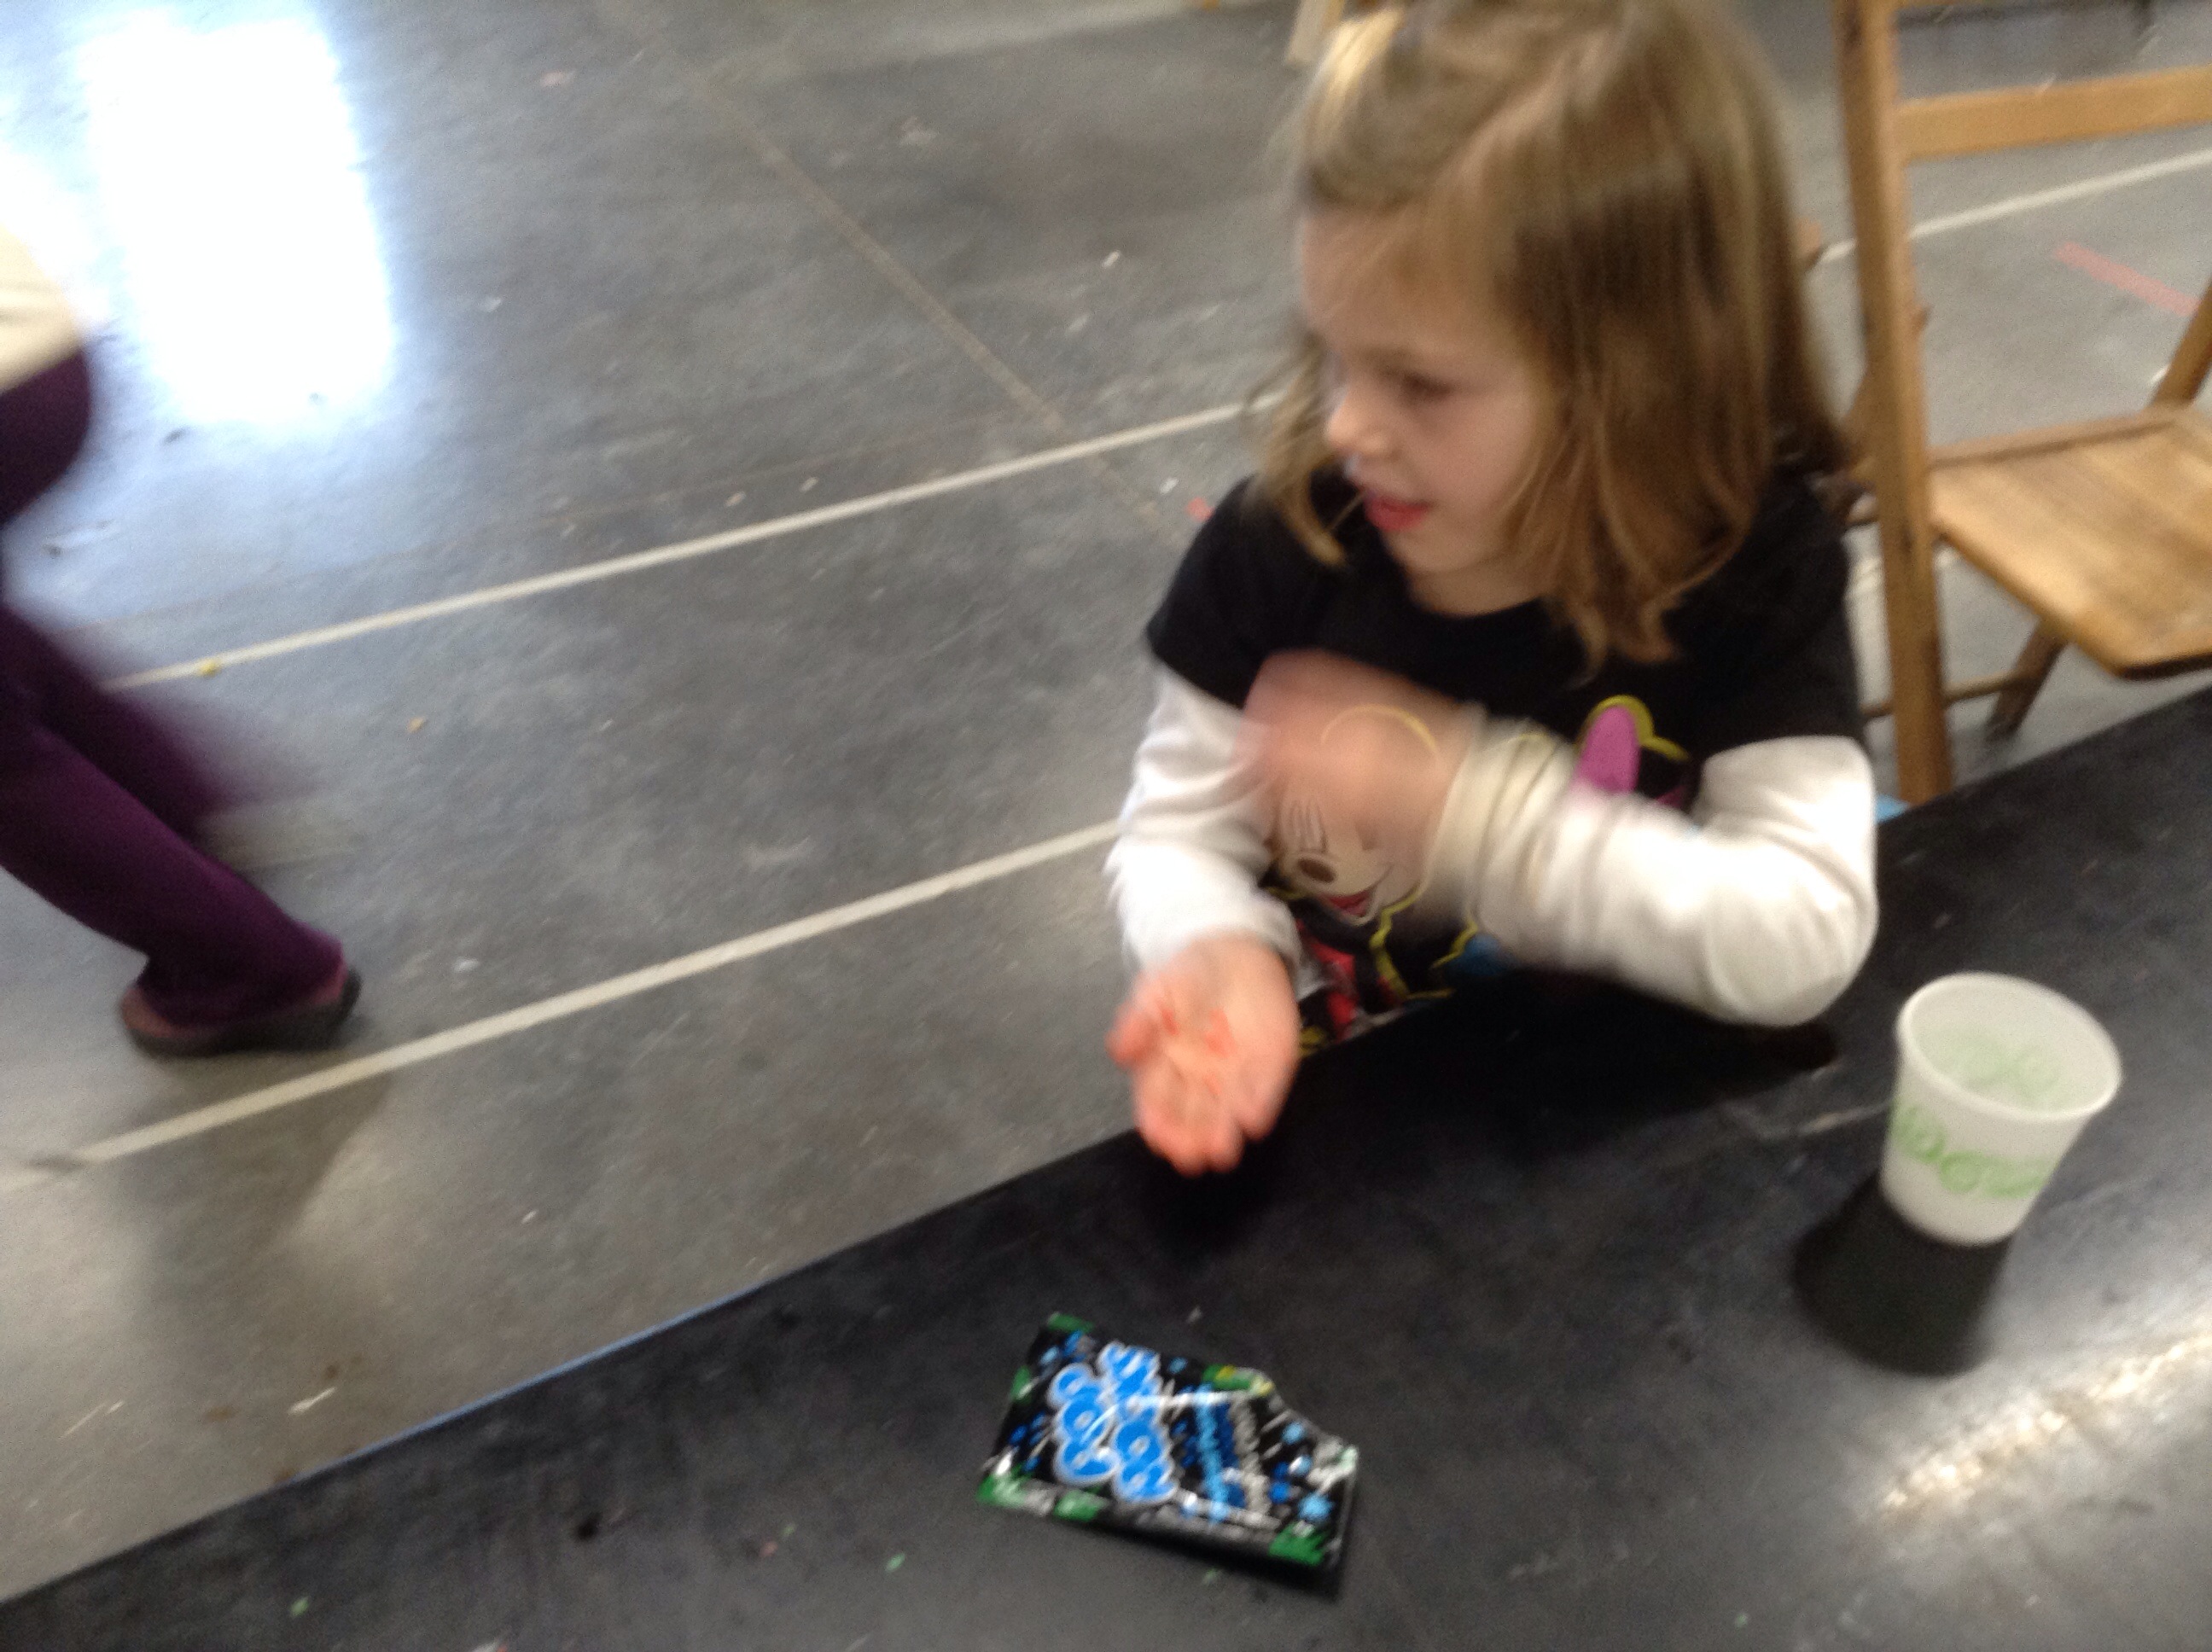
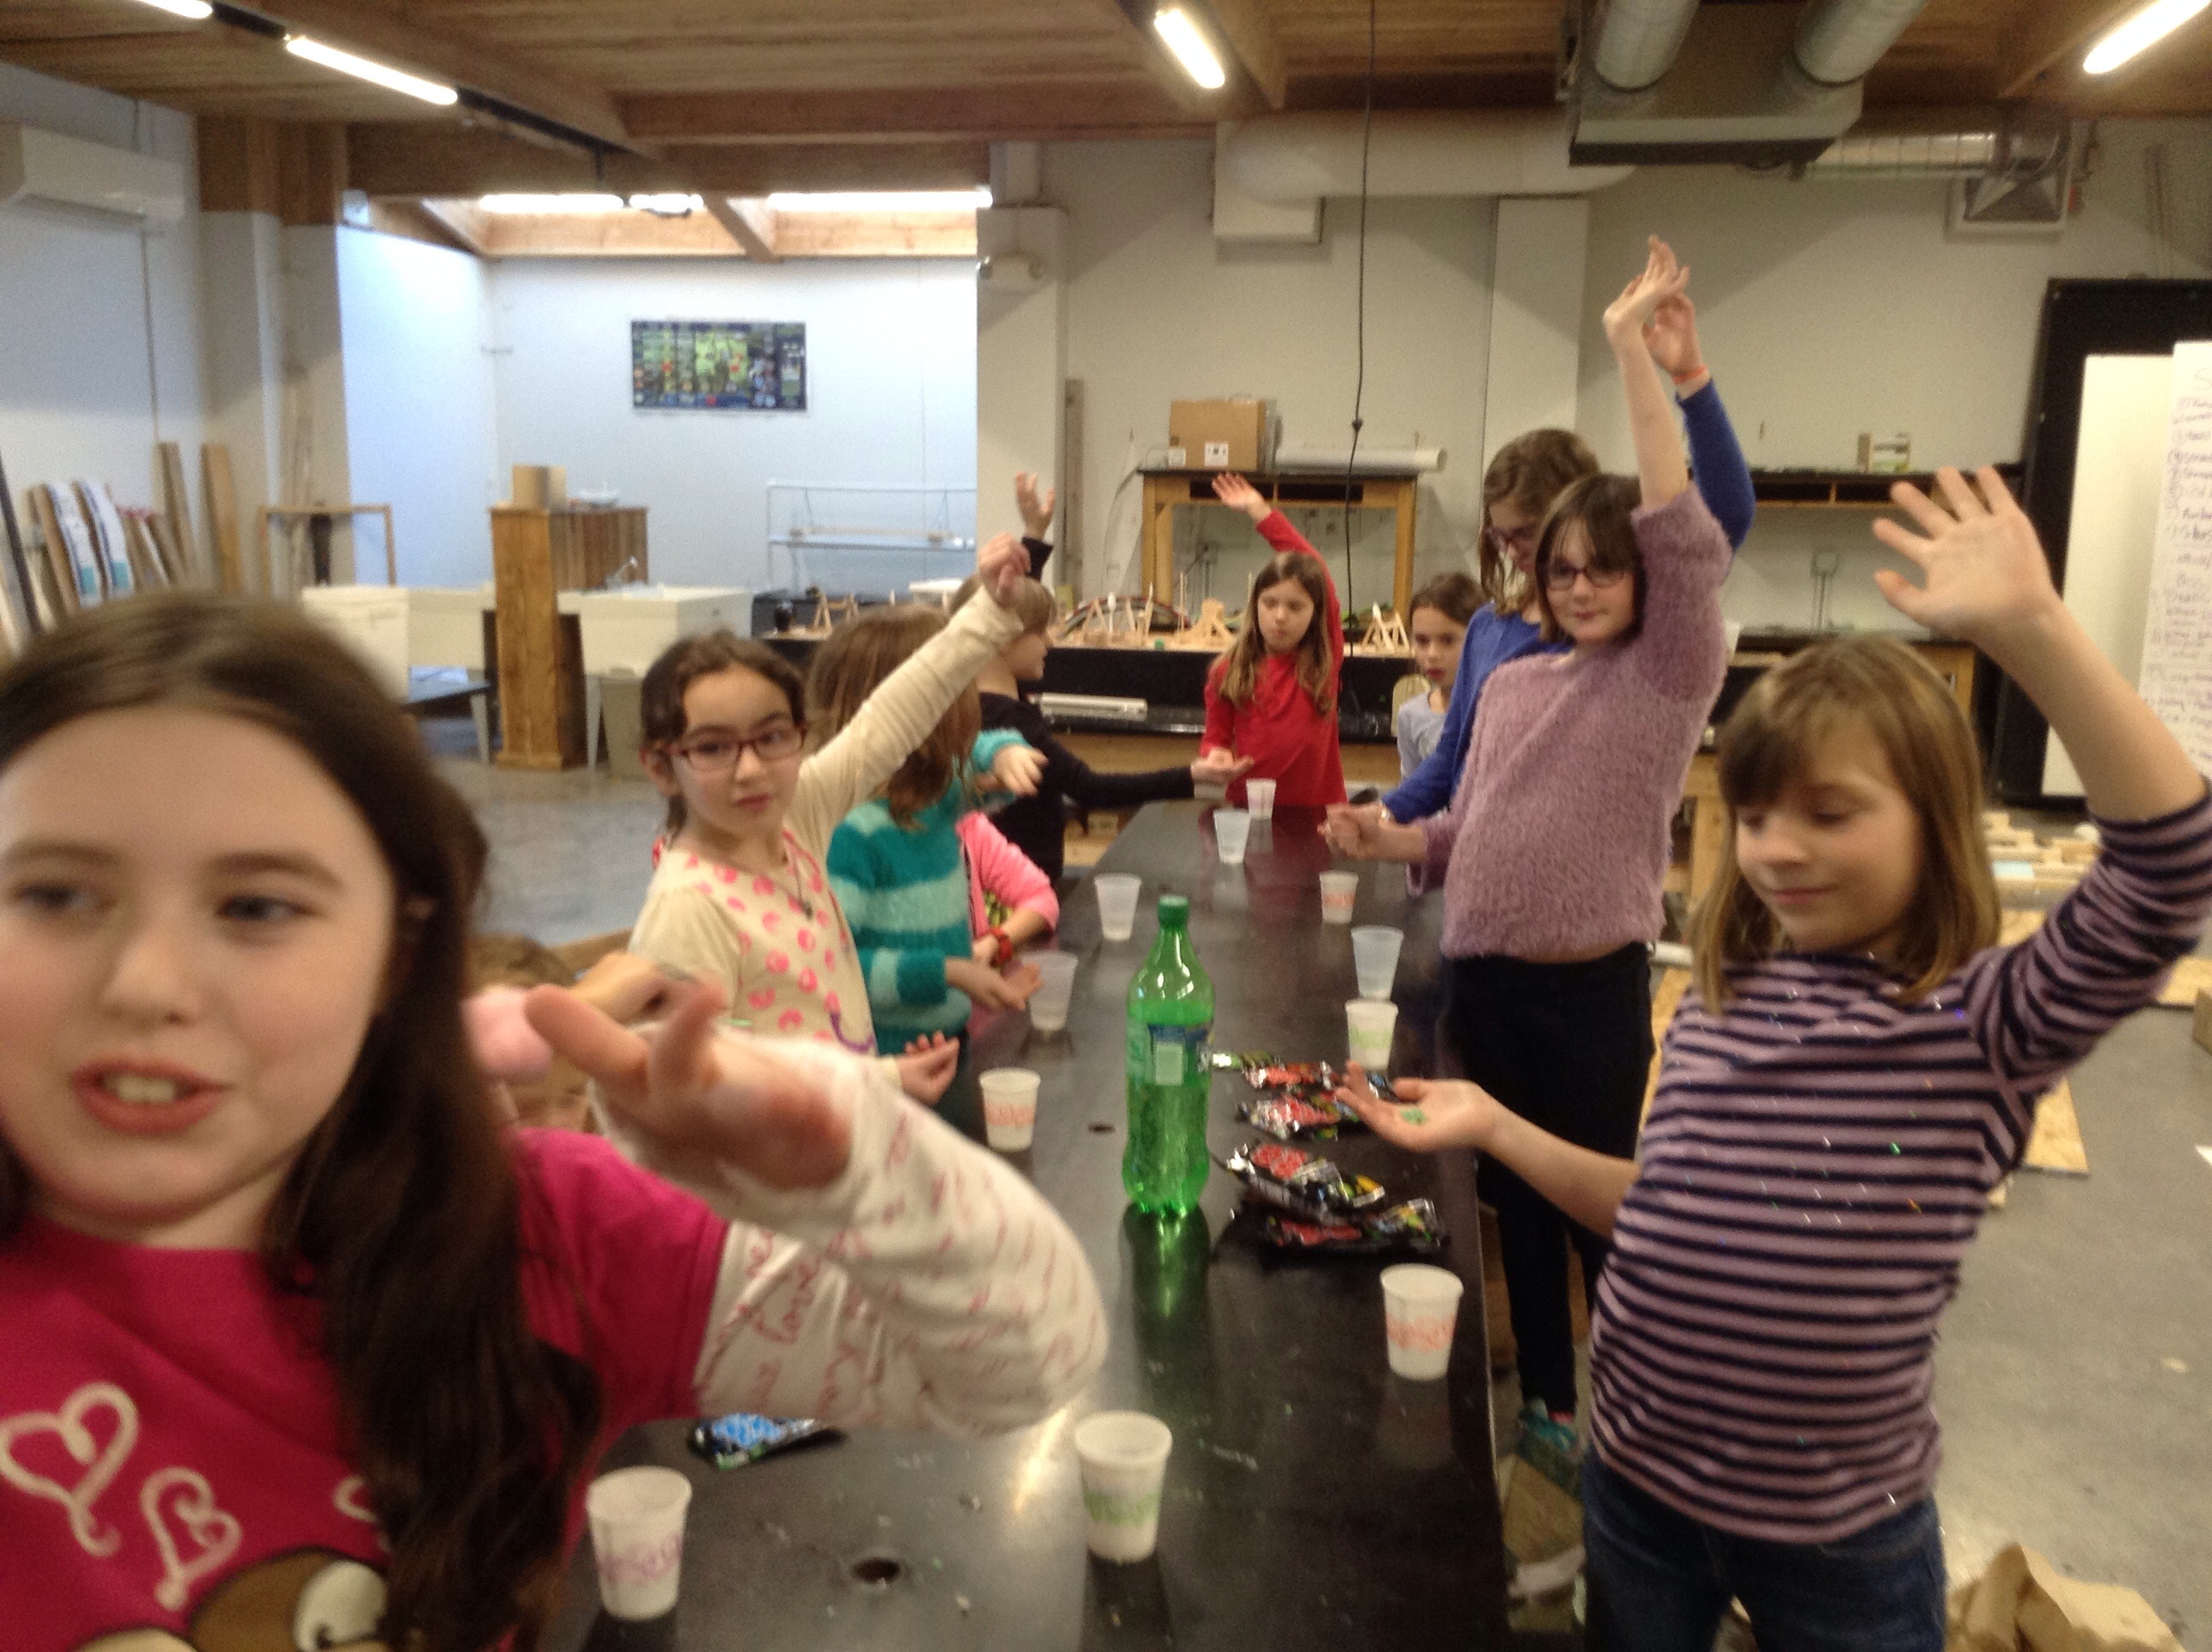
Mythbusters: Exploding Pop Rocks and Does Bread land butter side down? Science myths testable questions
This past week in STEM, we tested some pretty fun myths. We had such a great time last week, so I wanted to continue mybusting one more week.
The girls have been asking to do experiments with candy (exploding candy) for months. I thought, this week, we should try it out. There is a myth that if you drink soda and eat pop rocks, that your stomach will explode. The girls were up for testing this myth out (in cups of course! ). They also couldn’t help but sample along the way. We did our control first and tested to see if the pop rocks would explode in water. We dropped them in and they fizzed, but nothing more. Next we tried them in soda. They did the same. Just fizz… although some of the girls thought they fizzed a bit more in the soda. Any brave girls that wanted to, were allowed to drink the remaining soda in the cup. No worries, all stomachs were still intact :). Overall this myth was tasty, but busted!

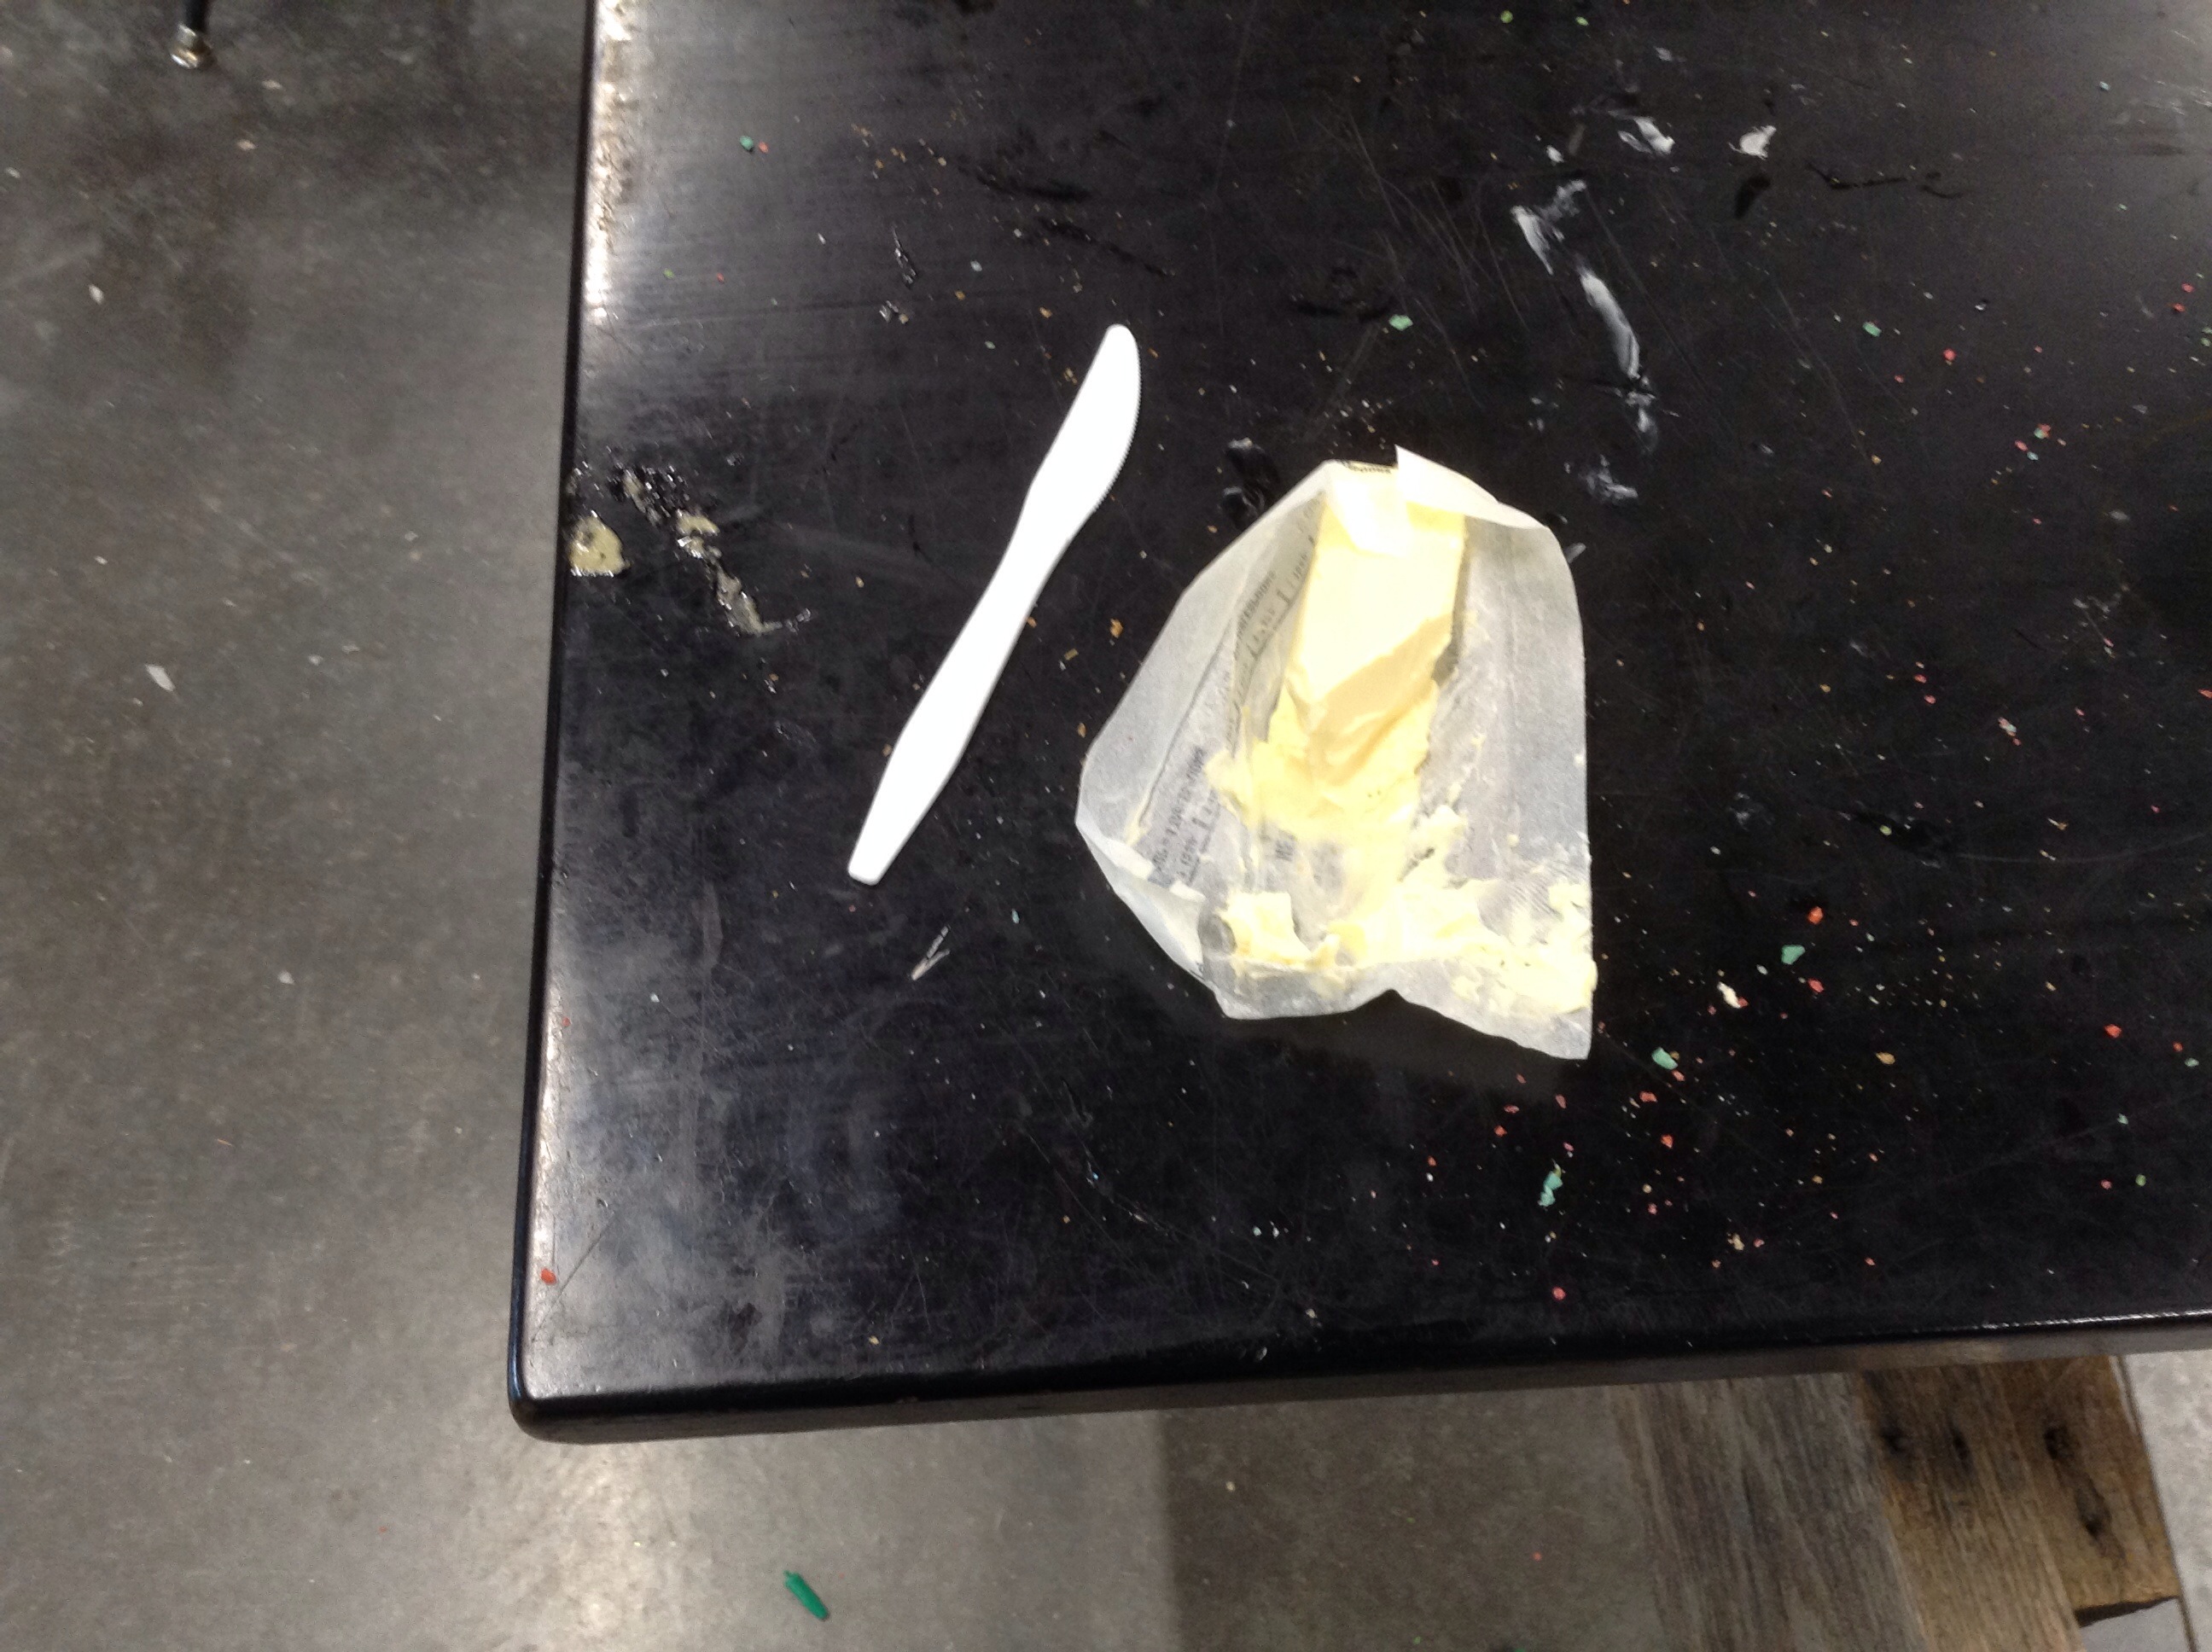
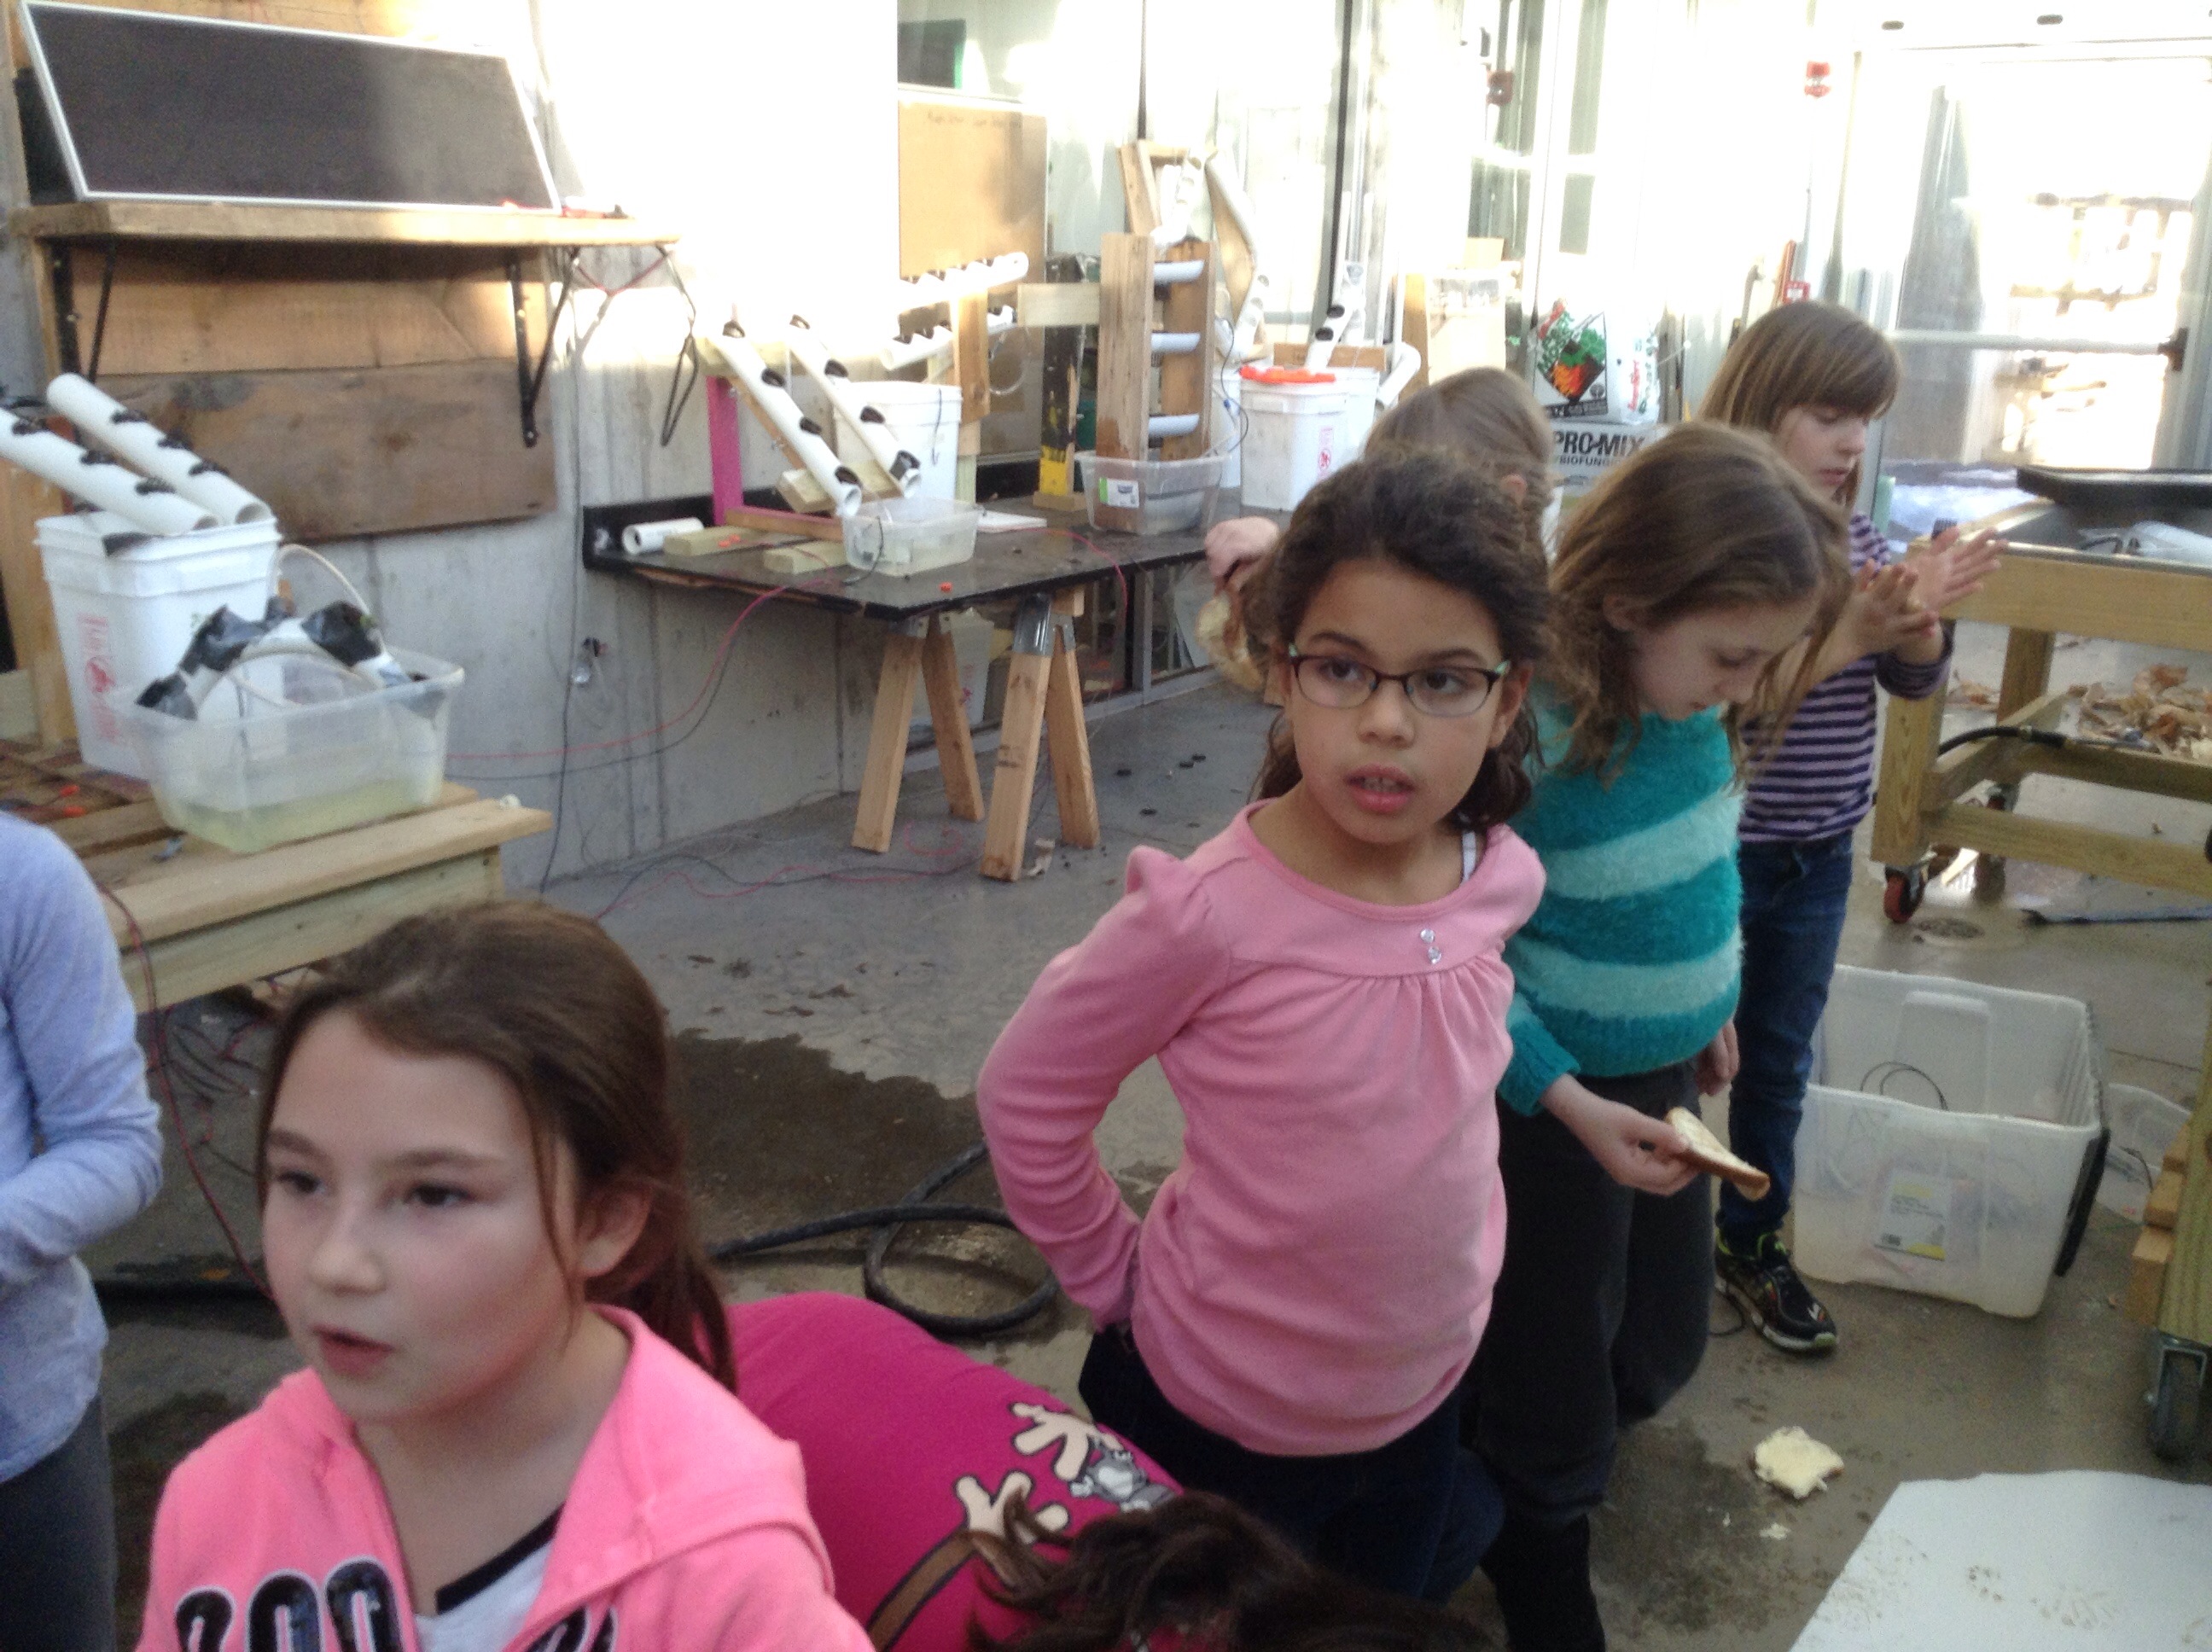
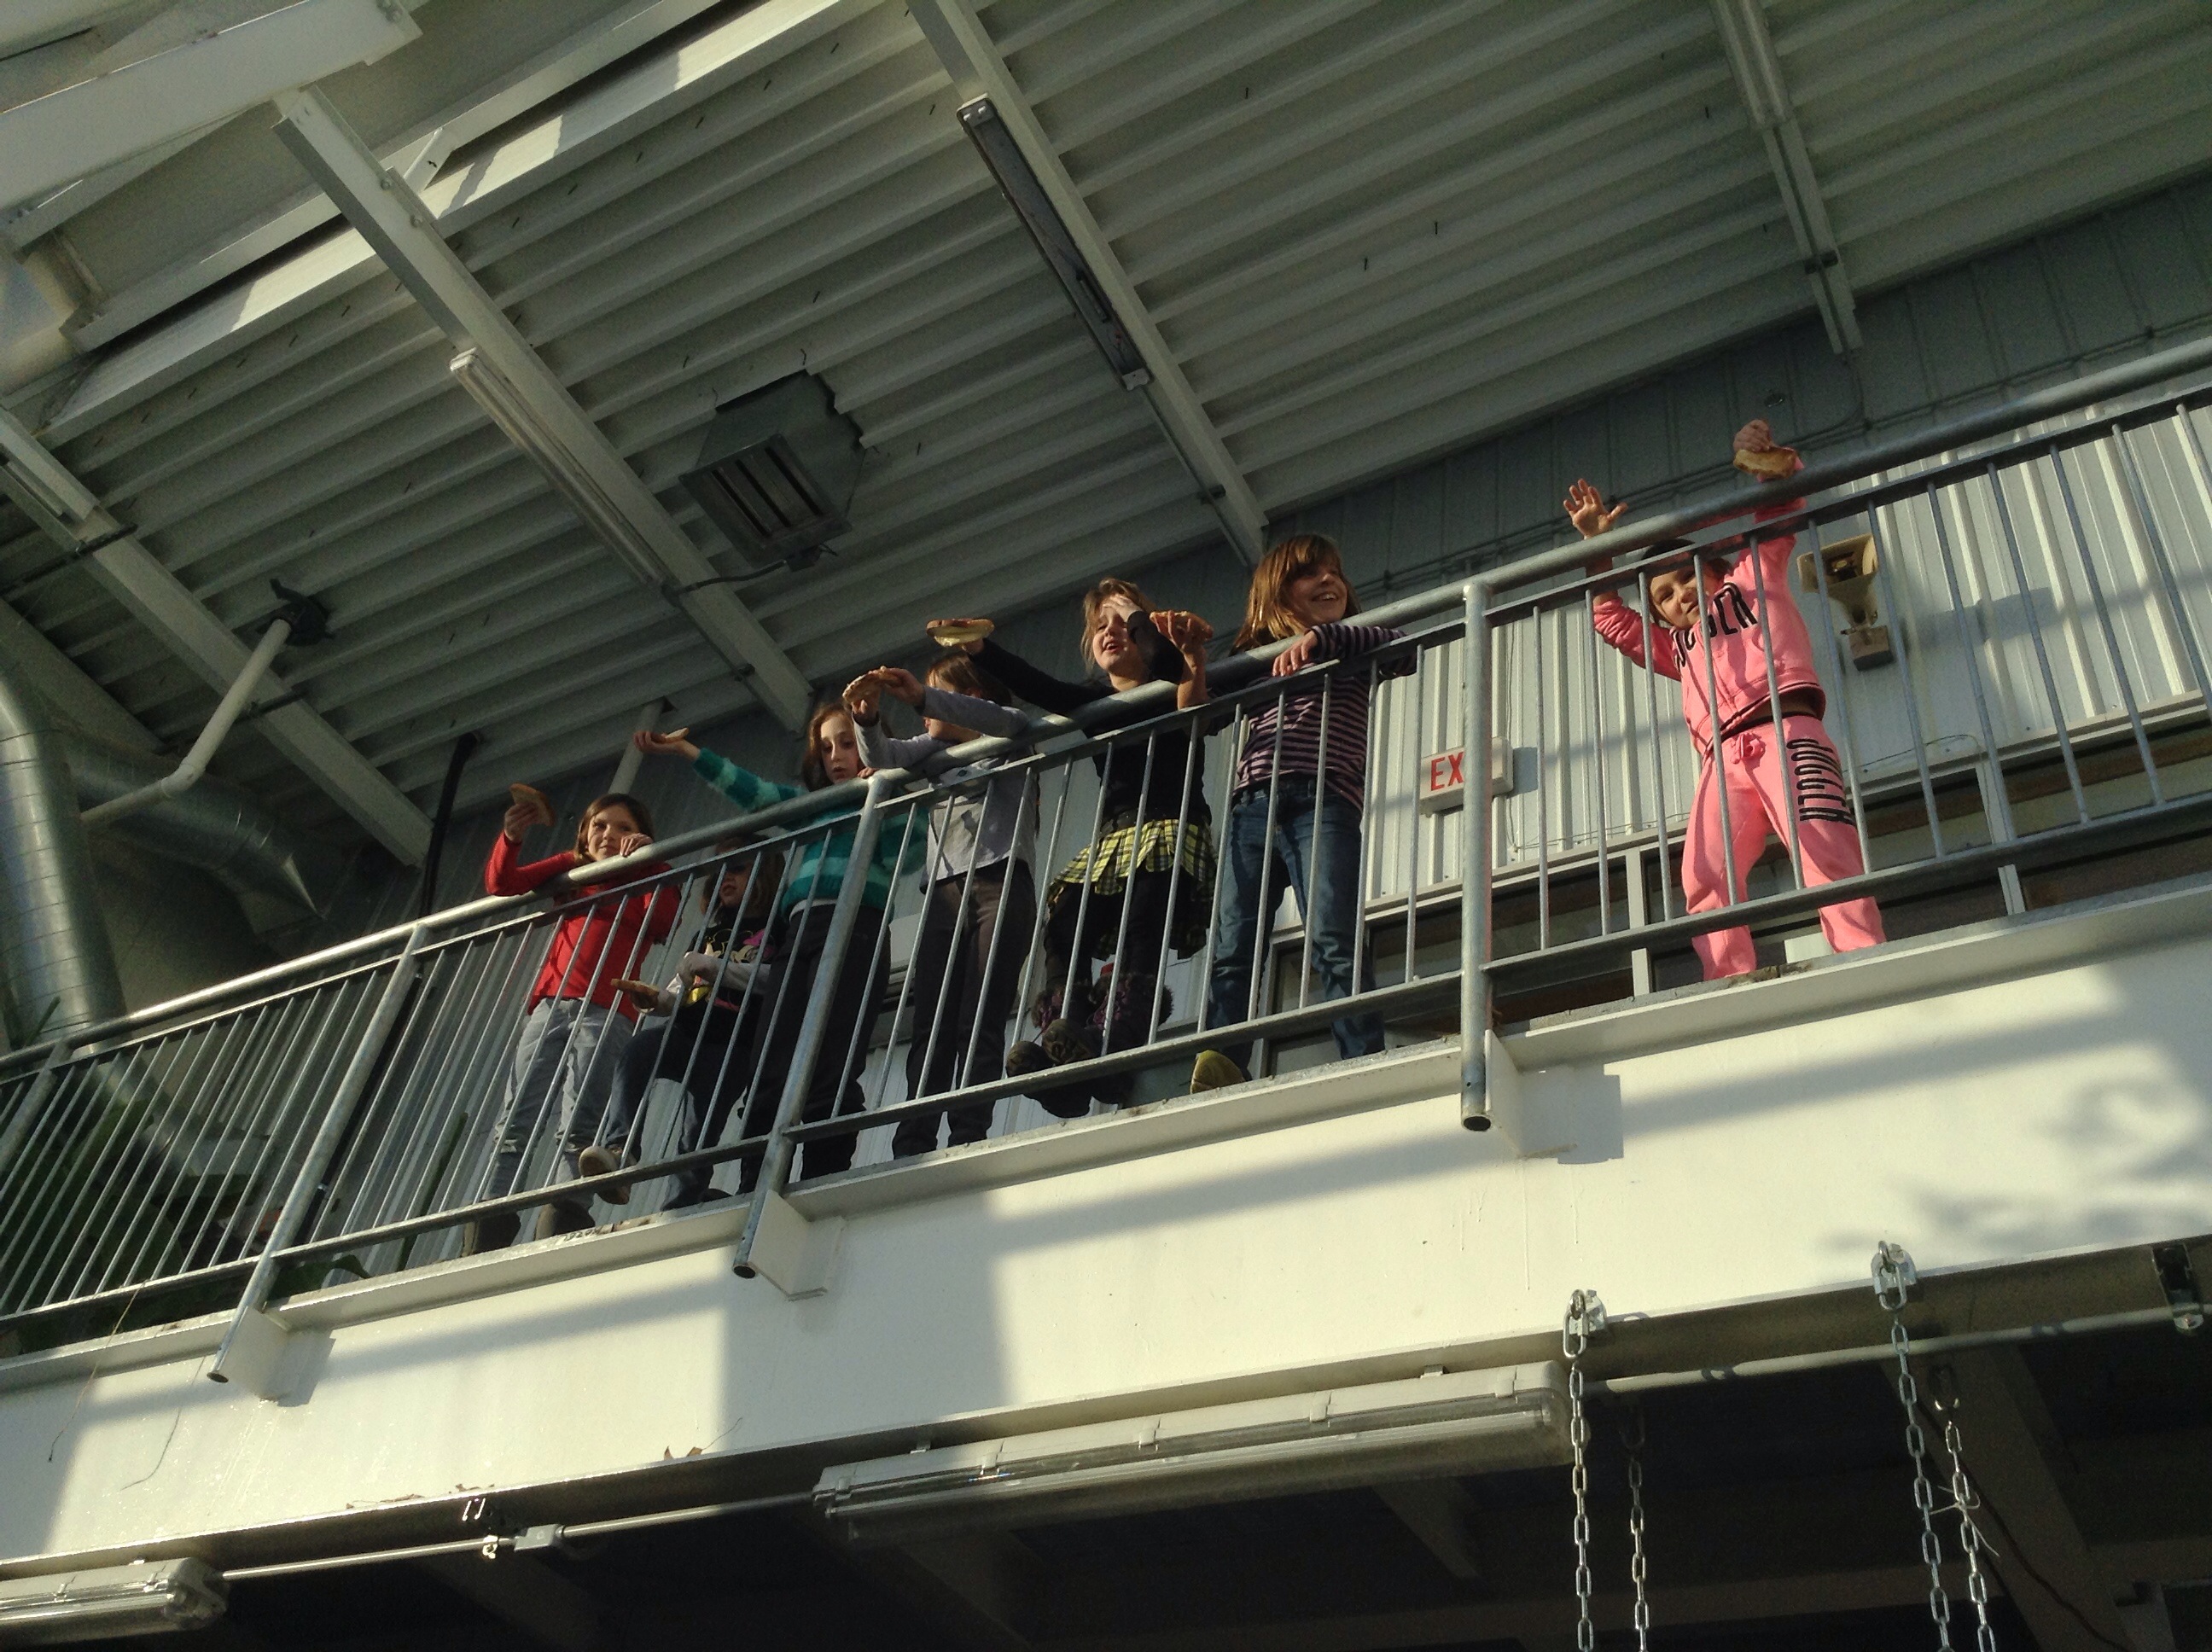
Our next myth: butter and bread. We wanted to test out the myth that bread always lands butter-side down. The girls were able to throw their piece off the second floor. The results were not what we predicted. Both times, 7 out of 12 slices landed butter-side up. We thought the weight of the butter would force it to go down. Another myth busted. Science is awesome!
Here’s a video of the bread going down!

Jan 14
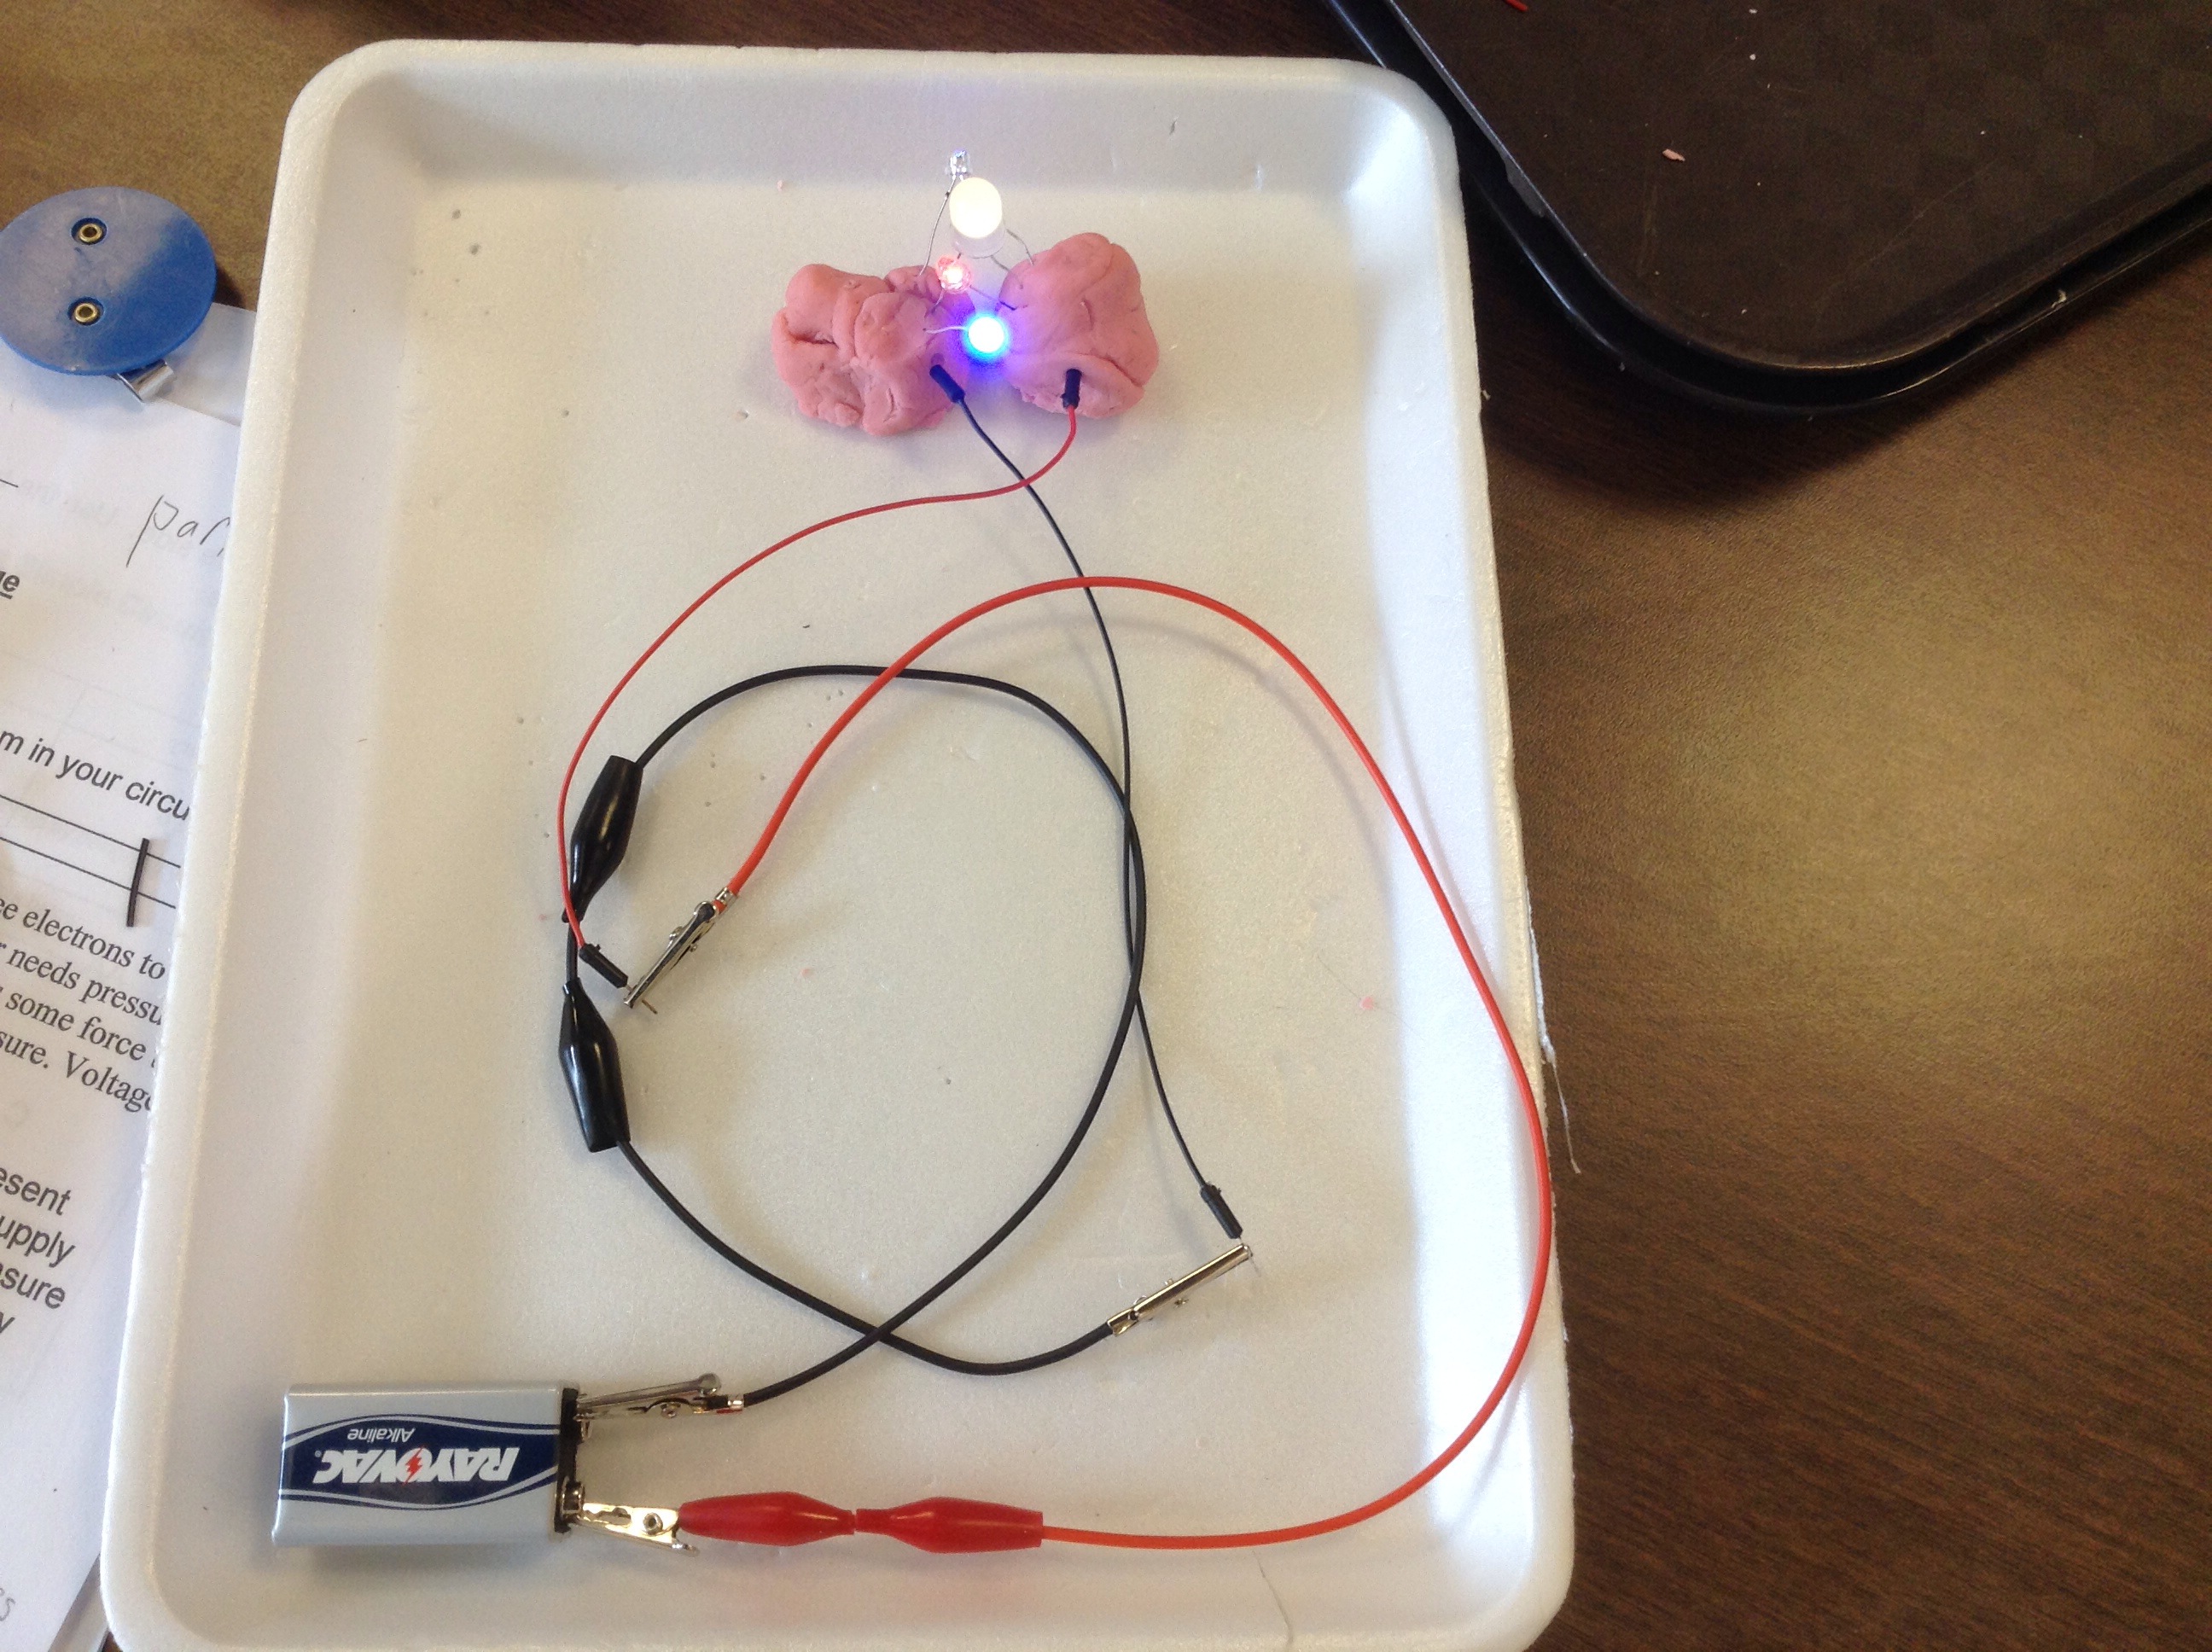
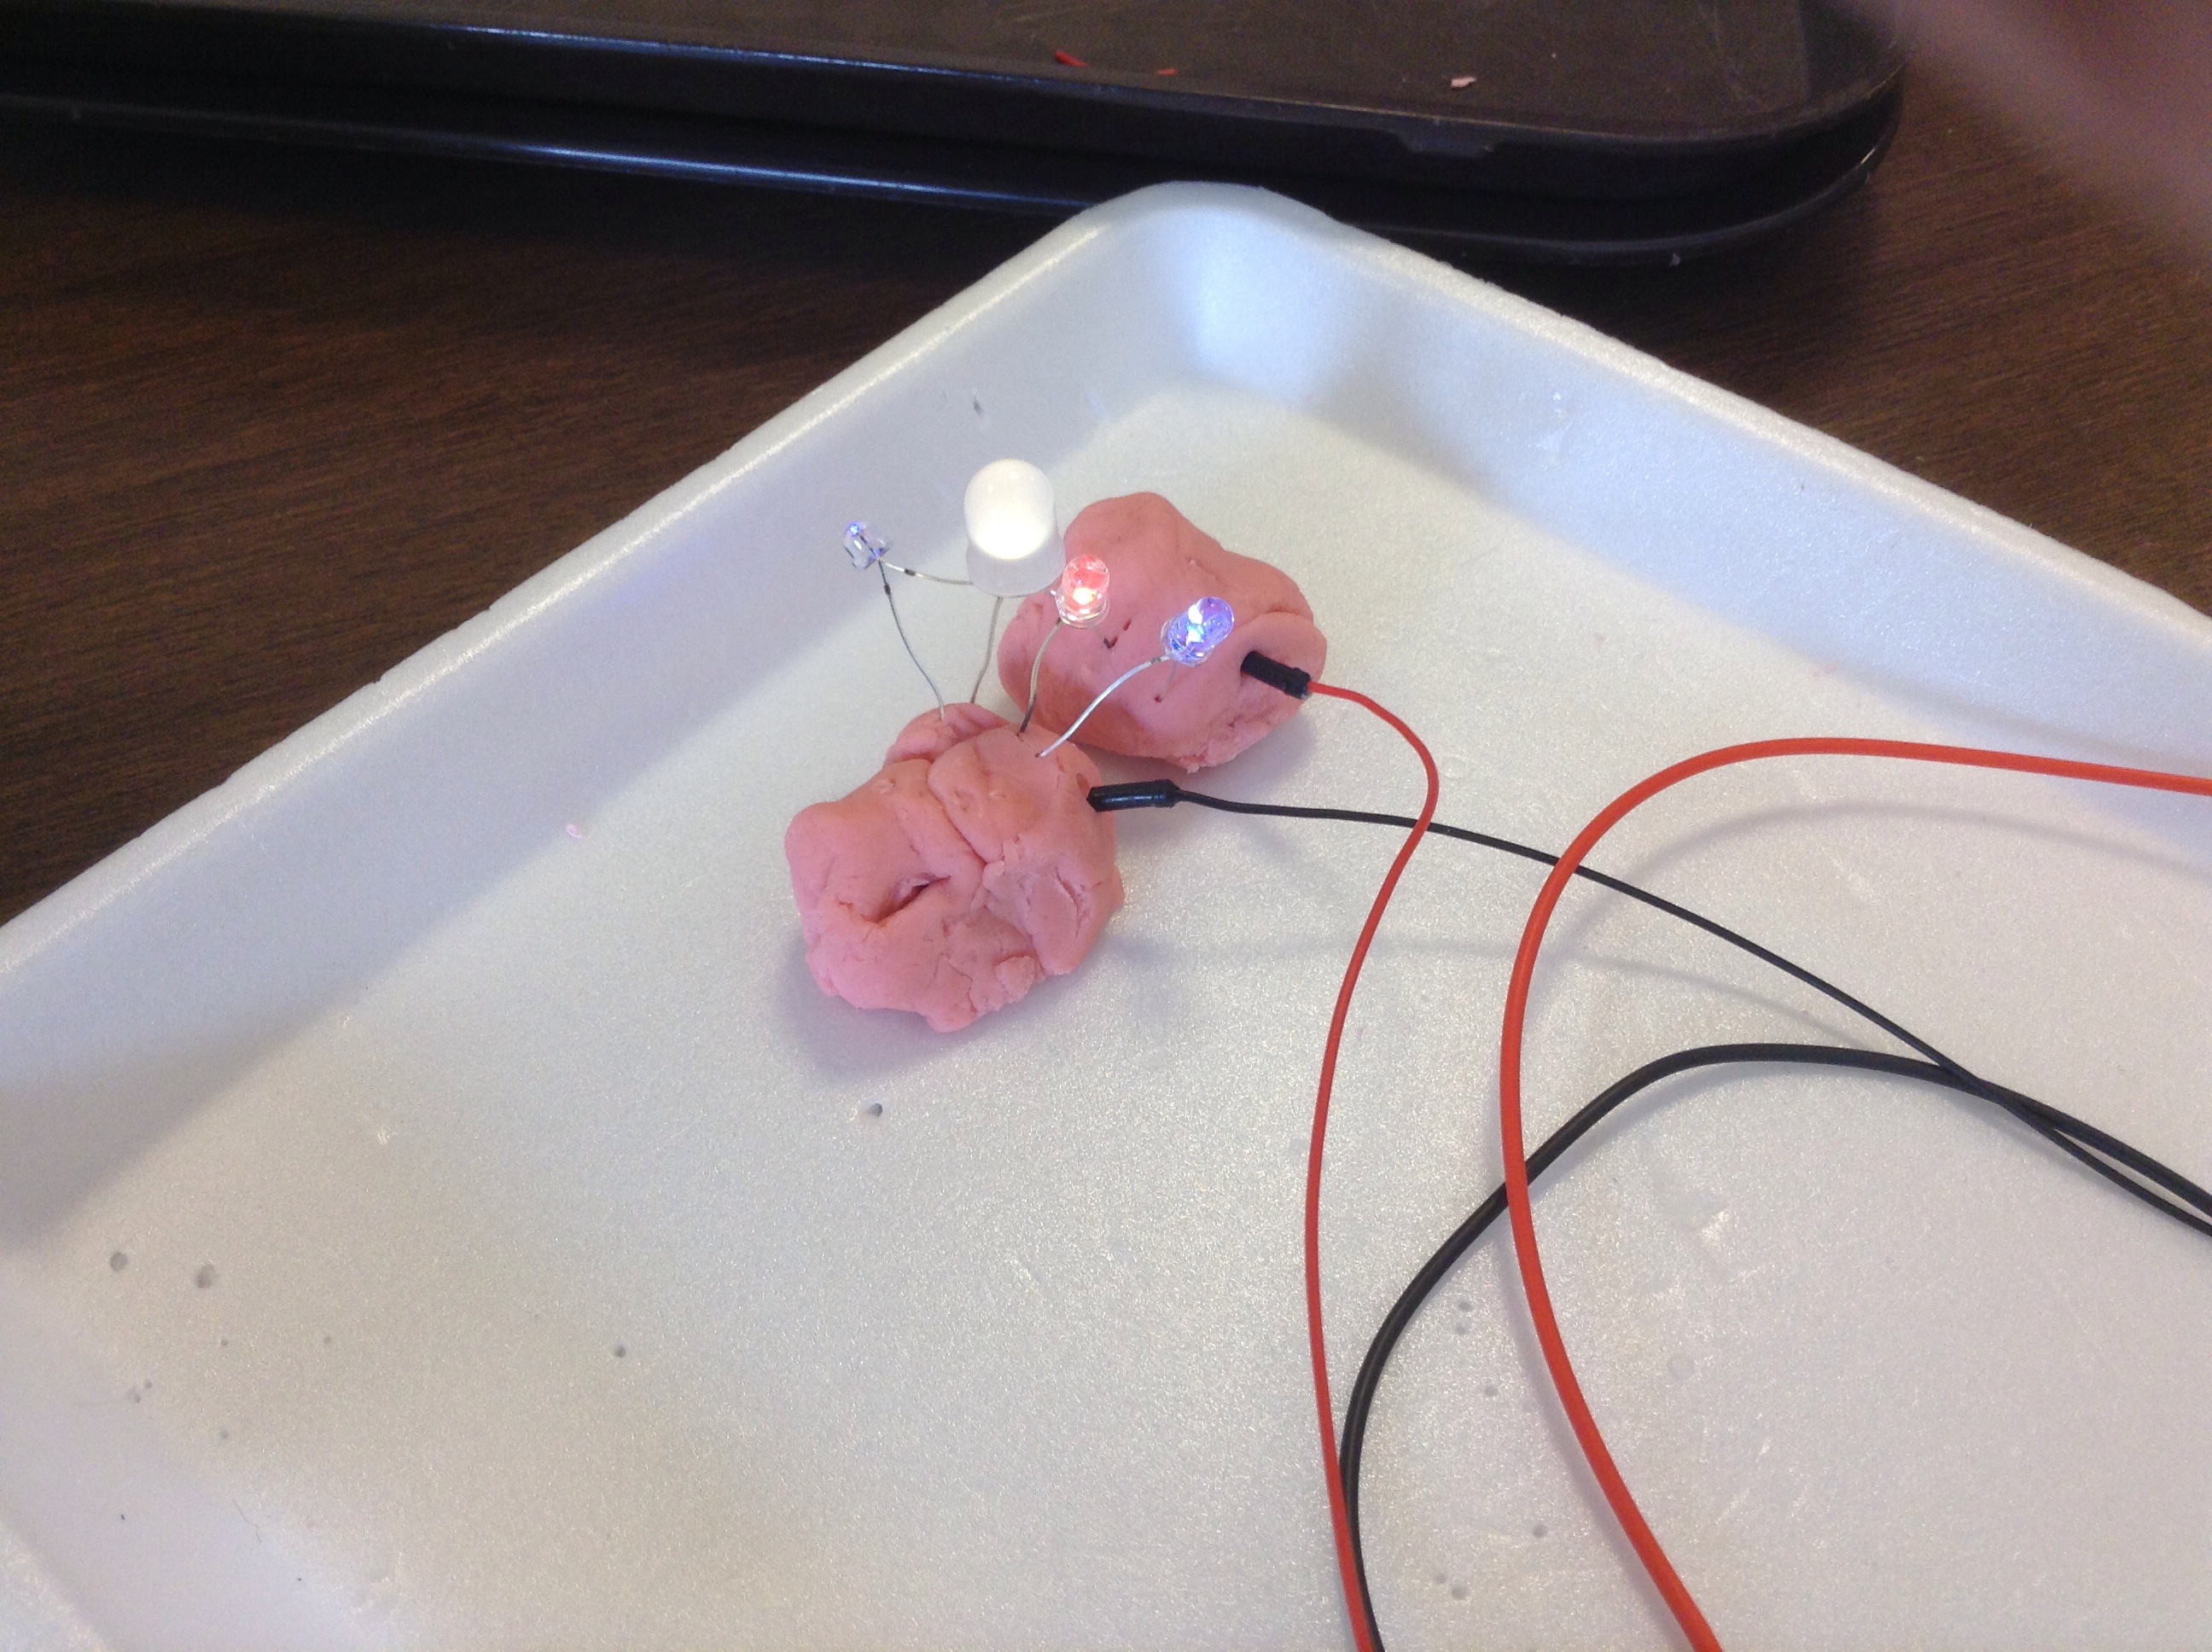
Mythbusters- squishy circuits! can you pass a current through play dough? Testable question
Winter session of stem club has begun! I cannot believe that we have 13 girls for this STEM club session! They were excited to begin! For our first session, I decided to try some fun science experiments that were inspired by the television show Mythbusters. It’s a great show, and I love the idea of trying experiments out to see if they work.
I’ve been teaching third grade for 5 years, and each year I teach a unit on electricity. I have heard that you can pass a current through play dough, but I have never tried it. I thought it would be a fun experiment for my STEM club girls to do! The best part was that I would be learning right along with them!
We started by watching a short clip on Mythbusters.

br />
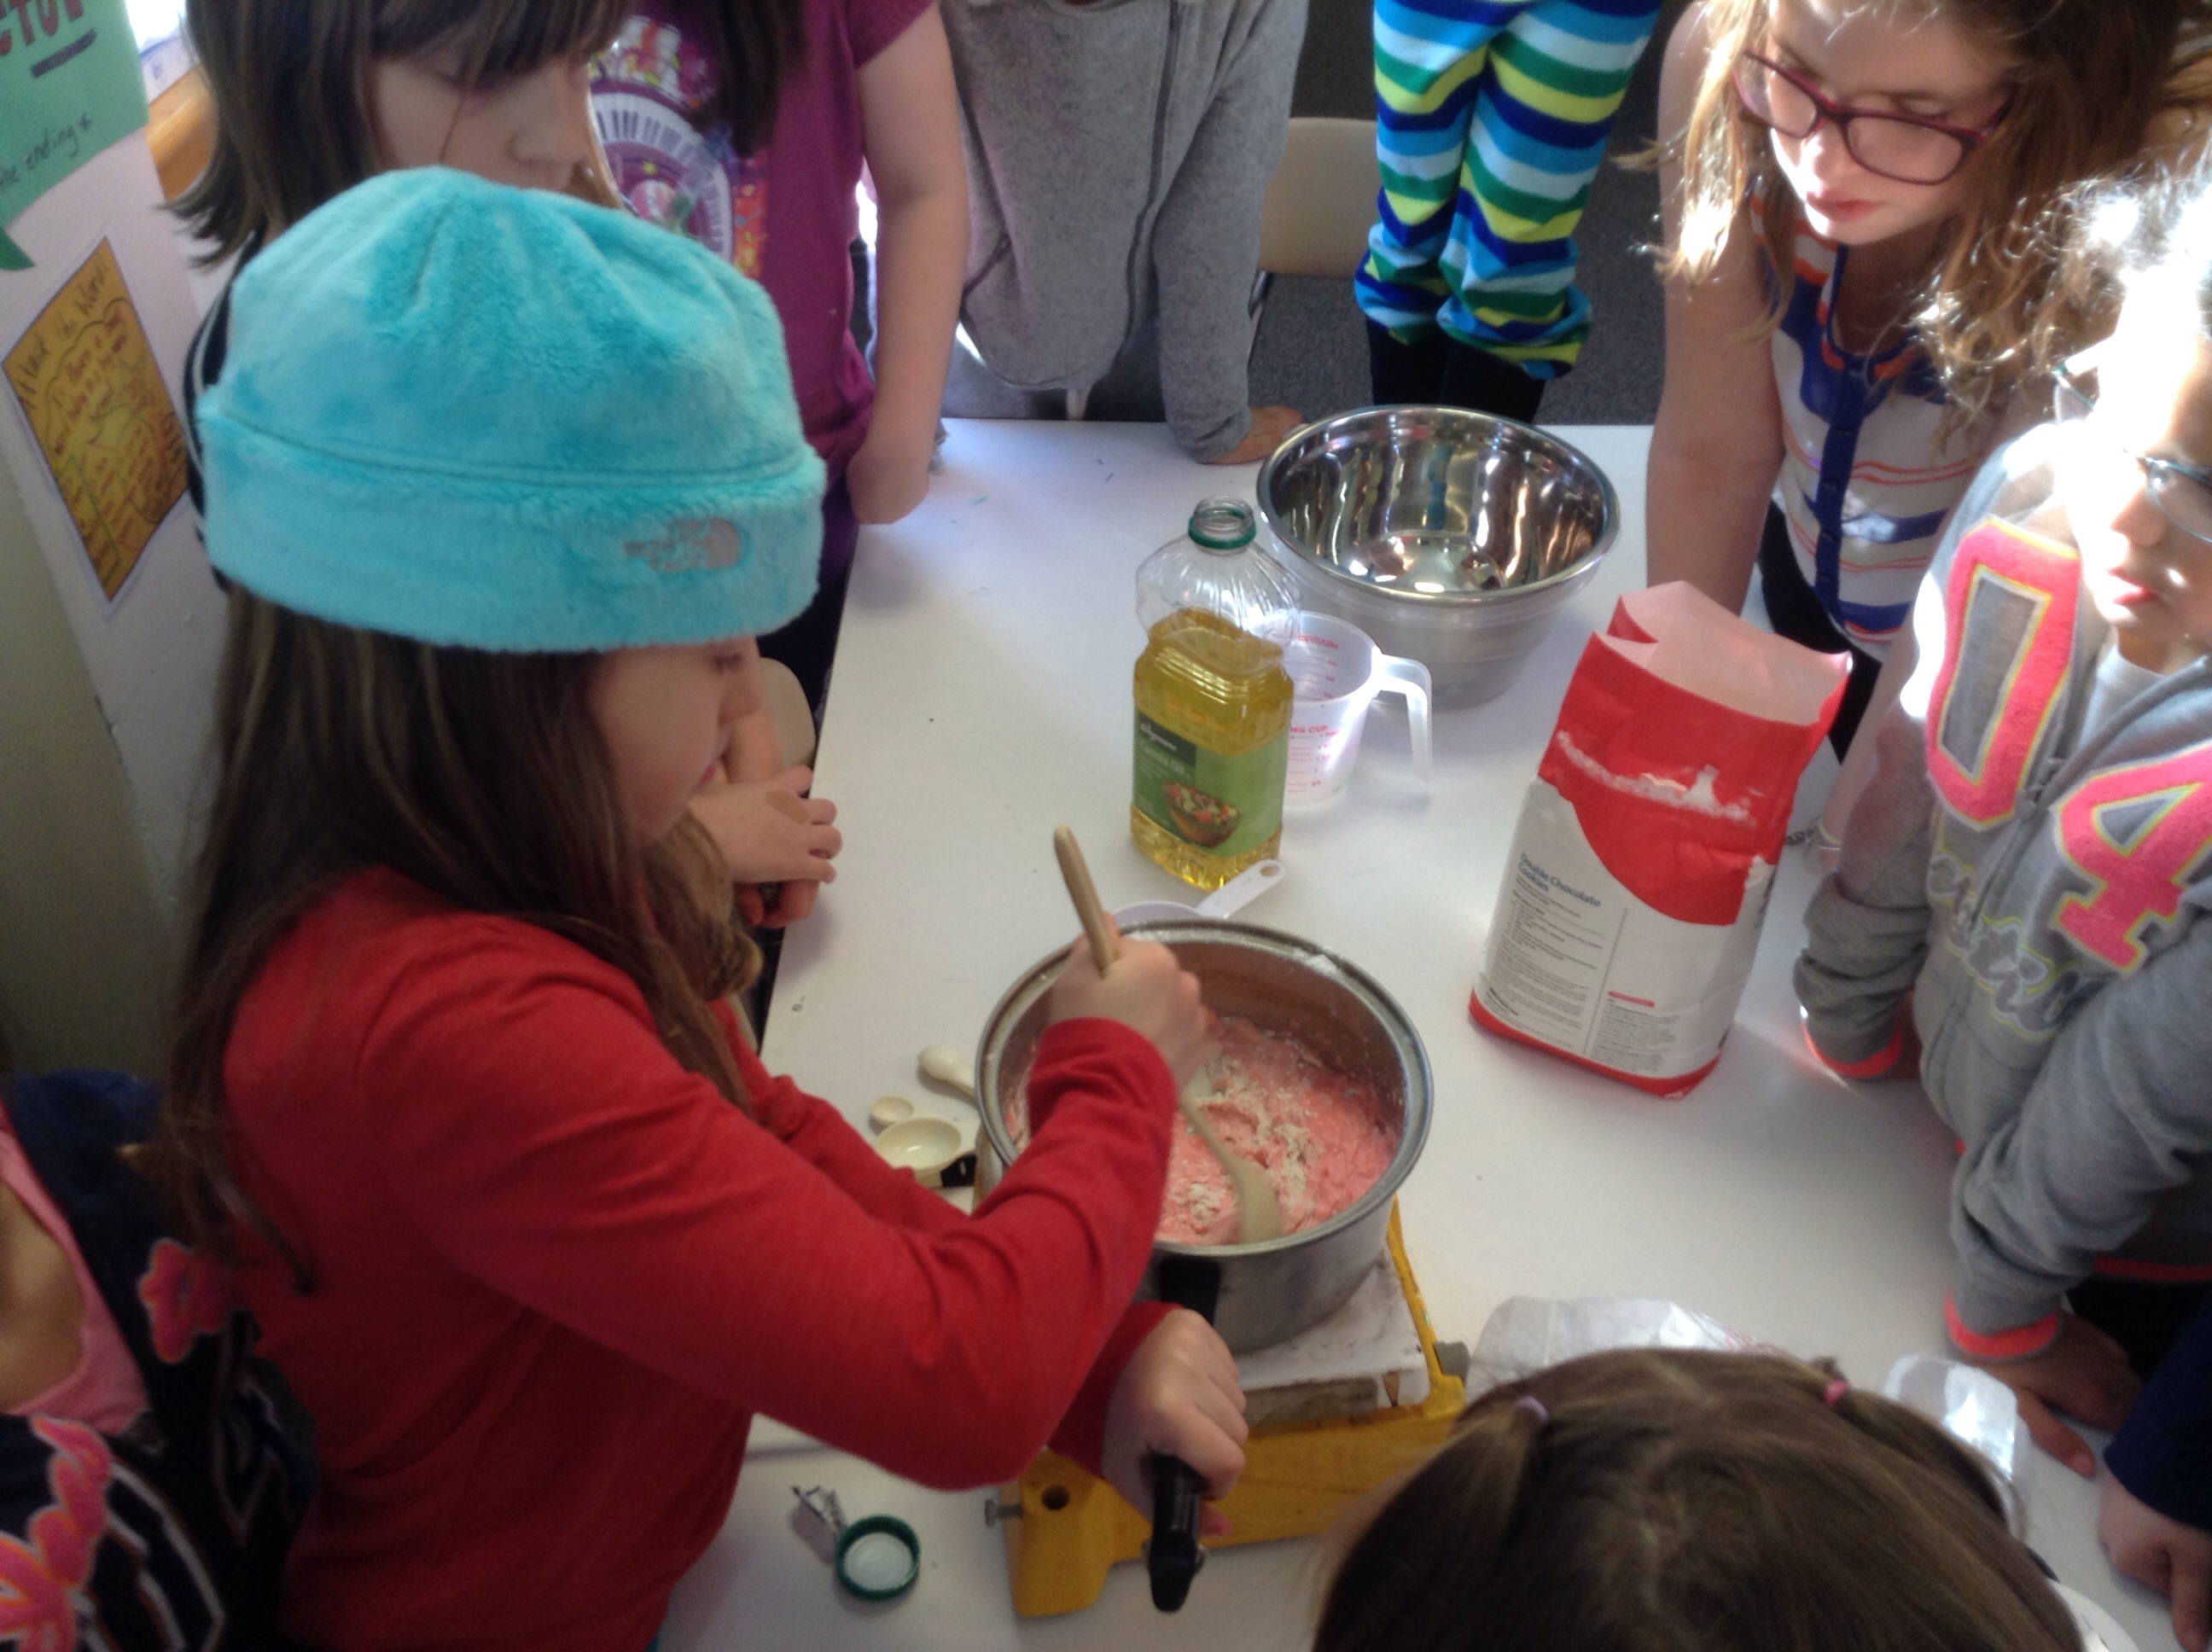
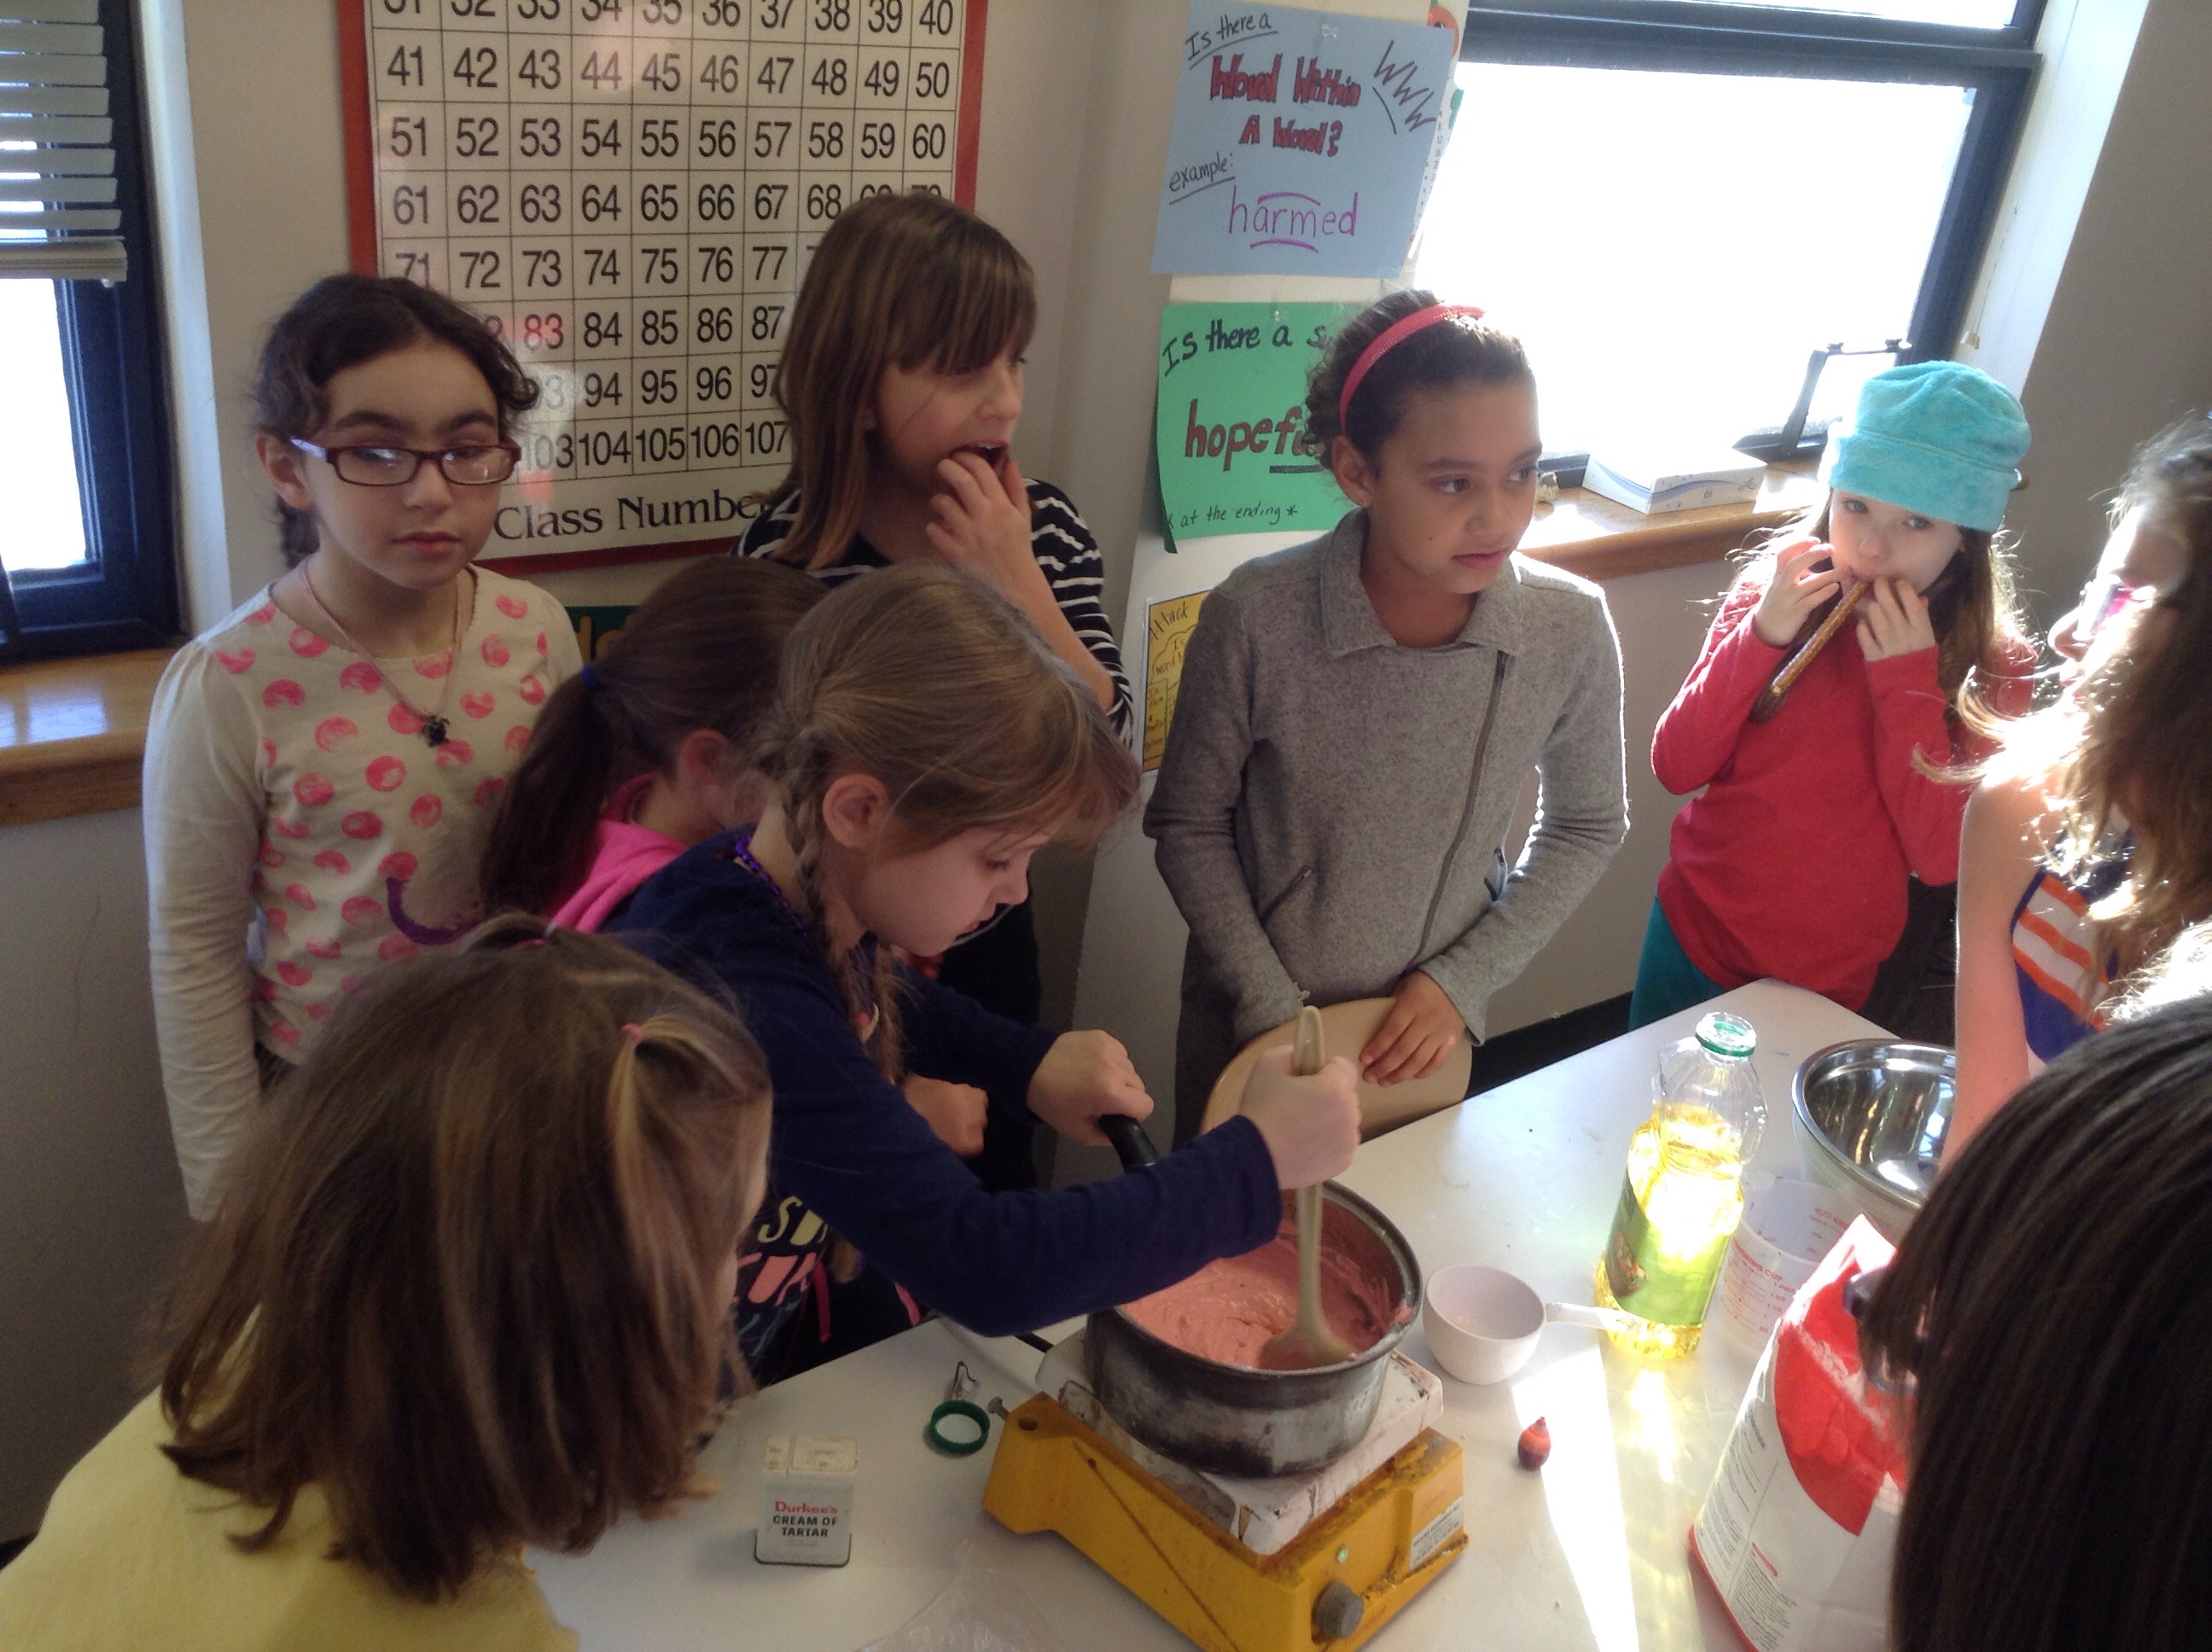
Then we made play dough on a hot pad using salt, flour, oil, cream of tarter, and food coloring. The girls took turns pouring in the ingredients and mixing.

We then talked about circuits and got to the experimenting part. Could they get a bulb to light? A buzzer to work? A motor?
The girls loved finding out!
Dec 02
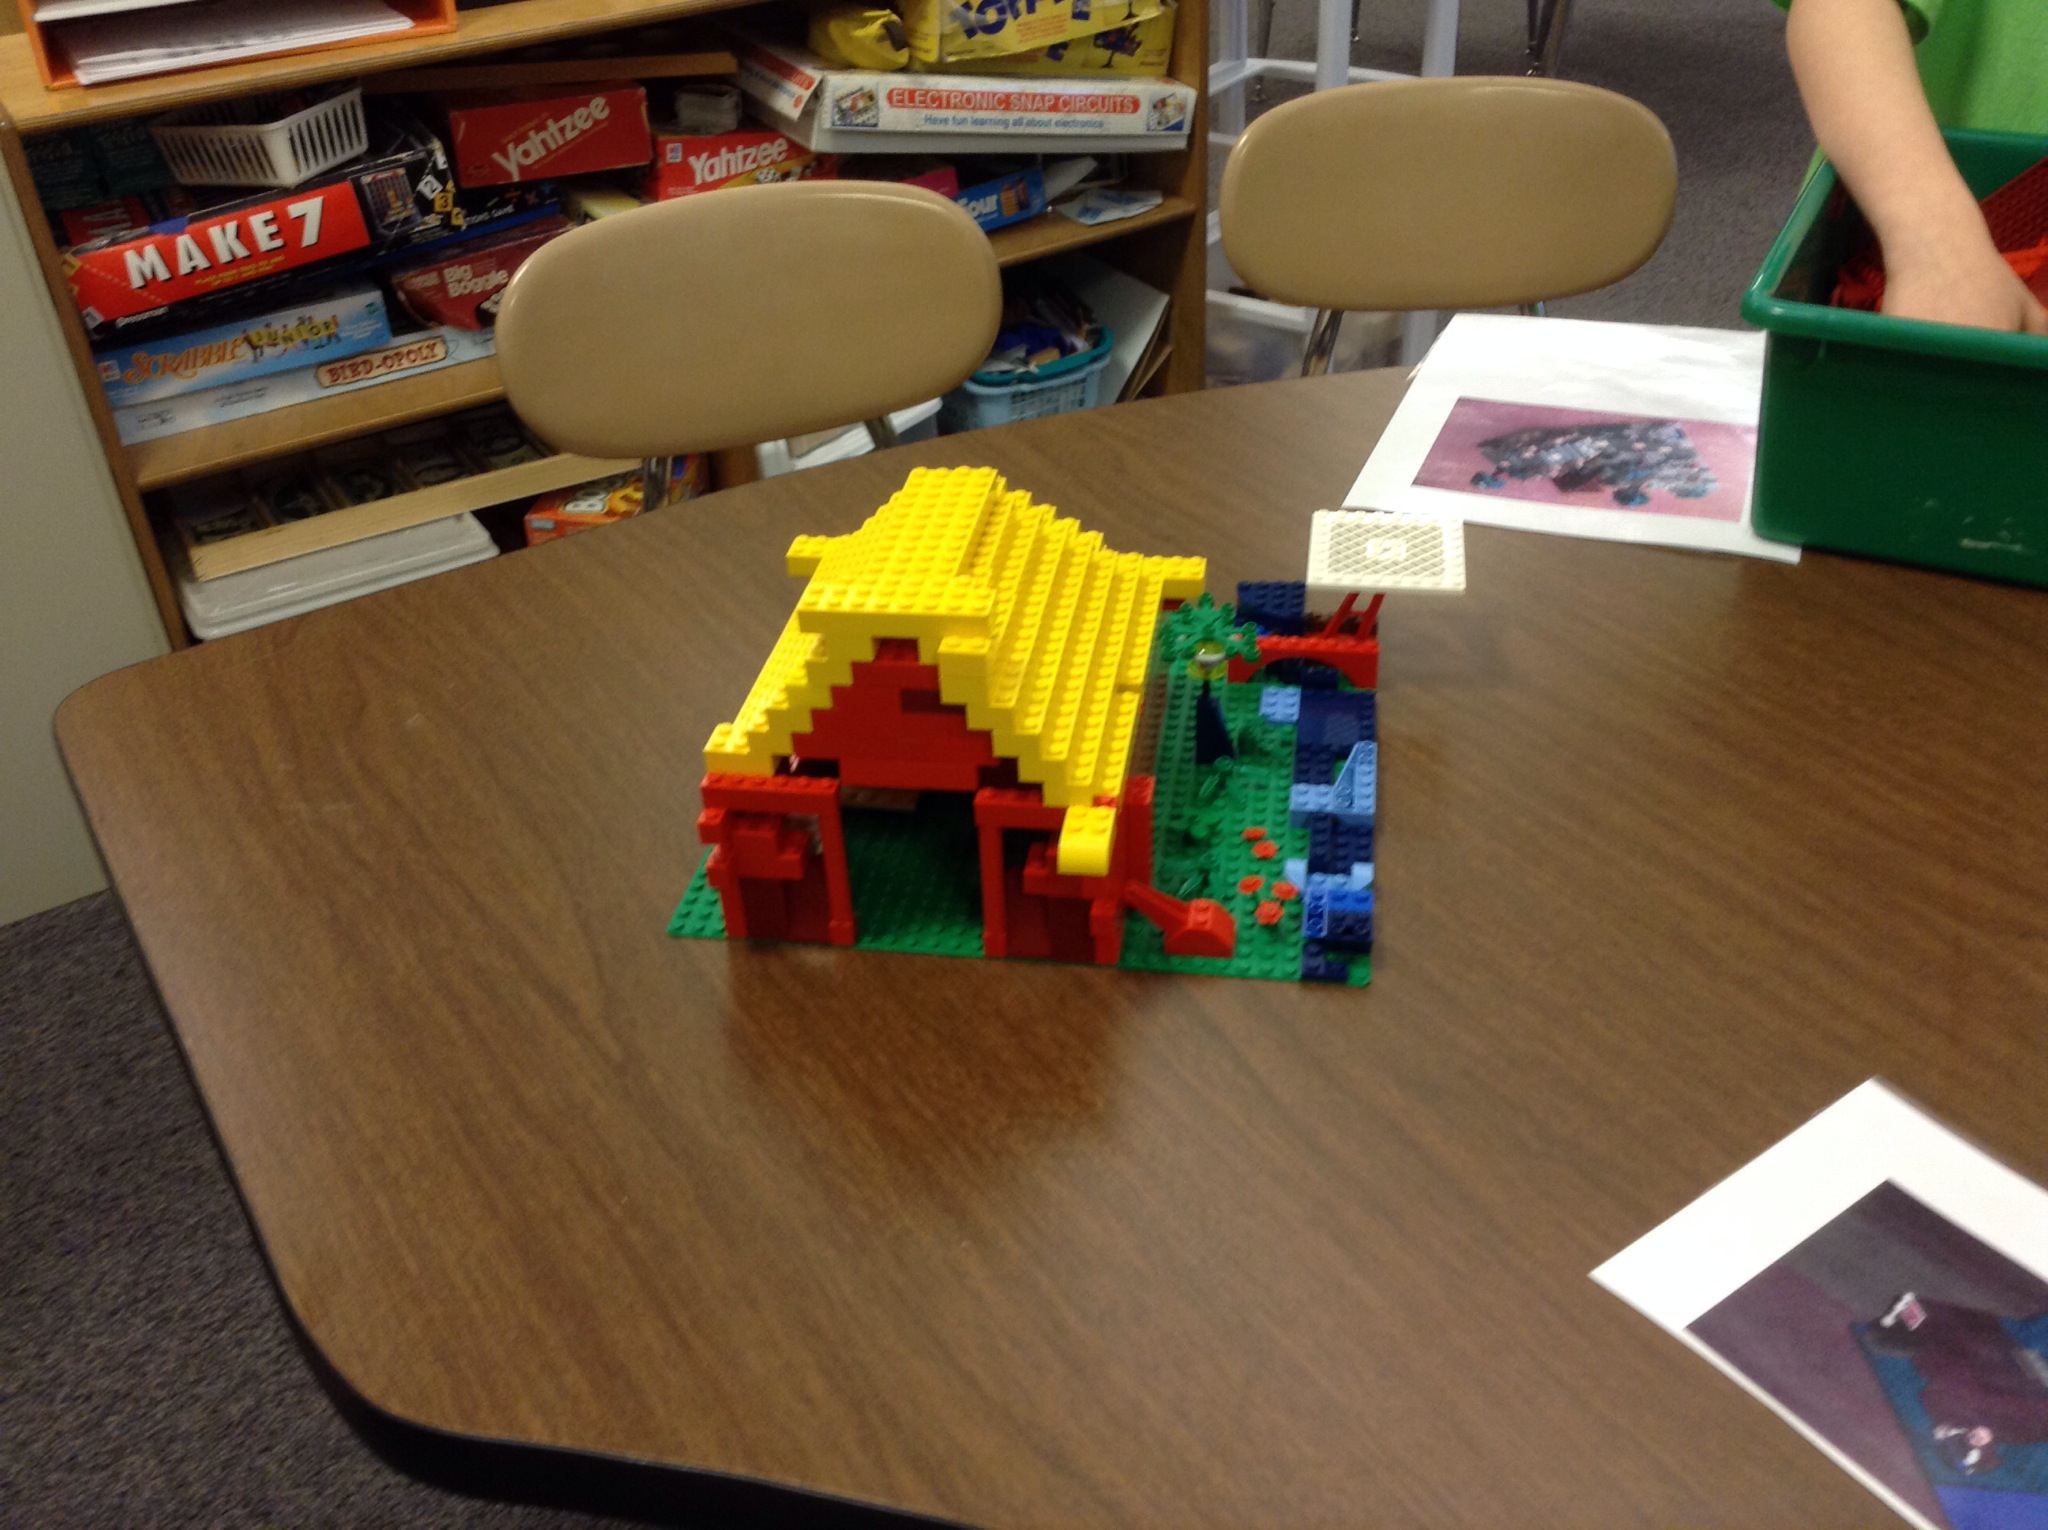
Minecraft building – STEM for girls using Brackitz and Legos. Build your own minecraft following blueprints
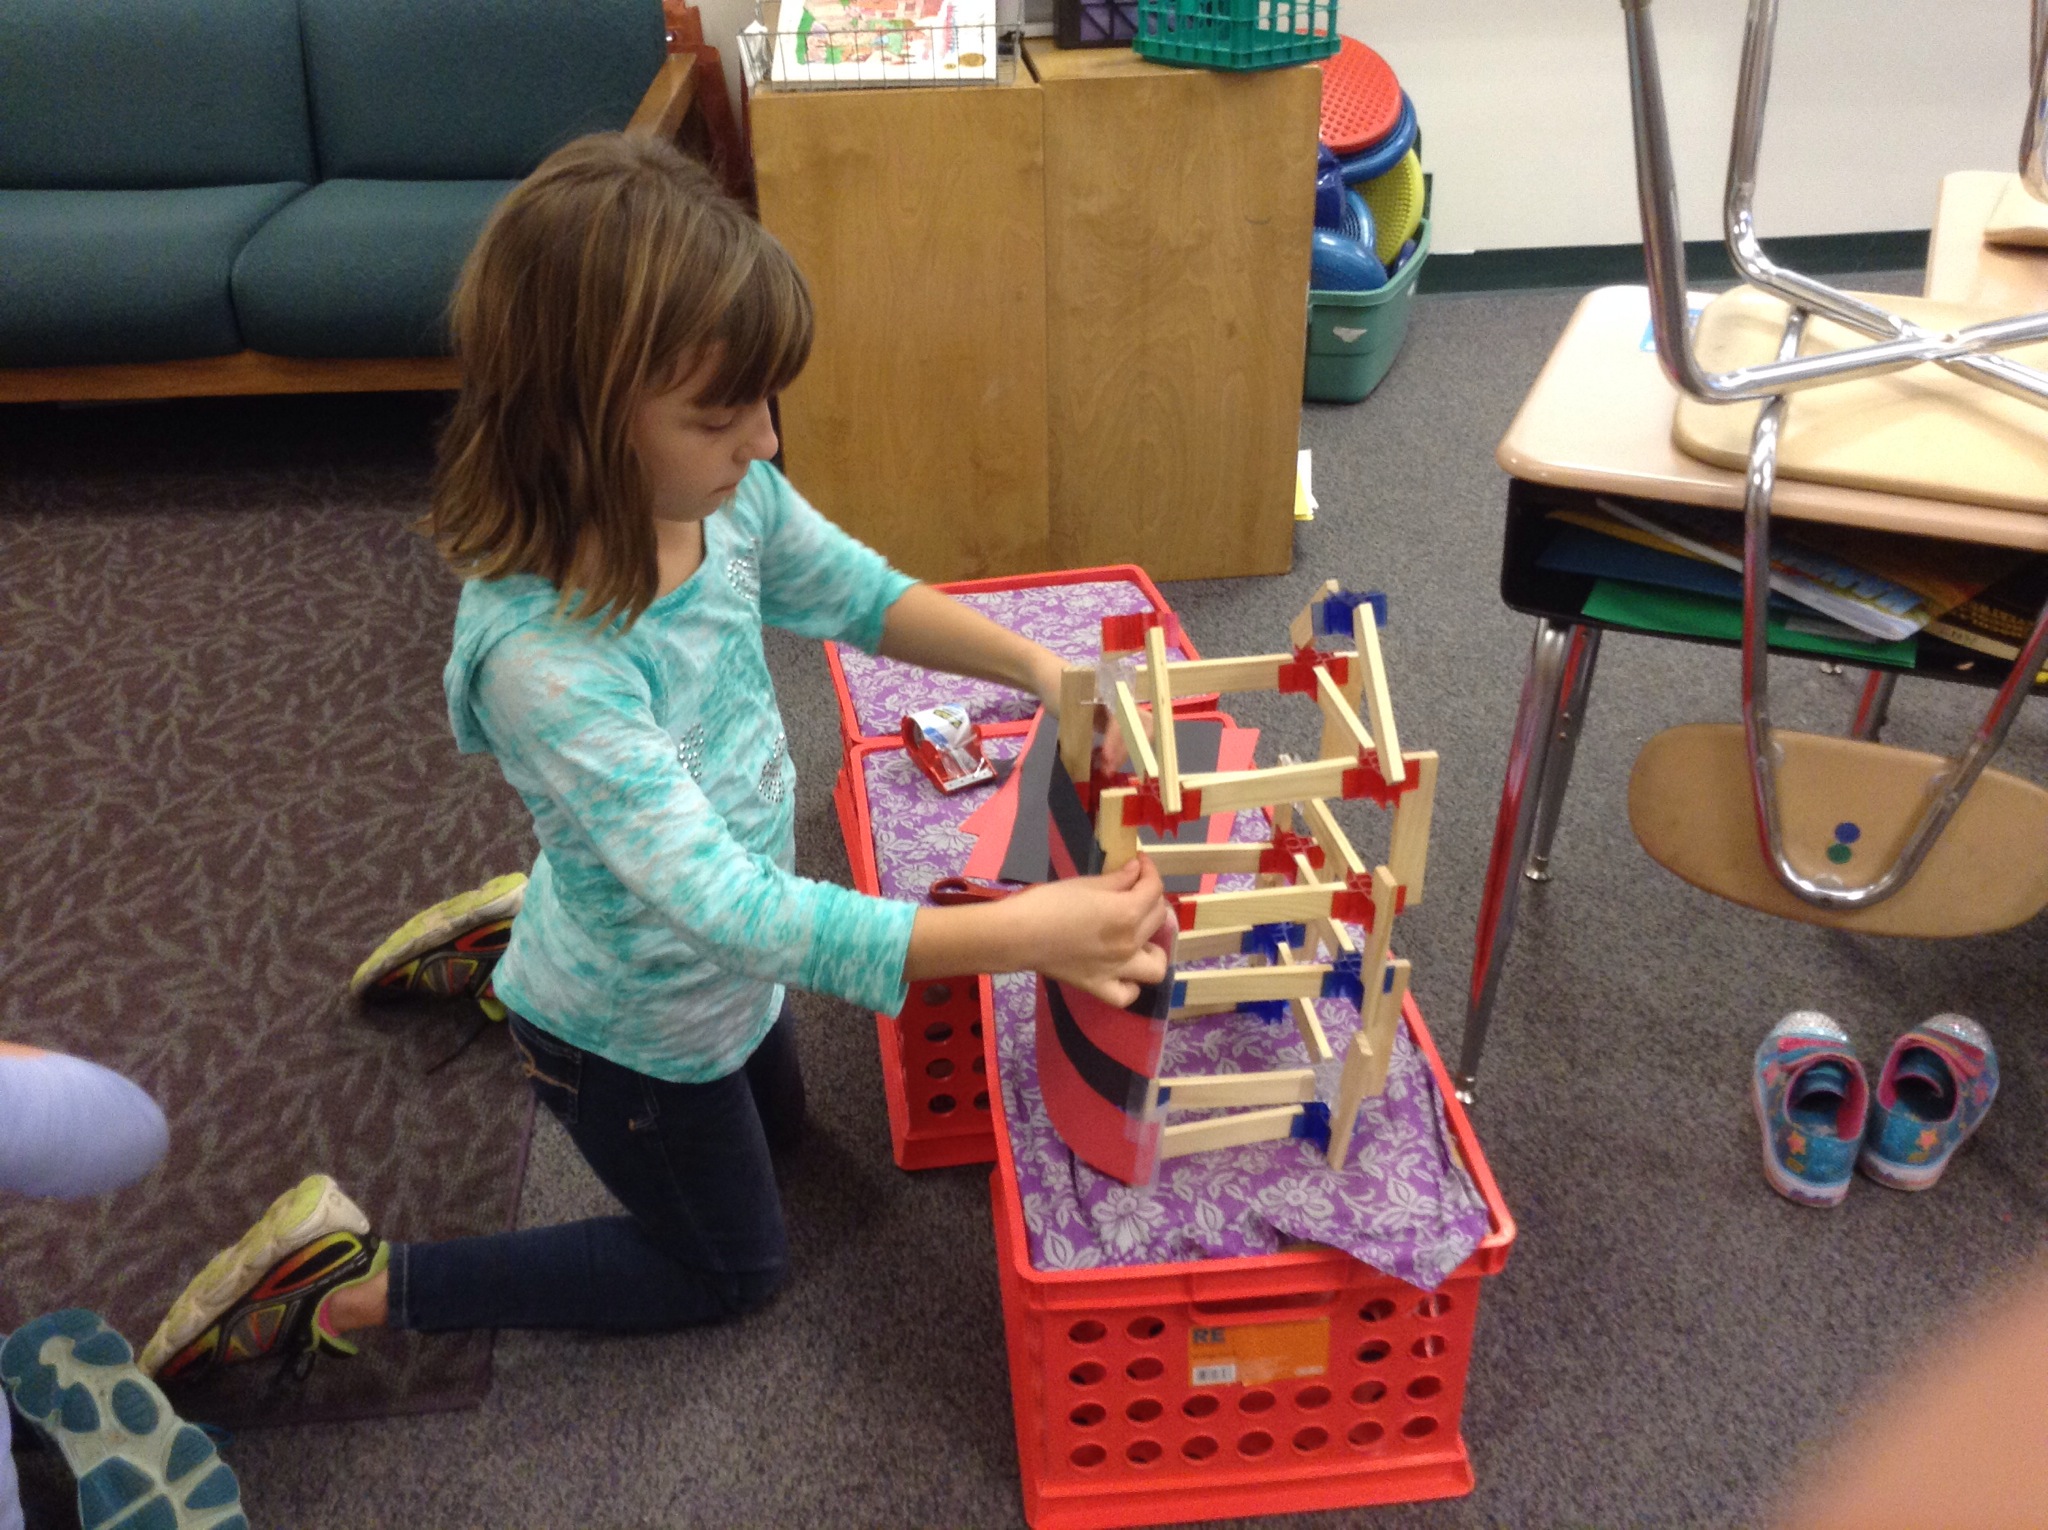
For our last two meetings of the Harley School Girl’s STEM Club fall session, I decided to get back to the basics of our club: building. These girls love to build with anything they can get their hands on! It is my hope that with more exposure to building, the girls will develop a passion for STEM. For the past two weeks, the girls were presented with the task of building constructions to mimic what they would see in the popular game- Minecraft! In Minecraft, the kids get to craft a world of their own! There are animals,farms, cities, and everything in between. You are only limited by your own imagination. If you have walked the halls of an elementary school, chances are you have heard about Minecraft. Kids today can’t seem to get enough of it. They love building constructions out of 3D cubes. Boys and girls are wearing shirts, playing with stuffed animals and toys, and playing the video game to their hearts content. For me, I saw this as an opportunity to take the game past the computer! I thought we could build some of these constructions in real life. For the last two sessions of STEM club, the girls were presented with the idea of building Minecraft-like structures. The building materials used would be Legos or Brackitz. We talked about how the basis of Minecraft building is with a 3D cube. The first thing we did was sit down to discuss the geometric shape of the cube. It was easy to see a cube in legos, but Brackitz required a bit of work. They had to construct their cubes first, and then build with it. This took them a couple of attempts and lots of great math thinking! The girls were given a choice of what materials they would like to build with.
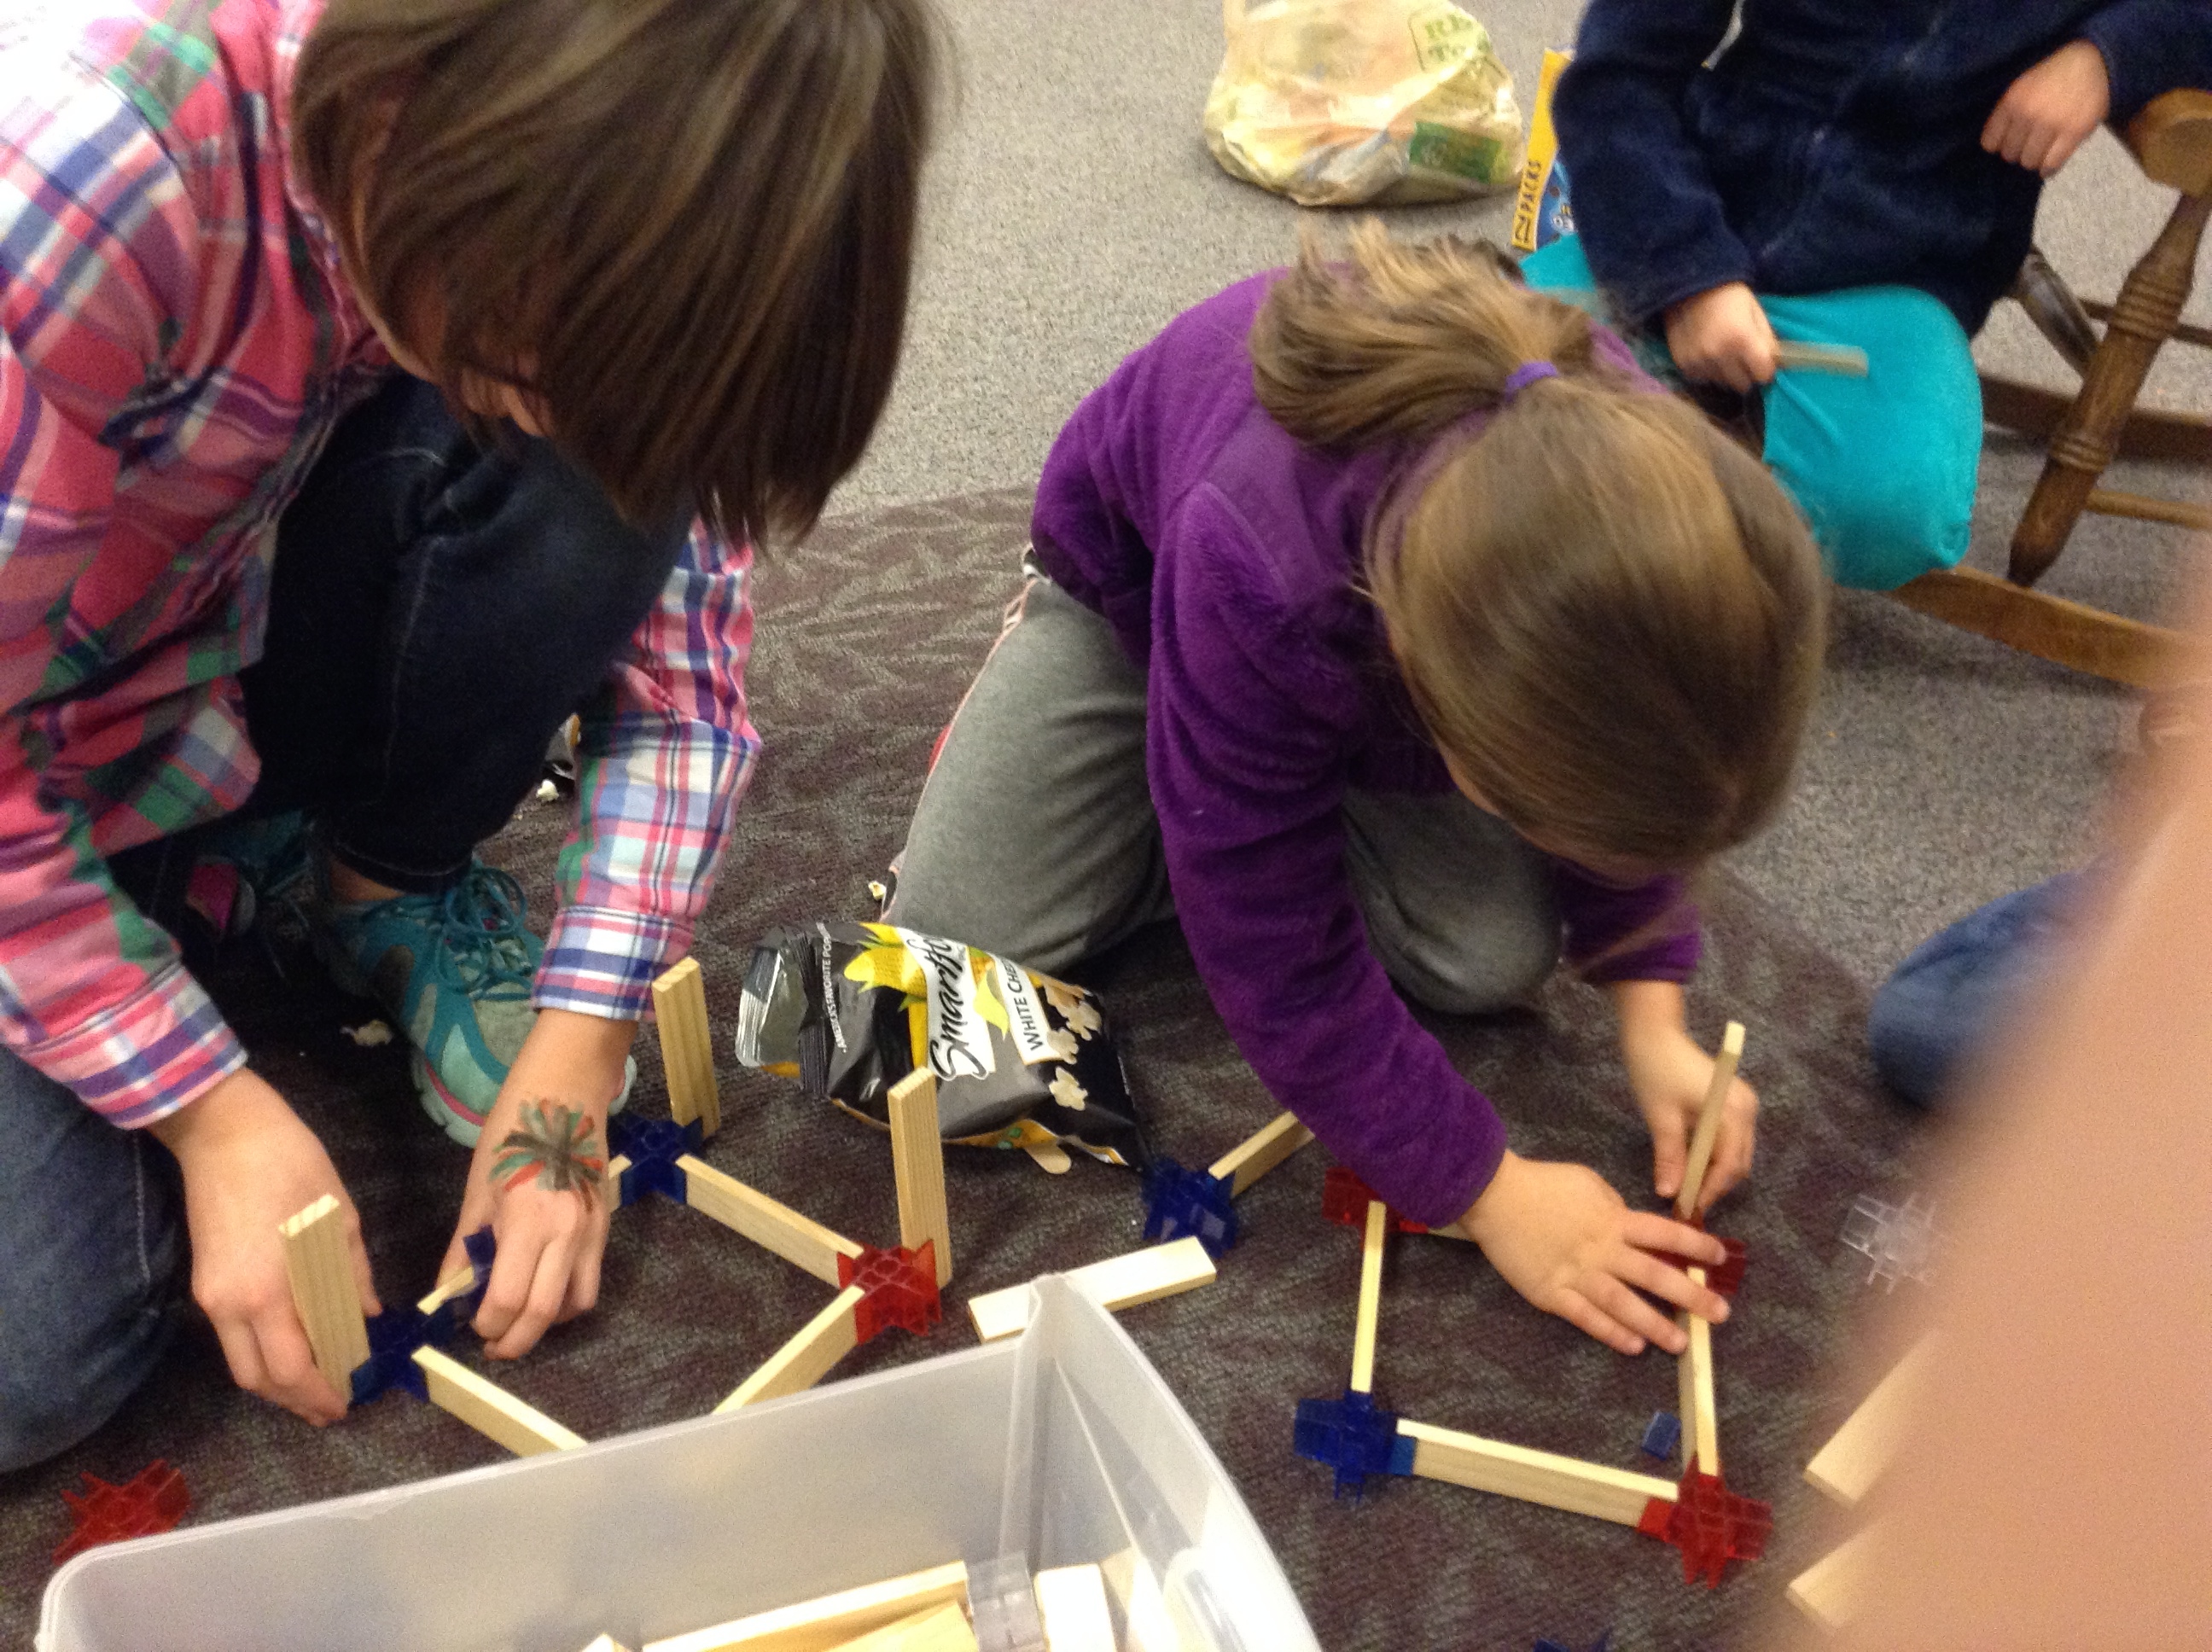
Attempting to make a cube with Brackitz
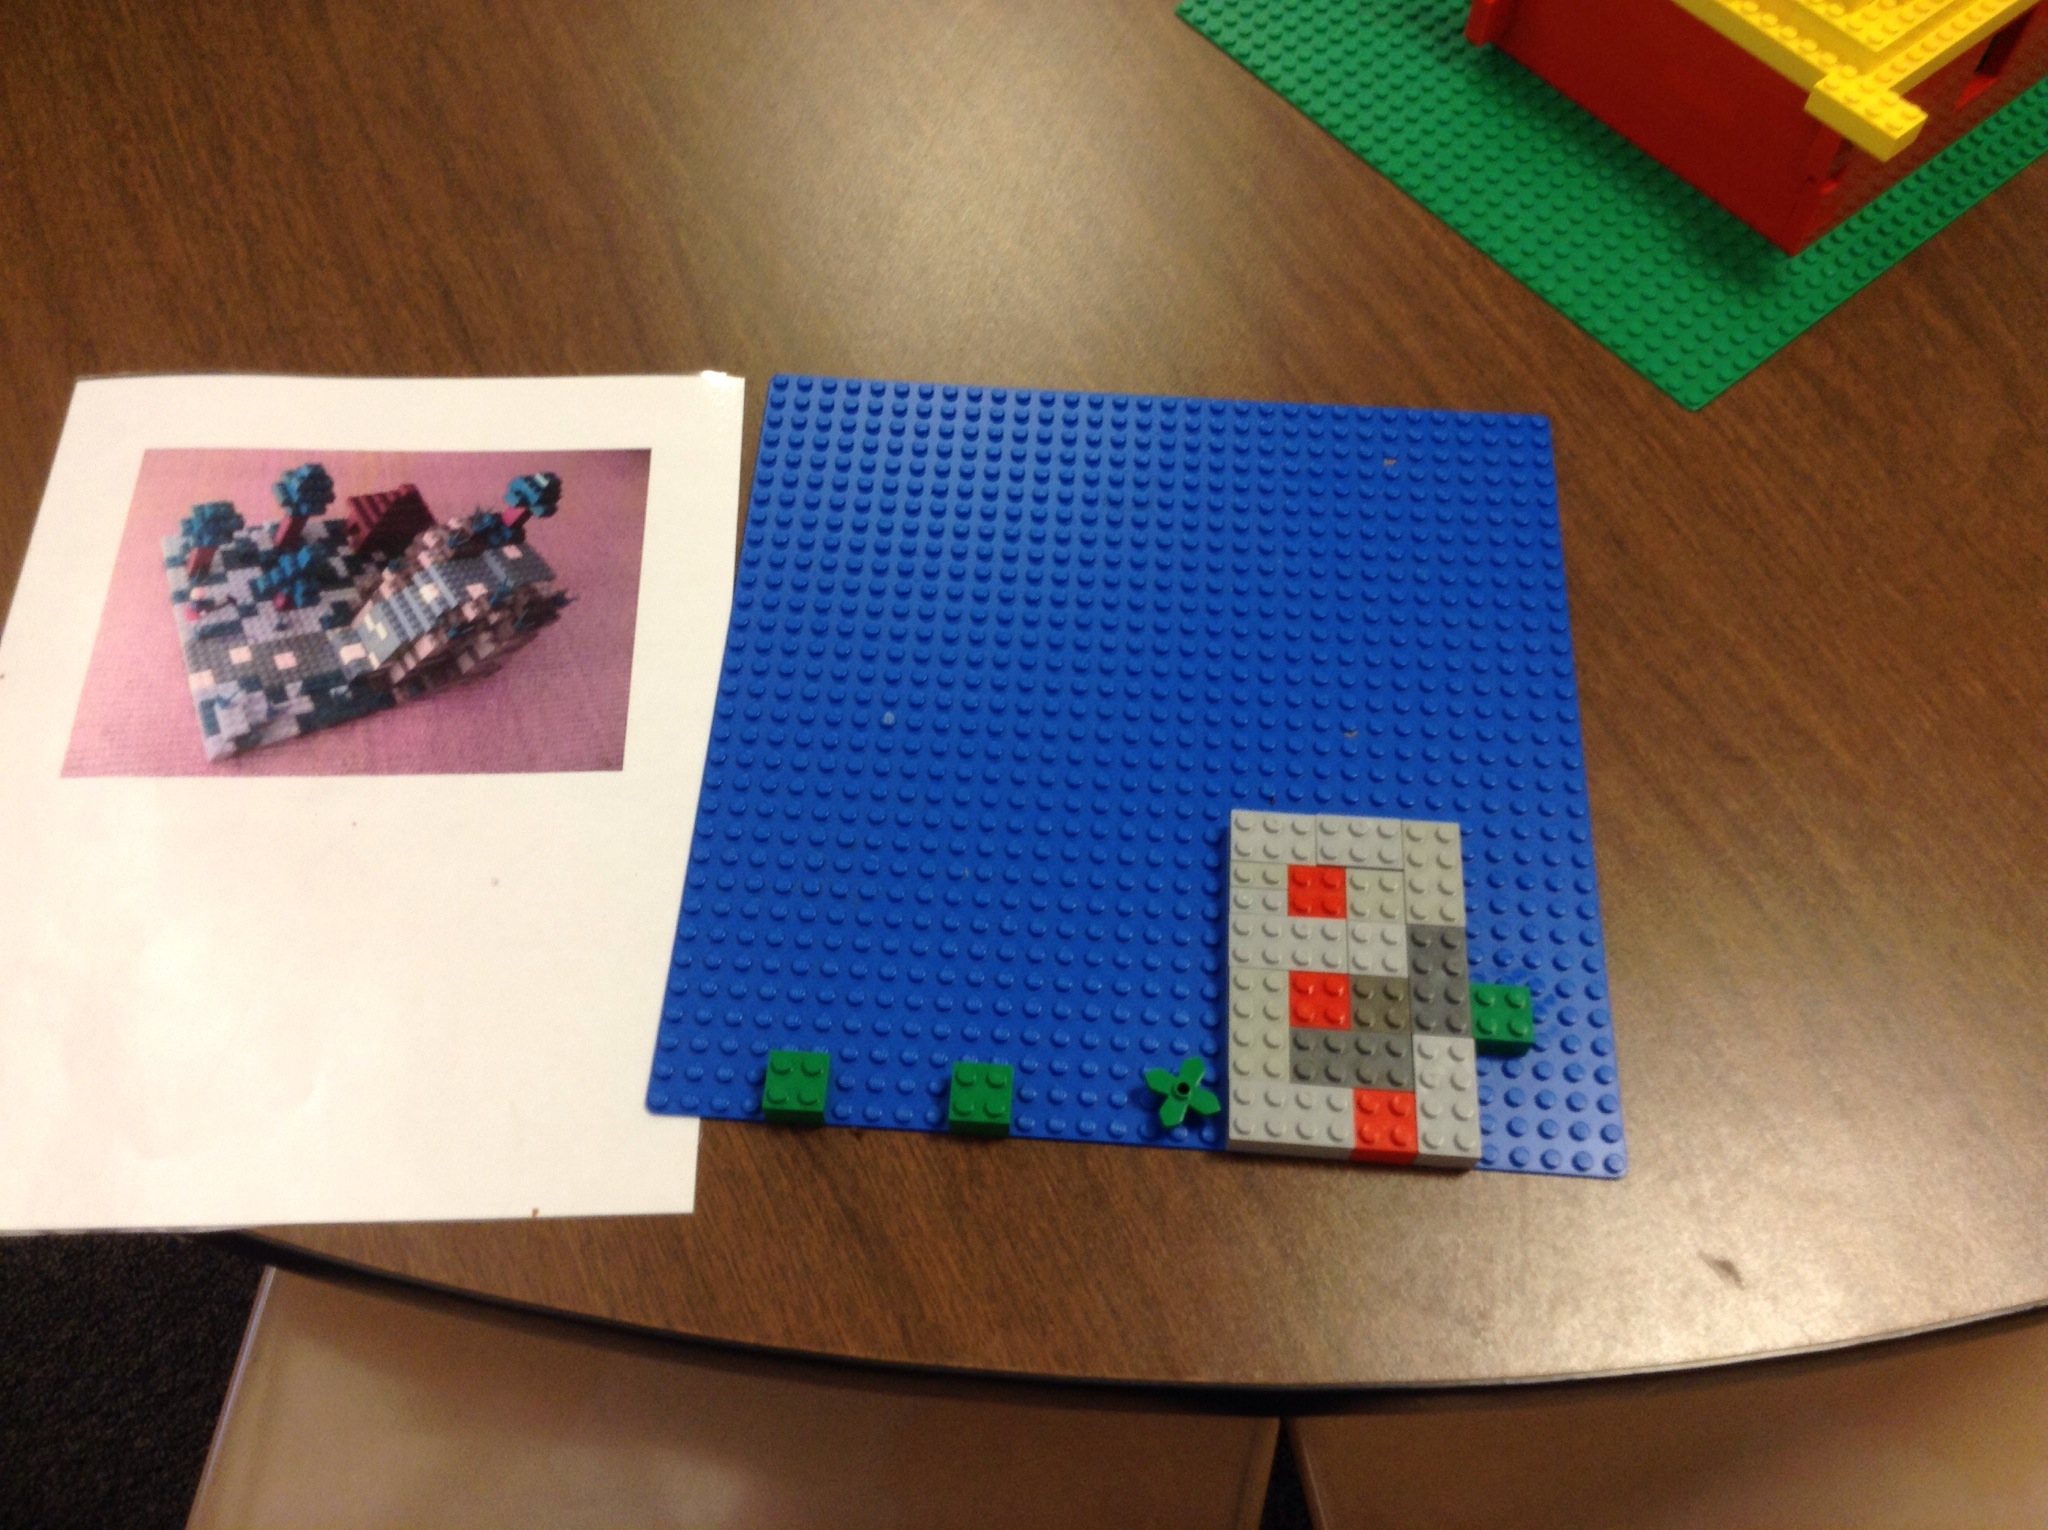
The next step was learning how to build Minecraft structures. The girls explored blueprints and 3D structures. We discussed how to crate a flat 2D shape following the blueprint and also how to construct 3D ones. They had their choice to craft people, animals, or buildings, they could make them 2D or 3D, and also chose their materials to build with. There was a lot to think about.
![image[3]](http://sites.harleyschool.org/afterschoolgirlsstem/files/2014/12/image3.jpg)
the making of a pig!

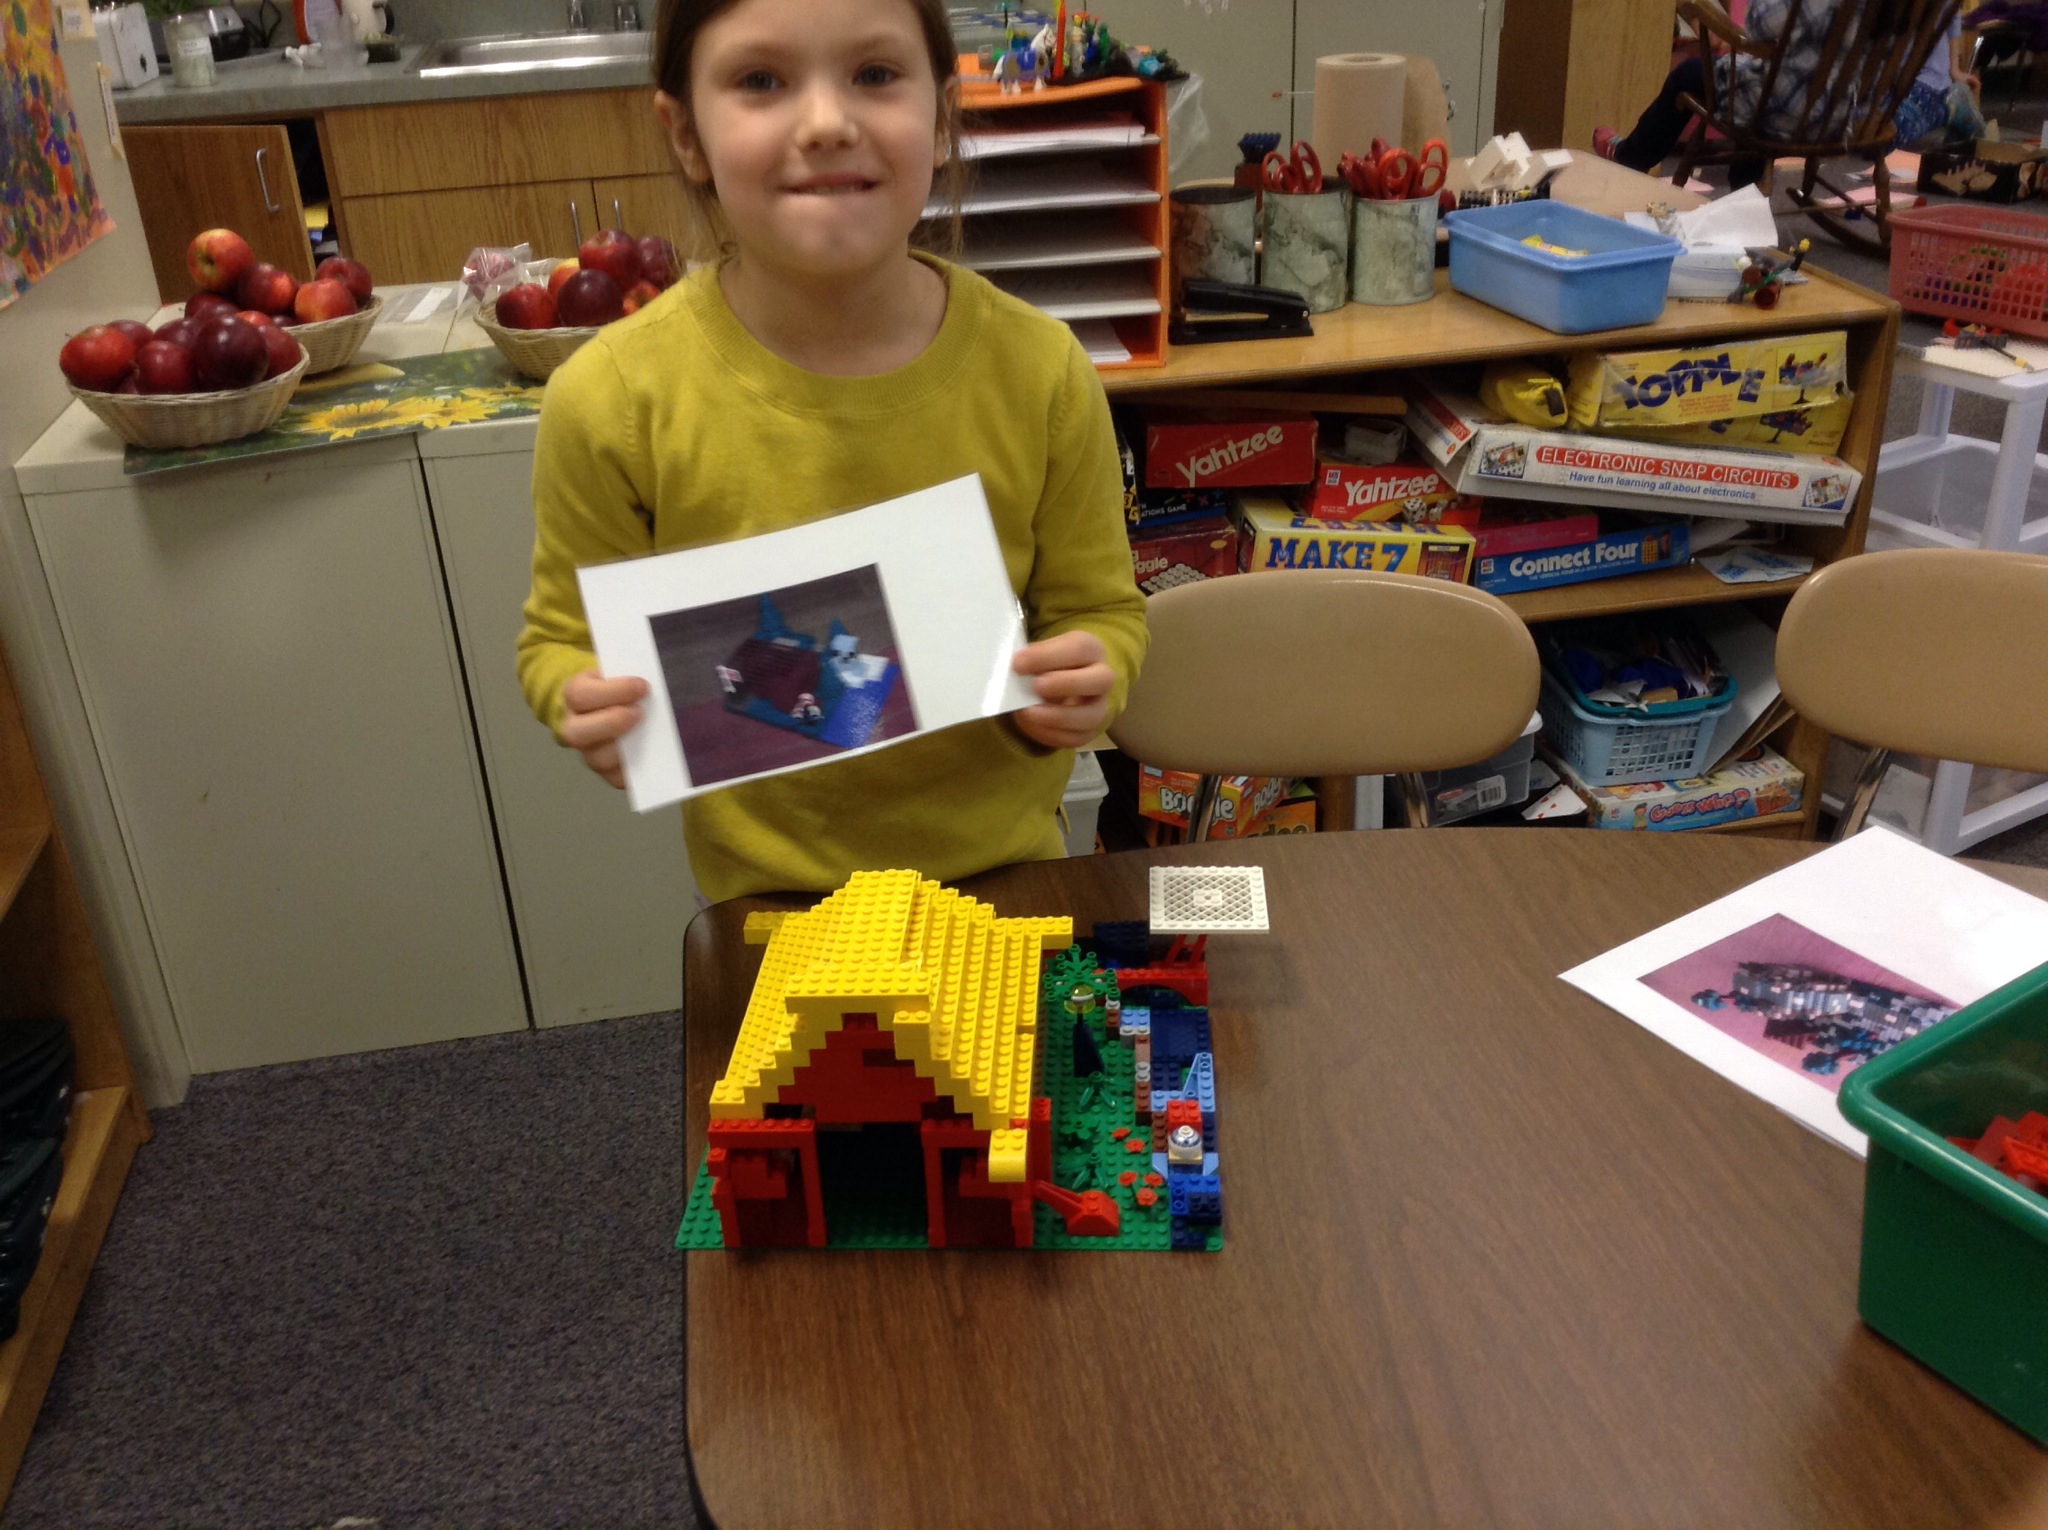
Claire decided to build a lighthouse
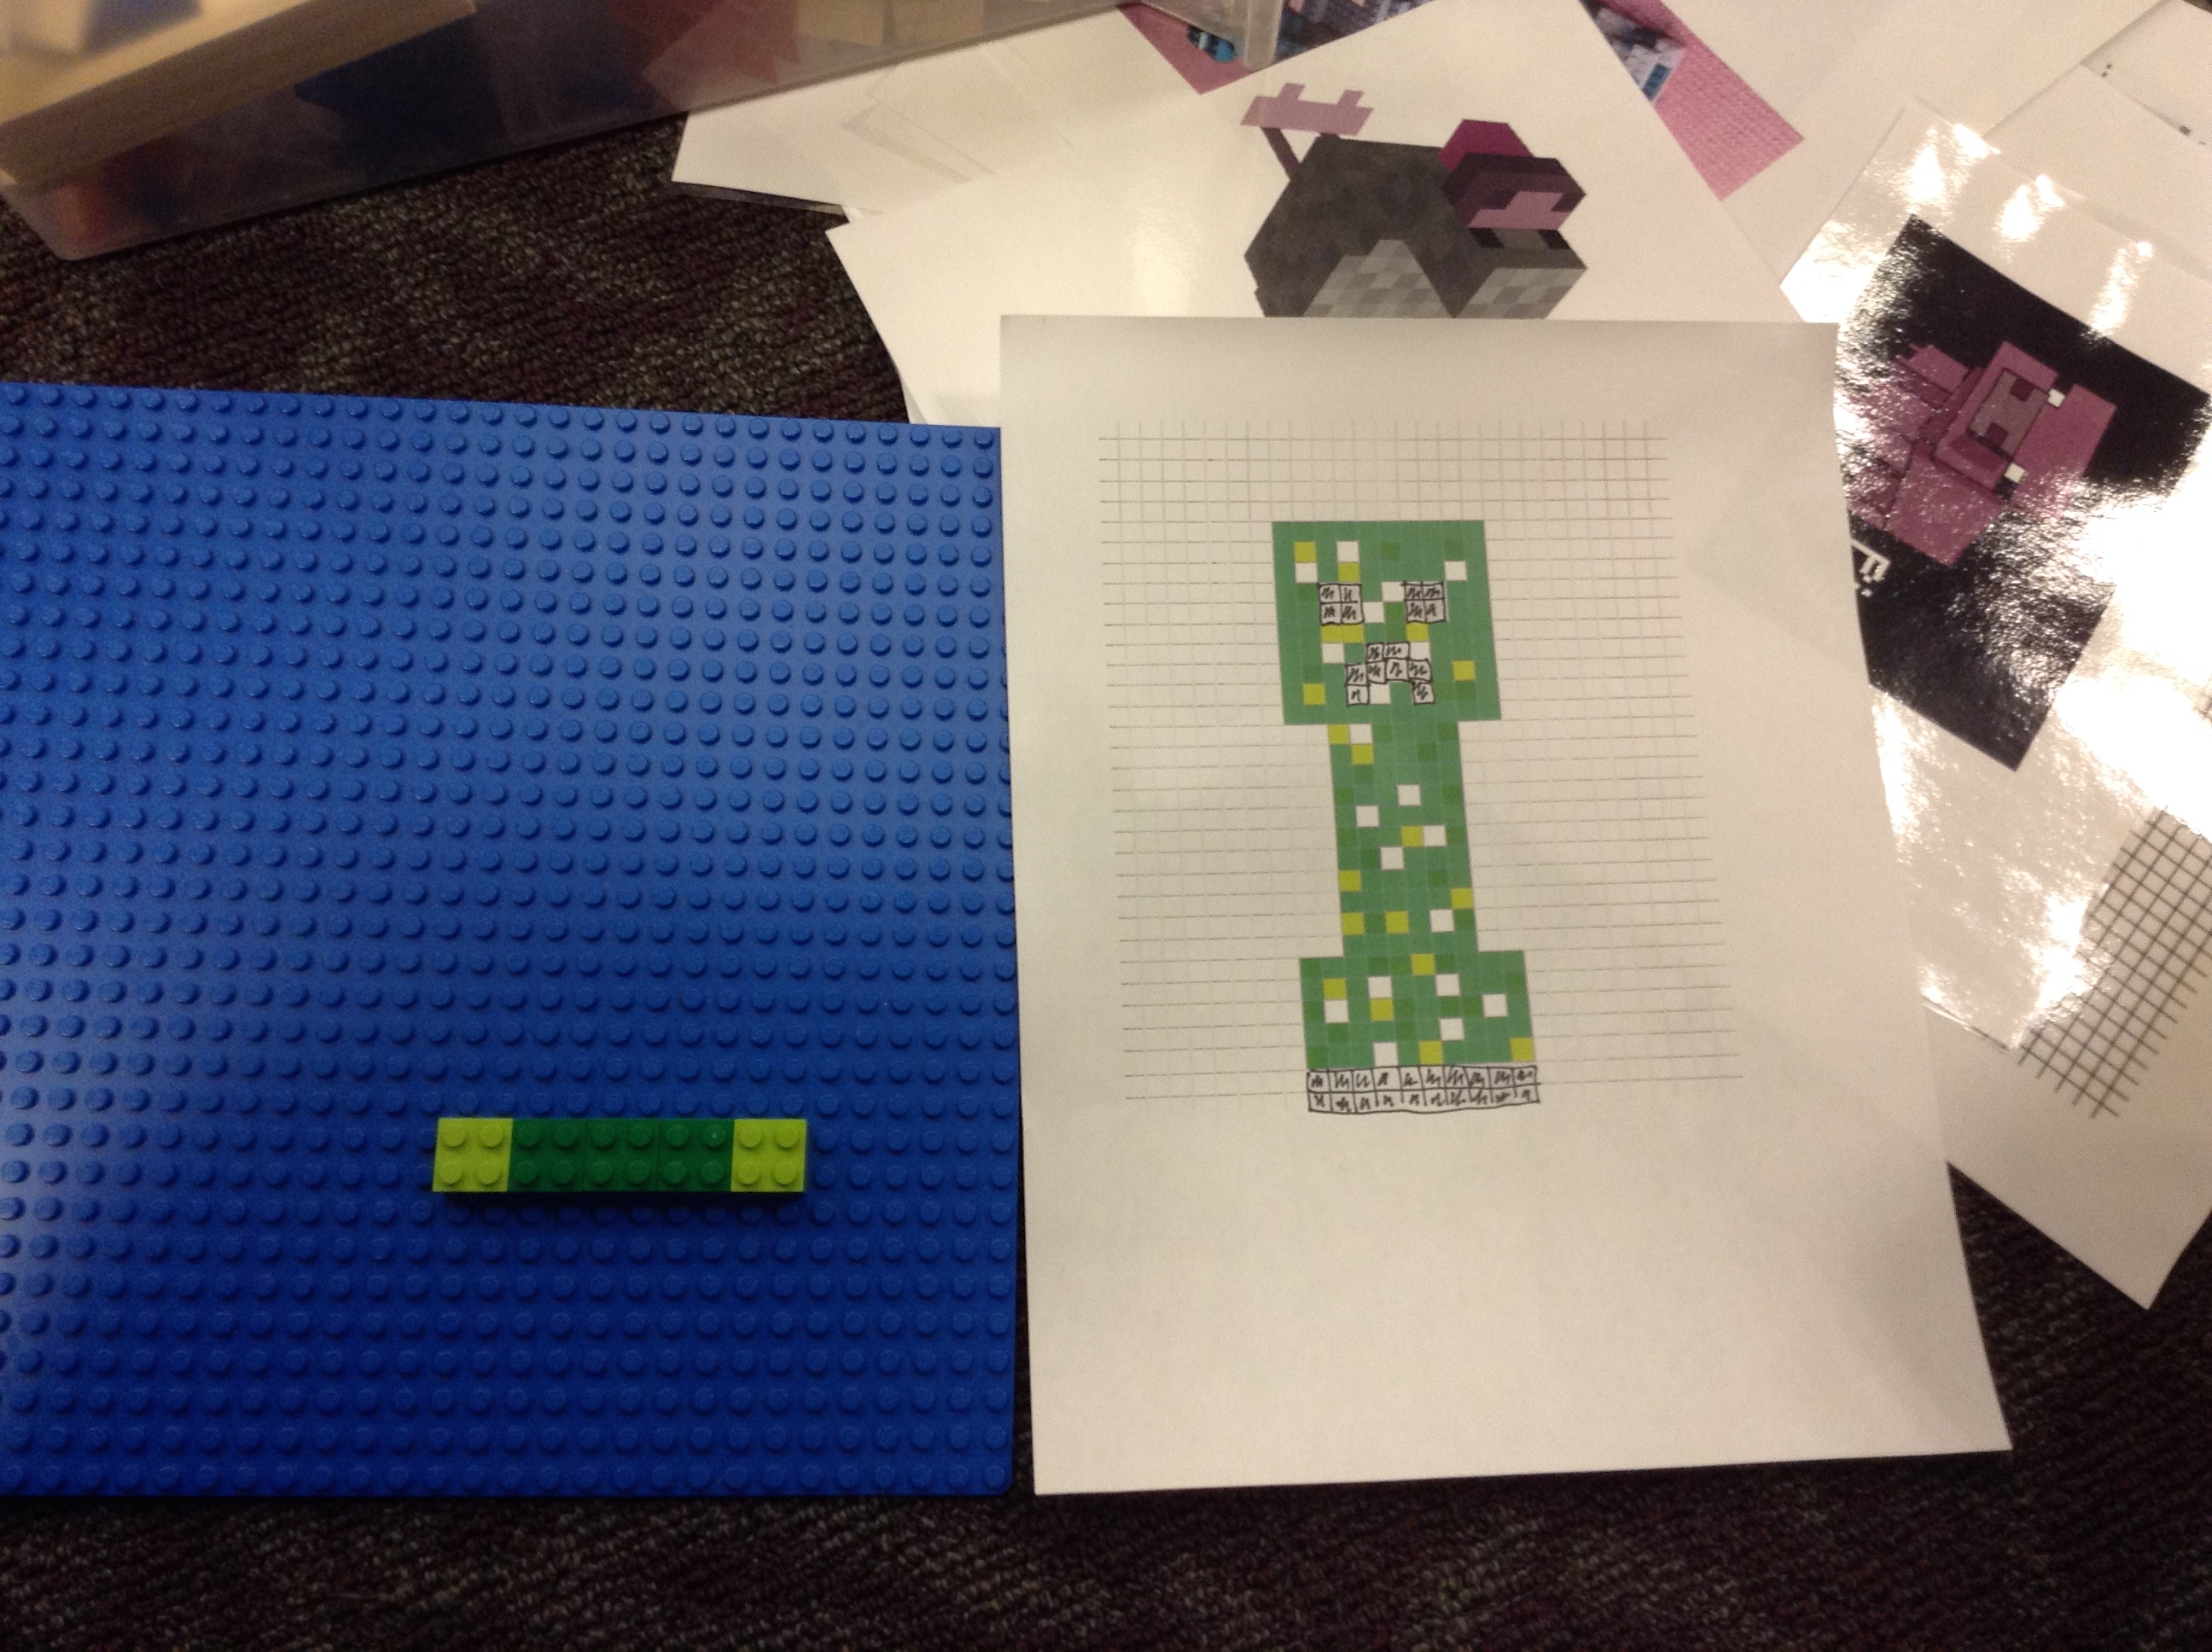
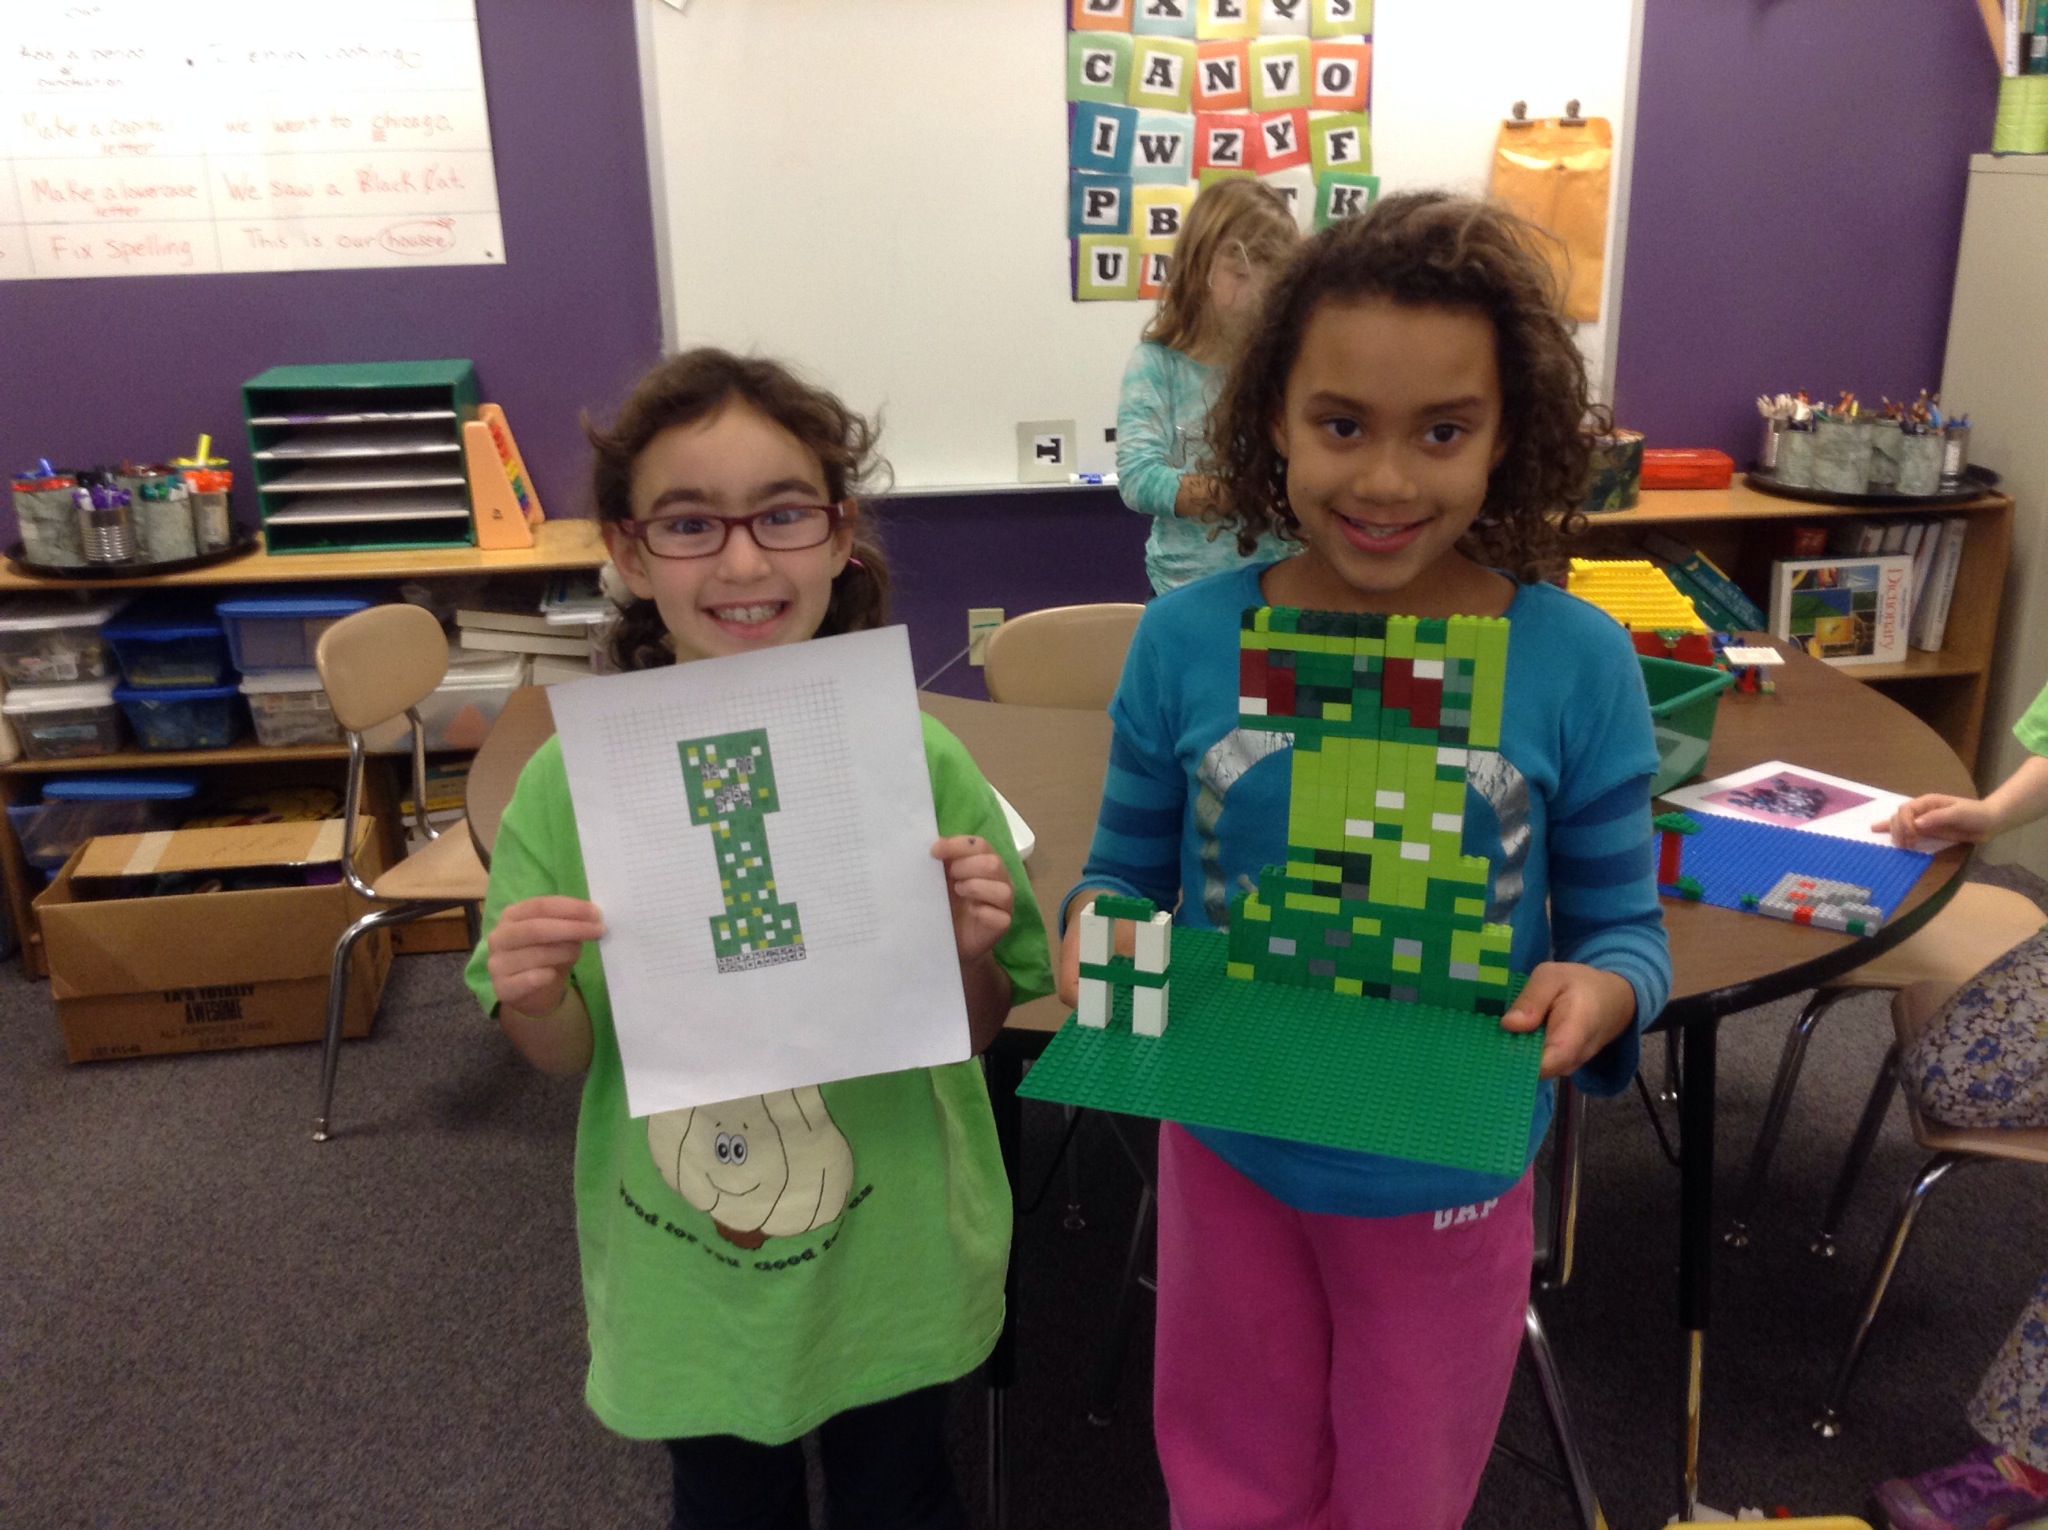
The girls decided what was their design-challenge would be and got to work. Emily and Claire chose Brackitz. They loved the challenge of building with these and could not wait to start constructing the 3D cubes. Elizabeth, Isabel, and Ali chose to follow the blueprints and create a 2D structure. They decided to make a creeper and Steve. Excellent choices.
![image[5]](http://sites.harleyschool.org/afterschoolgirlsstem/files/2014/12/image5.jpg)
A 2D creeper!
![image[7]](http://sites.harleyschool.org/afterschoolgirlsstem/files/2014/12/image7.jpg)
both girls busy at work!
Addy, Elizabeth, and Maddy decided to build a 3D animal. 2 foxes and a chicken would be added to our creations.
![image[10]](http://sites.harleyschool.org/afterschoolgirlsstem/files/2014/12/image10.jpg)
Minecraft foxes are off to a great start!
![image[4]](http://sites.harleyschool.org/afterschoolgirlsstem/files/2014/12/image4.jpg)
This project took two sessions to complete. They were extremely focused on the task at hand. ![image[9]](http://sites.harleyschool.org/afterschoolgirlsstem/files/2014/12/image9.jpg)
![image[12]](http://sites.harleyschool.org/afterschoolgirlsstem/files/2014/12/image12.jpg)
![image[13]](http://sites.harleyschool.org/afterschoolgirlsstem/files/2014/12/image13.jpg)
great team work!
Claire has made a lighthouse! Now to give it some color!

The 2D shapes are coming along. The girls had no trouble following the blueprint!
 The finished product

Steve
The animals were so cute! We wish we could take them home!

Do these spikes look good on him?

It is really starting to look like a chicken!
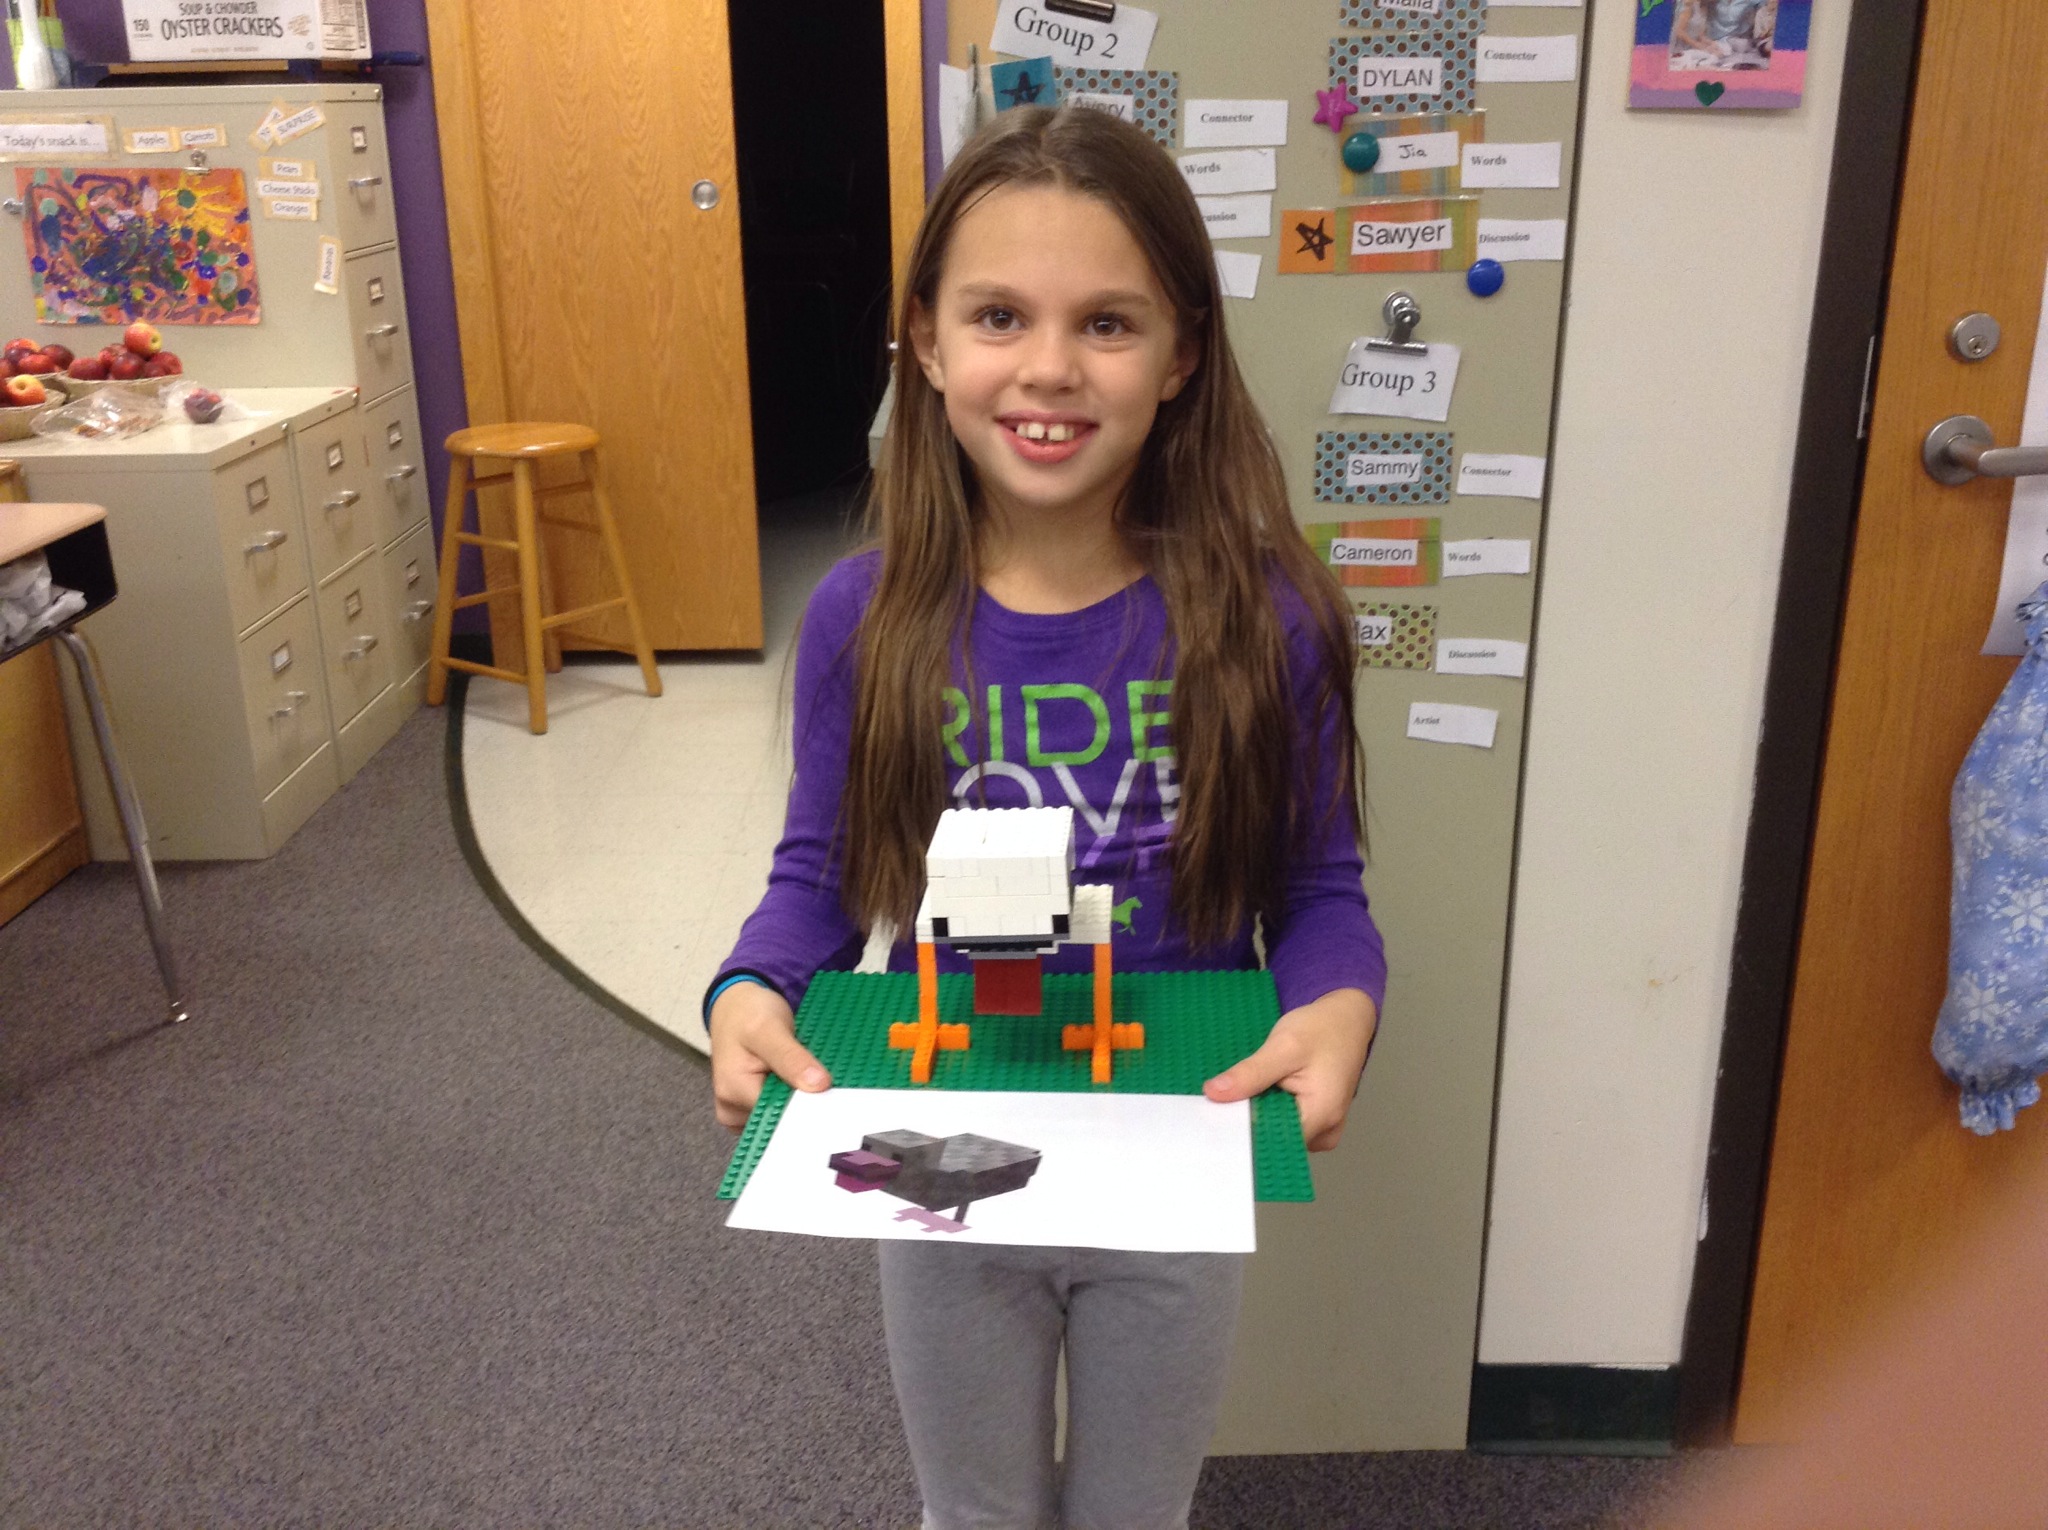
a finished chicken
Once the feet were build, the rest of the chicken came together rather quickly. 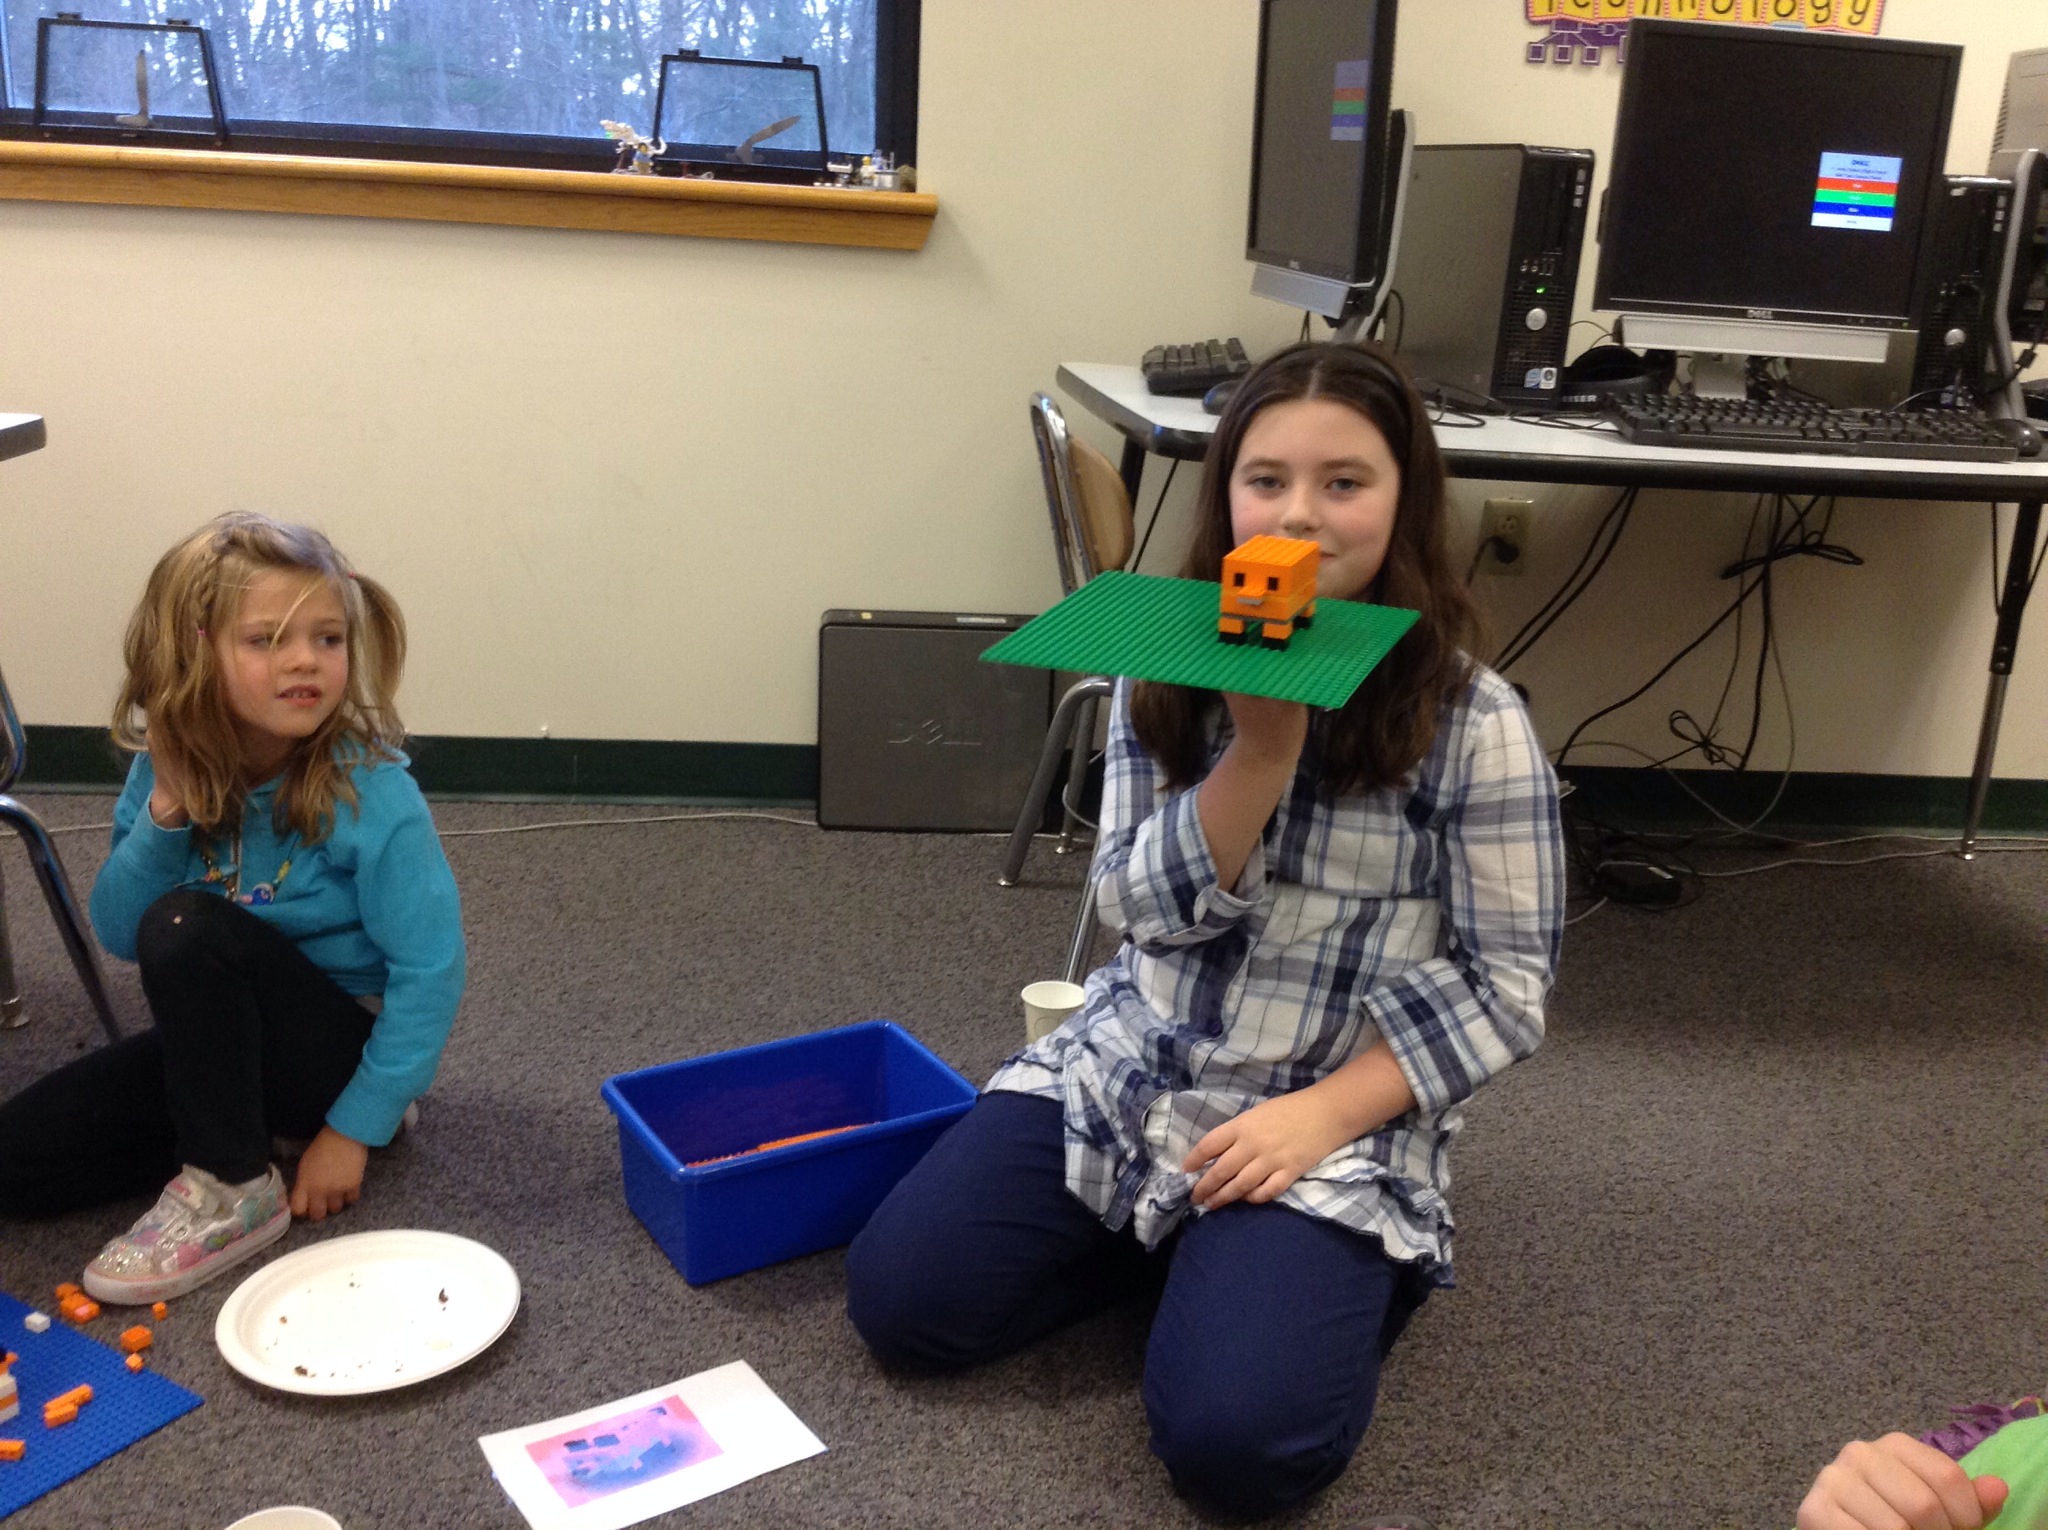
The buildings were not an easy design task. The girls carefully selected their pieces and worked hard both afternoons.
The girls with the brackets had a lot to think about. Building, cutting, taping, and creating. The girls were surprised how durable their structures were. It was part of the design thinking. If one part was weak, they had to think about how to make it stronger. There was a lot of trial and error, but in the end, they were proud of what they accomplished. The lighthouse and the pig turned out great!
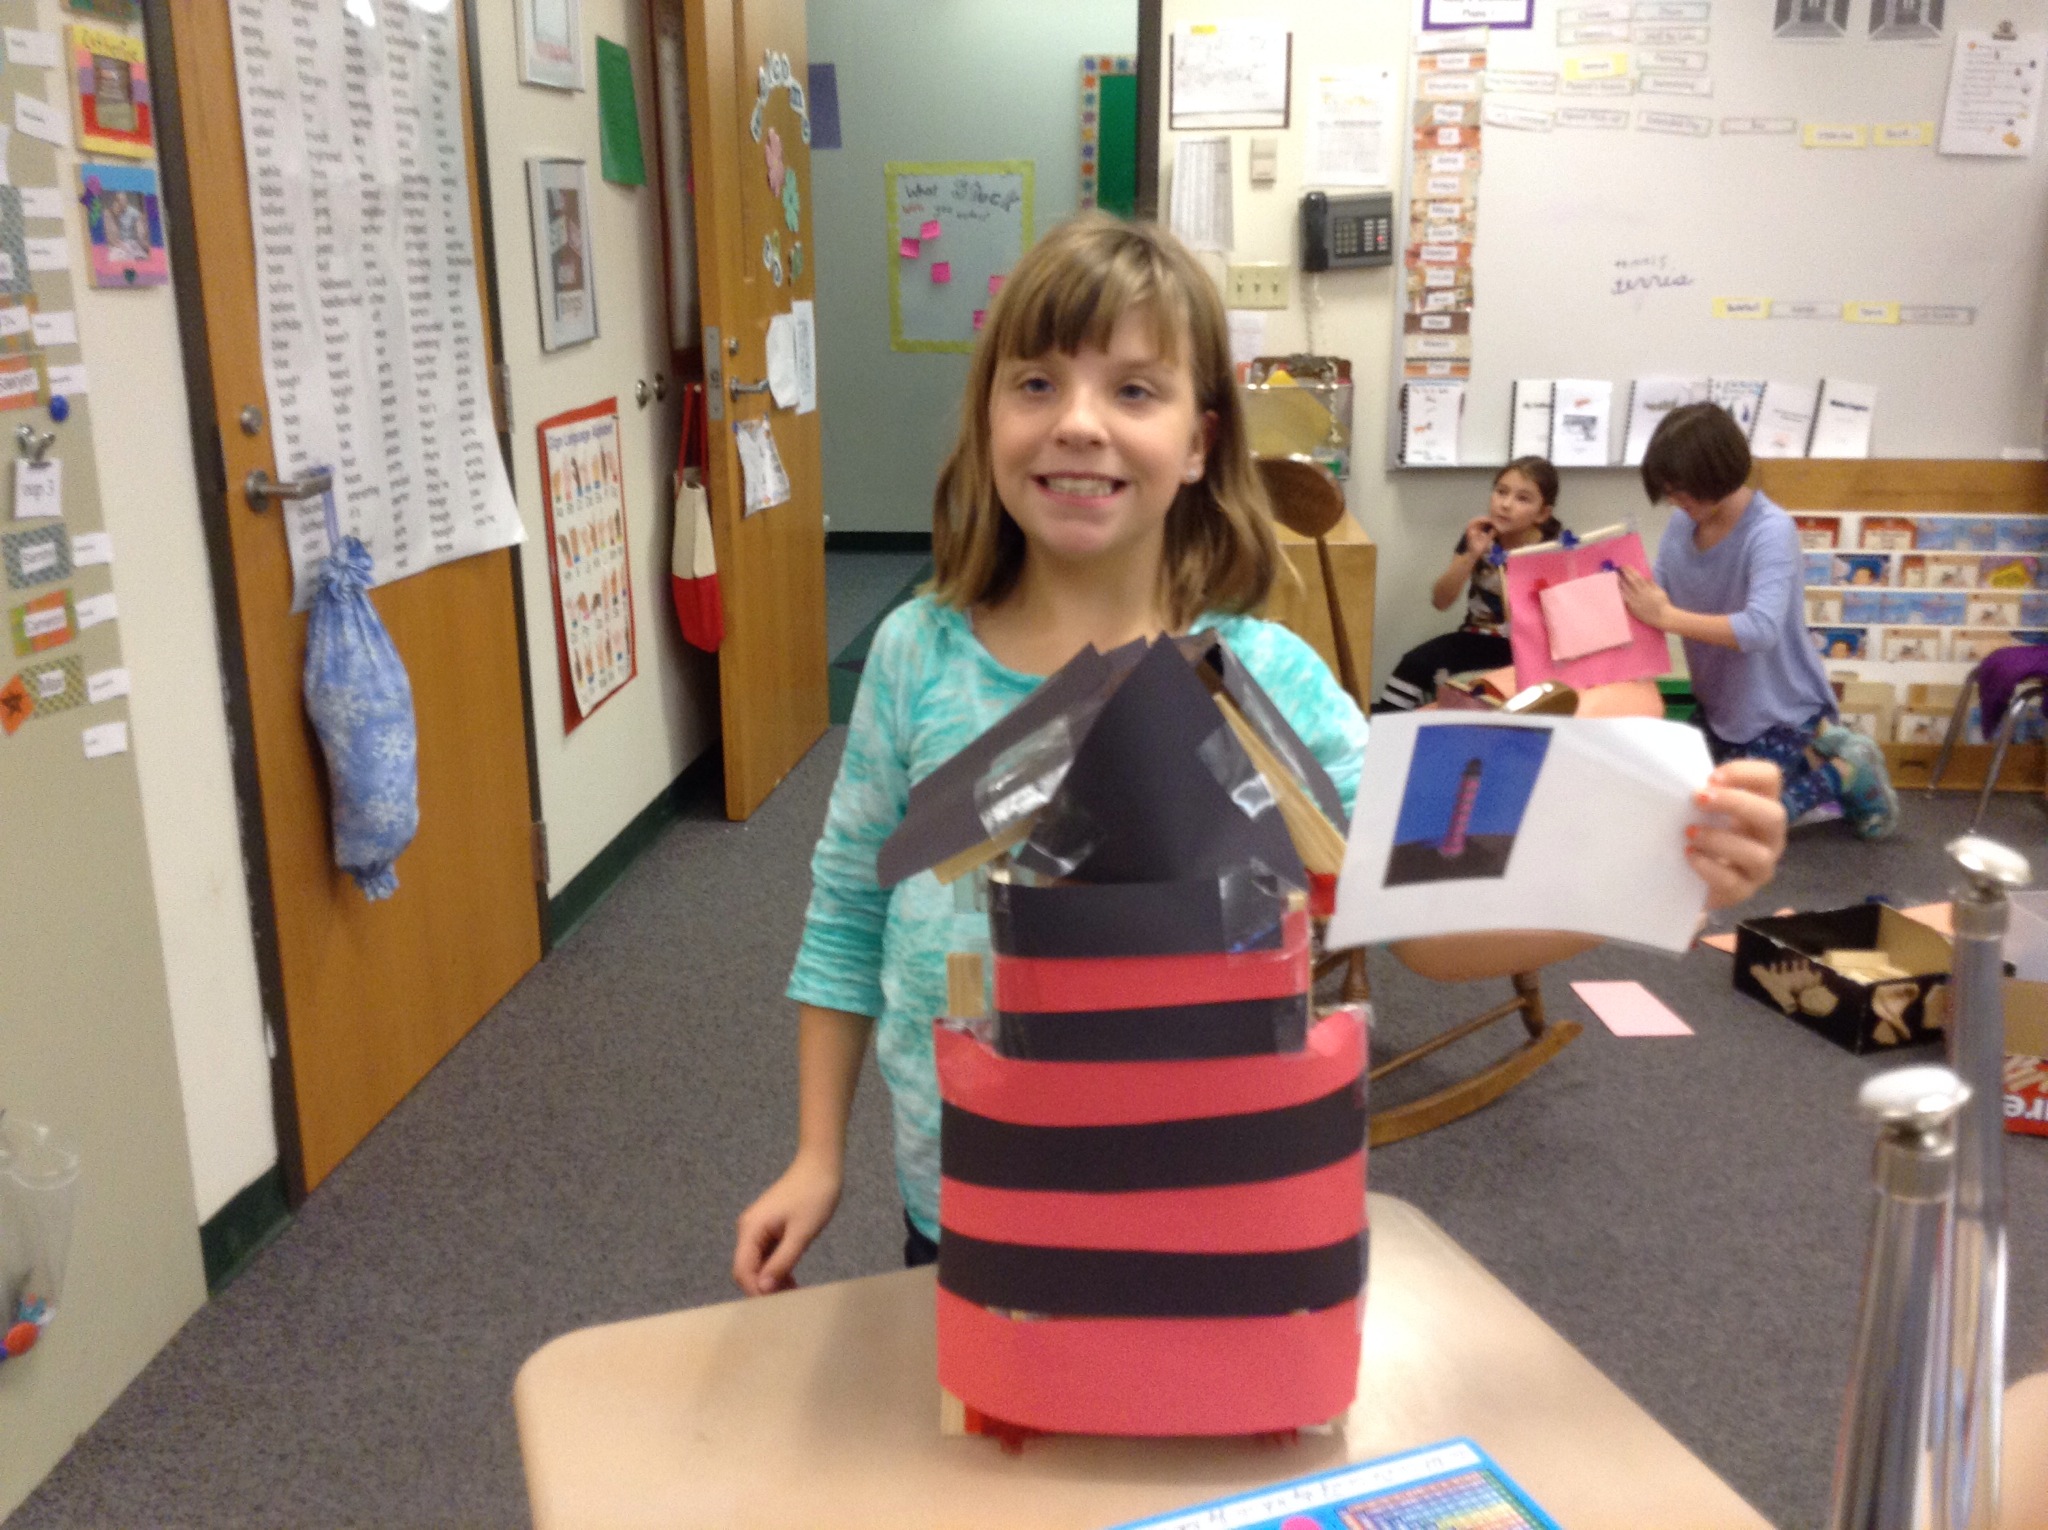
the finished lighthouse

side view of the pig
almost there

The finished pig!
The girls were all very proud of their work. We hope to share the finished product and also our process at our lower school assembly. We host it once a week for the school and parents to see what we are doing at our school. Great building girls!
Recent Comments