Oct 23

Cornstarch and water speaker experiment in STEM testable question science

The girls were so excited to enter the classroom and see sound equipment. They instantly began to guess what we would be doing for the day- they had lots of predictions.

I told them how we would be continuing our sound/vibration study today by finding another way to observe it- with a speaker. Luckily for me, my husband knows a lot about sound equipment, and he volunteered to come in and help with the experiment. I also know when a topic is above my expertise and I need to recruit someone. Win/win! We took some time to mix the corn starch and water together.

IMG_0109-1.JPG

IMG_0110-1.JPG

IMG_0111-1.JPG
Next we talked about how sound waves look, the range of frequencies of sound, and decibels.

IMG_0112.JPG

IMG_0113.JPG
We showed them a cool app that showed them where their voice fell in the range of frequencies. They were eager to talk into the iPad and giggled as they raised and lowered their voices. The range of frequency is measured in hertz.

IMG_0116.JPG

IMG_0115.JPG

IMG_0114.JPG

IMG_0117.JPG
We then went to see what the cornstarch and water would do if we increased the hertz. We started low and slowly moved it higher. It was very cool to see it start to move.

IMG_0118.JPG

IMG_0121.JPG

IMG_0120.JPG

We then wanted to see if their voice could move the corn starch- we plugged a microphone into the speaker and let them try. No luck- their voices didn’t generate the right frequency or enough decibels.

IMG_0123-0.JPG

IMG_0124-0.JPG
Then, we decided to see what would happen if we played music. We started with this song:

We also let them select a couple of songs. “Timber” did not have a wide enough range of frequencies, but “turn down for what” wasn’t too bad.

We ended our time letting the girls build to music. A very cool afternoon!

IMG_0126.JPG

IMG_0127.JPG

IMG_0128.JPG


Oct 07

Exploring Electronics

imageimageimageimageToday in STEM club, we took a break from vibration to study the art of electronics.  I say art because inside of every piece of equipment we use, is truly a masterpiece.  I am in awe of how people learn to construct and put this kind of stuff together.  Since we have been working with motors, wires, and batteries, I decided to have the girls get their hands inside some broken electronics.  The girls were excited for this adventure.

The first thing we discussed was safety.  We agreed to be careful with sharp things and if they found something that look weird, they would ask a teacher before touching it.  They selected a piece and began the tedious process of opening the item with a screw driver.  These girls were driven and determined to get inside.  They could not wait. Some were easy to open and some required a team to get inside.  There were two items we could not even open.  The hairdryer and a funny and old projector were just more difficult than we could do.  Luckily the girls didn’t mind teaming up if their electronic was not opening. Many found motors in their electronics.  Some found lenses and lots of circuit boards.  They were giddy as each one got theirs open to peer inside.  They never stopped until the time was up.  I had to promise them we would continue this next time – and we will!  I was proud of them.  I love seeing girls get excited for these things.


 IMG_0078.JPG

IMG_0077.JPG

IMG_0076.JPG

IMG_0079.JPG

IMG_0081.JPG

IMG_0083.JPG

IMG_0085.JPG

IMG_0084.JPG

IMG_0087.JPG

IMG_0088.JPG

IMG_0086.JPG

Sep 30

Day 2 motoring robots! ( a robot made with a motor)

Today in STEM club the girls were given another task- designing their own robot. They could be animal robots, people robots, or other robots. They just needed to design one.

They were shown what one could look like and the given the guideline that their design had to:
1. Be balanced
2. Move
3. Have a plan
4. Be safe

The girls were so excited to see the materials and get to work. They selected the items they might use and began the gluing process. Design plans were changed and material ripped off and re-glued. Designing is not an easy process and these robots not only had to balance but move!

What I thought was most interesting was that some girls really thought about the motor- where it would go and how it would be used and some girls used the motor as an after thought.

The finished projects were amazing. This was my favorite day so far. The girls were so kind and helpful to each other. I was floored at what they created!

Bugs, horses, and even a massage chair were created.  Some robots like Ali’s moved in a circular motion, some like Elizabeths’ moved straight, and some like Madisons’ had room for the tail to flip in a circle.  What a fun afternoon!

IMG_0067.JPG

IMG_0063.JPG

IMG_0062.JPG

IMG_0060.JPG

IMG_0059.JPG

IMG_0054.JPG

IMG_0056.JPG

IMG_0053.JPG

IMG_0047.JPG

IMG_0046.JPG

IMG_0048.JPG

IMG_0049.JPG

IMG_0051.JPG

IMG_0052.JPG

IMG_0050.JPG


Sep 24

Good Vibrations: Girs STEM – ART Robots. Using a motor to see vibration

This is our official kickoff to girls STEM club for the 2014-2015 school year.  I had an amazing turnout this year and have maxed out with 10 girls in the club.  Hurray!  I still remember back in the day when we started the club with only 4 girls. I am thrilled to see more girls becoming interested in science, technology, engineering, and math! I hope this love continues throughout their lives.

Today we started the lesson with a science experiment. I sat them in a circle and we all looked at these material.
image
I took some rice and placed it on top of the bowl with plastic wrap on top. They made predictions of what would happen to the rice if I banged the drum with a spoon. Most thought it would move because of air from the drum. Some even thought it was the vibration of the drum that would make the rice move. Sure enough, it worked. The vibration from the drum caused the rice to move. We then tried it with a bucket, made predictions, and watched if the rice would move. This time the predictions were split. Half thought the vibration would make the rice move and the other half thought the rice would stay put because the bucket would not produce enough vibration. When I banged the bucket. The rice did not move! Awesome job, girls! We are observing vibration.

Our design task for the 2nd part of this class was to design something that could show the movement of vibration. What better way then through art! The girls were given different cups or containers. They were given pencils, colored pencils, crayons and markers. Then they were given something that would actually vibrate – a motor. They have to design a “vibration bot” to show the movement of the vibration.
image
The girls were thrilled with this task and could not wait to get their hands on the materials and motors. They instantly went to work testing the containers and learning how importAnt it is to make sure the markers were even. They hand to make sure the vibration bot they created could stand on its own. They also figured out that the motor had to be placed in a way so that the end piece could spin around.
image

They tried their plan, and if they had time, they tried again with a new idea. Some attempts failed and some were very successful. They also learned that the wires that are attached to the motors were very fragile.
image
image
image
image
Next week we will continue to study vibration!

Mar 05

The making of a Lego stop motion movie

Due to popularity of the Lego Movie, the girls were presented with the idea of making their own movie – they were thrilled with this task!

For our movie, we used the Lego Movie App. It is Lego’s free stop motion movie app and who doesn’t love free!?! The girls watched a video on how to make a movie, and we couldn’t resist watching a few lego movies on YouTube. They were awesome, and we instantly became inspired!

We decided to vote on a theme for our movie. All kinds of ideas were tossed out- from a lego movie about Ben Franklin to how Emmet and Wild Style meet. We voted and decided a birthday party for Emmet would be fun. Somehow it turned into a lego beach birthday party (even better).
imageimageimage
Day 1 was spent building the set. The girls were so engaged. They had so many ideas, yet through it all, some good team work was happening. Sometimes they would shout out an idea for what the birthday party needed and then someone would volunteer to make it. It was impressive to watch their compromising and negotiating.

Day 2 was spent making finishing touches to the set and then making the movie. I thought I would have to help more with the technology piece, but it was so easy for them. They naturally made an order for taking turns taking the pictures and they had no trouble navigating the app.
image

image
They did great for their first time! Madison was Wild Style, Clair was the small car, Ali was the larger car, Anika was Emmet, and Addy was the horse. It was a fun afternoon! Here is the movie!

Feb 13

Building centers – observing play

Today the girls participated in building centers. Their task was to work in pairs at one center. Each center had a different option for building. Before we began, I showed them the options of toys for building. What they saw was a bunch of fun stuff they couldn’t wait to get there hands on. What they did not realize was I was very interested in their interactions with the toys. How did they build? Did they play? I had two toy choices available that were open- ended play, while the other two were direction-following, more scripted toys.

I was excited to see what they would do.

First they were allowed to chose what they wanted to build. The scripted Lego kits were snatched up first (after all- this is Lego Club for girls!) and the tinker toys were also picked. No one selected the Paolo blocks- I will have to get these girls to try them later. They are honestly really cool!

The girls worked in pairs and the first chunk of time was quiet. (That is rare for girls club). Then, I was starting to observe a lot in their interactions.

Addy and Ali worked together on a Tangled tower. Ali followed the directions to a “T” and I was impressed with what was able to get done in such a small amount of time. Addy, who is four, just played.
image
Claire and Elizabeth were working on the Lego Friends Brickmaster story set. They honestly could care less about the story and just wanted to build. They skipped right into the directions part of the book. Once one chapter’s parts were assembled, they quickly took it down (no playing) in order to try out the next chapter’s buildings. I was surprised by this, as I would have thought the girls would play with the items they made and interact with them. I think lego was hoping for that too, but for these girls… They just wanted to build.
image
Madison and Anika were building with the Tinker Toys and their imaginations went to work. Madison started to create a giant creature and Anika was building a horse stable. What was interesting about them was that in about 10 minutes time they were using what they had build separately, to play together. They had a very detailed story with a captured princess. Every time something was needed they dove into the pile to make it, all while playing.
These open ended toys sure did provoke more imagination and creativity.
image
I’m not saying the open-ended toys are better. I think the ones with directions promote great spacial skills and abilities. Those toys are hard work and take determination. The open-ended toys seem to use a completely different side of the brain. These girls were immersed in their play all while building. In the end, both types are all about learning physics, scale, loading constraints, structure, and much more. These girls are building more than just a creation every time they are building.

The centers were fun. The girls wanted to stay where they were the entire time and not switch. I would like to have them switch another time to try out other the toys. I am interested to see if it changes their interactions with bulding.

Feb 10

How much weight can a boat hold? Stem for girls activity

The weeks before February break are crazy for teachers. So time for blogging is not much. Inside of writing, I will show you the improvements made by the girls with pictures. Happy viewing. These girls did awesome this time. The boats could float, hold weight and were relatively water proof. Great job, girls!imageimageimageimageimage

image

imageimageimageimage

Jan 30 2014

Fruit Inspired Boats

This week, STEM club began with a science experiment instead of a story. The girls met in my room, gathered all our materials we needed, and we went off to our school’s new project space. This space is our newest “green energy” building, and it was designed for hands-on, messy projects! Perfect! Just what we need! This week’s task is going to be a messy one!
image
The girls gathered around a water table. I pulled out two oranges. I then asked them to predict if the orange will sink or float. Most thought it would float… And sure enough, it did.
image
Next, I took a different orange, and this time, I peeled it. The girls predicted what would happen when placed in the water, and it was 50/50 split. We watched the peeled orange sink to the bottom. Now we could start our discussion. Why did this happen? It should weigh less, so why did the peeled orange sink? We talked about air. The peel has a lot of air, just like your floaties have air in them when you swim in the pool. The peeled orange is more dense. I introduced the term buoyant to them. They all understood how the regular orange would have more air and is buoyant.
image
The girls task was to build a boat that could:
1- float
2- be waterproof
3- hold weight (connecting from our last task)

The girls were very excited for this and couldn’t wait to get the hands on the materials. The orange experiment certainly got them thinking. They carefully selected items they thought would float. The materials available to them would not make an instant boat. They had to really think about how to turn thier items into a boat. It was far more complex than they expected.
image
Upon placing them in the water, they realized there is a lot to think about when it comes to designing boats.
image
Many of them tipped over. Some did not float and some held very little weight. We were not able to make modifications this class, so our boats will continue one more week.

Here is some of our experimenting:
imageimageimageimageimageimageimage

More to come!

Jan 22 2014

3 Little Pigs Survive With our Girl’s Club Engineers! Using Bionic Blox and Legos

I’ve been thinking a lot about education these days. With all the Common Core buzz that is blowing up our social media and news, one can’t help but think about it. Over the winter break, I had the chance to sift through one of my best friend’s second grade common core, Greek myth books. It was overwhelming for me to wrap my head around. Why in the world are 2nd graders doing Greek myths? How is this meaningful to them? I teach at a private school and take for granted that I can teach passion. I can teach what I love, and when I see passion in a student, we can go in a completely different direction to follow their lead. Imagine that! passion!

Here is a quote that sums up my thoughts on education…..

“Tell Me and I Forget. Teach Me and I Remember. Involve Me and I Learn.”

This is not new, in fact it was Benjamin Franklin that is responsible for this quote. Why have we moved so far away from it?

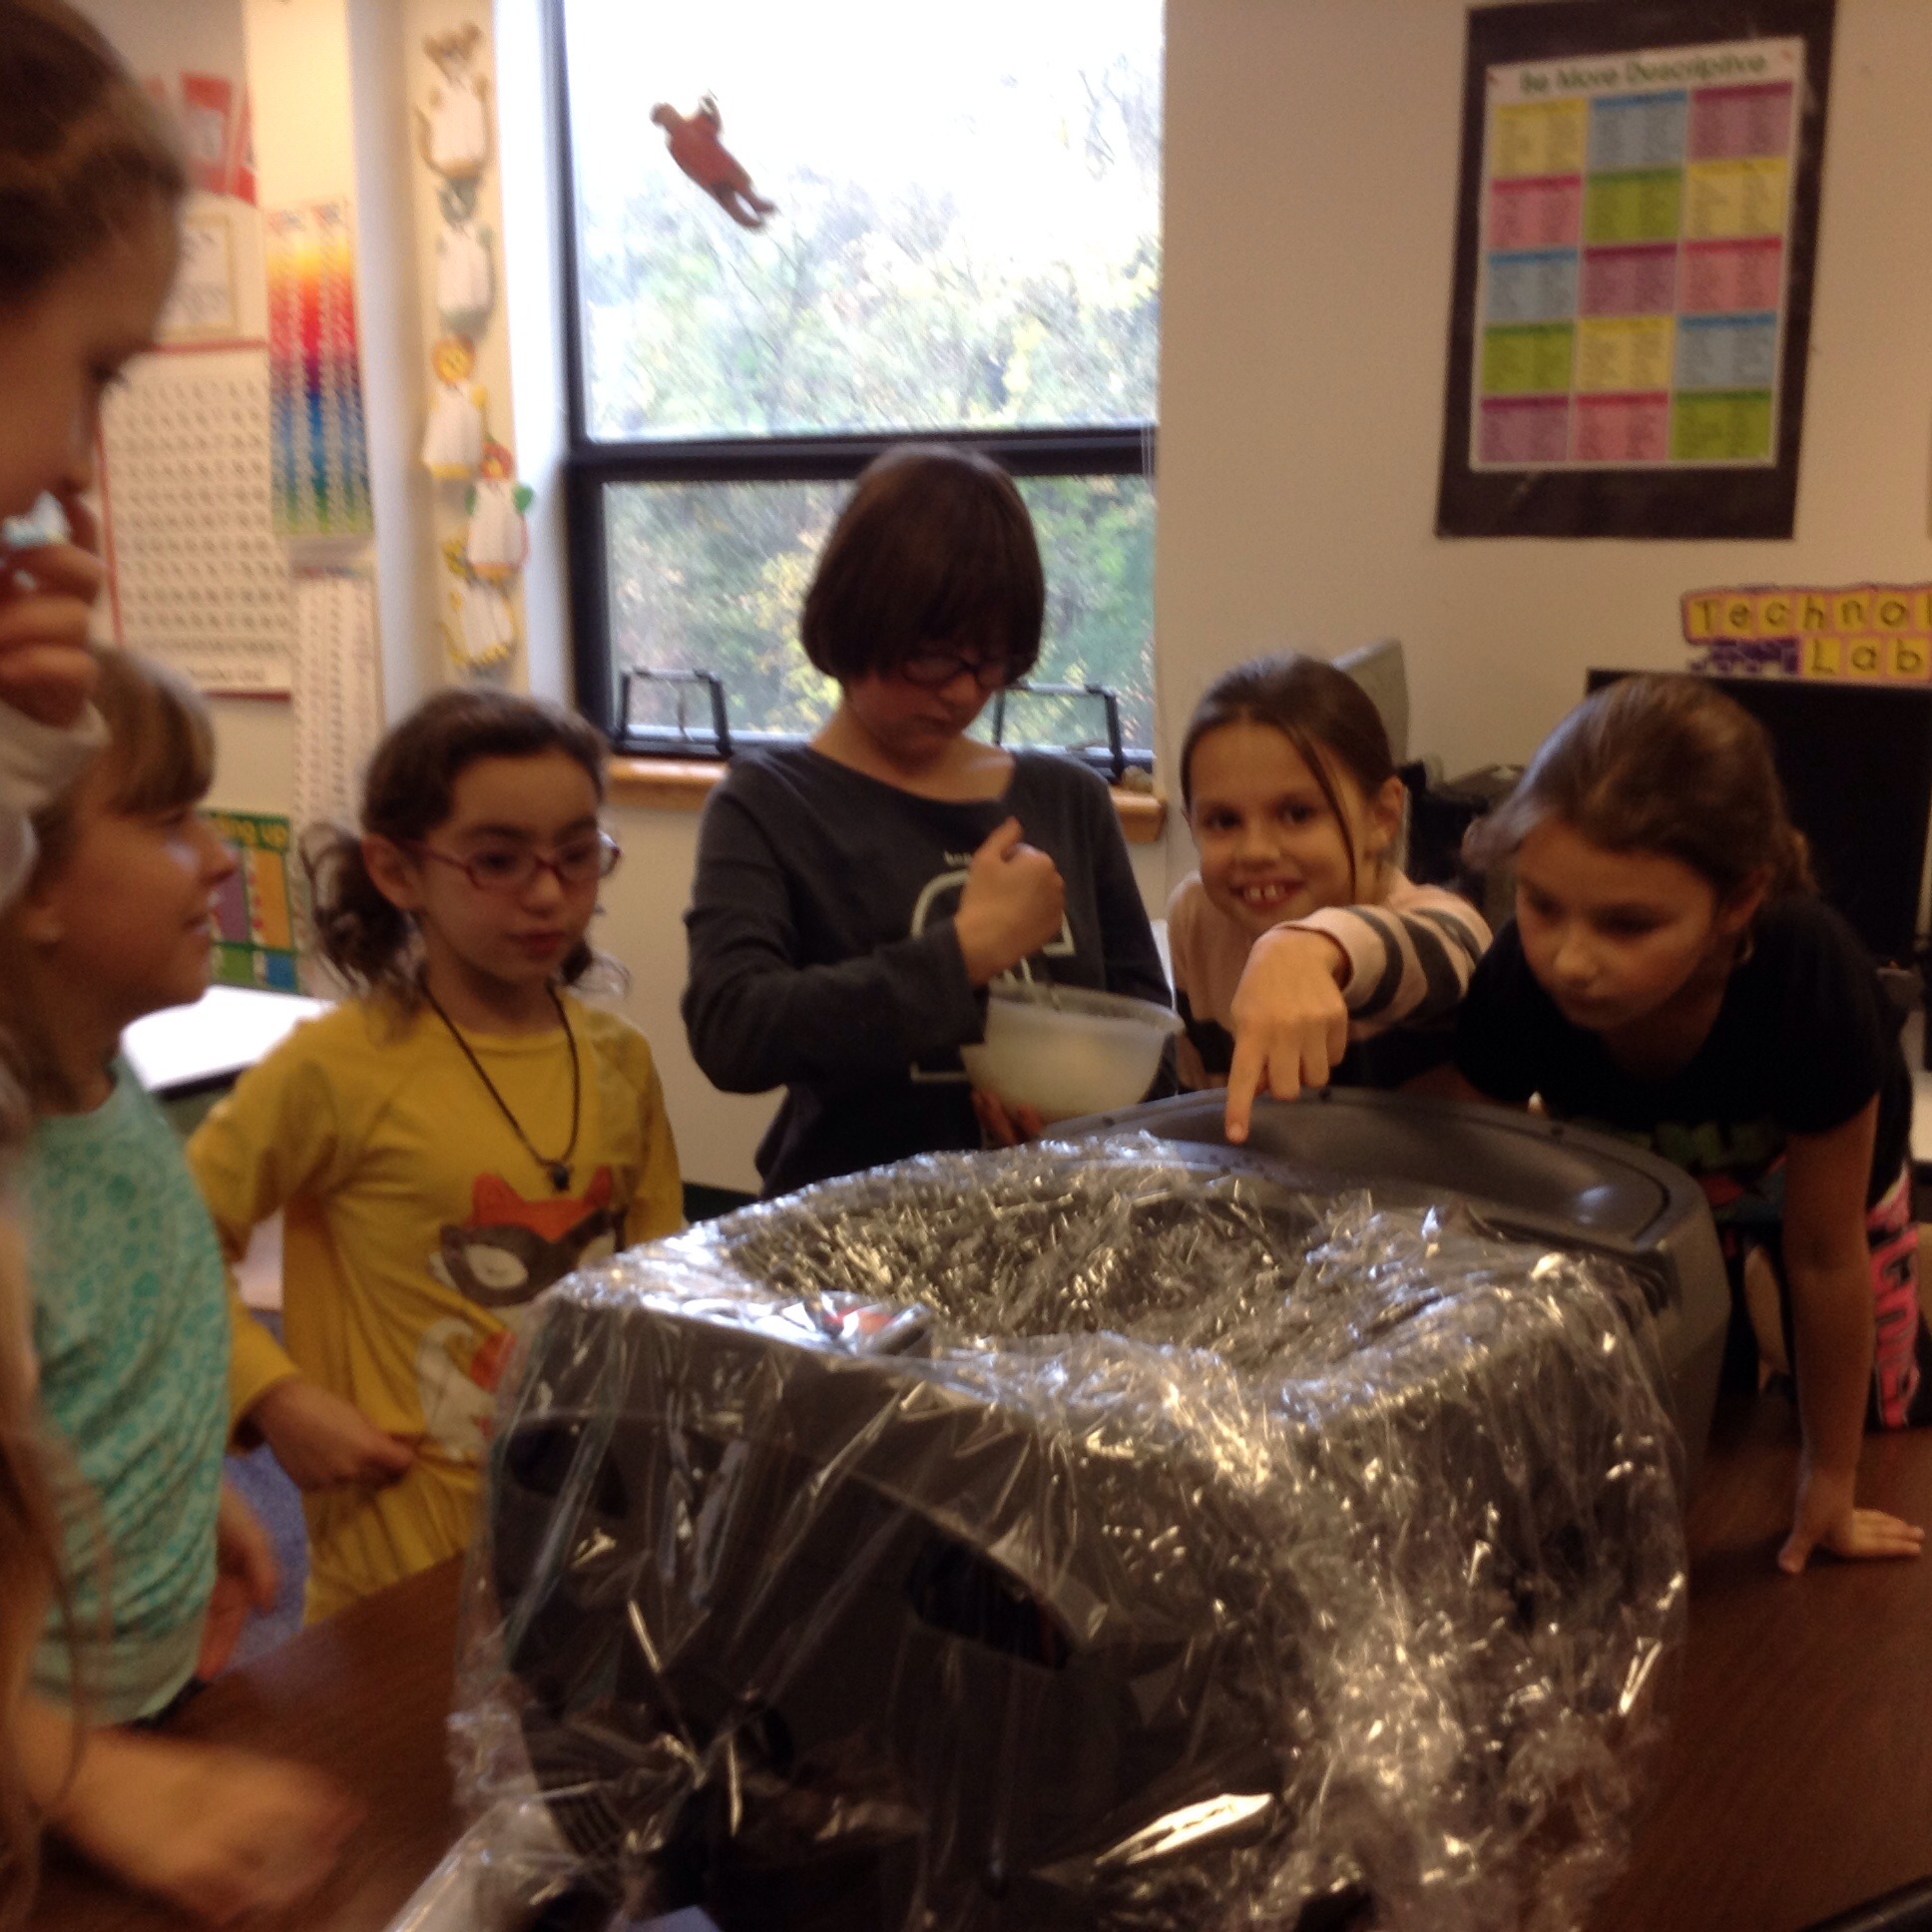
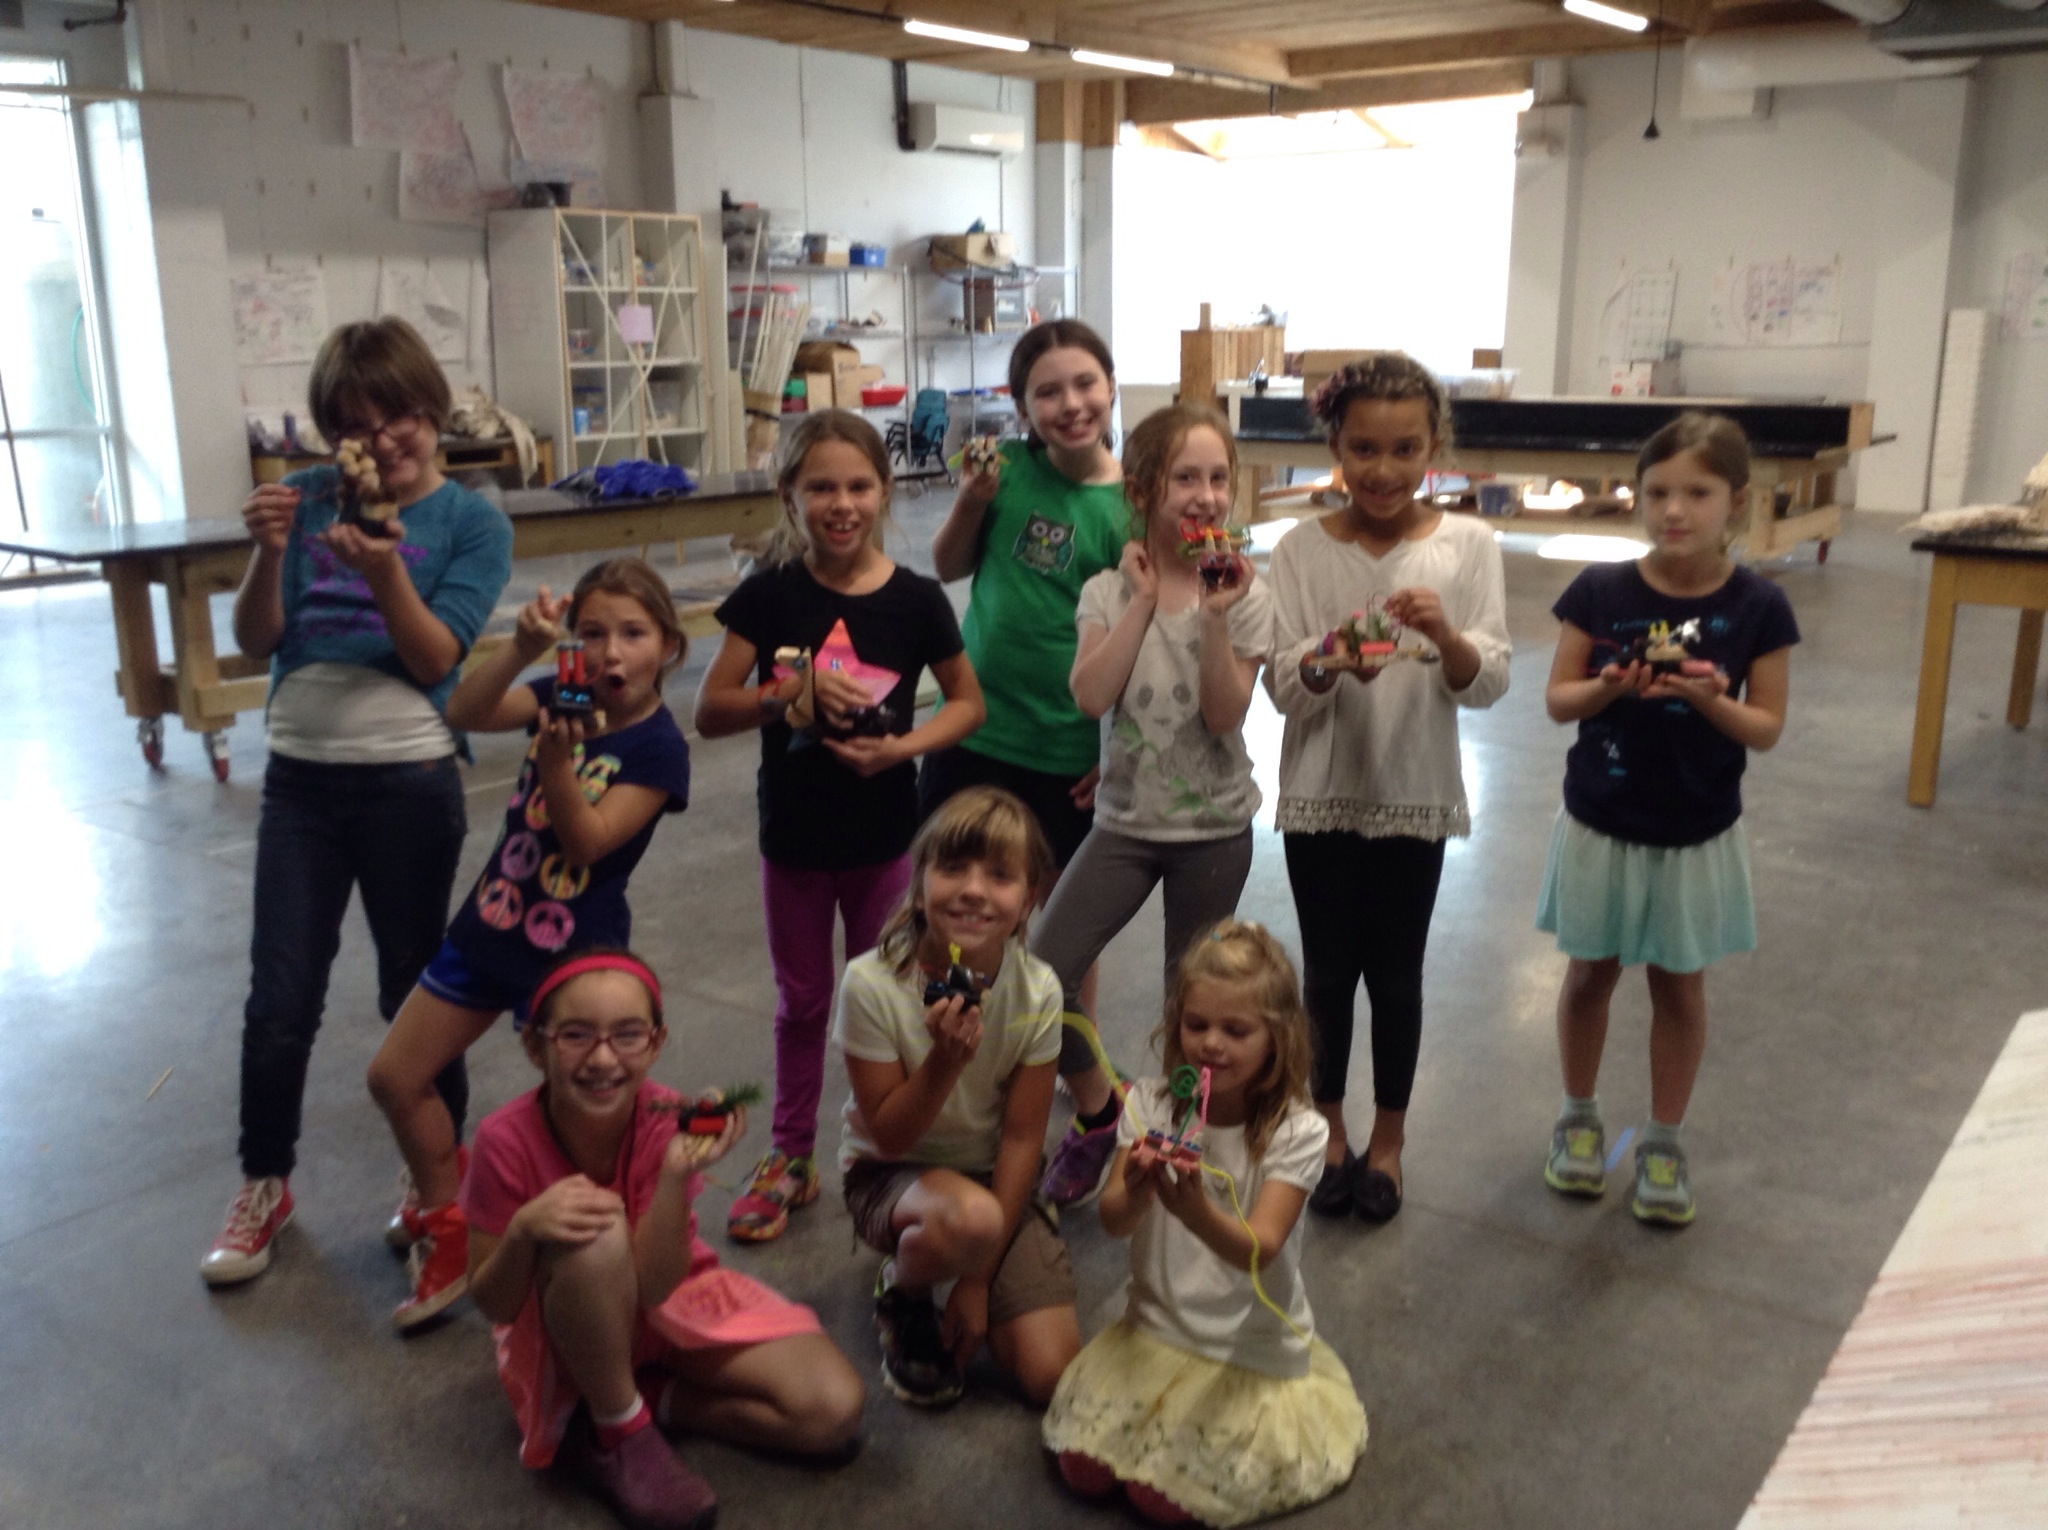
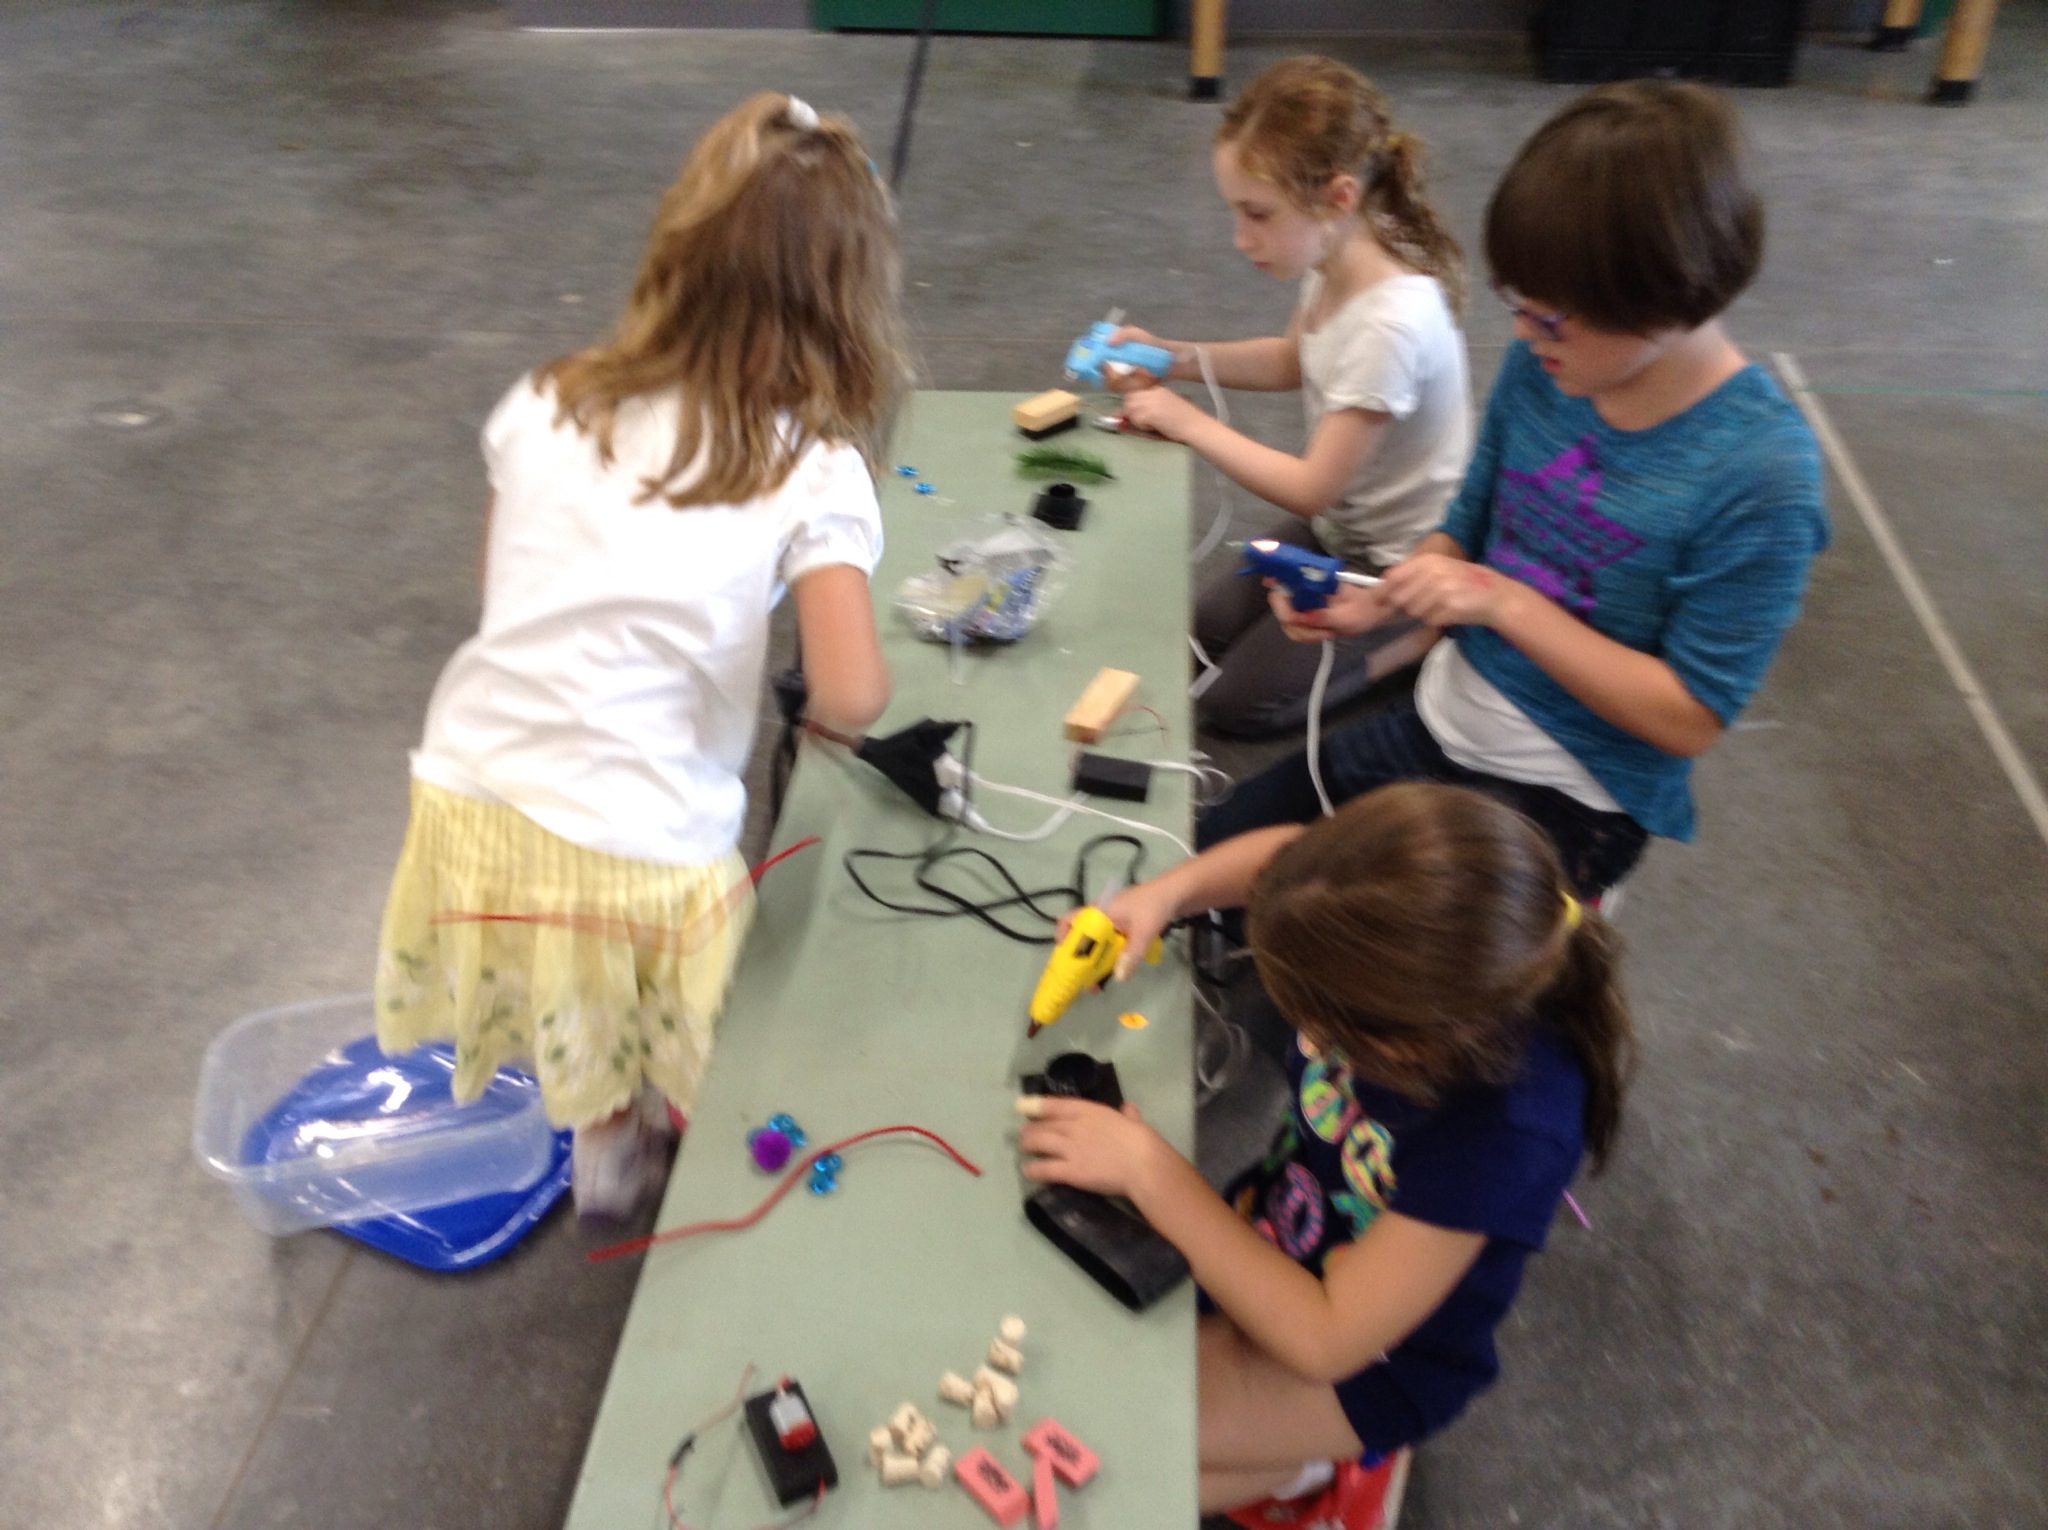
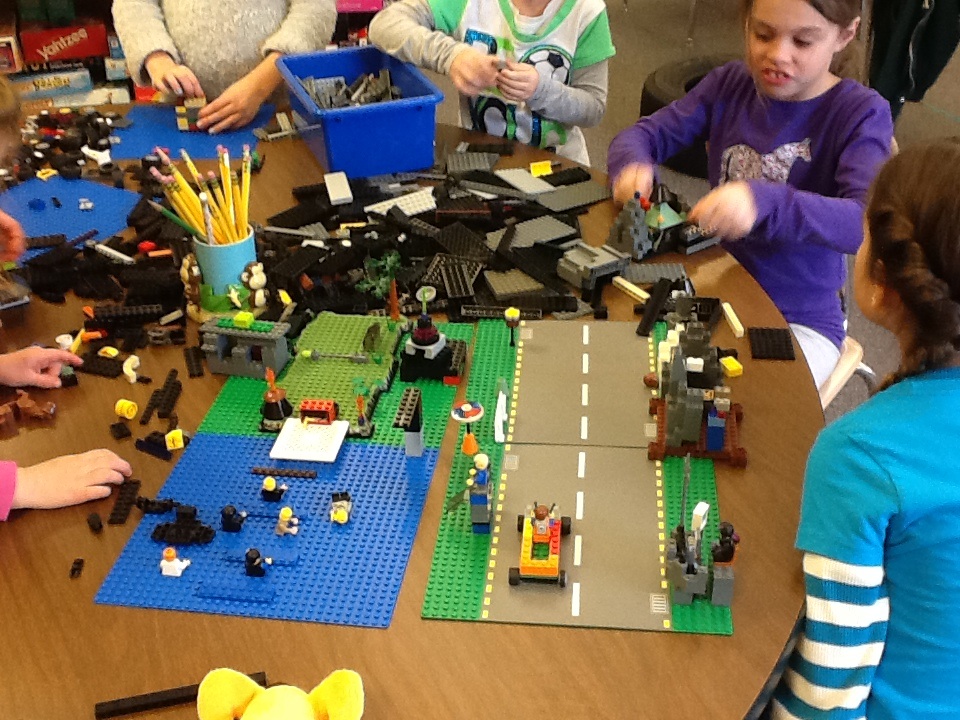
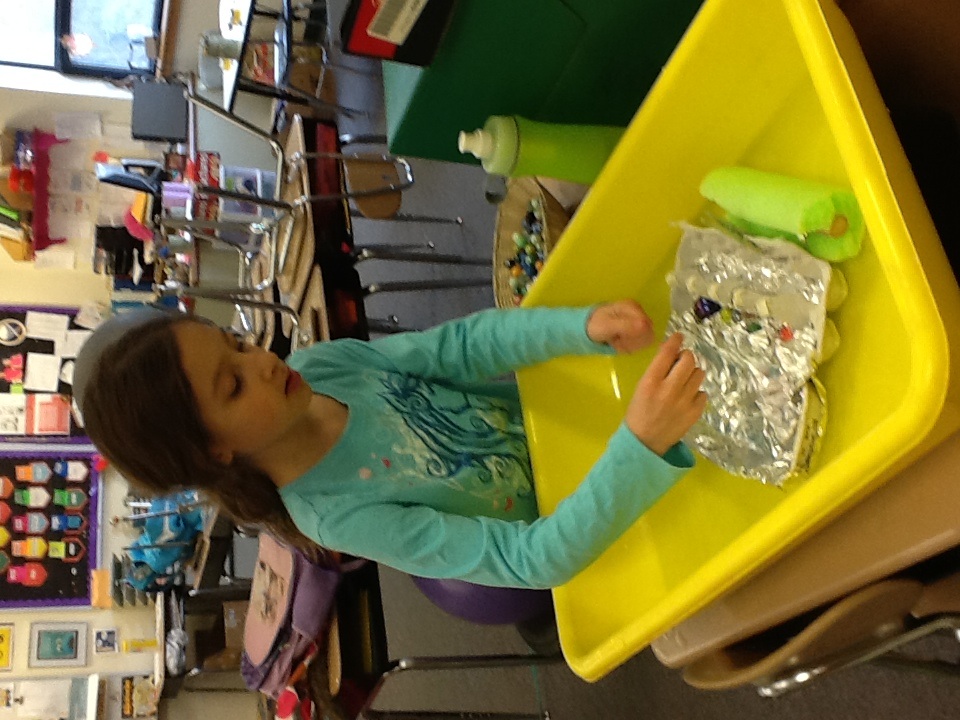
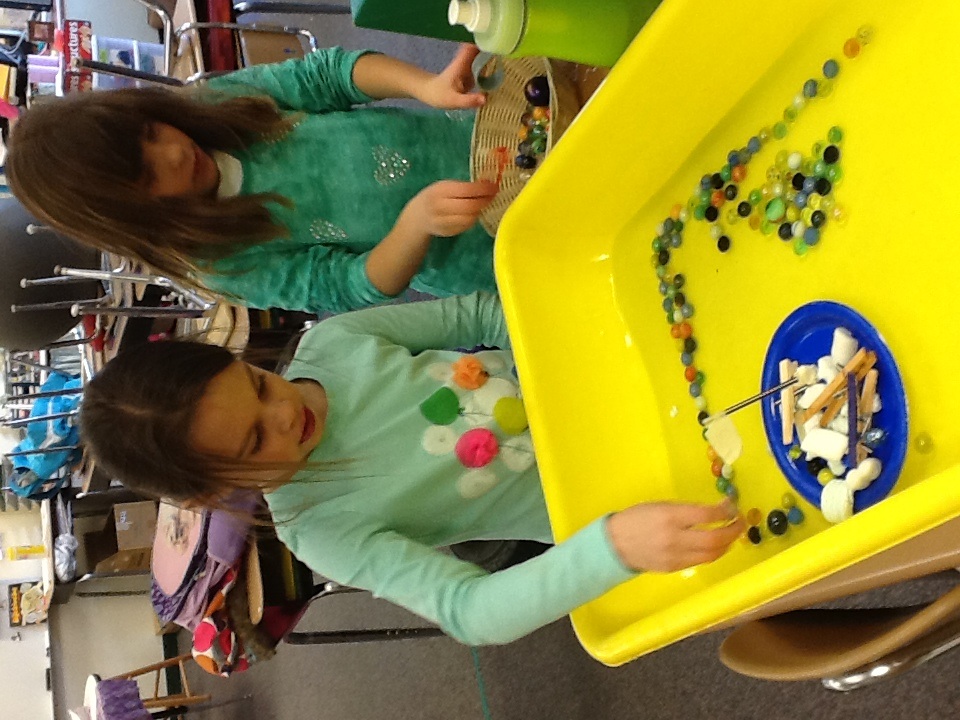
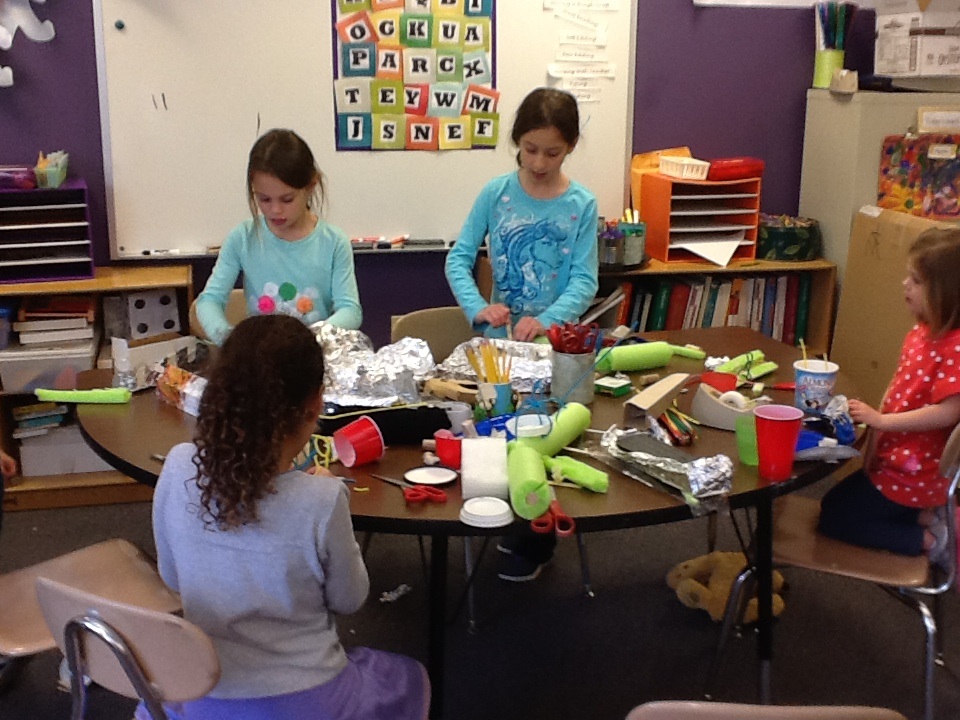
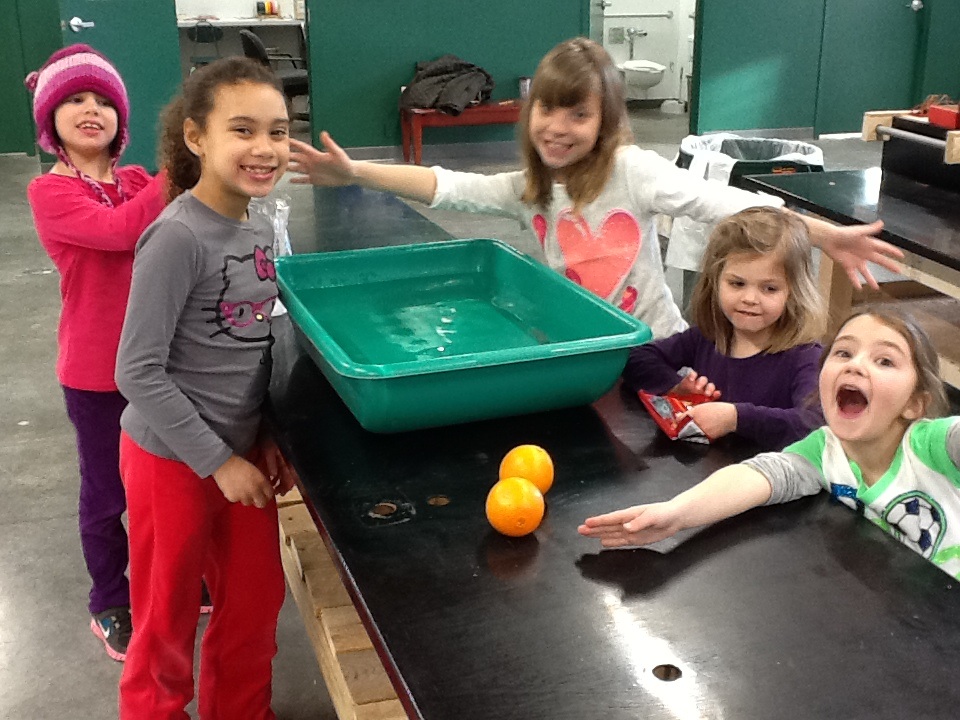
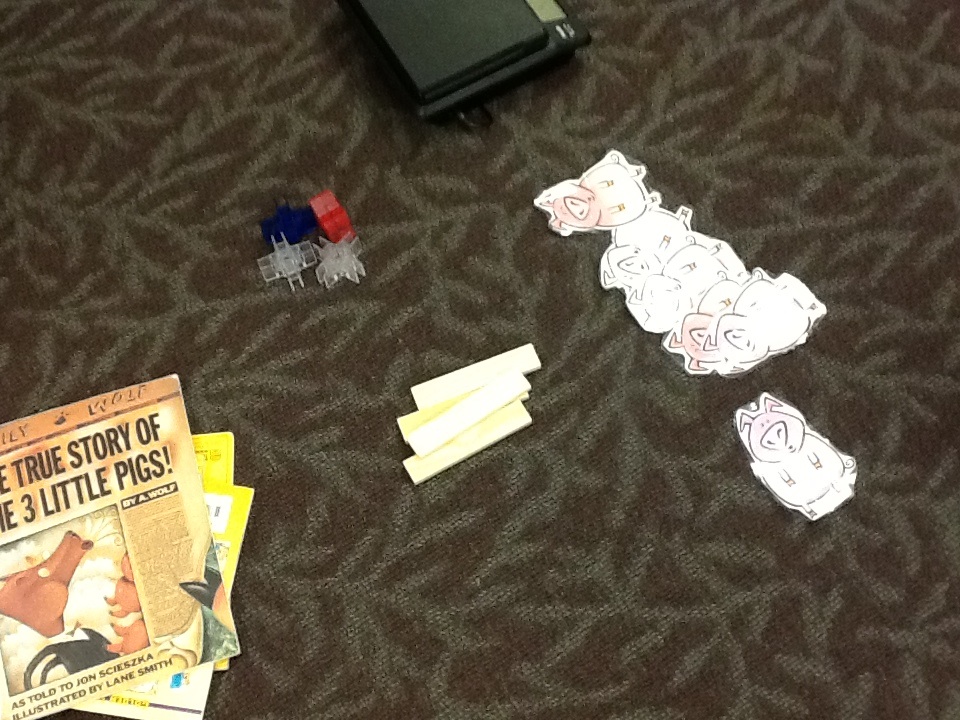
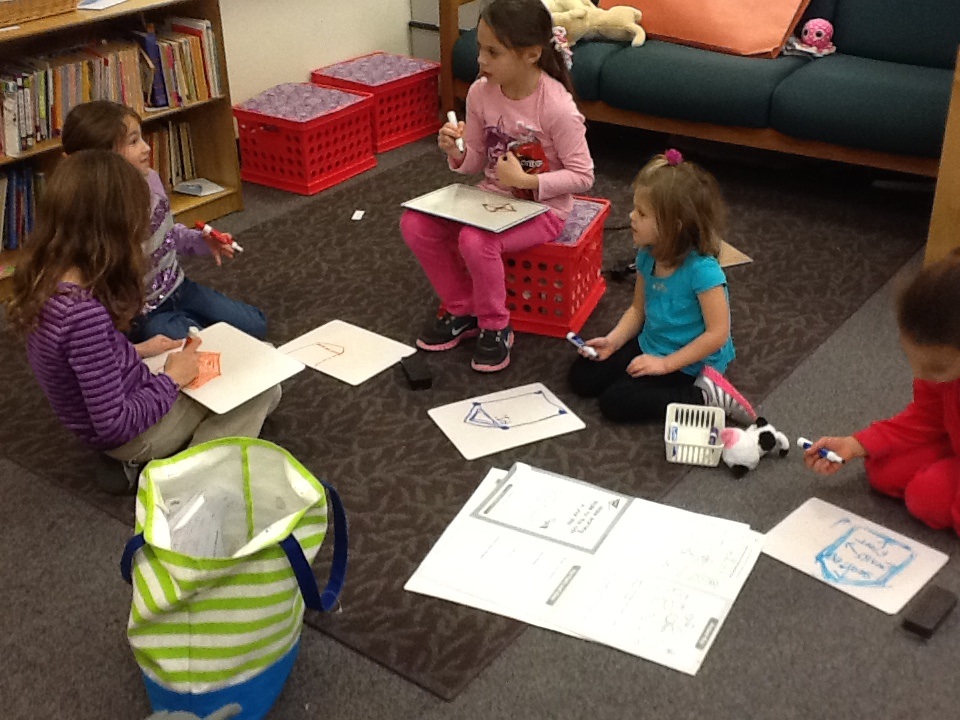
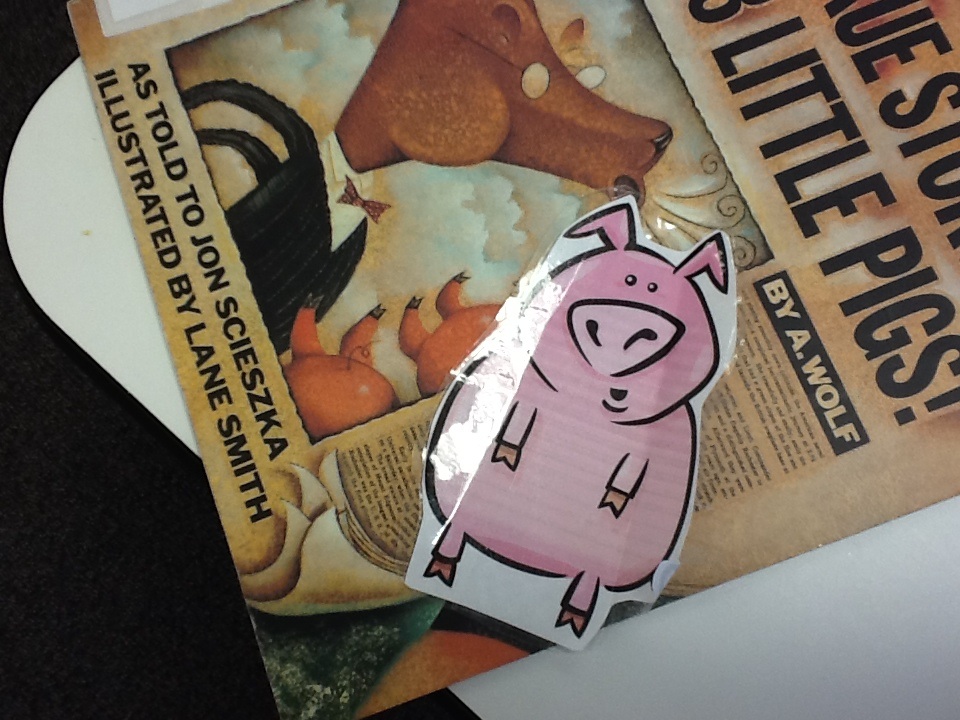
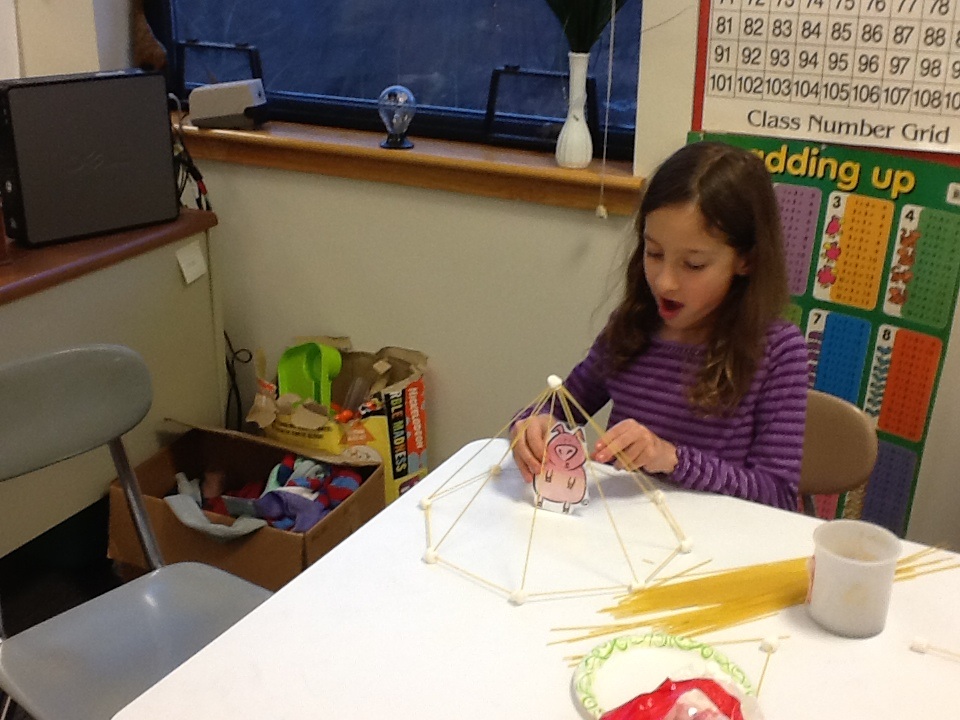
This week, our girls completed their last “three little pig” challenge. They tested their house of sticks and bricks designs, and in the middle of the excitement, they were completely submerged in math! (Although they probably would never even known, if I didn’t point it out!) All they knew were they were having fun and and the math just naturally happens. They were involved, invested, exploring. They were just being girls!

The girls second mission was to build a house for the three little pigs out of sticks and bricks.
image

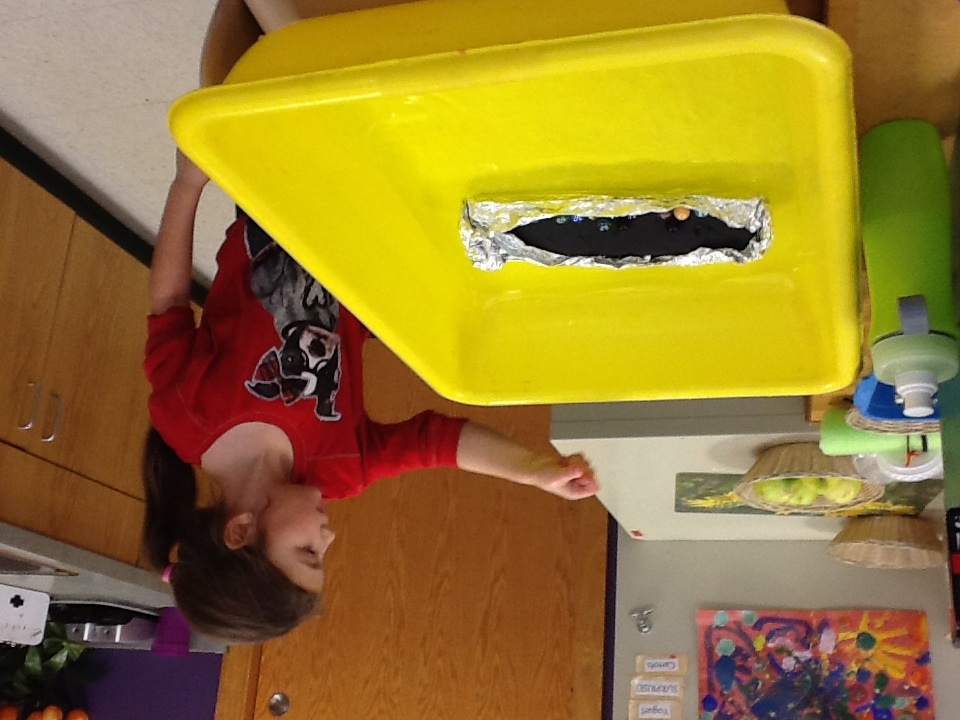
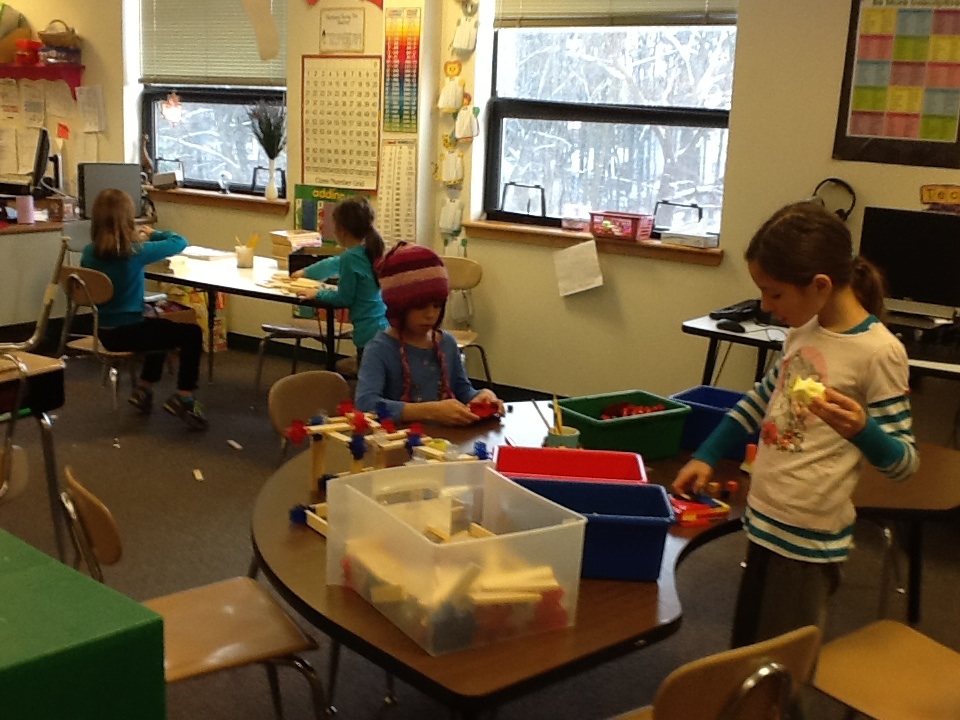
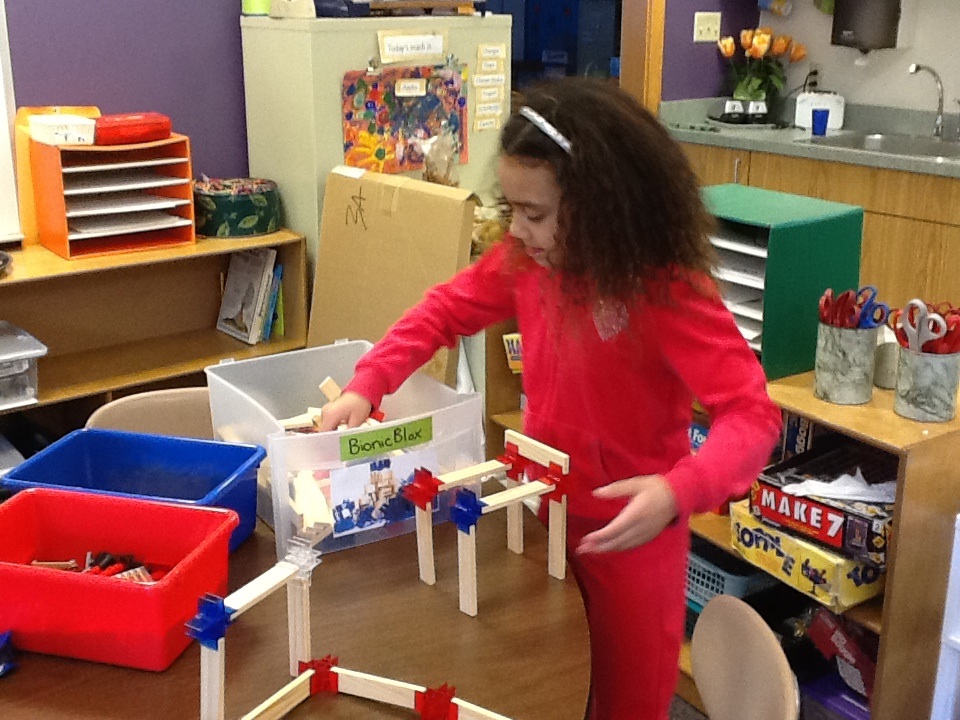
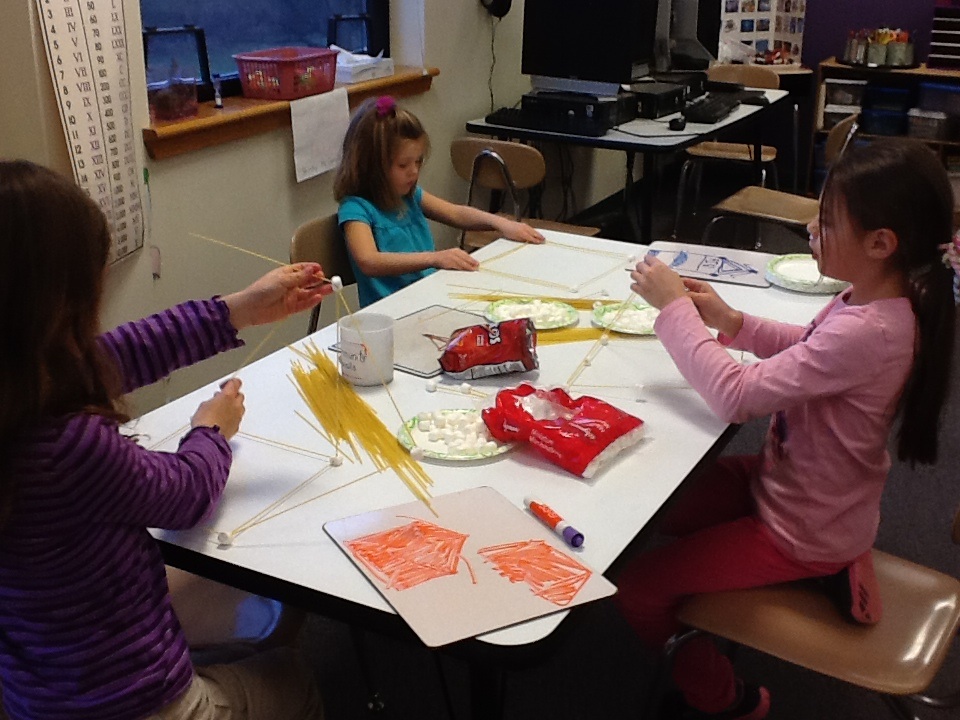
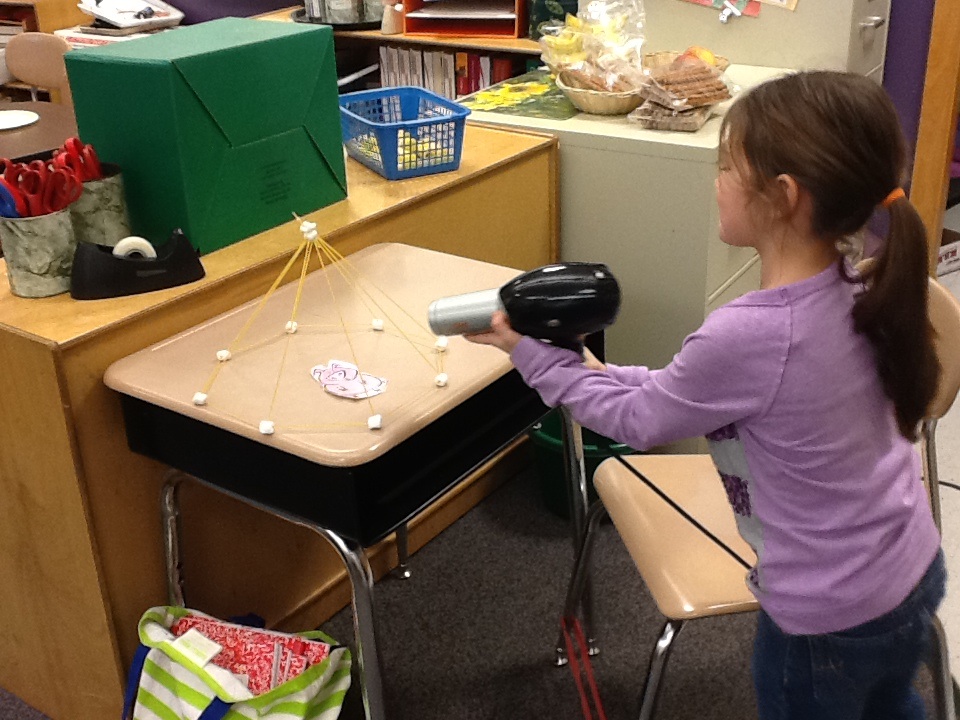
We sat down to discuss the next task and how the homes had to be durable. The hair dryer would not work for this particular task. The big bad wolf’s strength would be represented with weight – dictionaries to be exact. They selected a choice of sticks (Keva blocks) or bricks (Legos) and just for “cool factor” one girl selected to build a house of sticks with a little help from Bionic Blox. The girls predicted the Bionic Blox would be more durable than the Keva blocks.
image
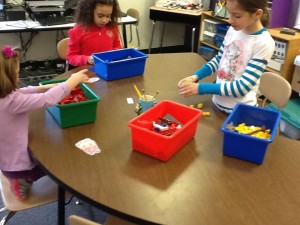
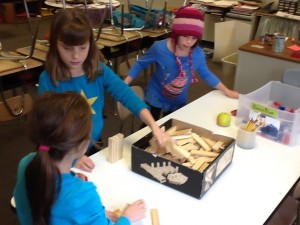
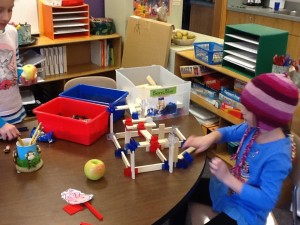
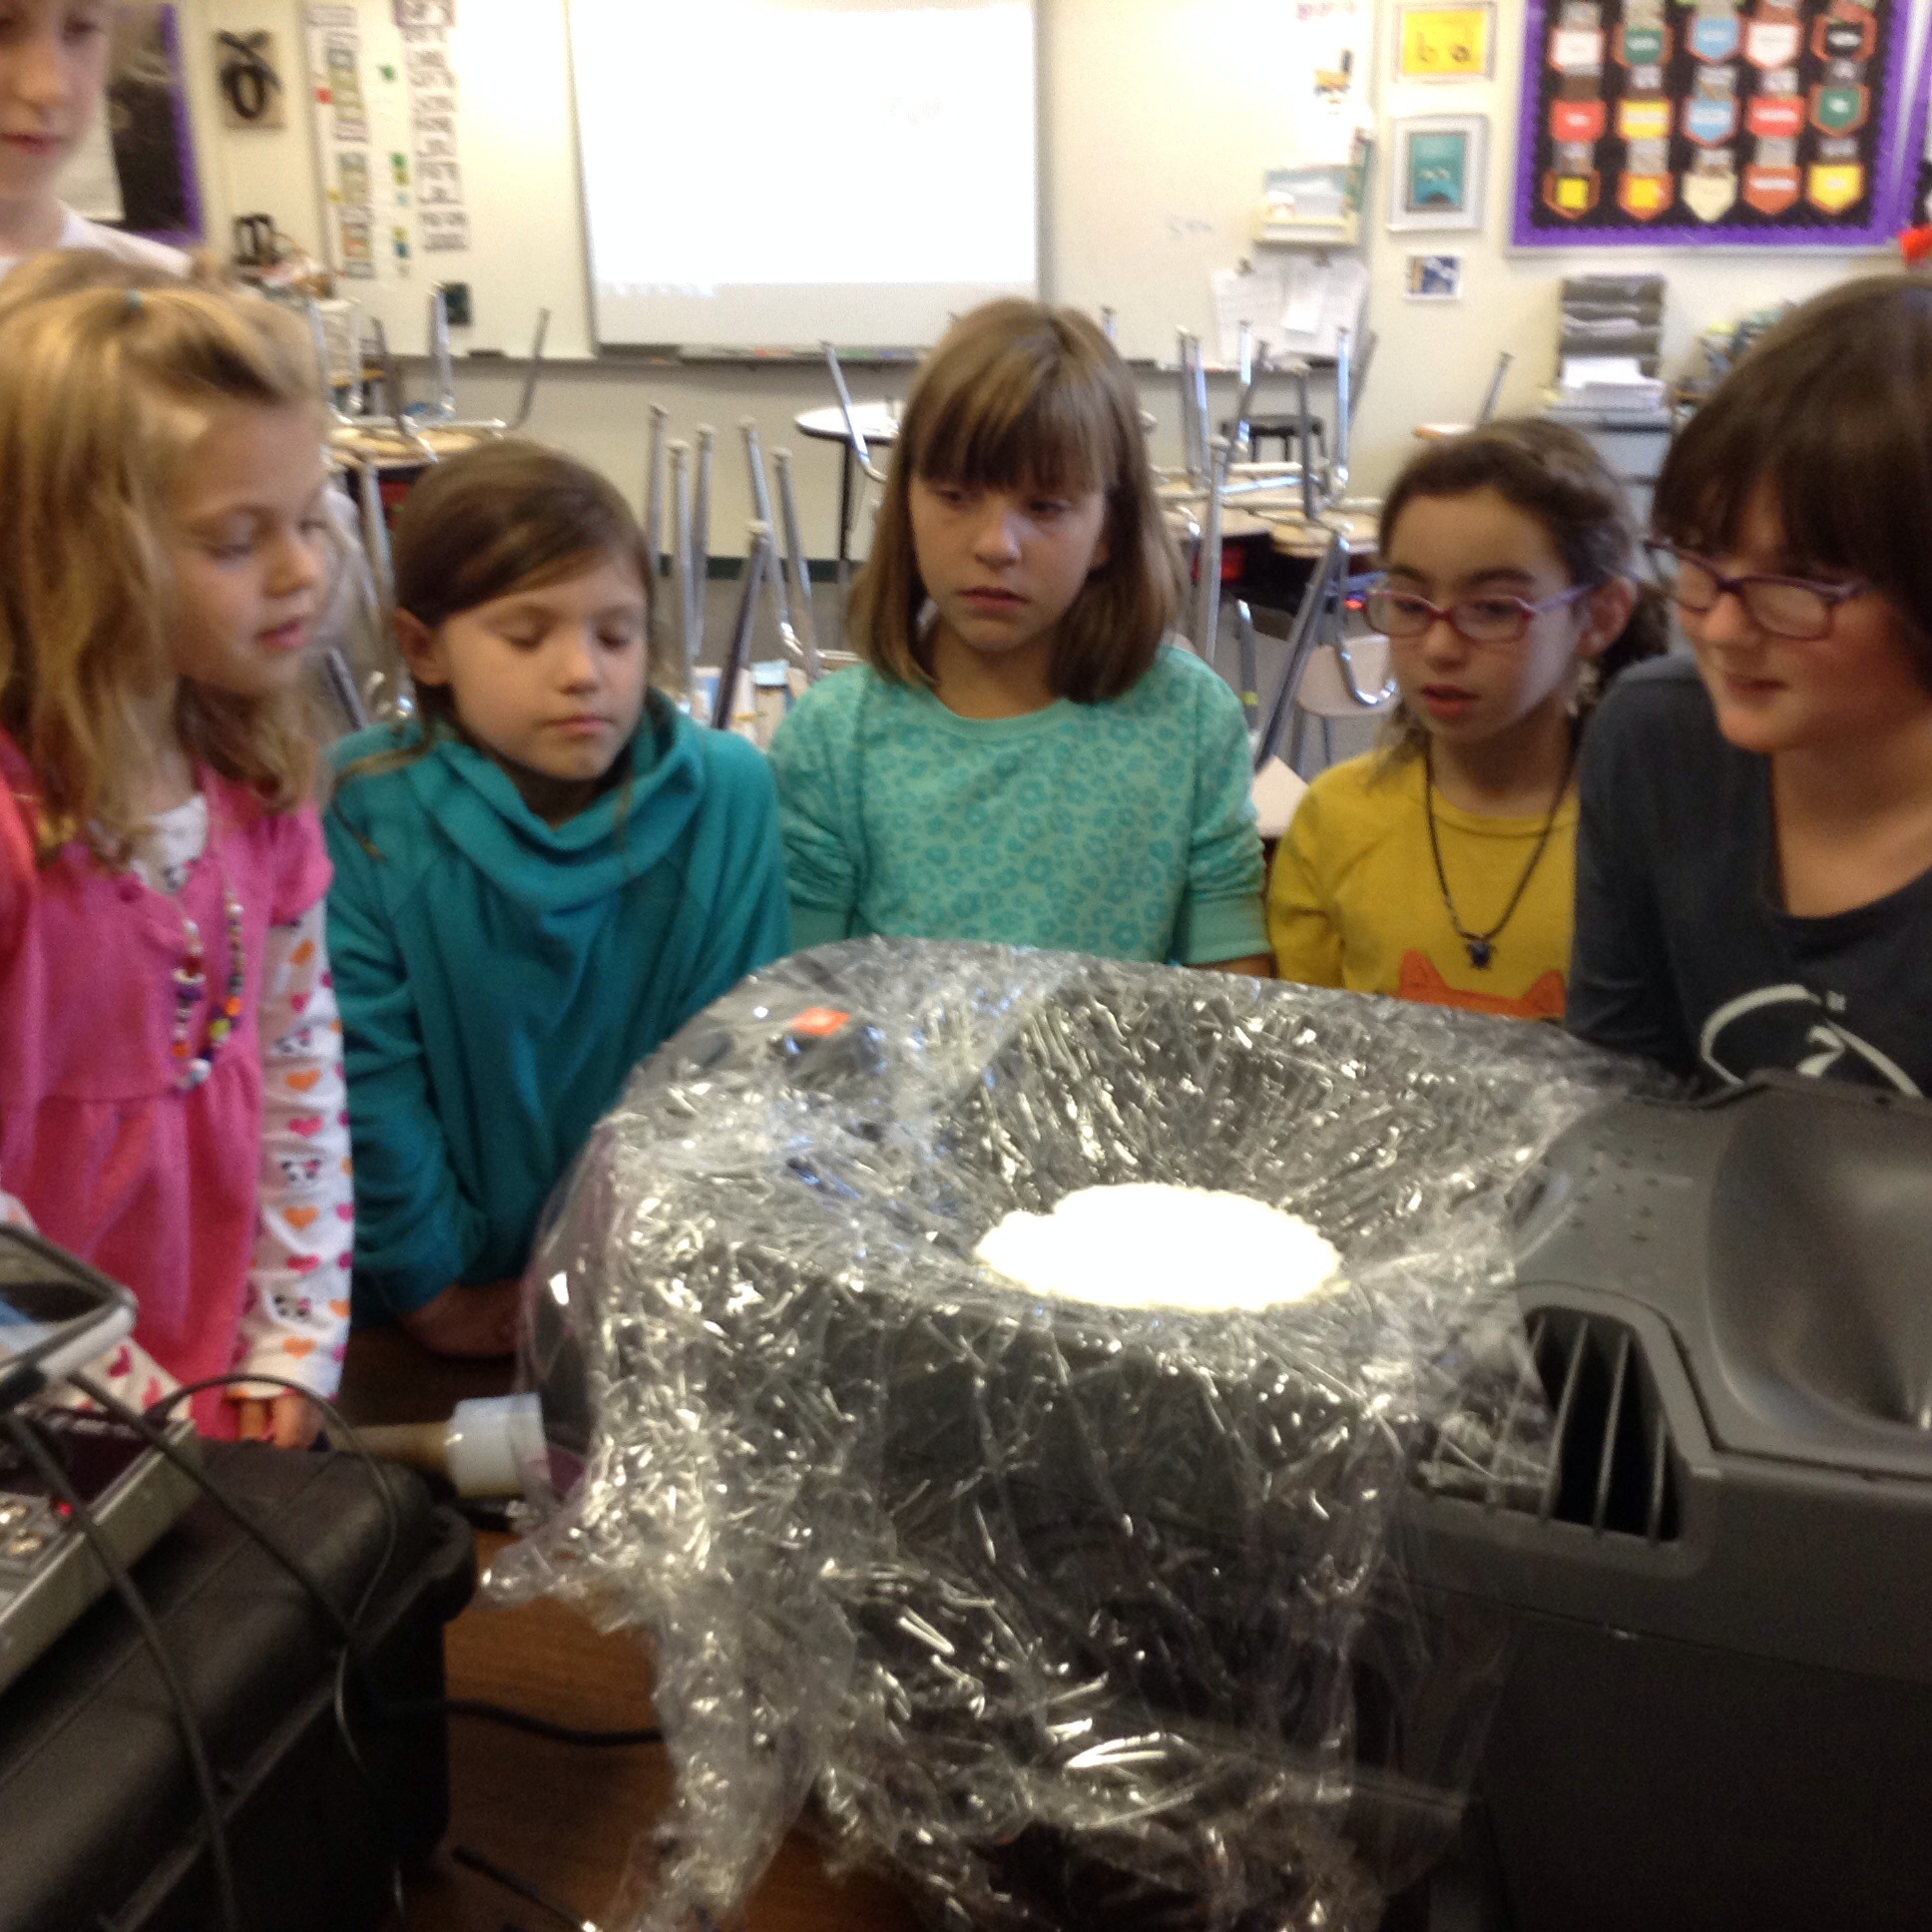
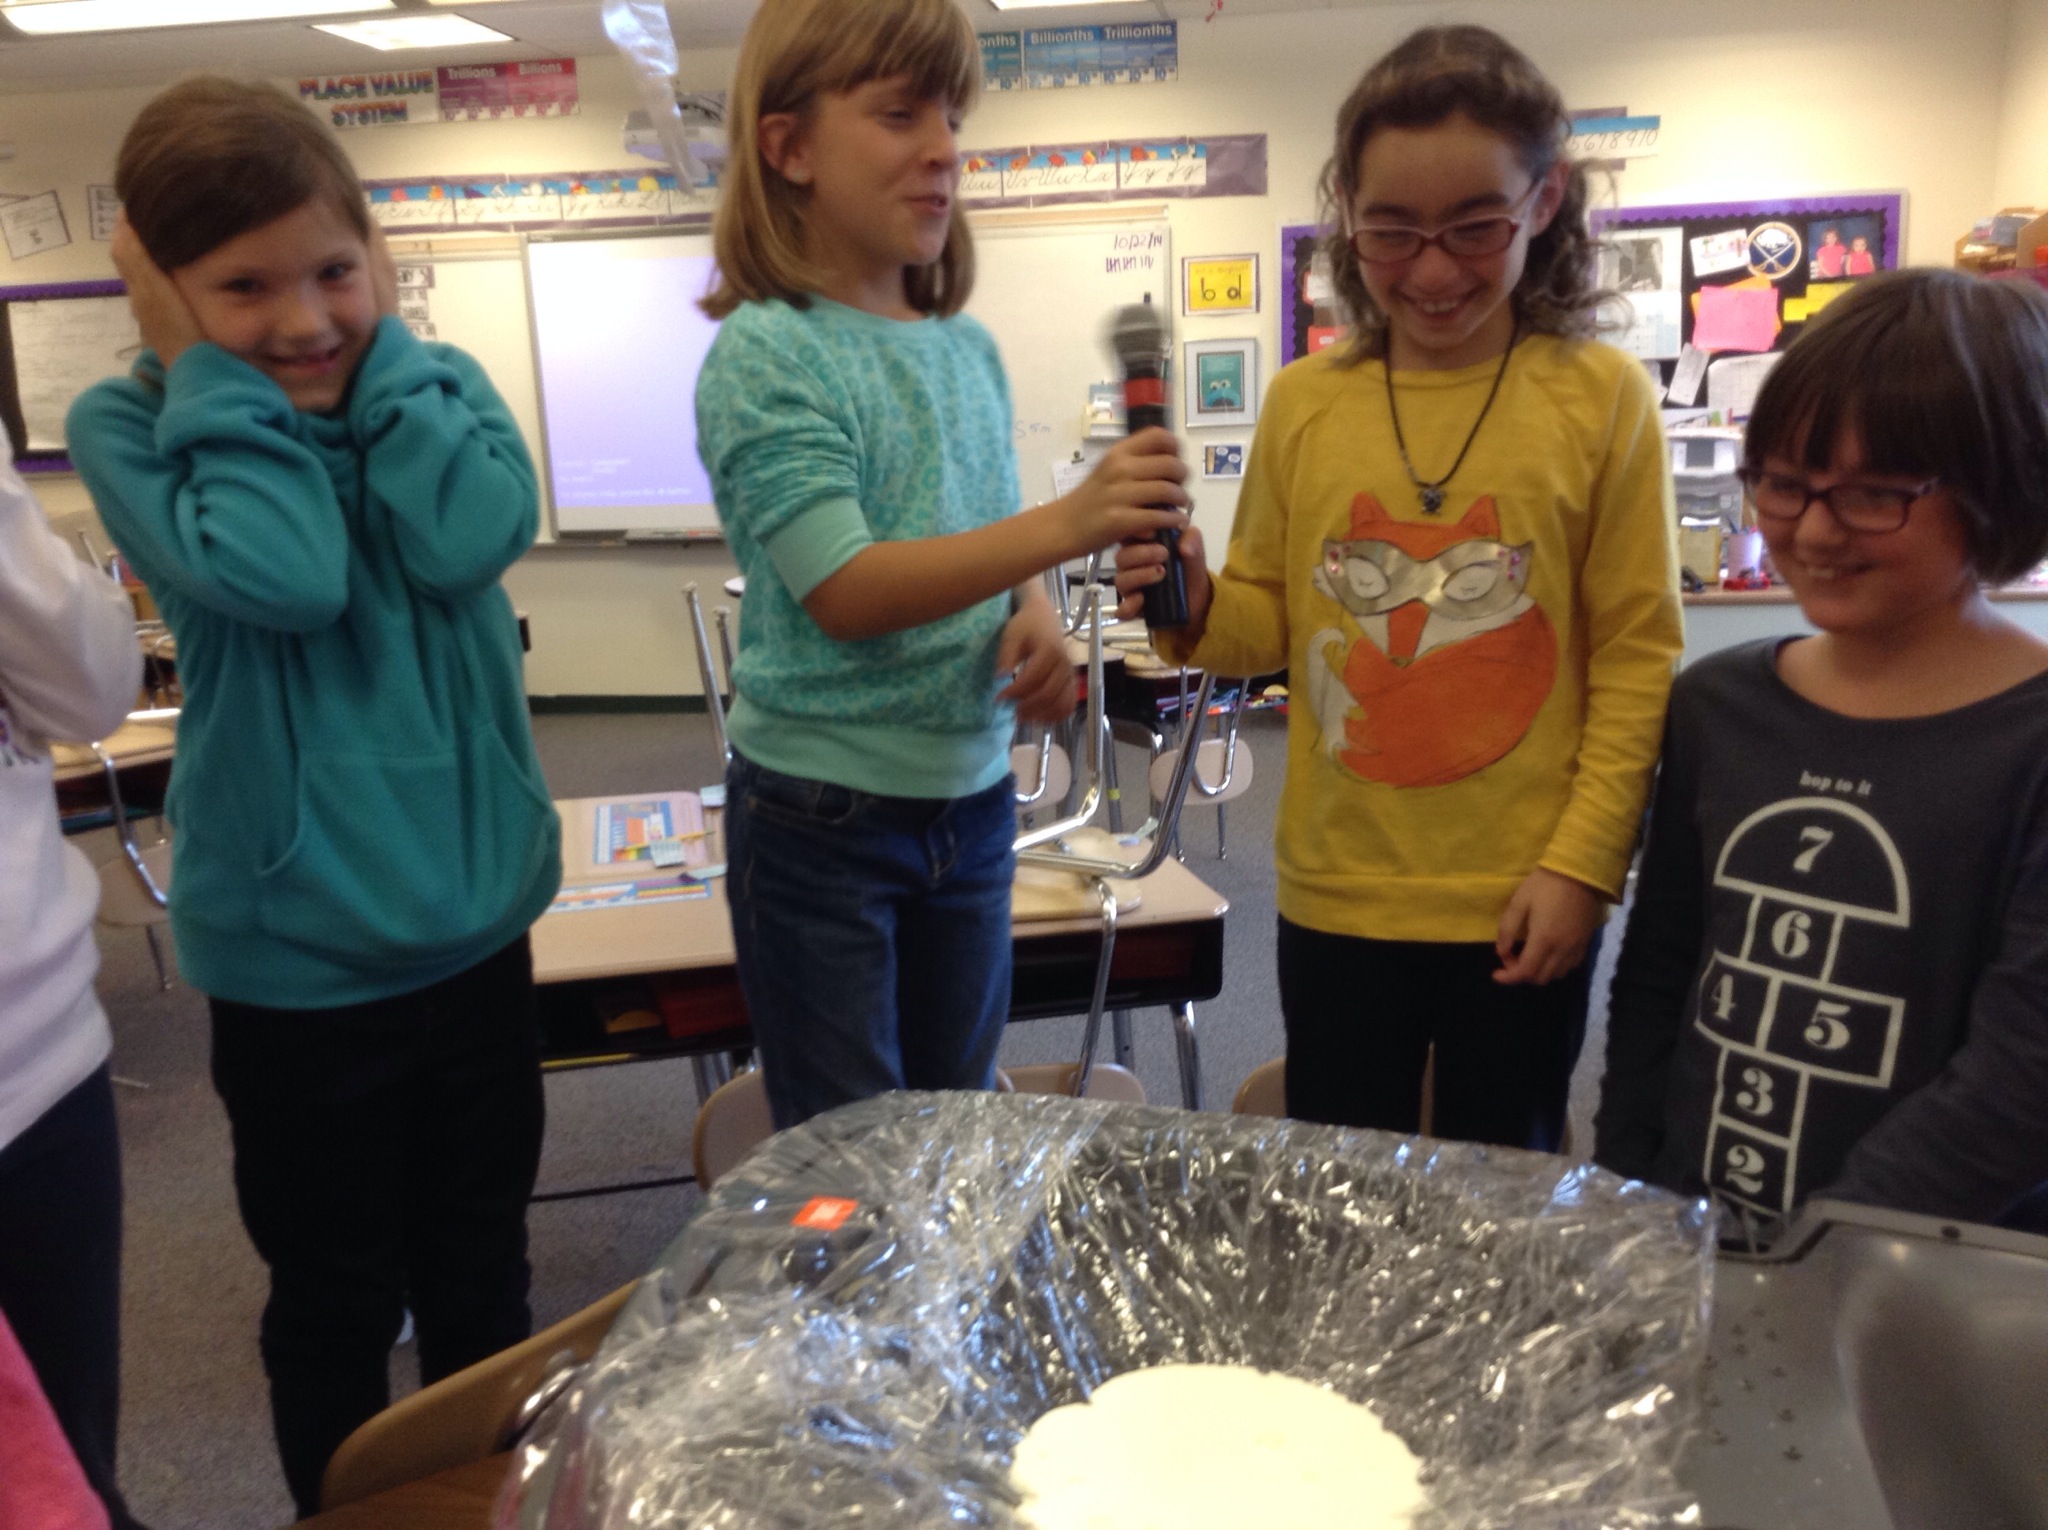
They immediately started working. I was surprised how fast they were “done” and ready for the weight test. (Perhaps next time I have to have more requirements for the homes beside they have to fit the pig. They squeezed those little pigs into some pretty small homes). Legos went up, tested, and fell. Flat Keva blocks held pretty well and I was even stunned by just how much weight the Bionic Blox could hold.

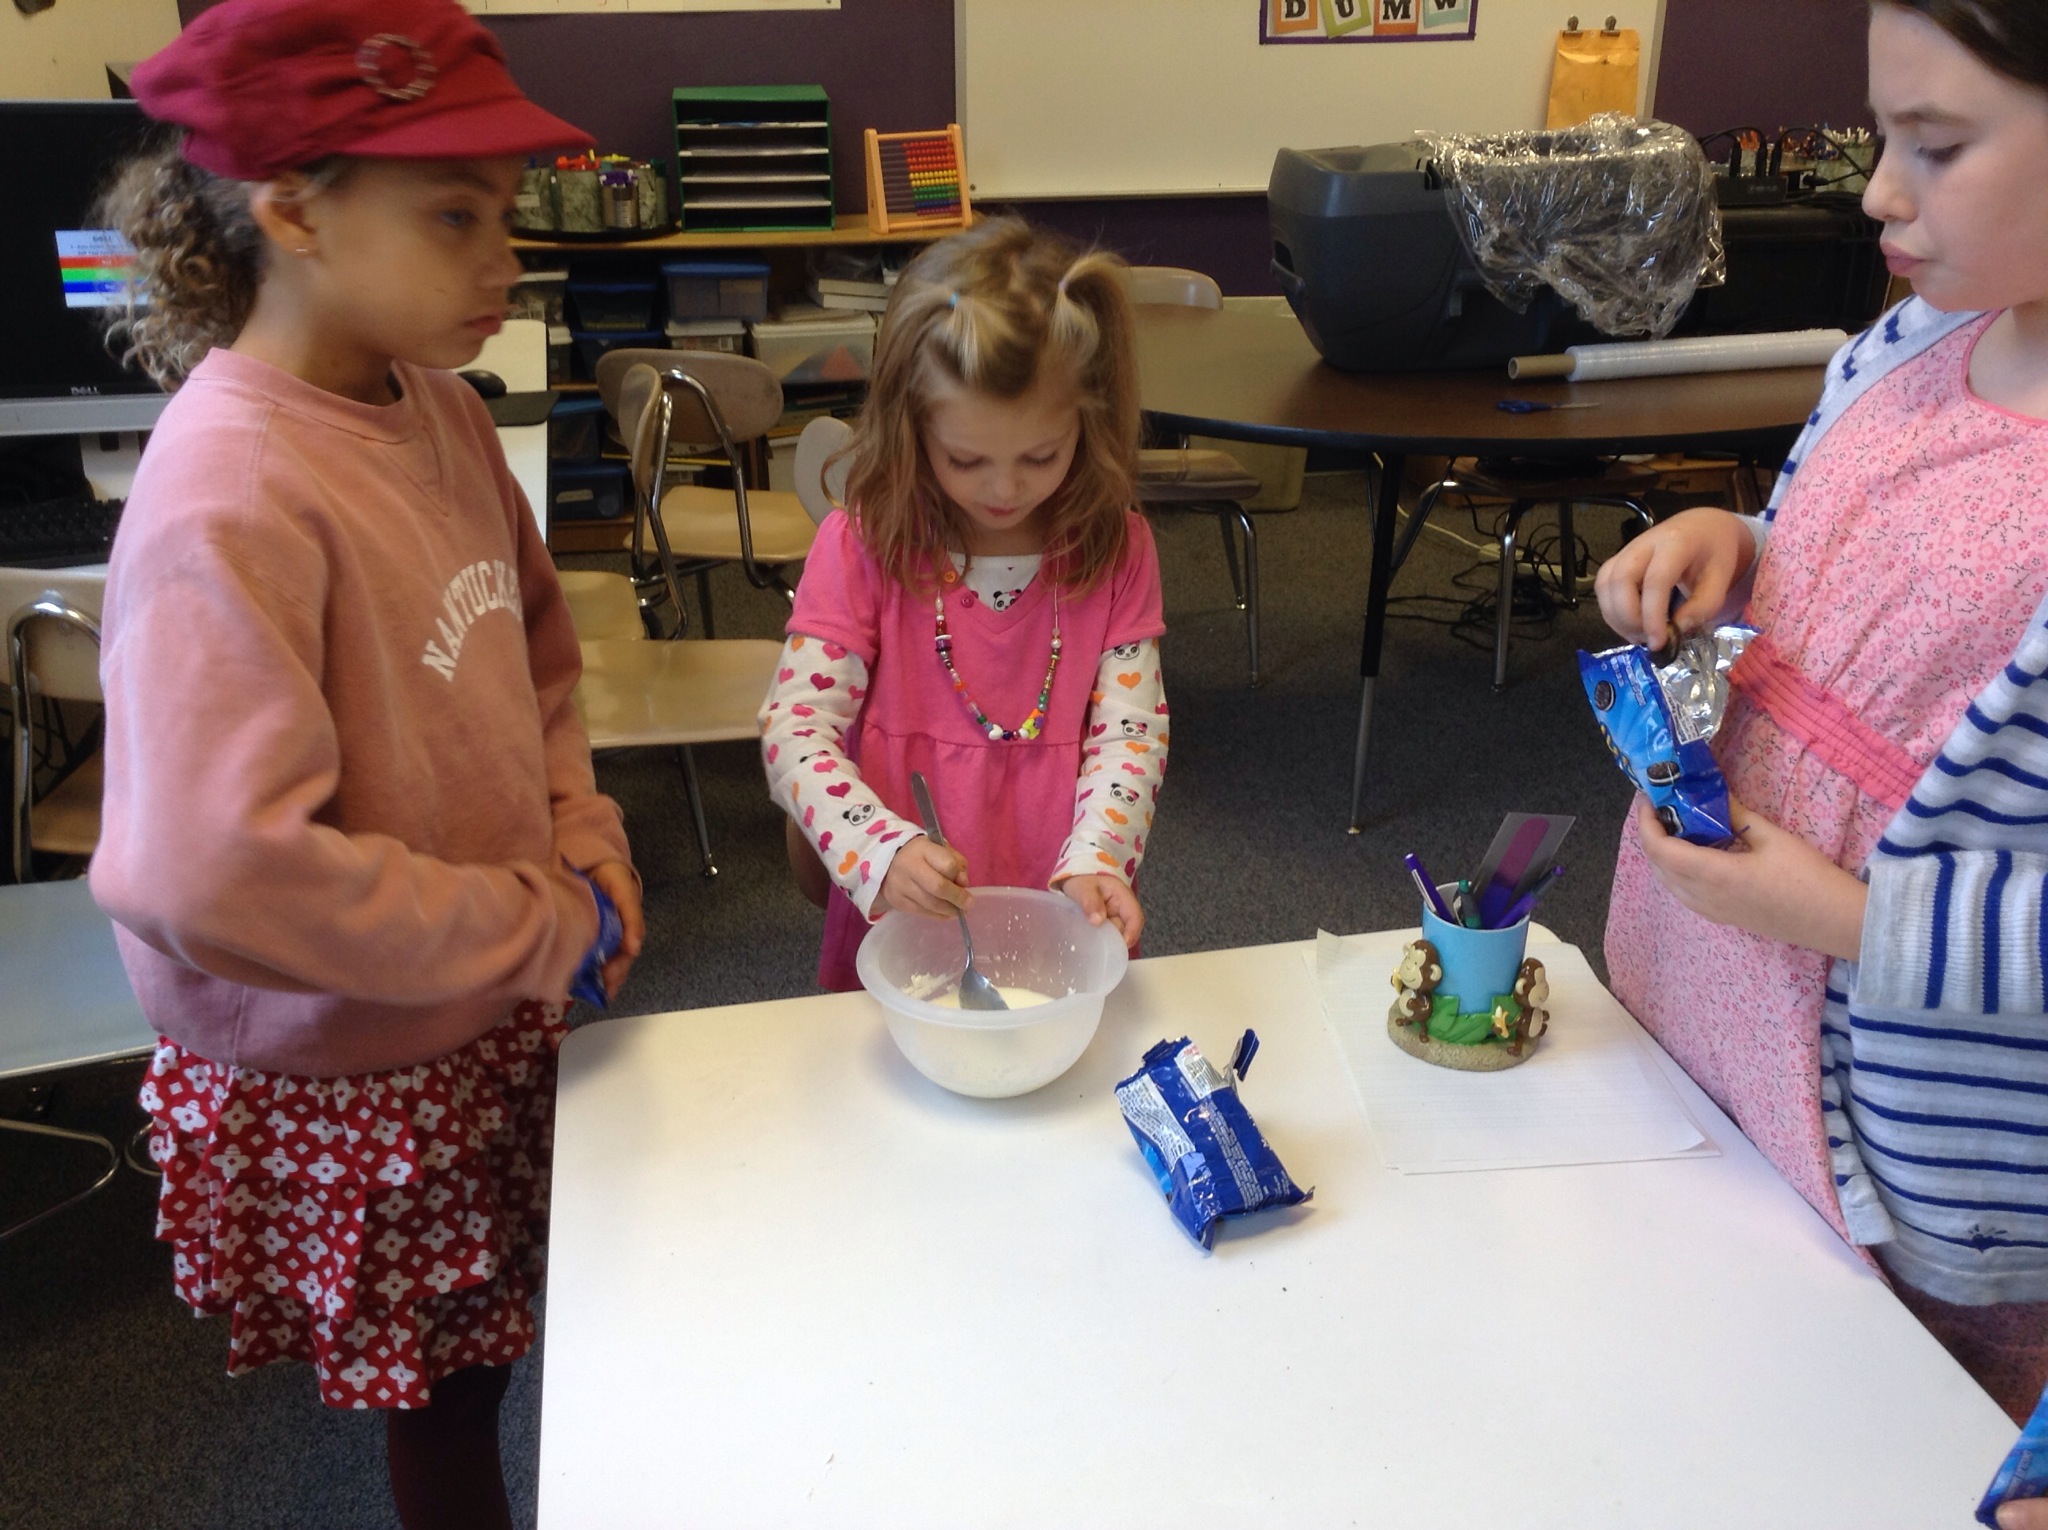
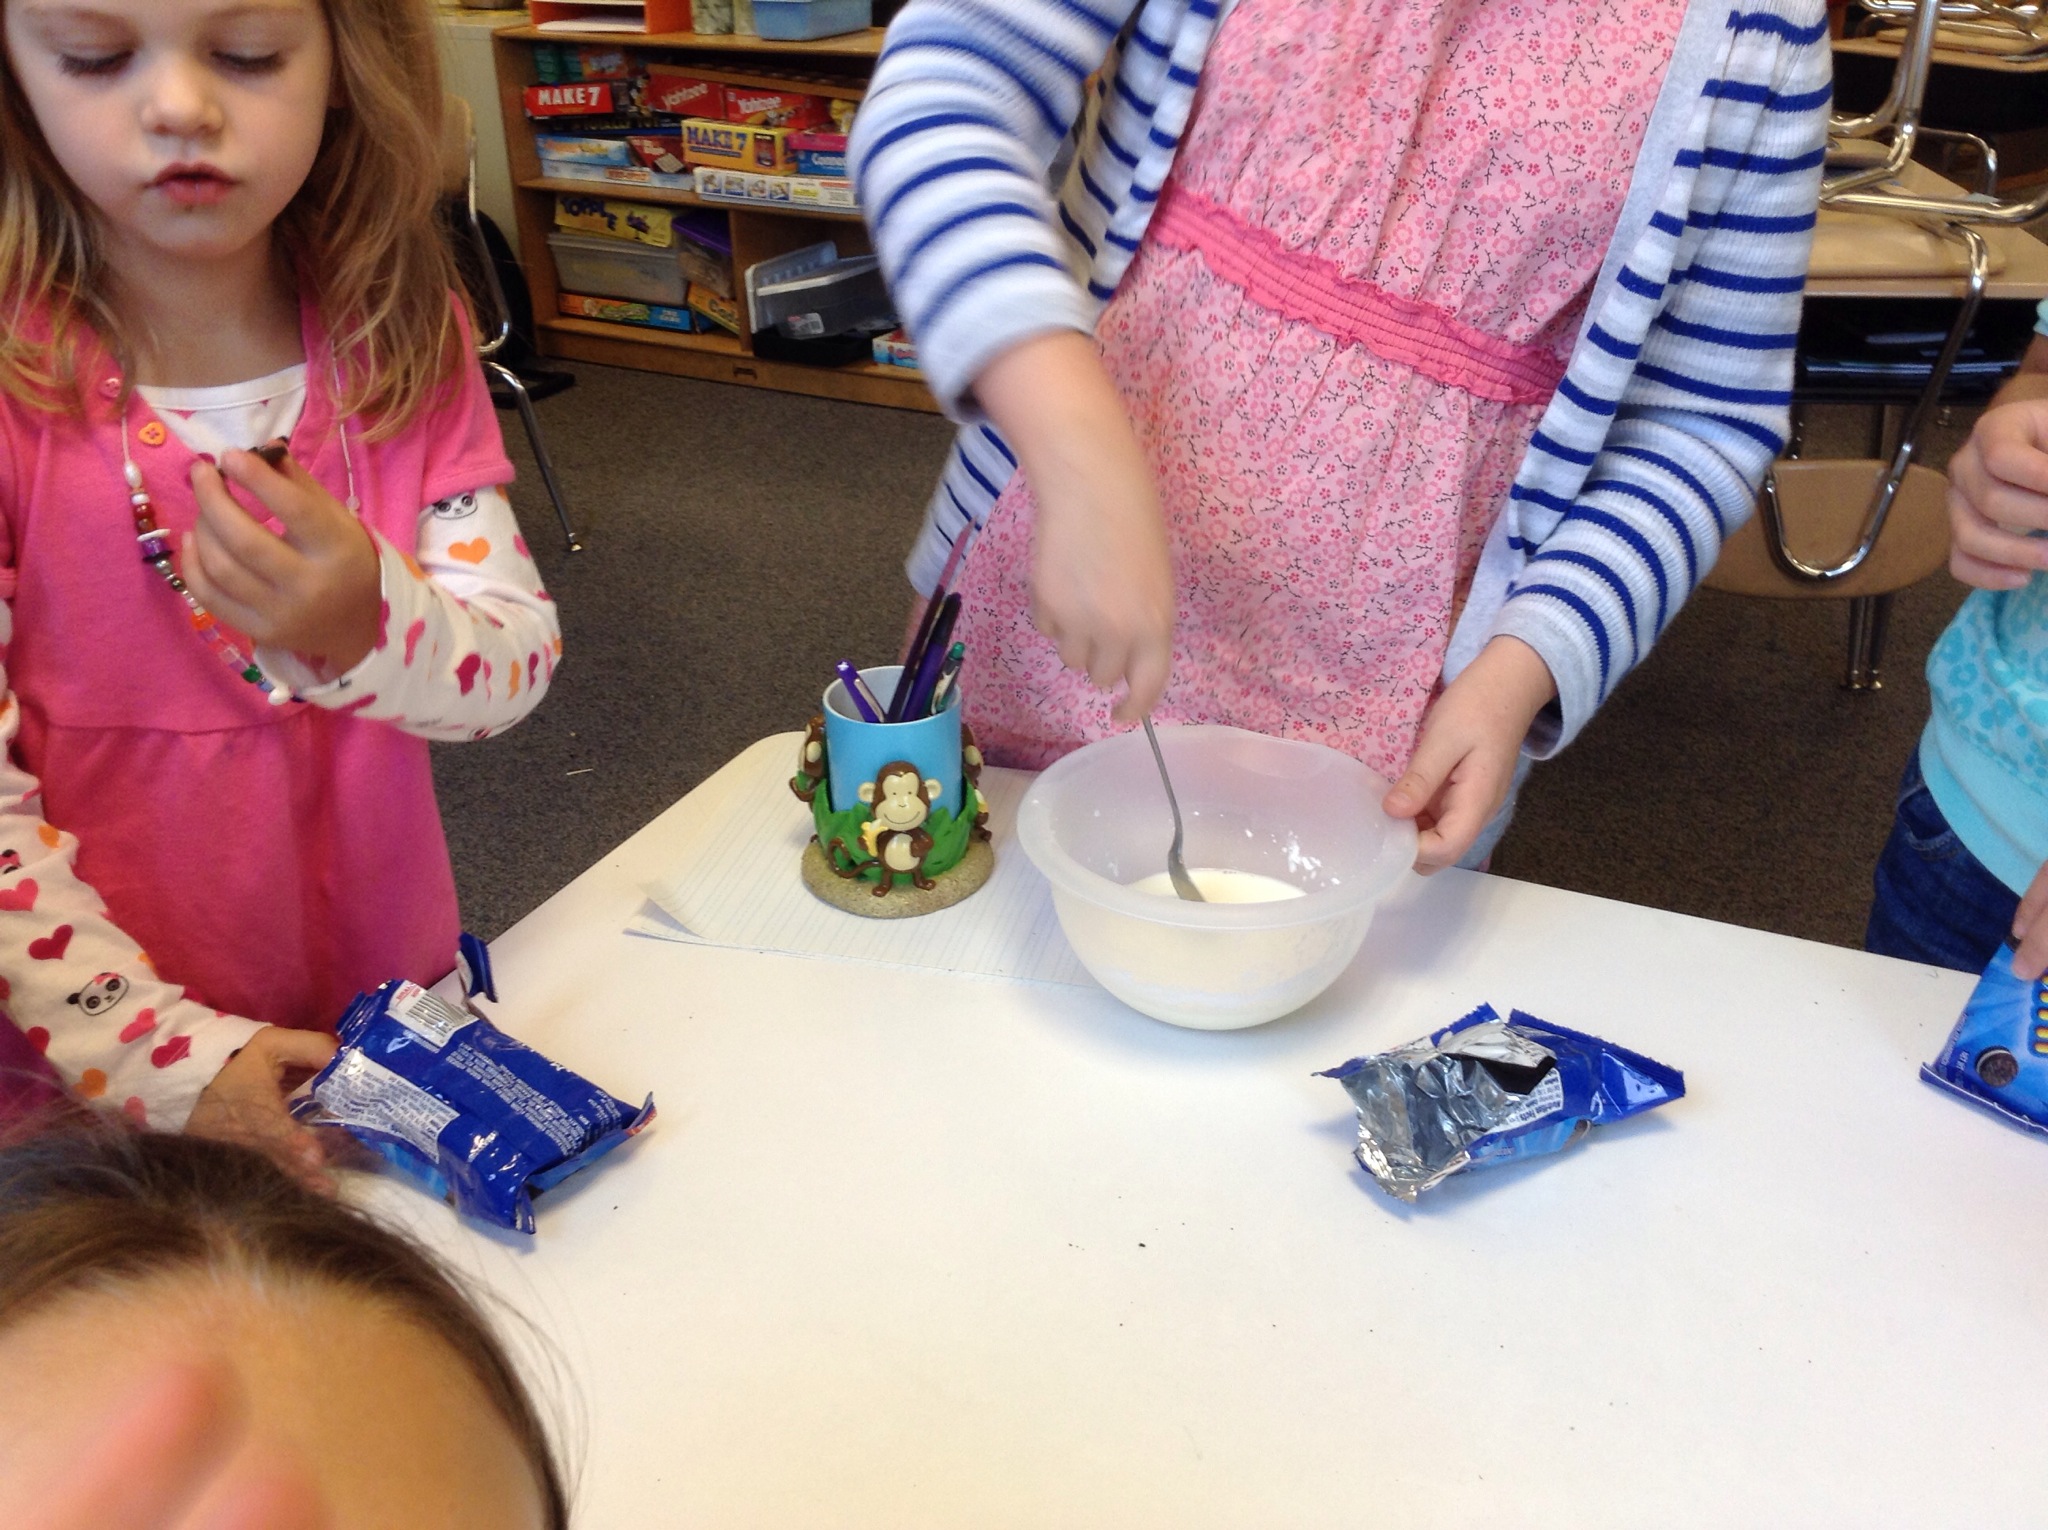
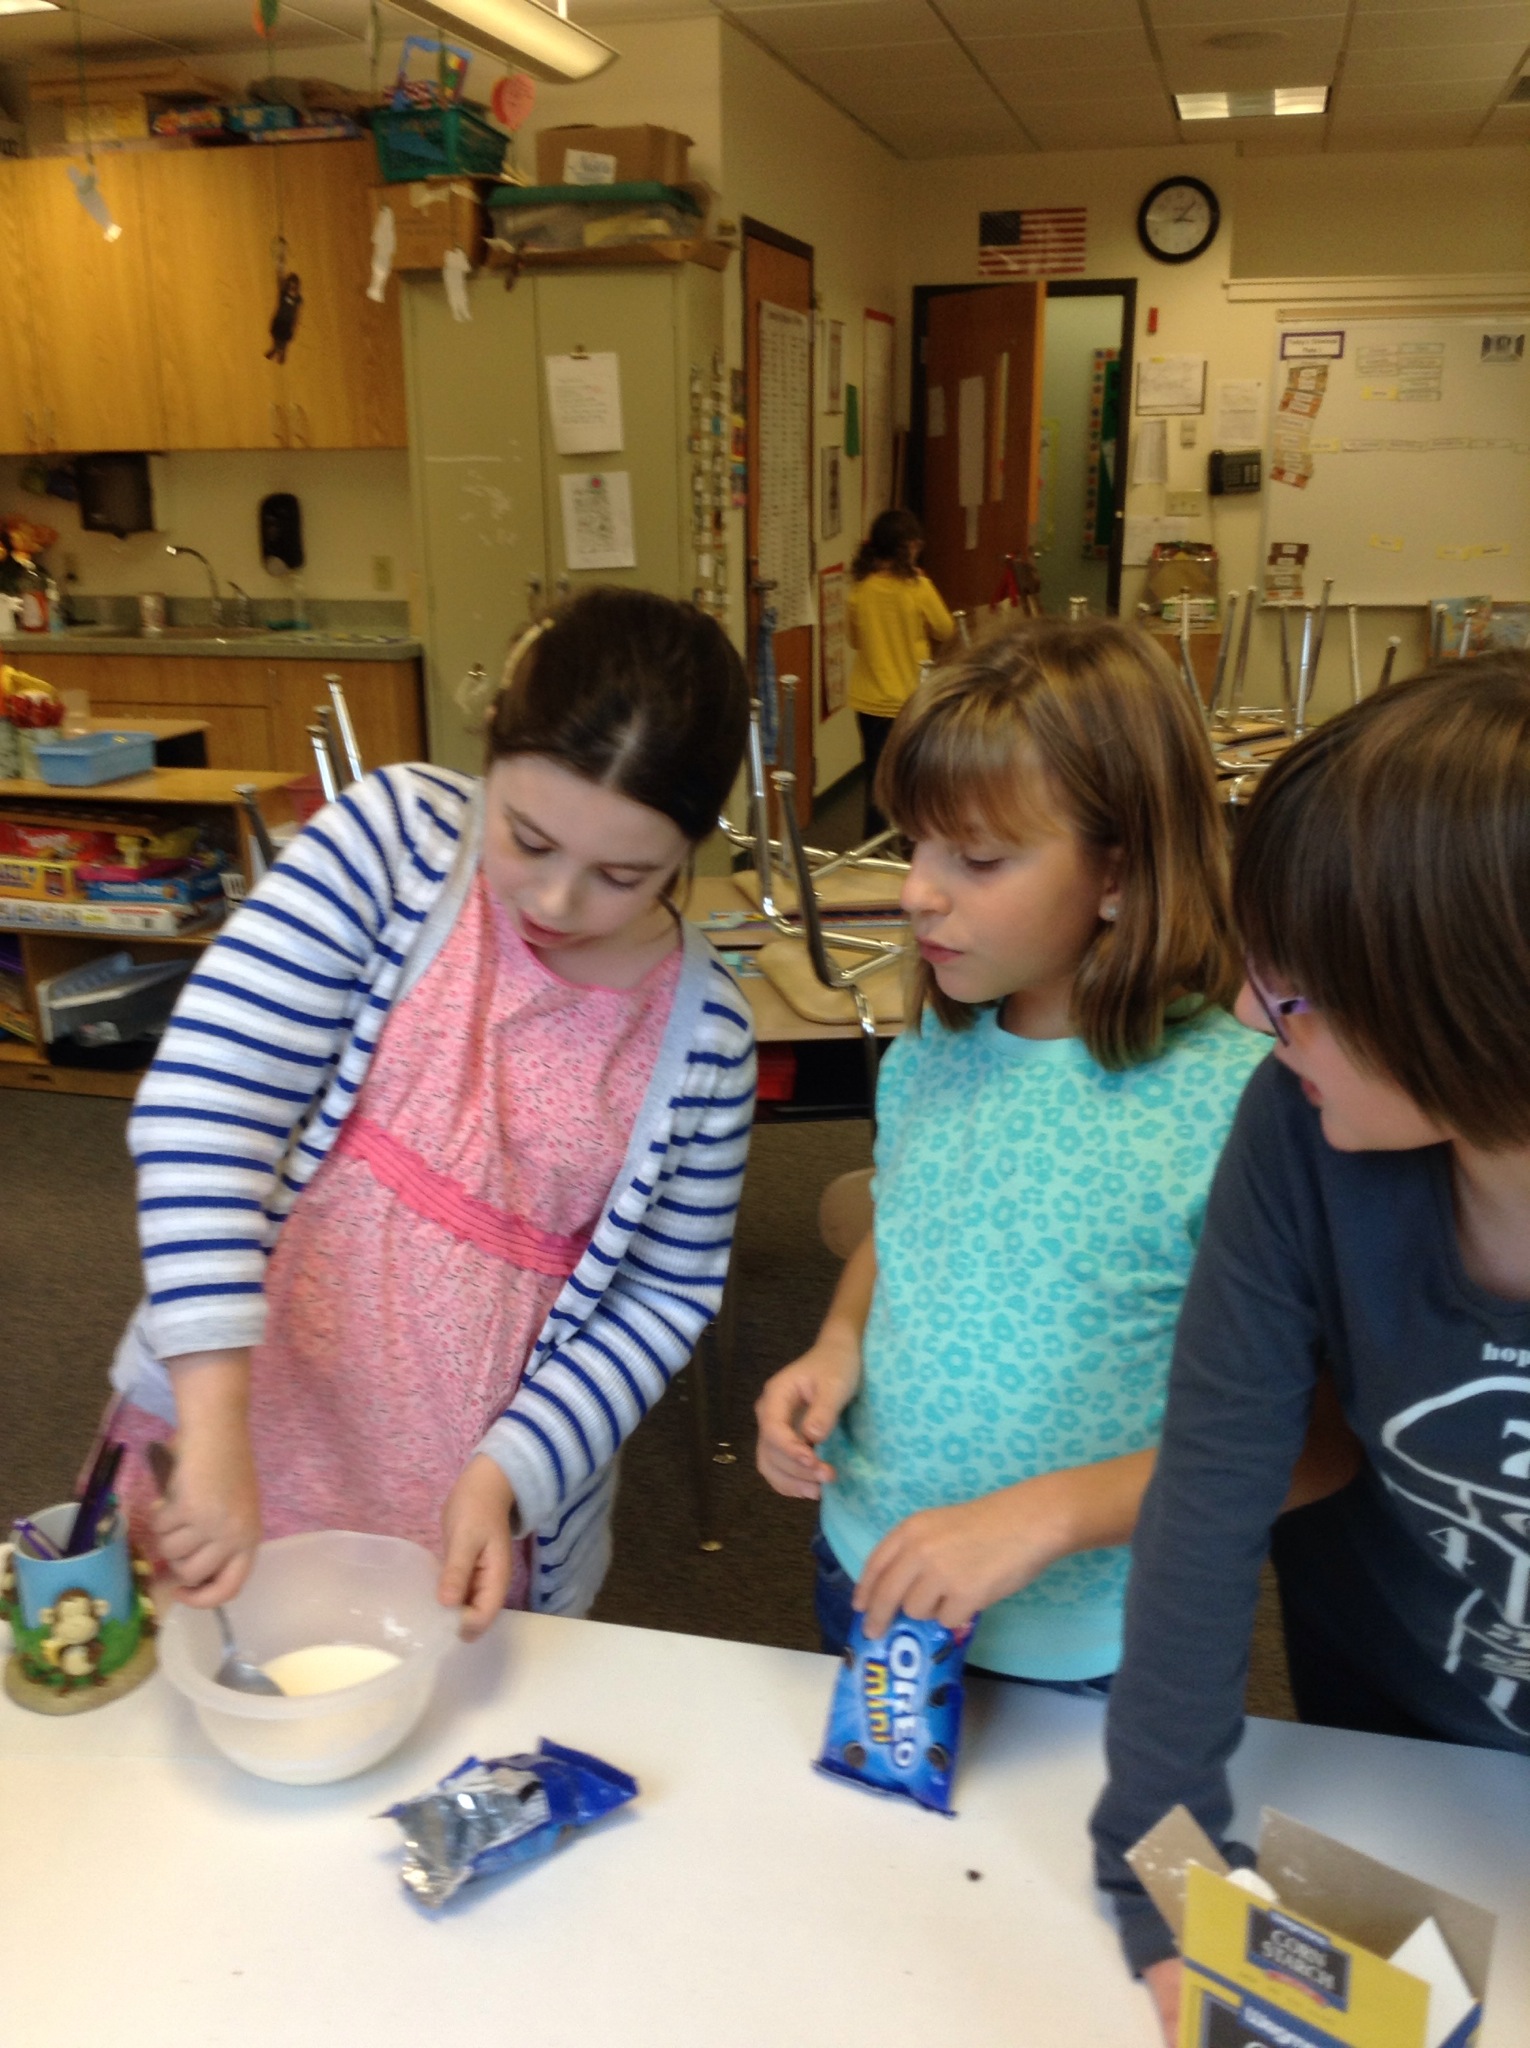
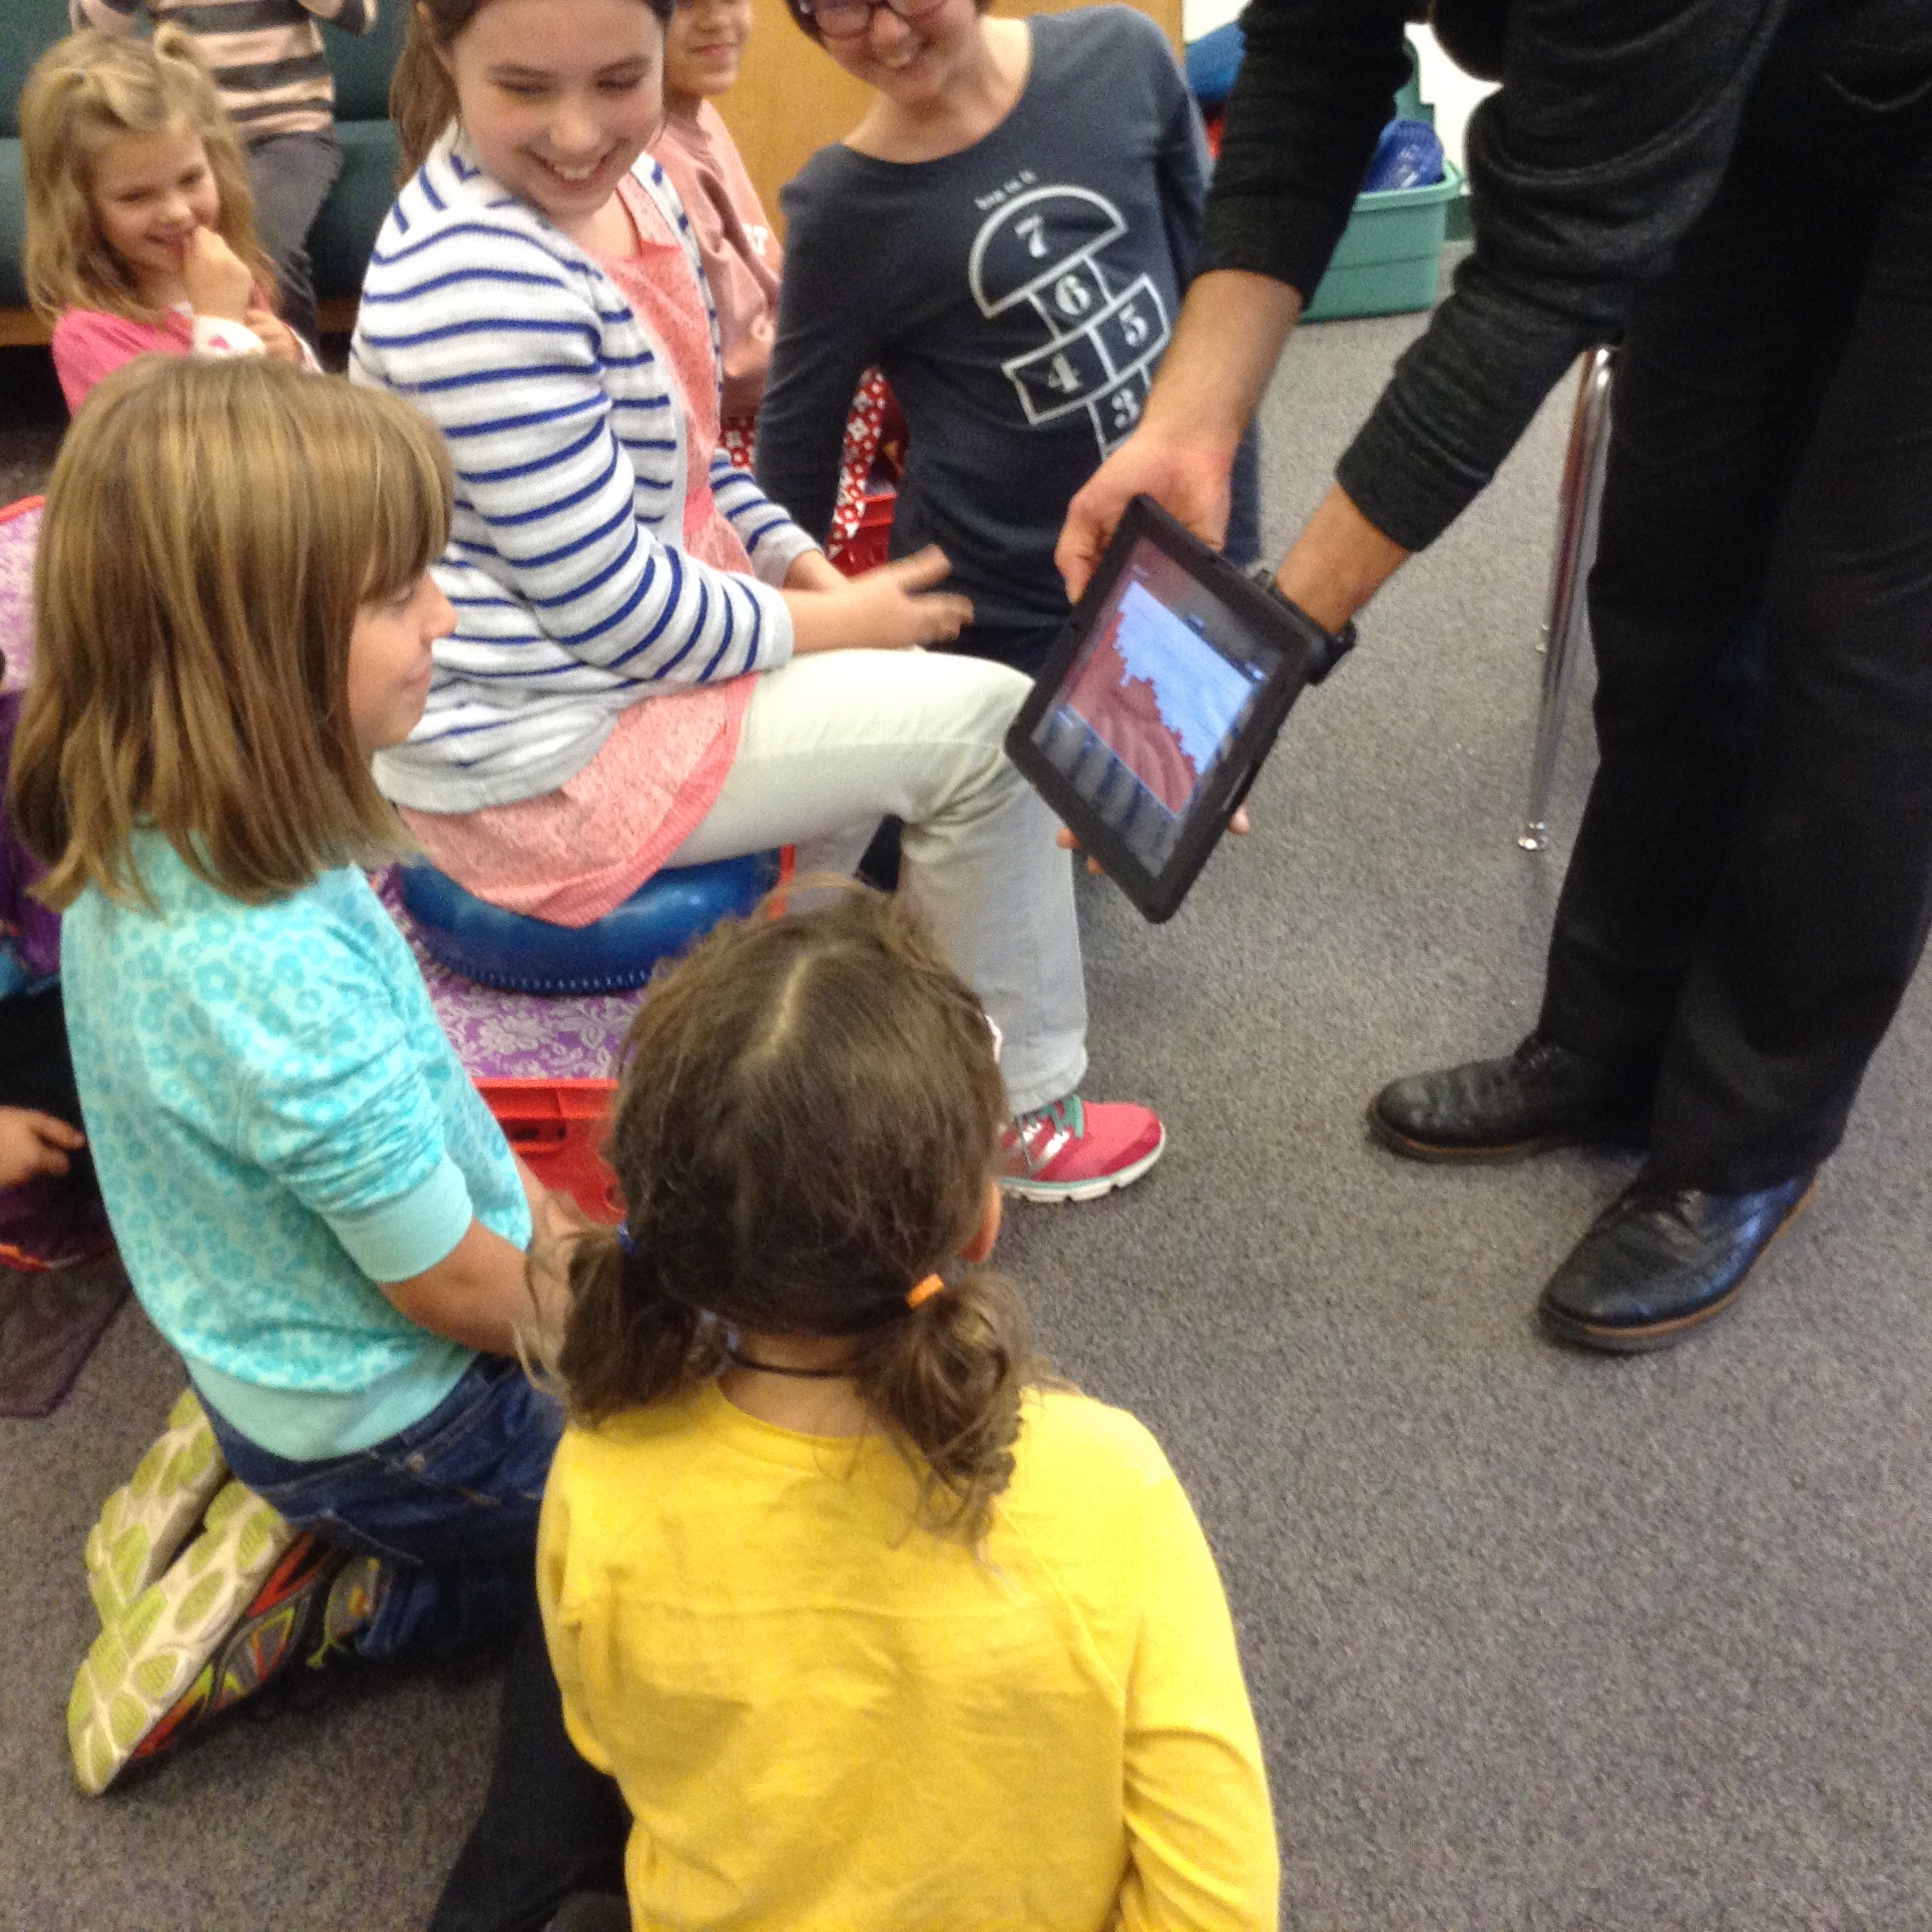
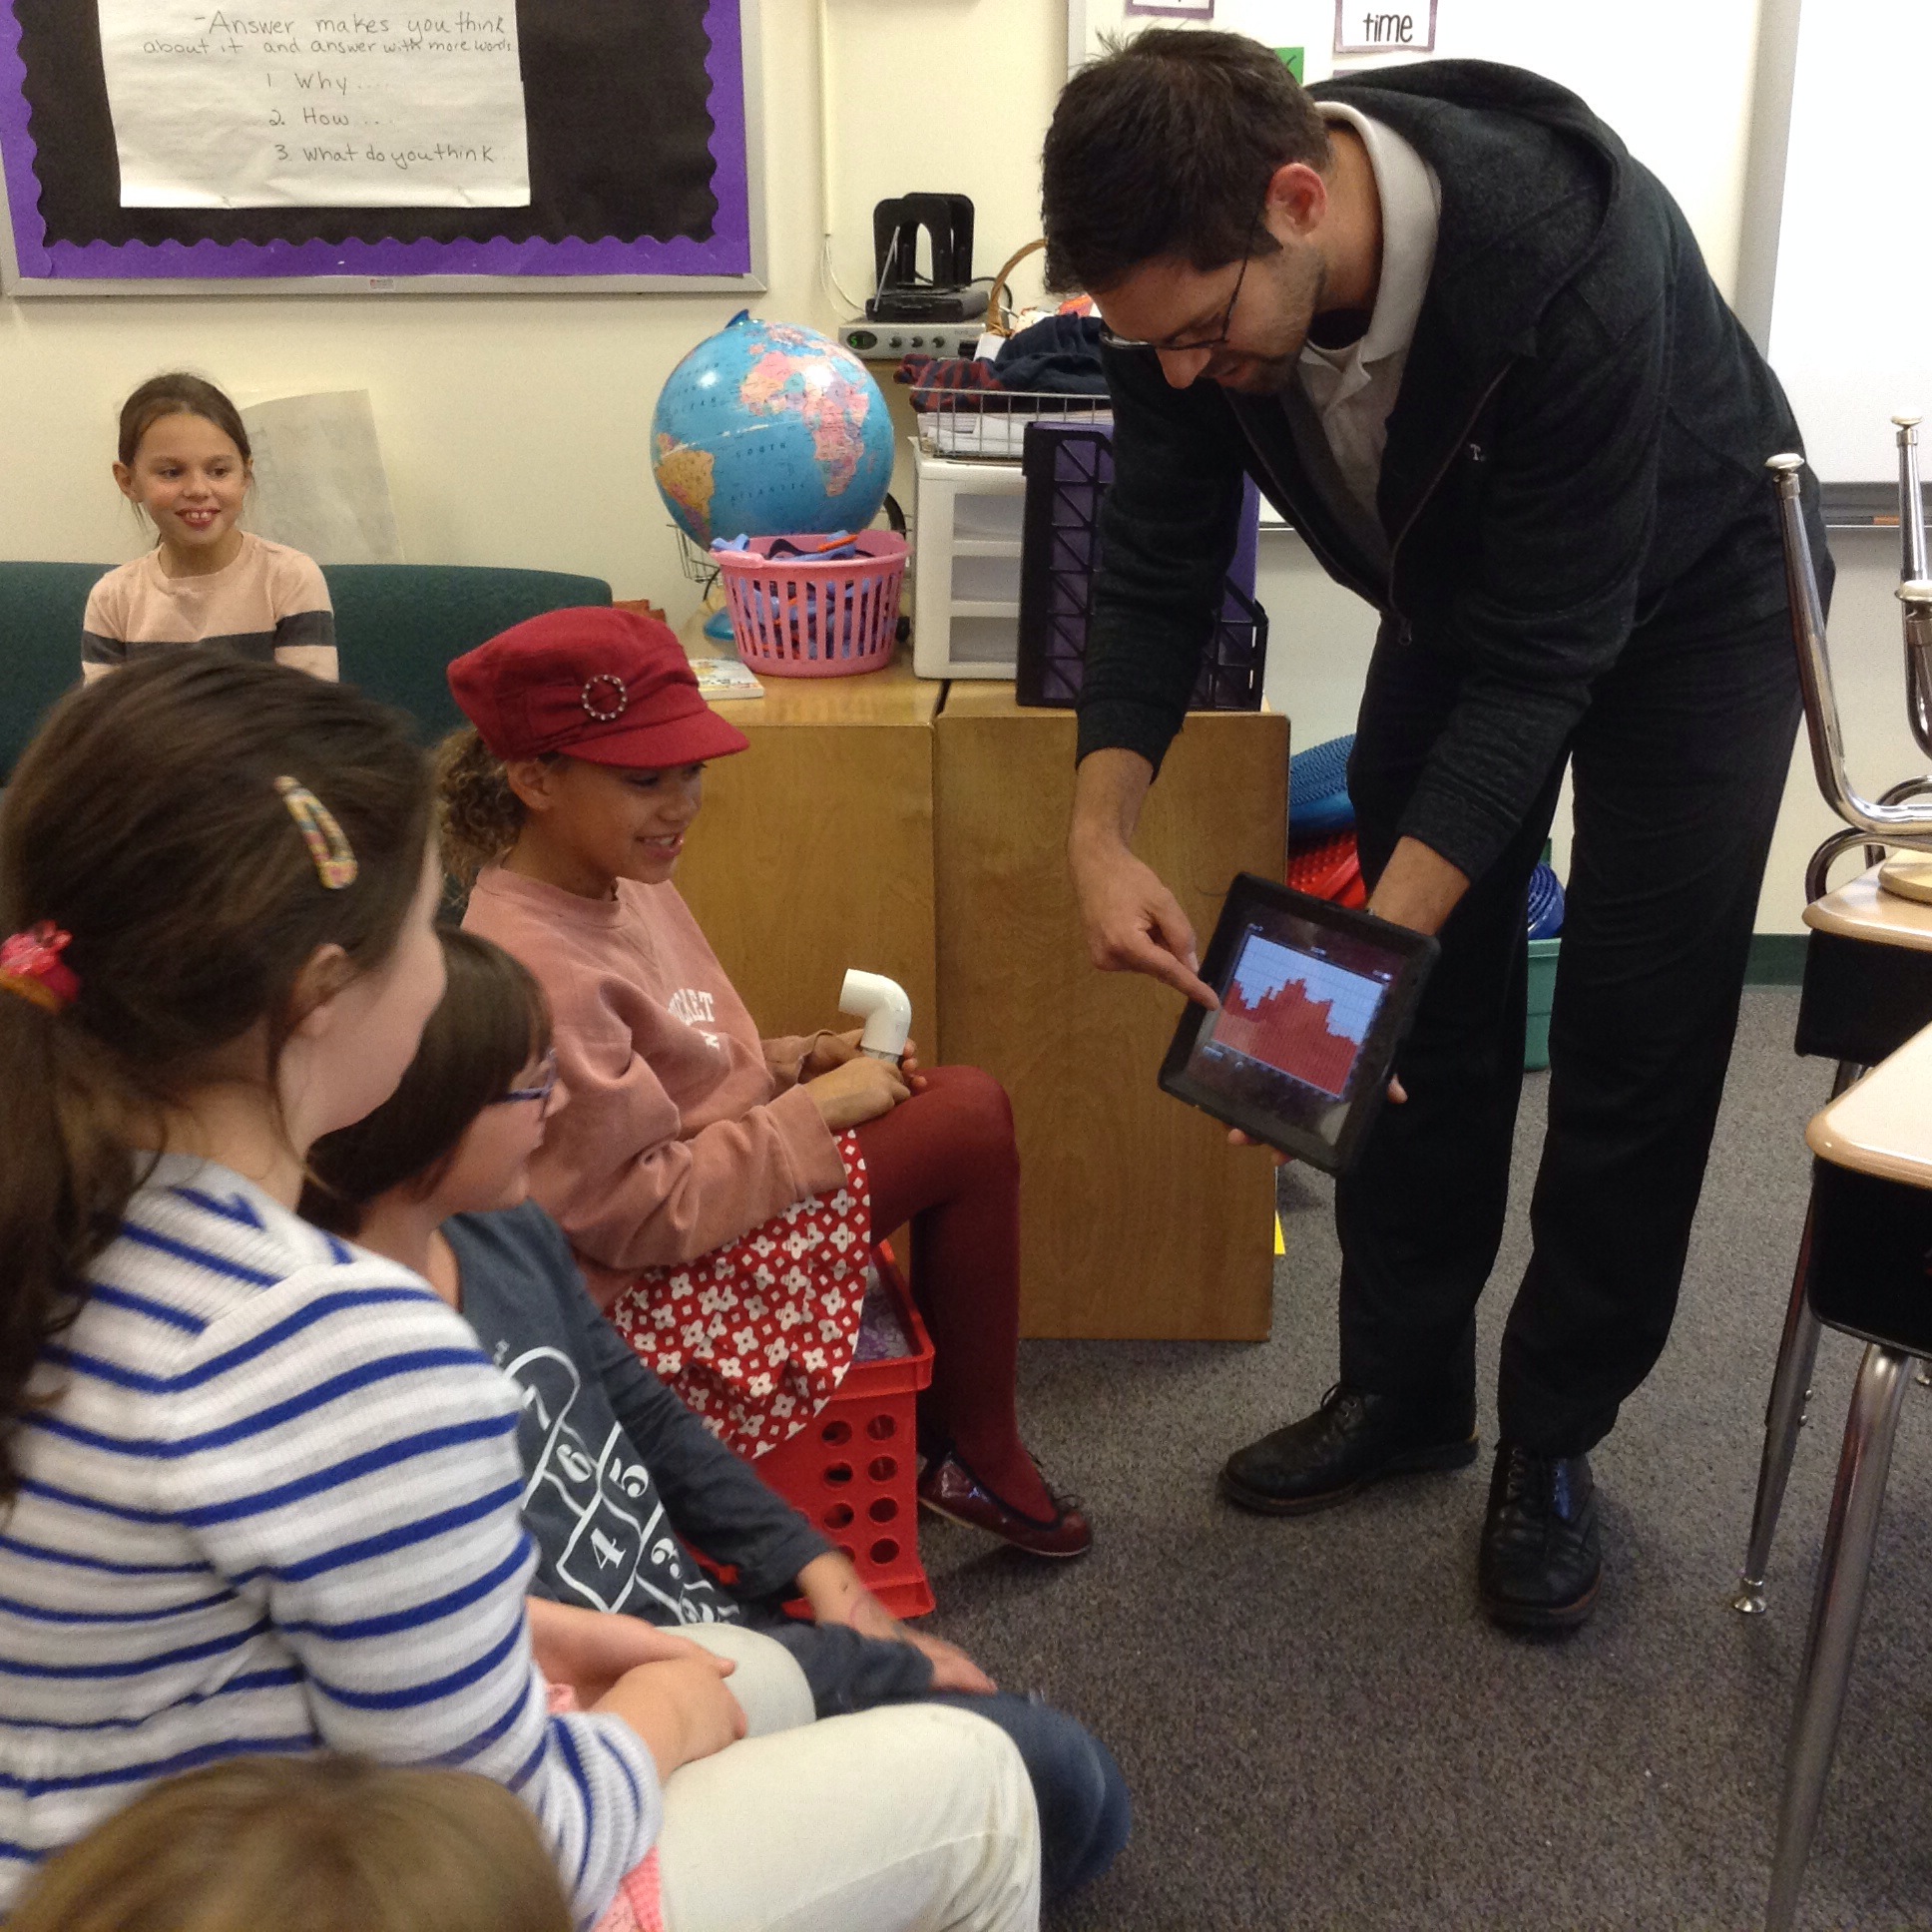
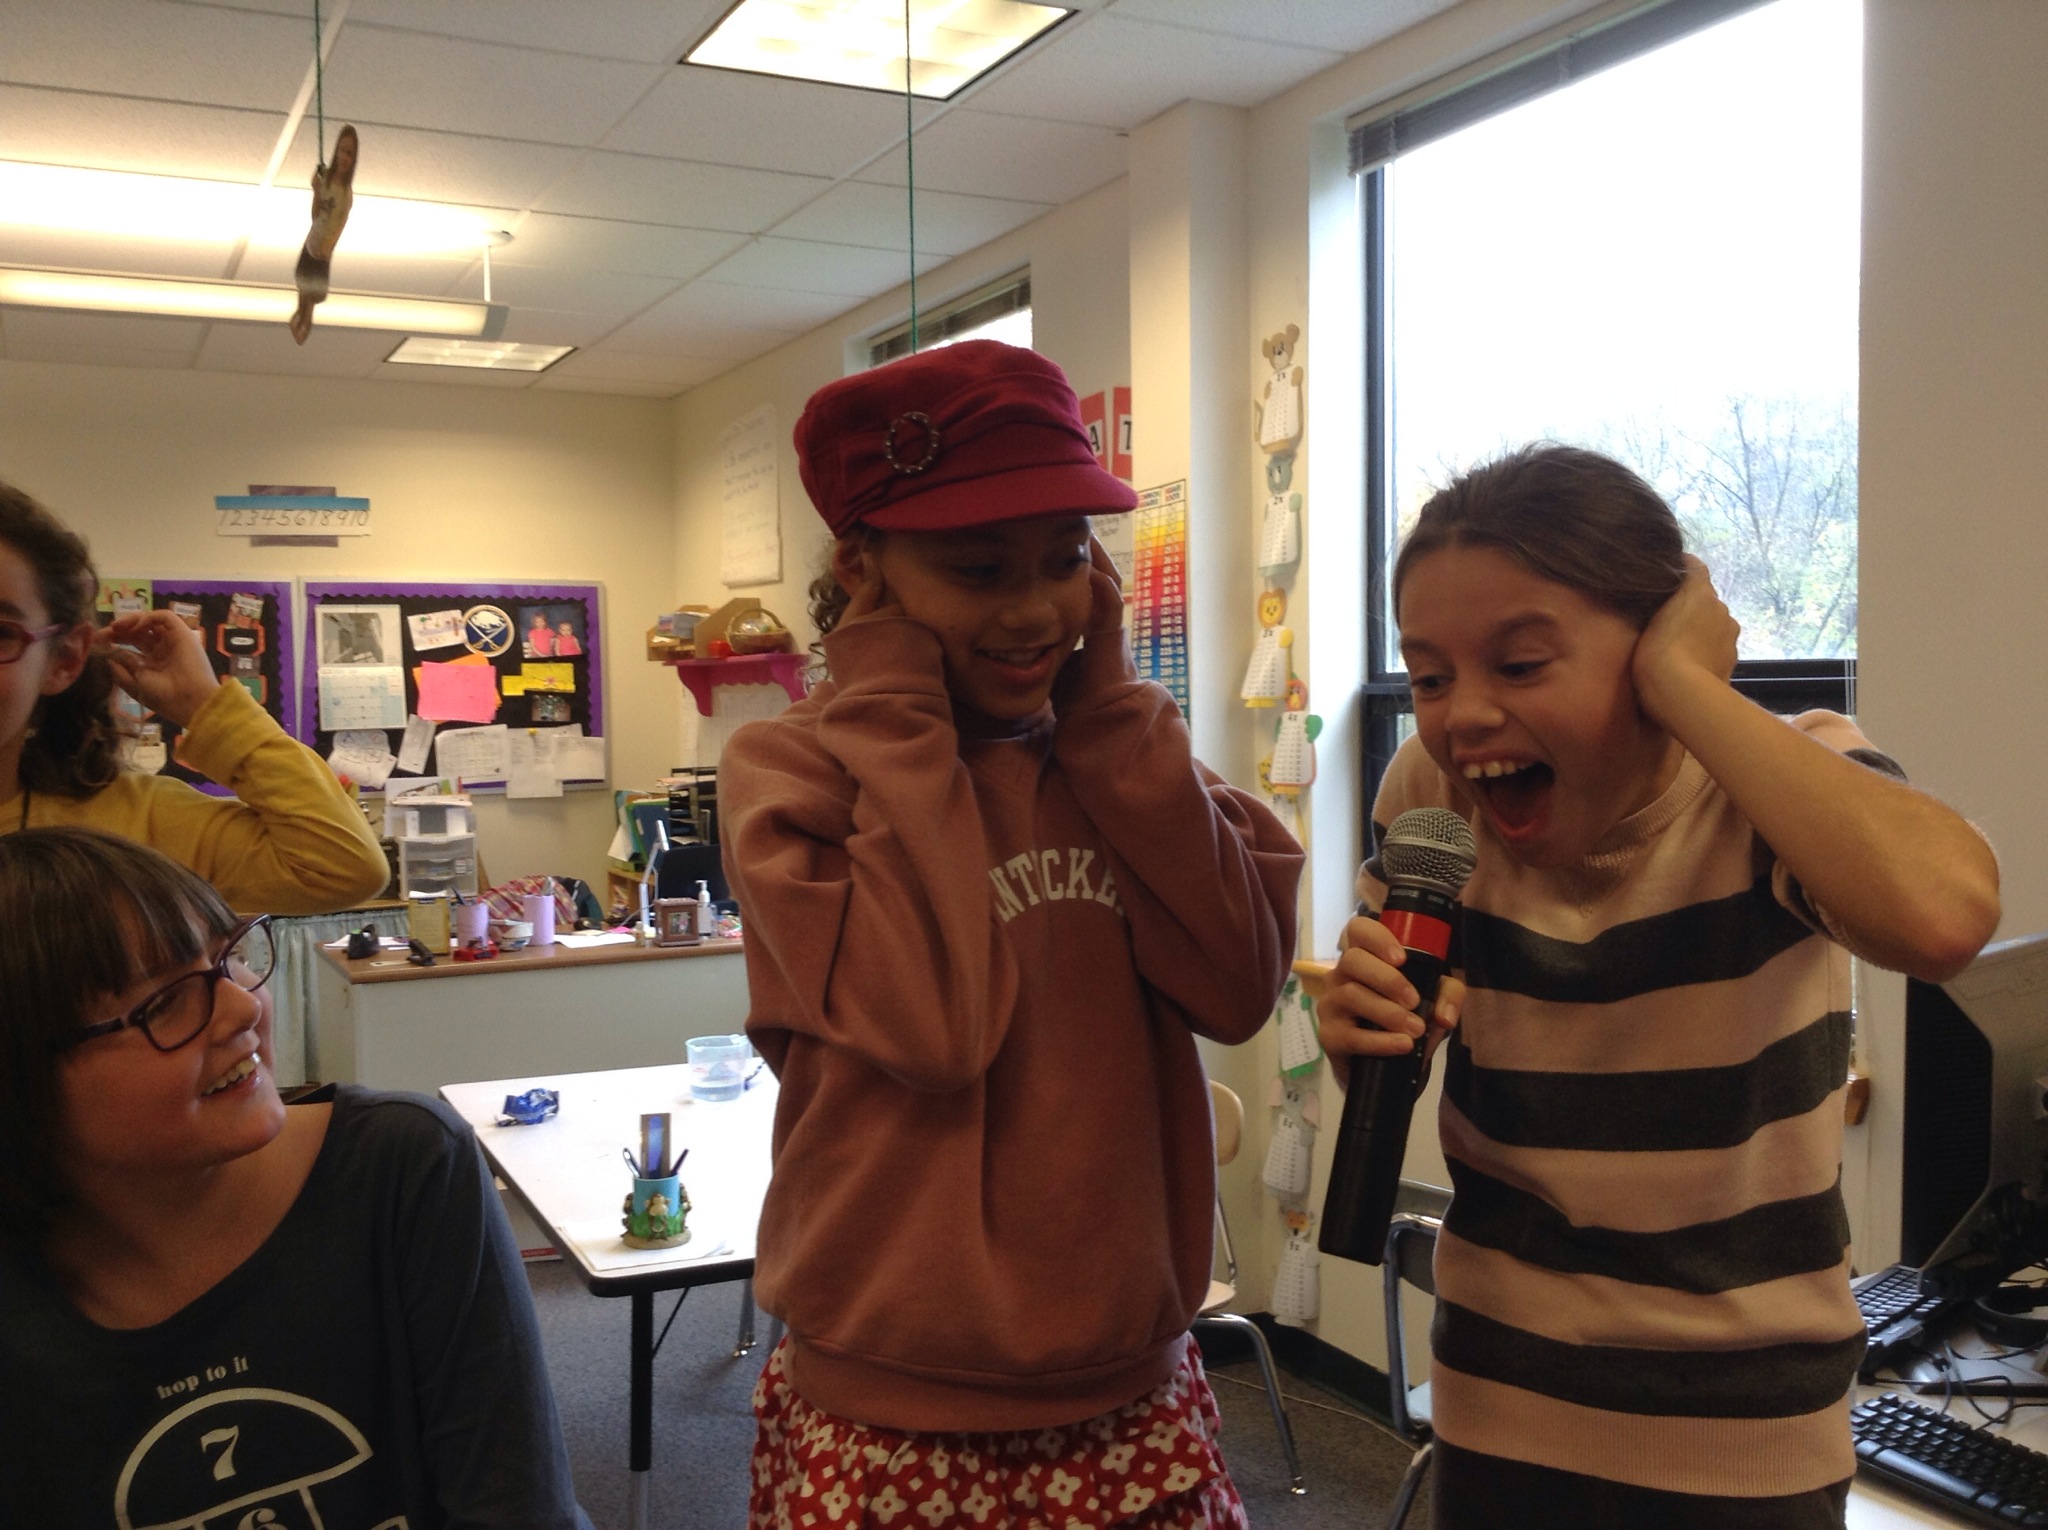
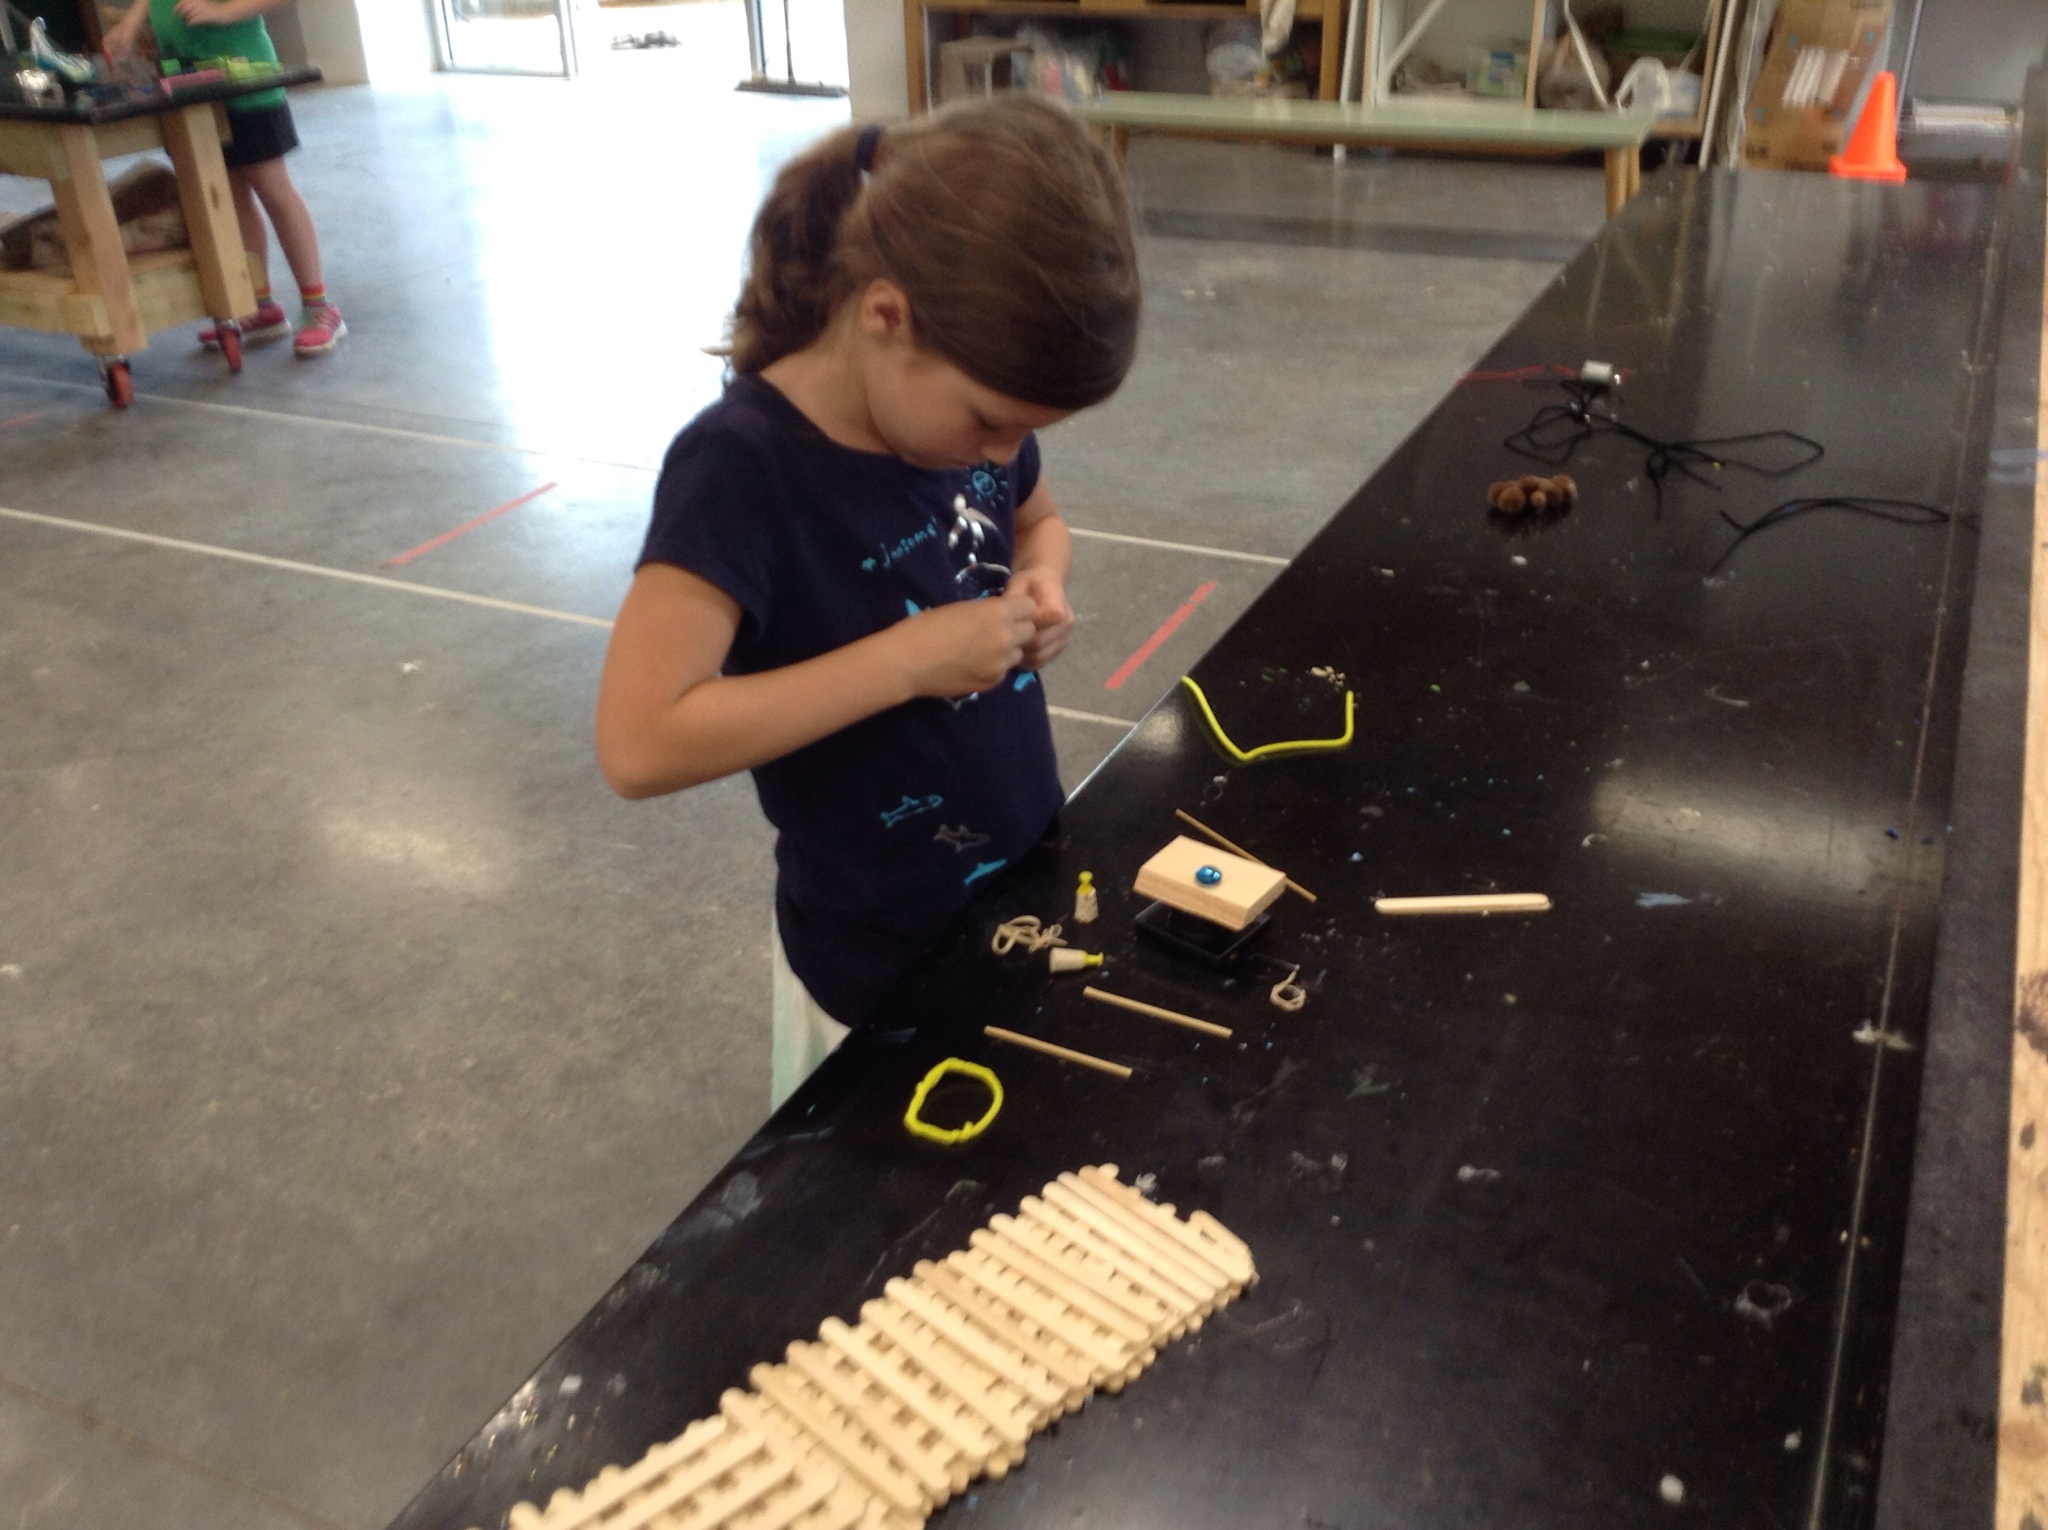
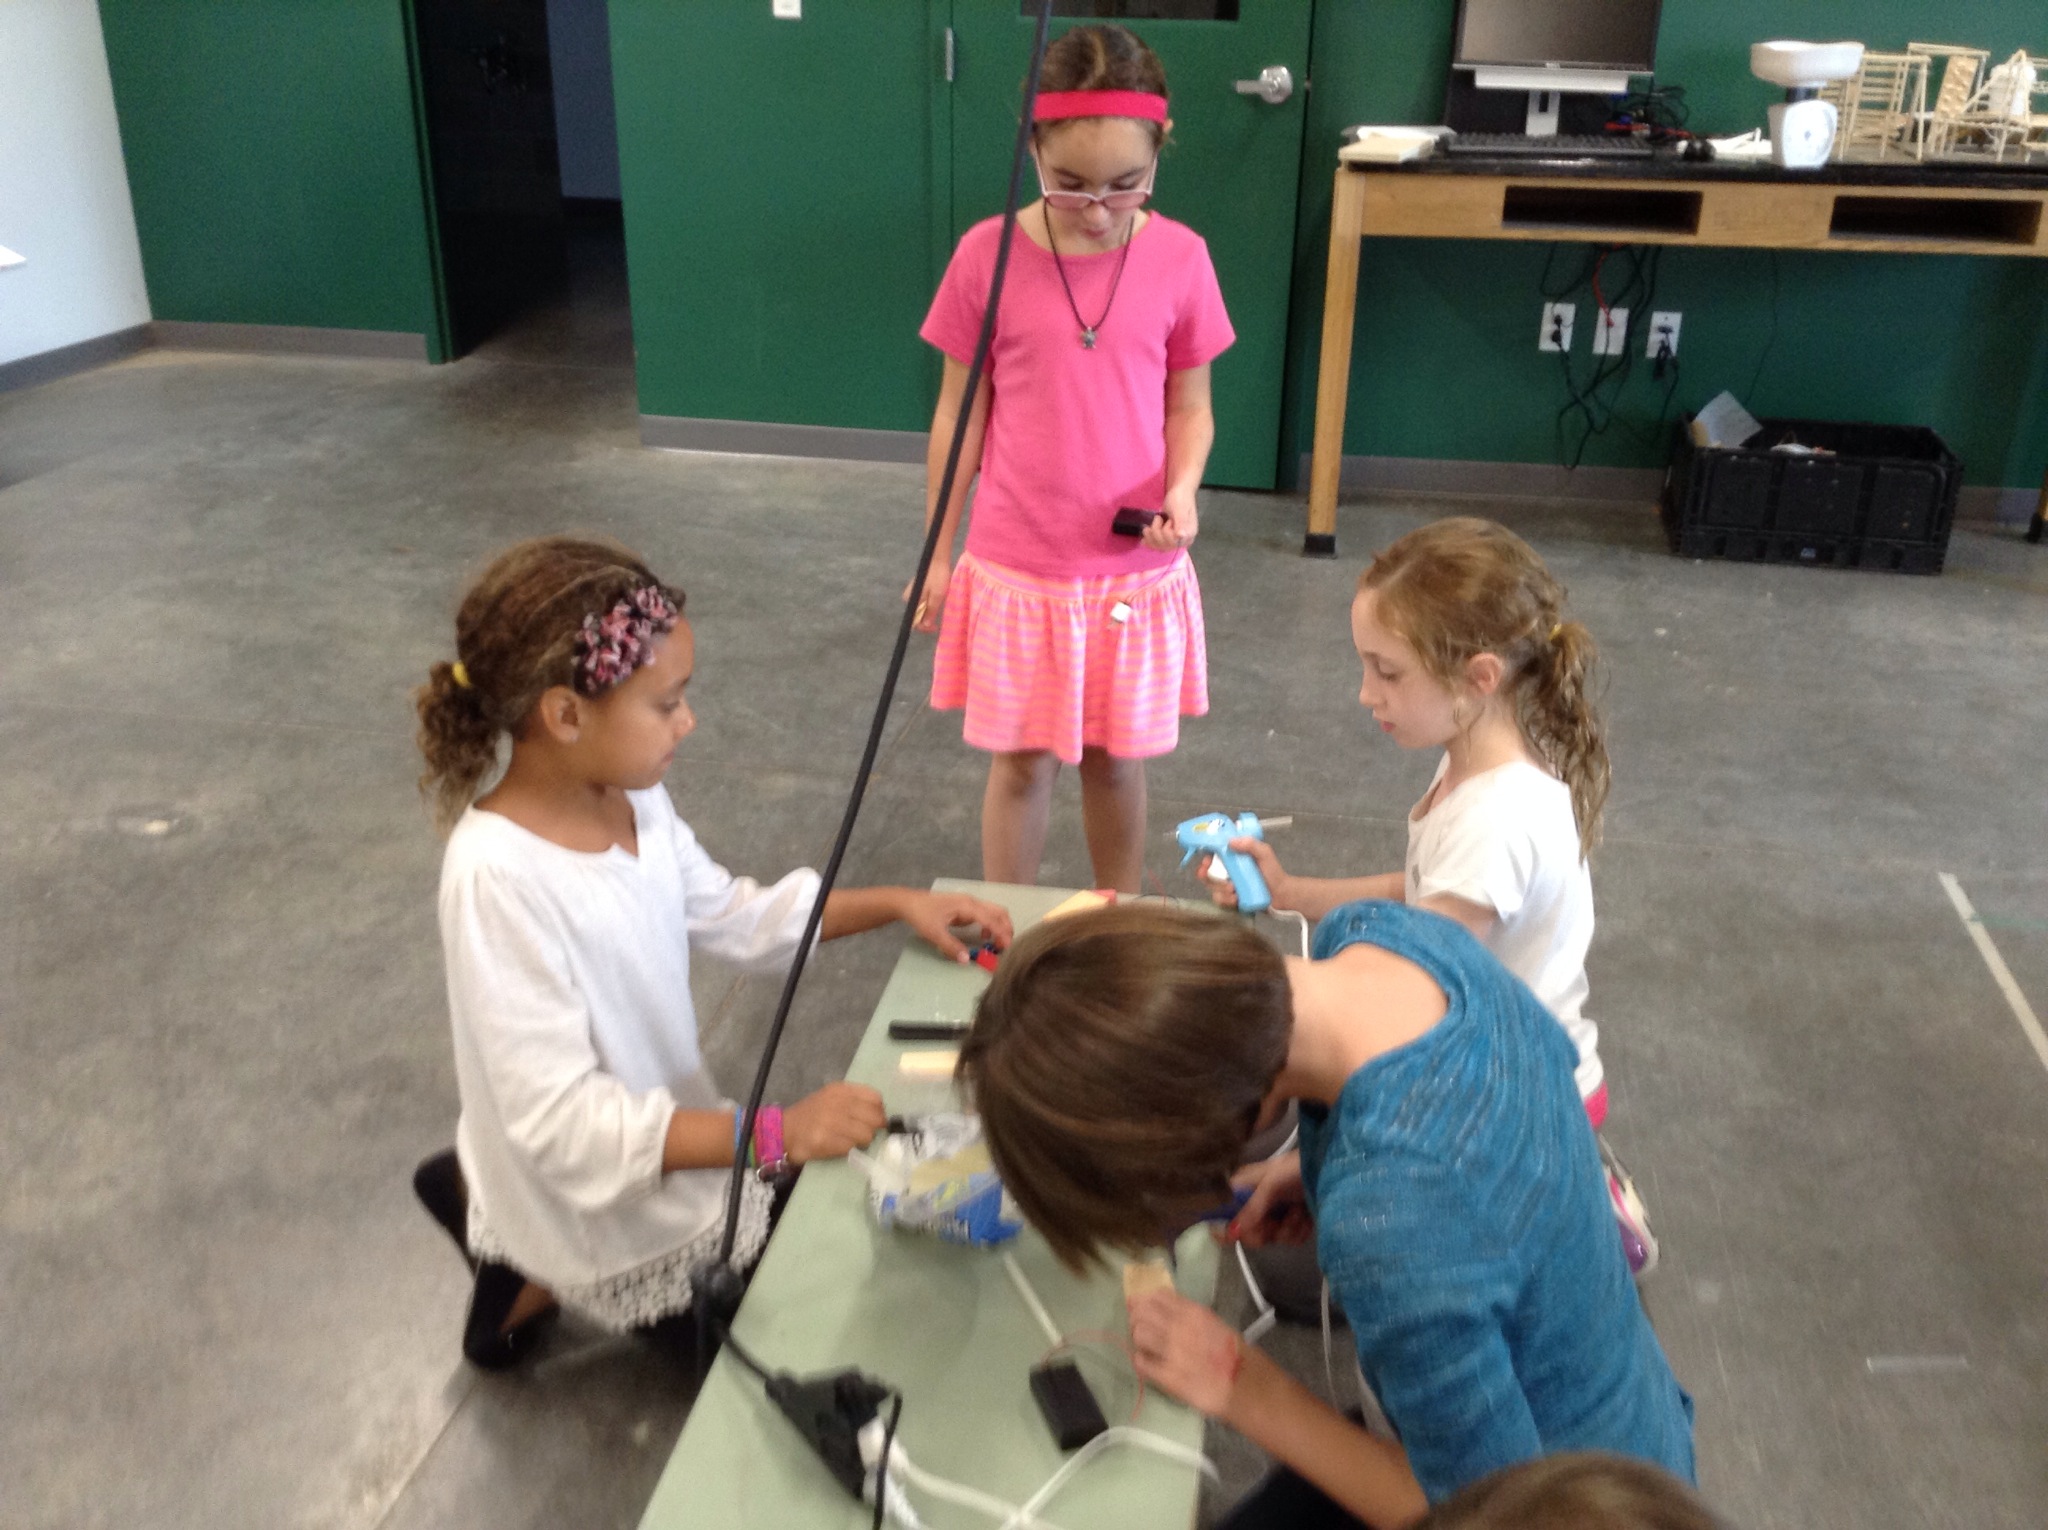
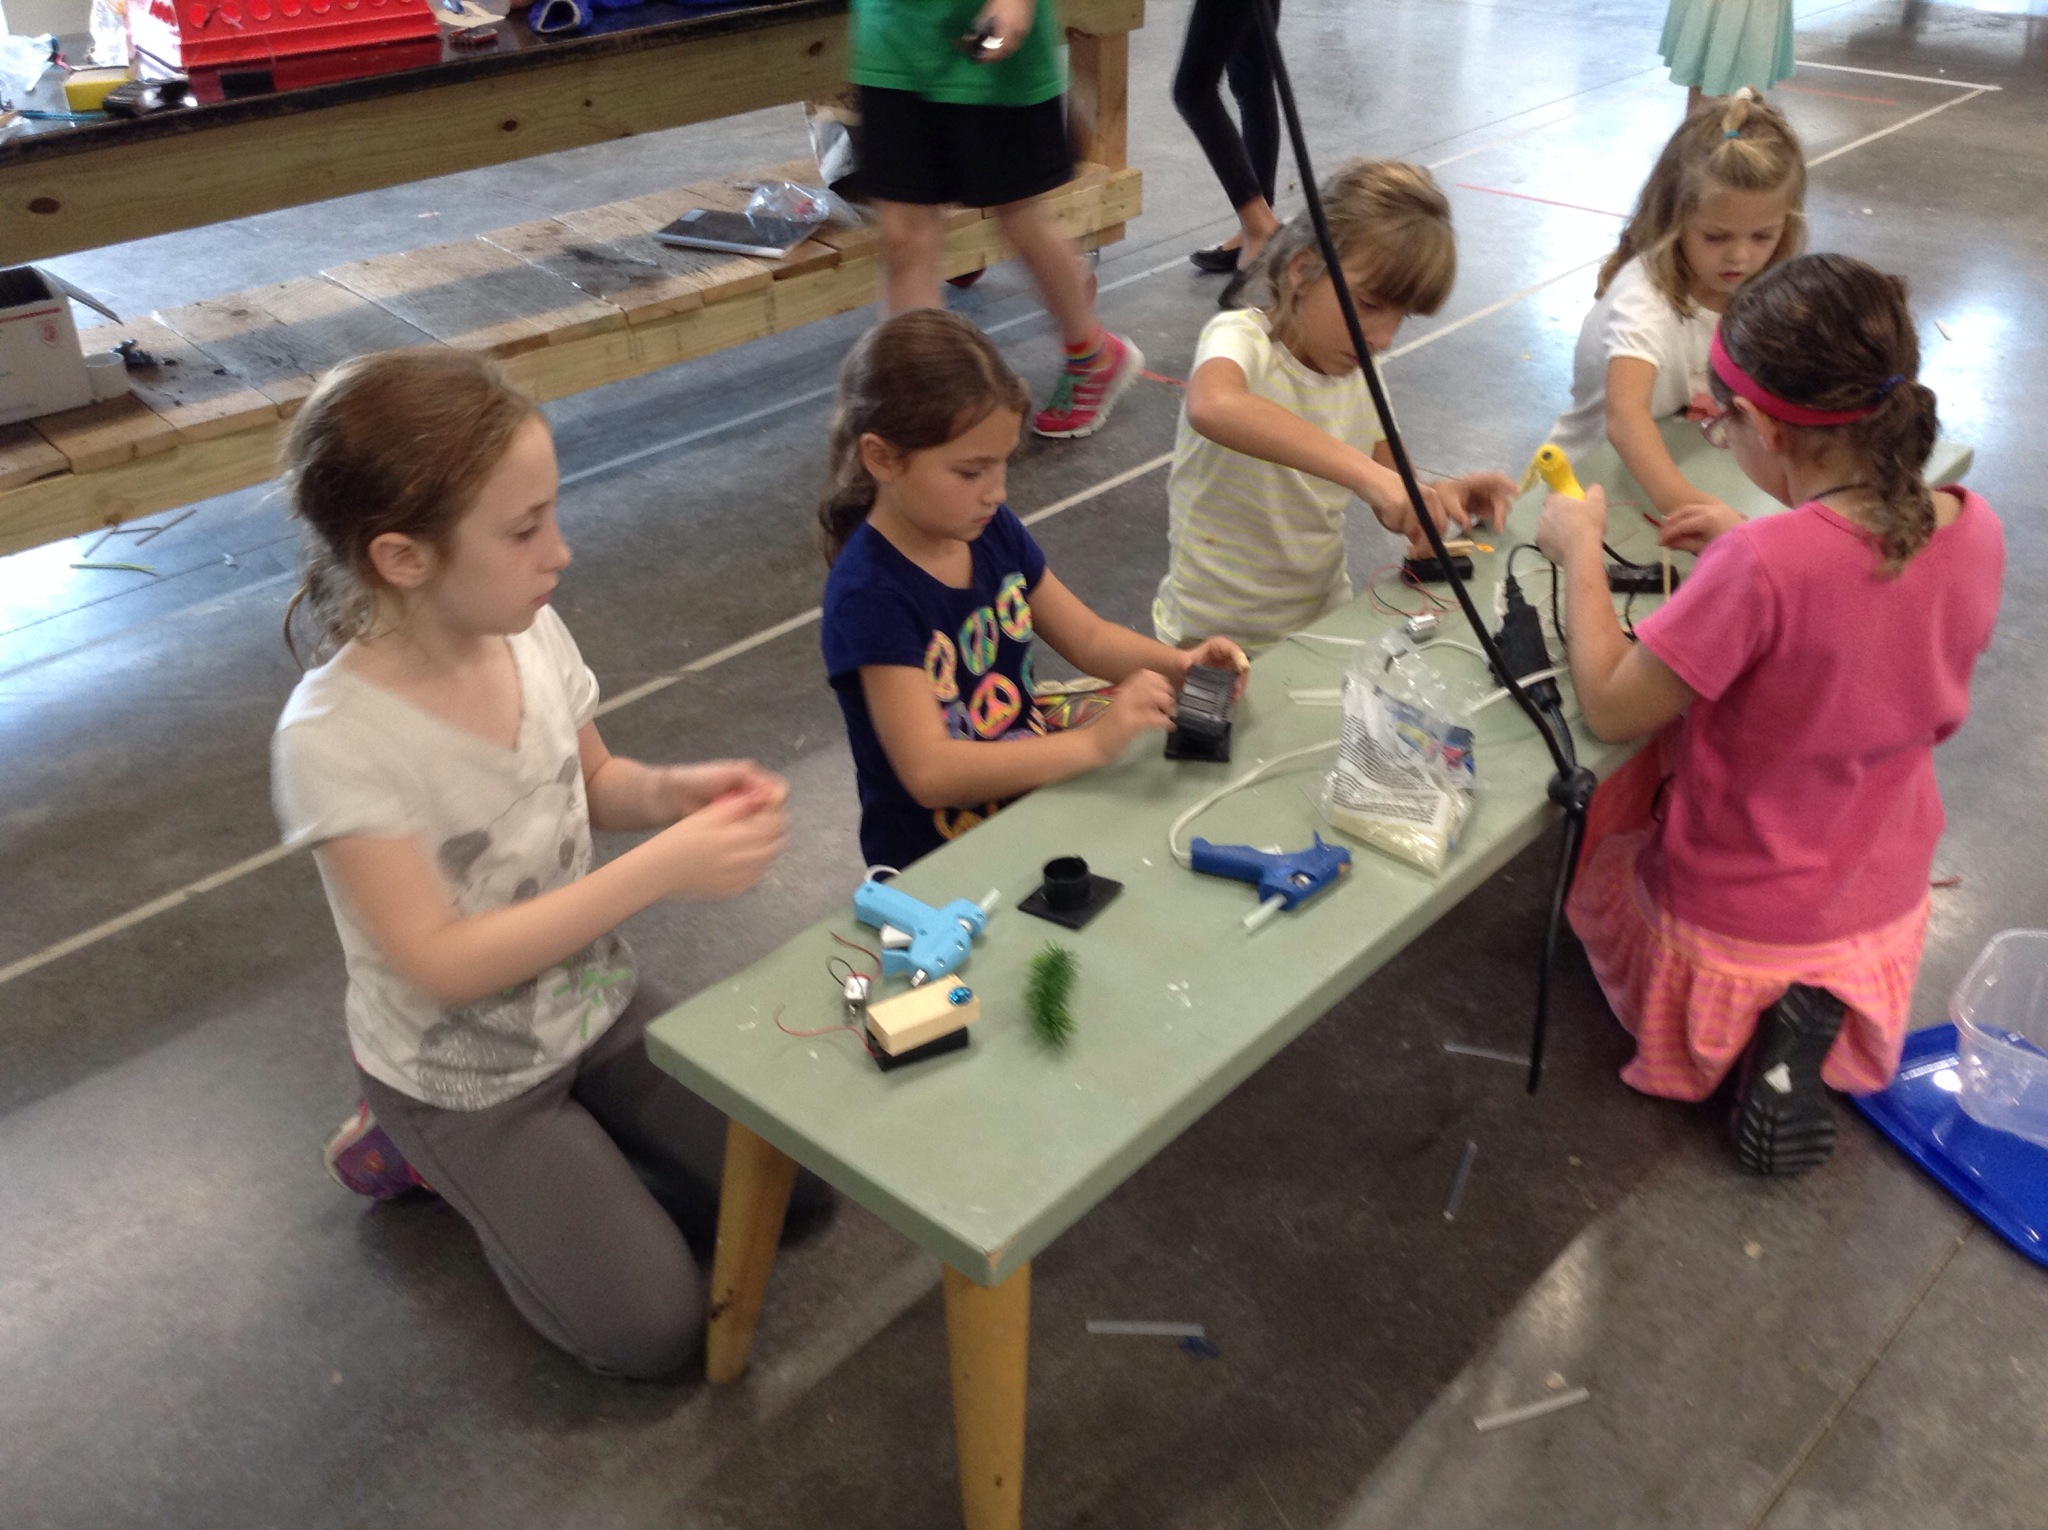
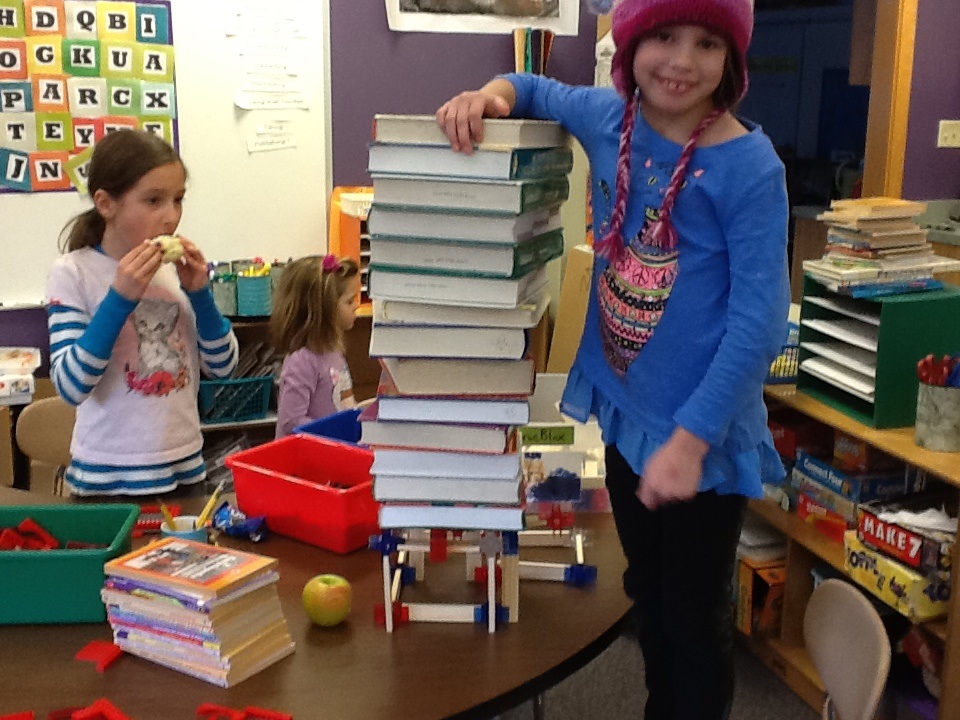
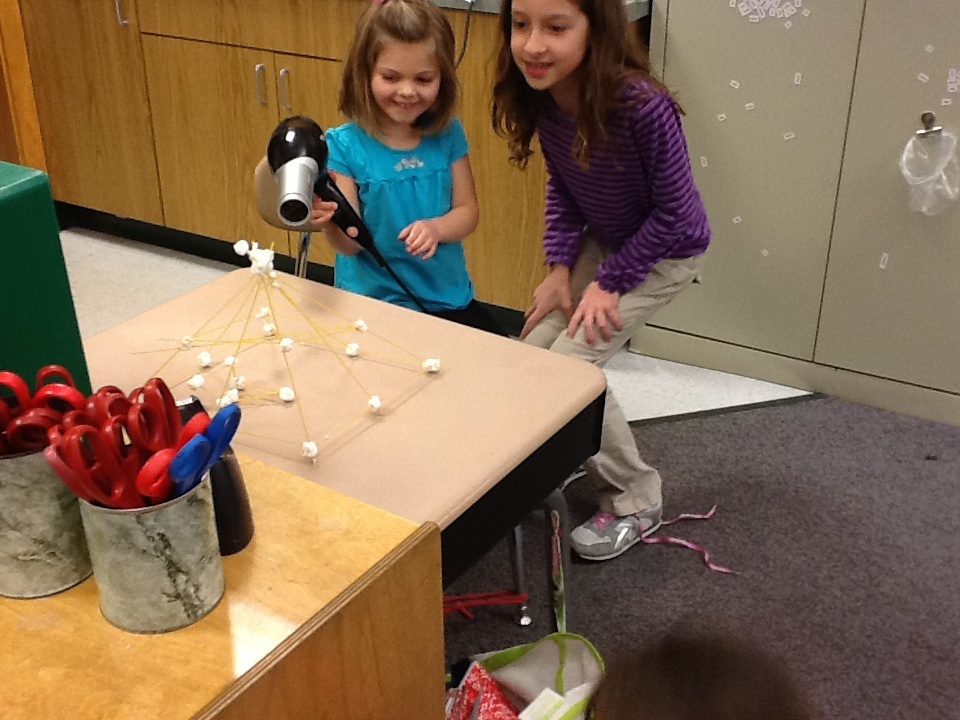
Here are the girls in action. They had to build their home. Test it with dictionaries and weigh the “load” on the scale. I said if their home could hold five dictionaries then they passed the wolf test. Many built more than one kind of home. They also weighed the dictionaries in grams.

image

Claire and Elizabeth chose the Keva blocks. They immediately decided on a low and flat design

image

Testing with dictionaries

image

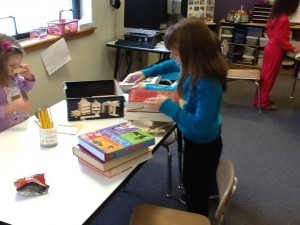
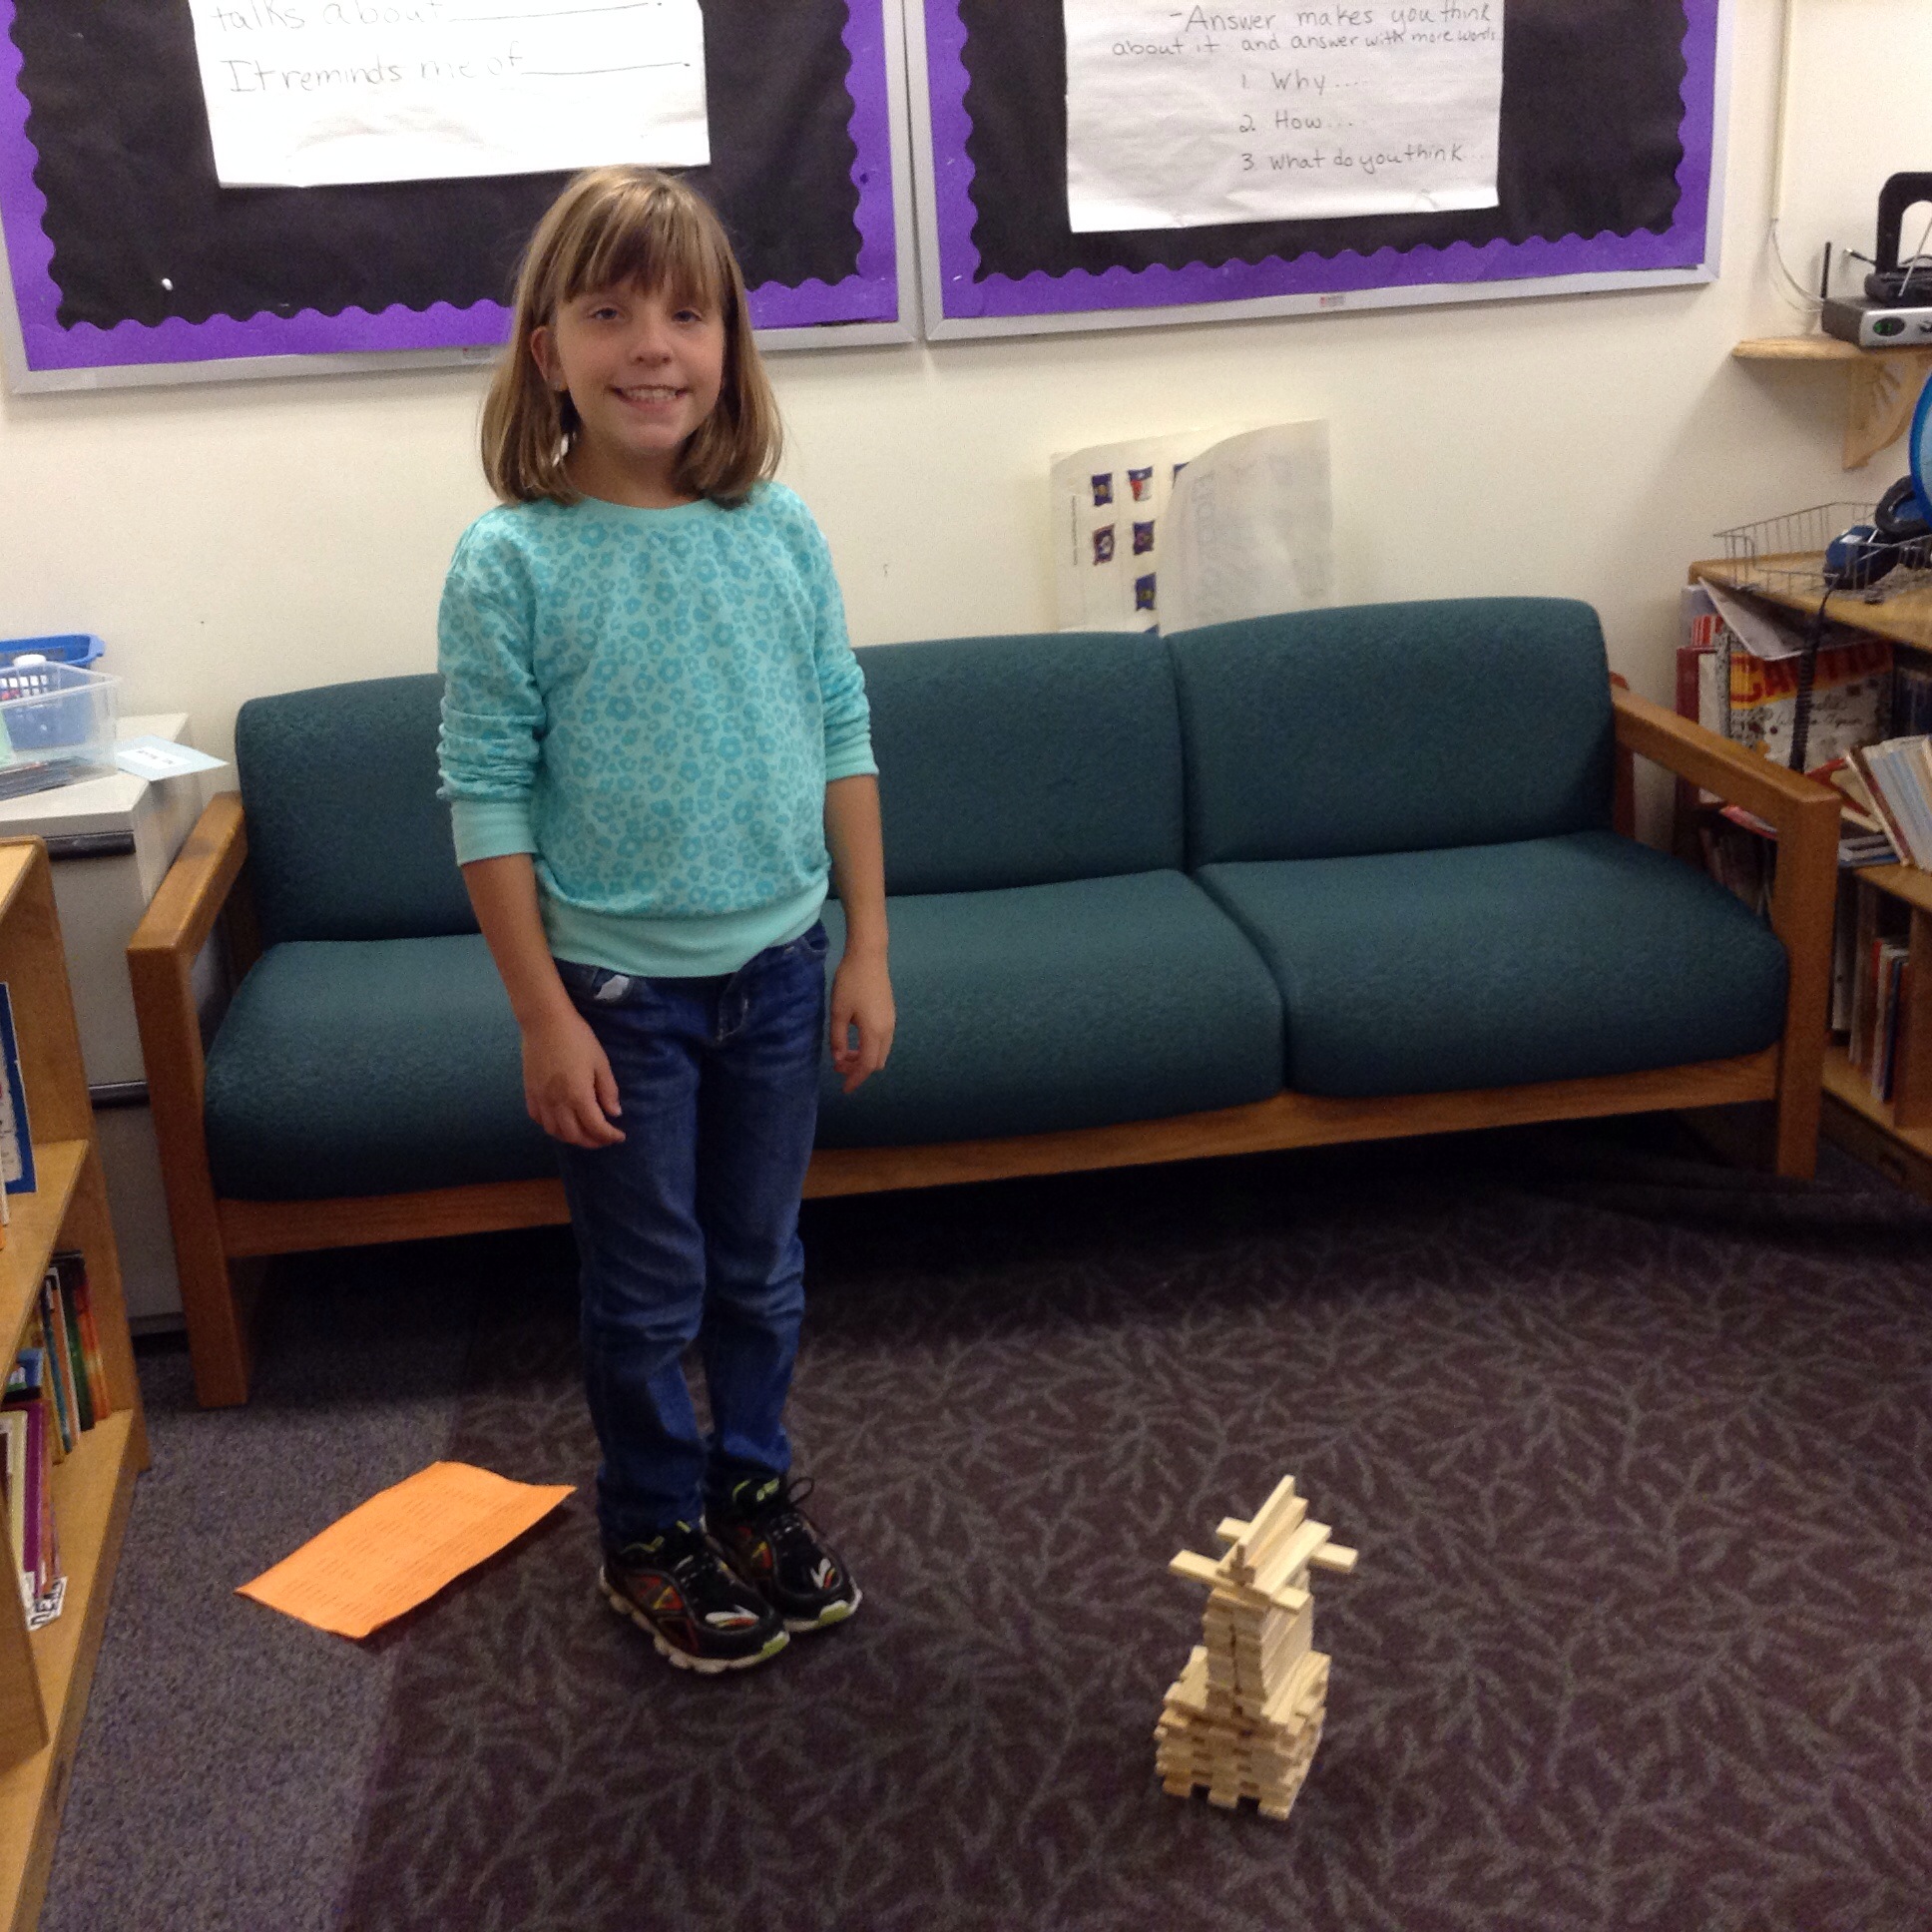
Madison loves horses and insisted her little pig needed a horse barn. She decided to build it big!

image

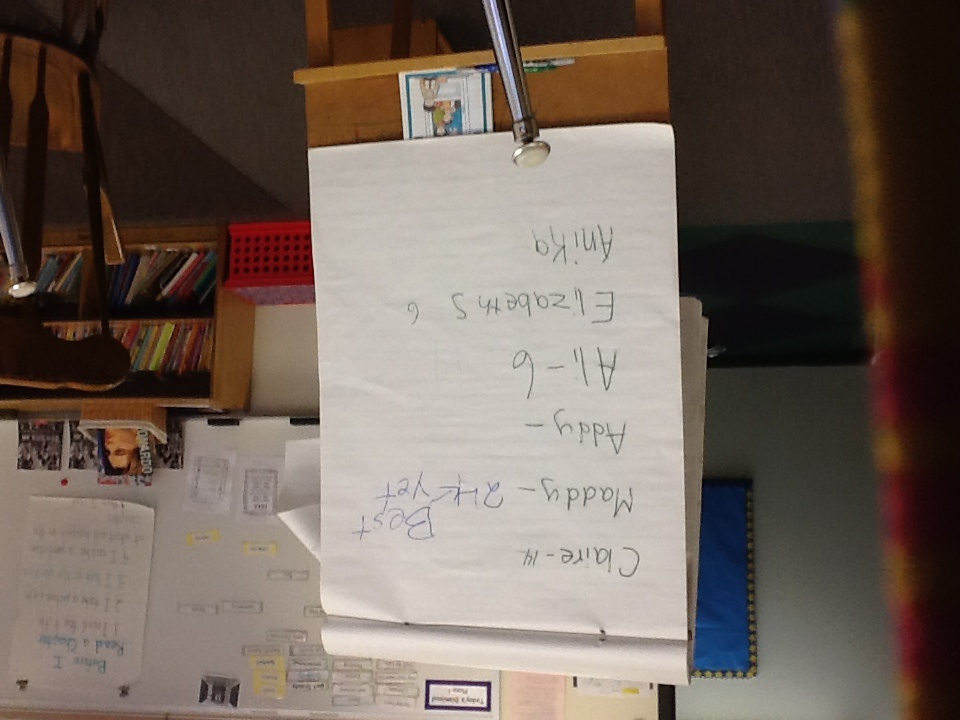
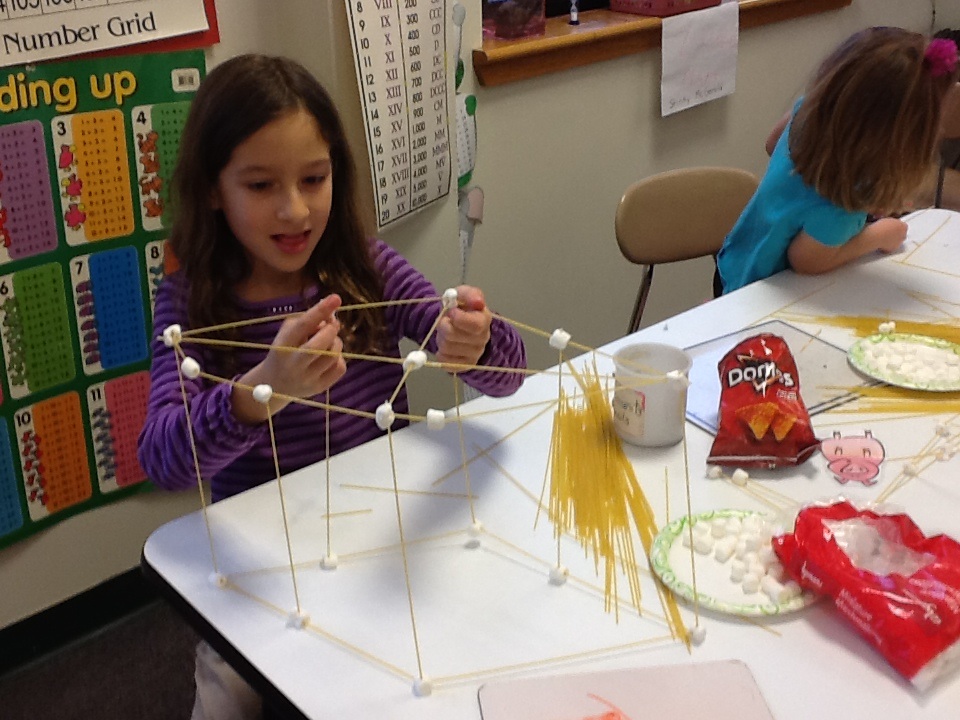
Bionic Blox are holding 14 dictionaries!

image

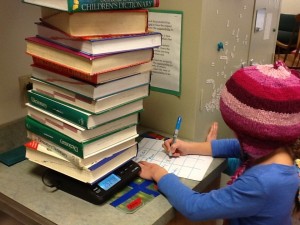
recording the weight – over 25,000 grams! wow!

image

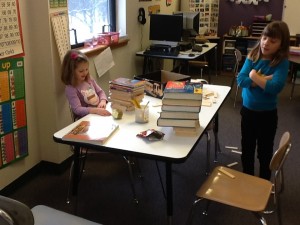
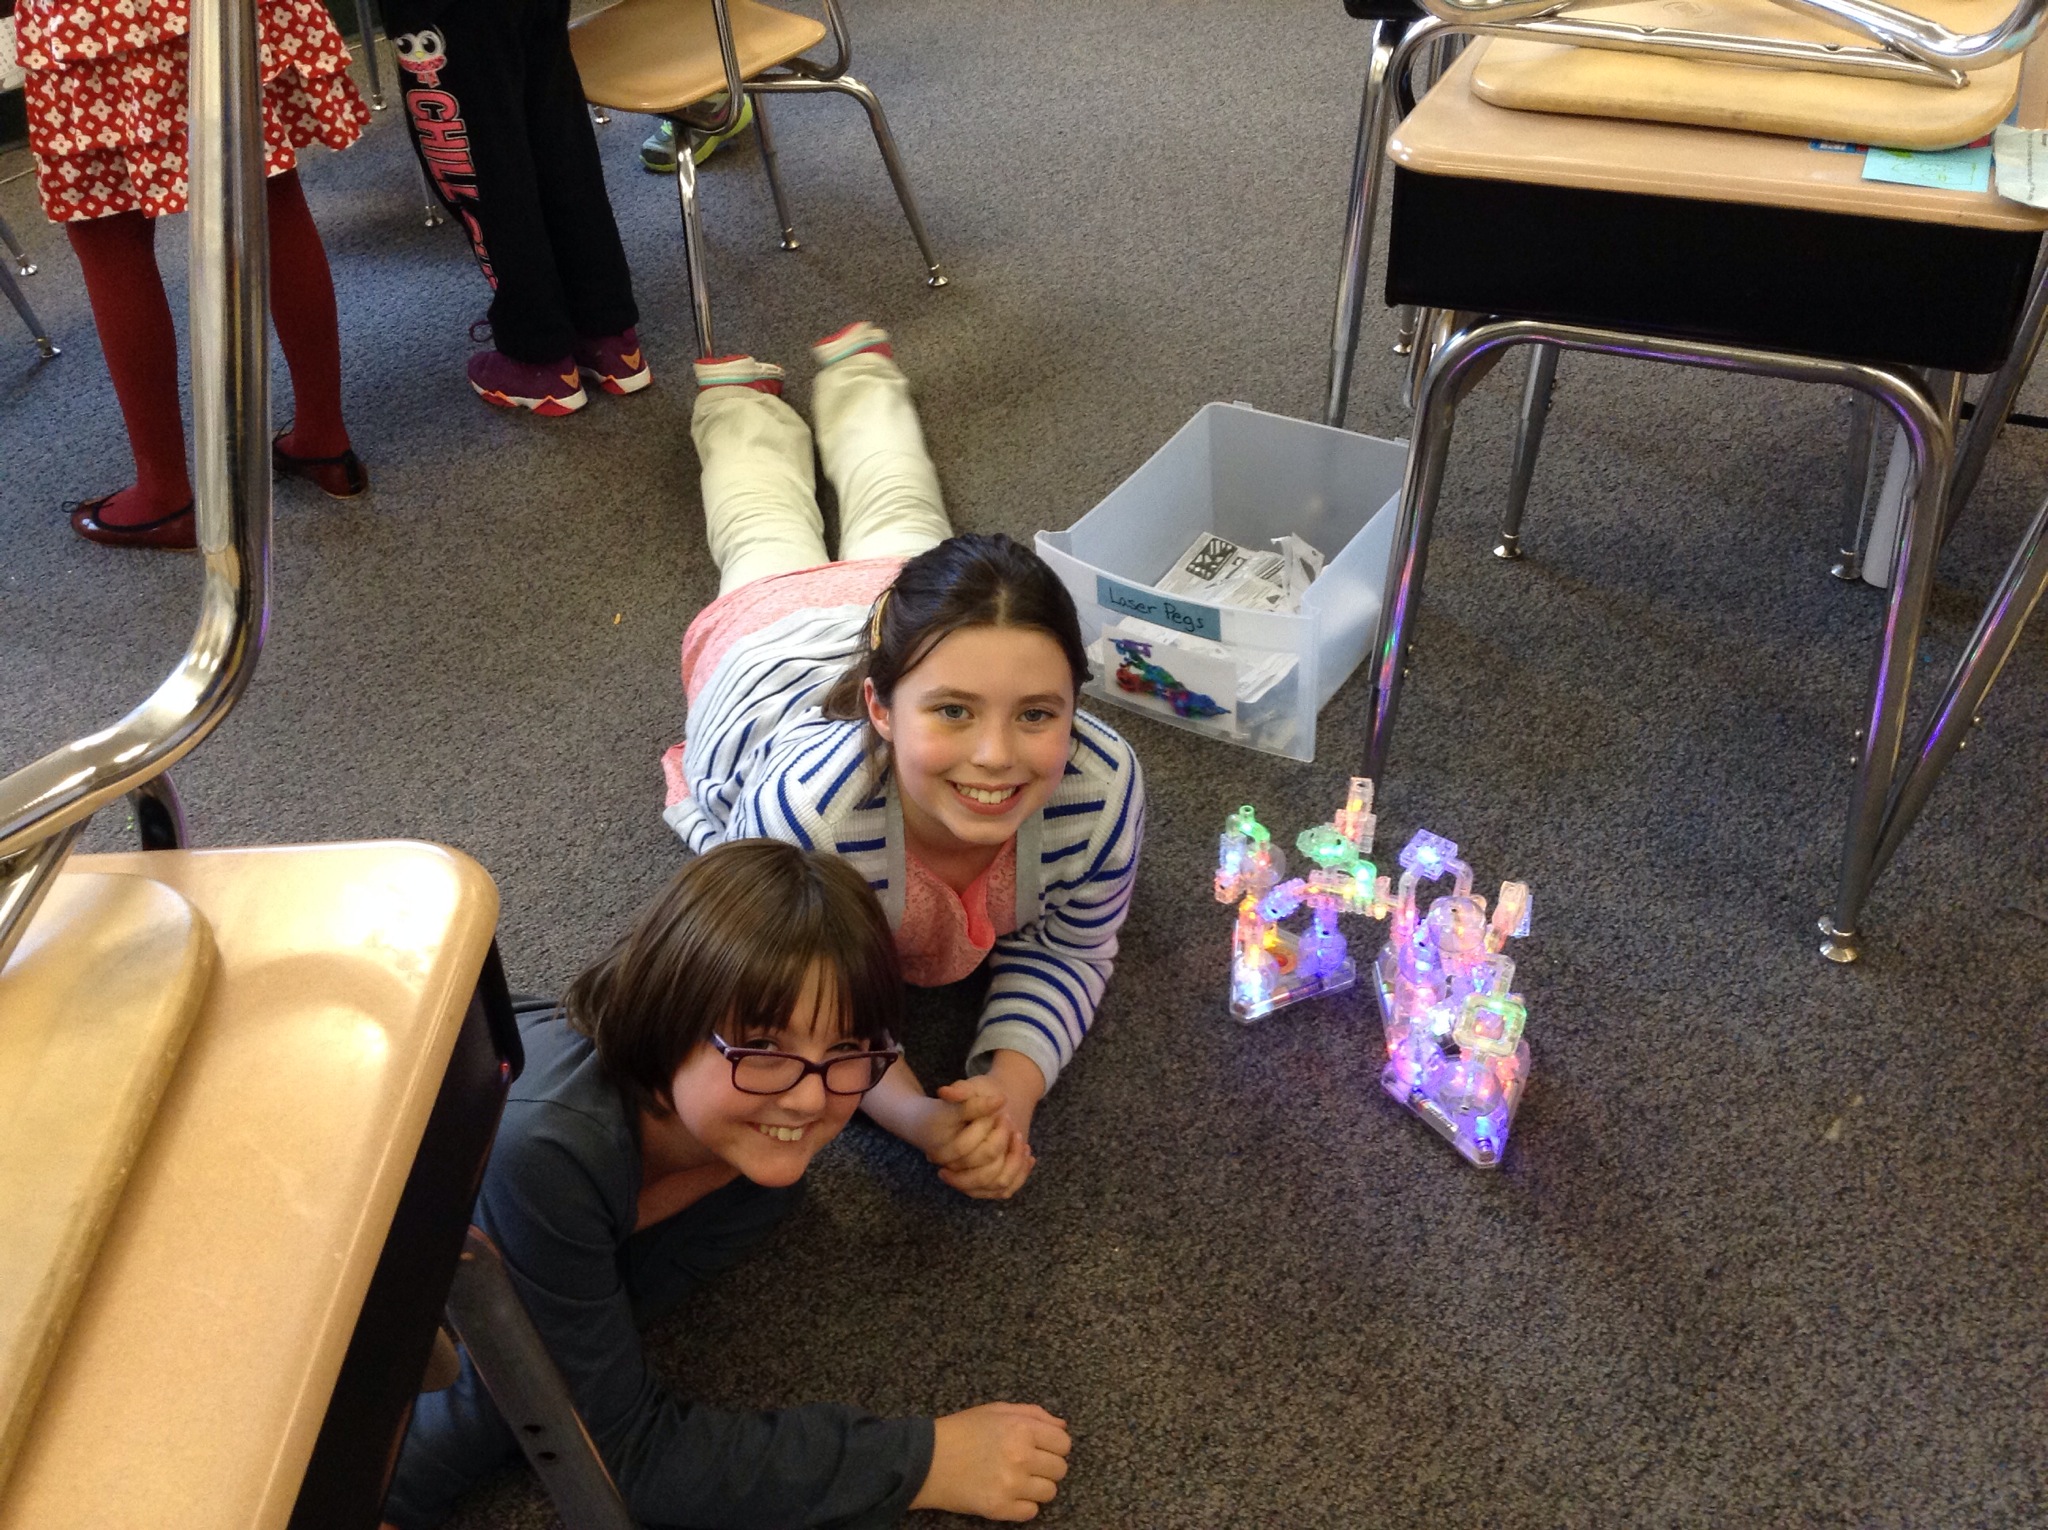
Many are on their second homes!

image

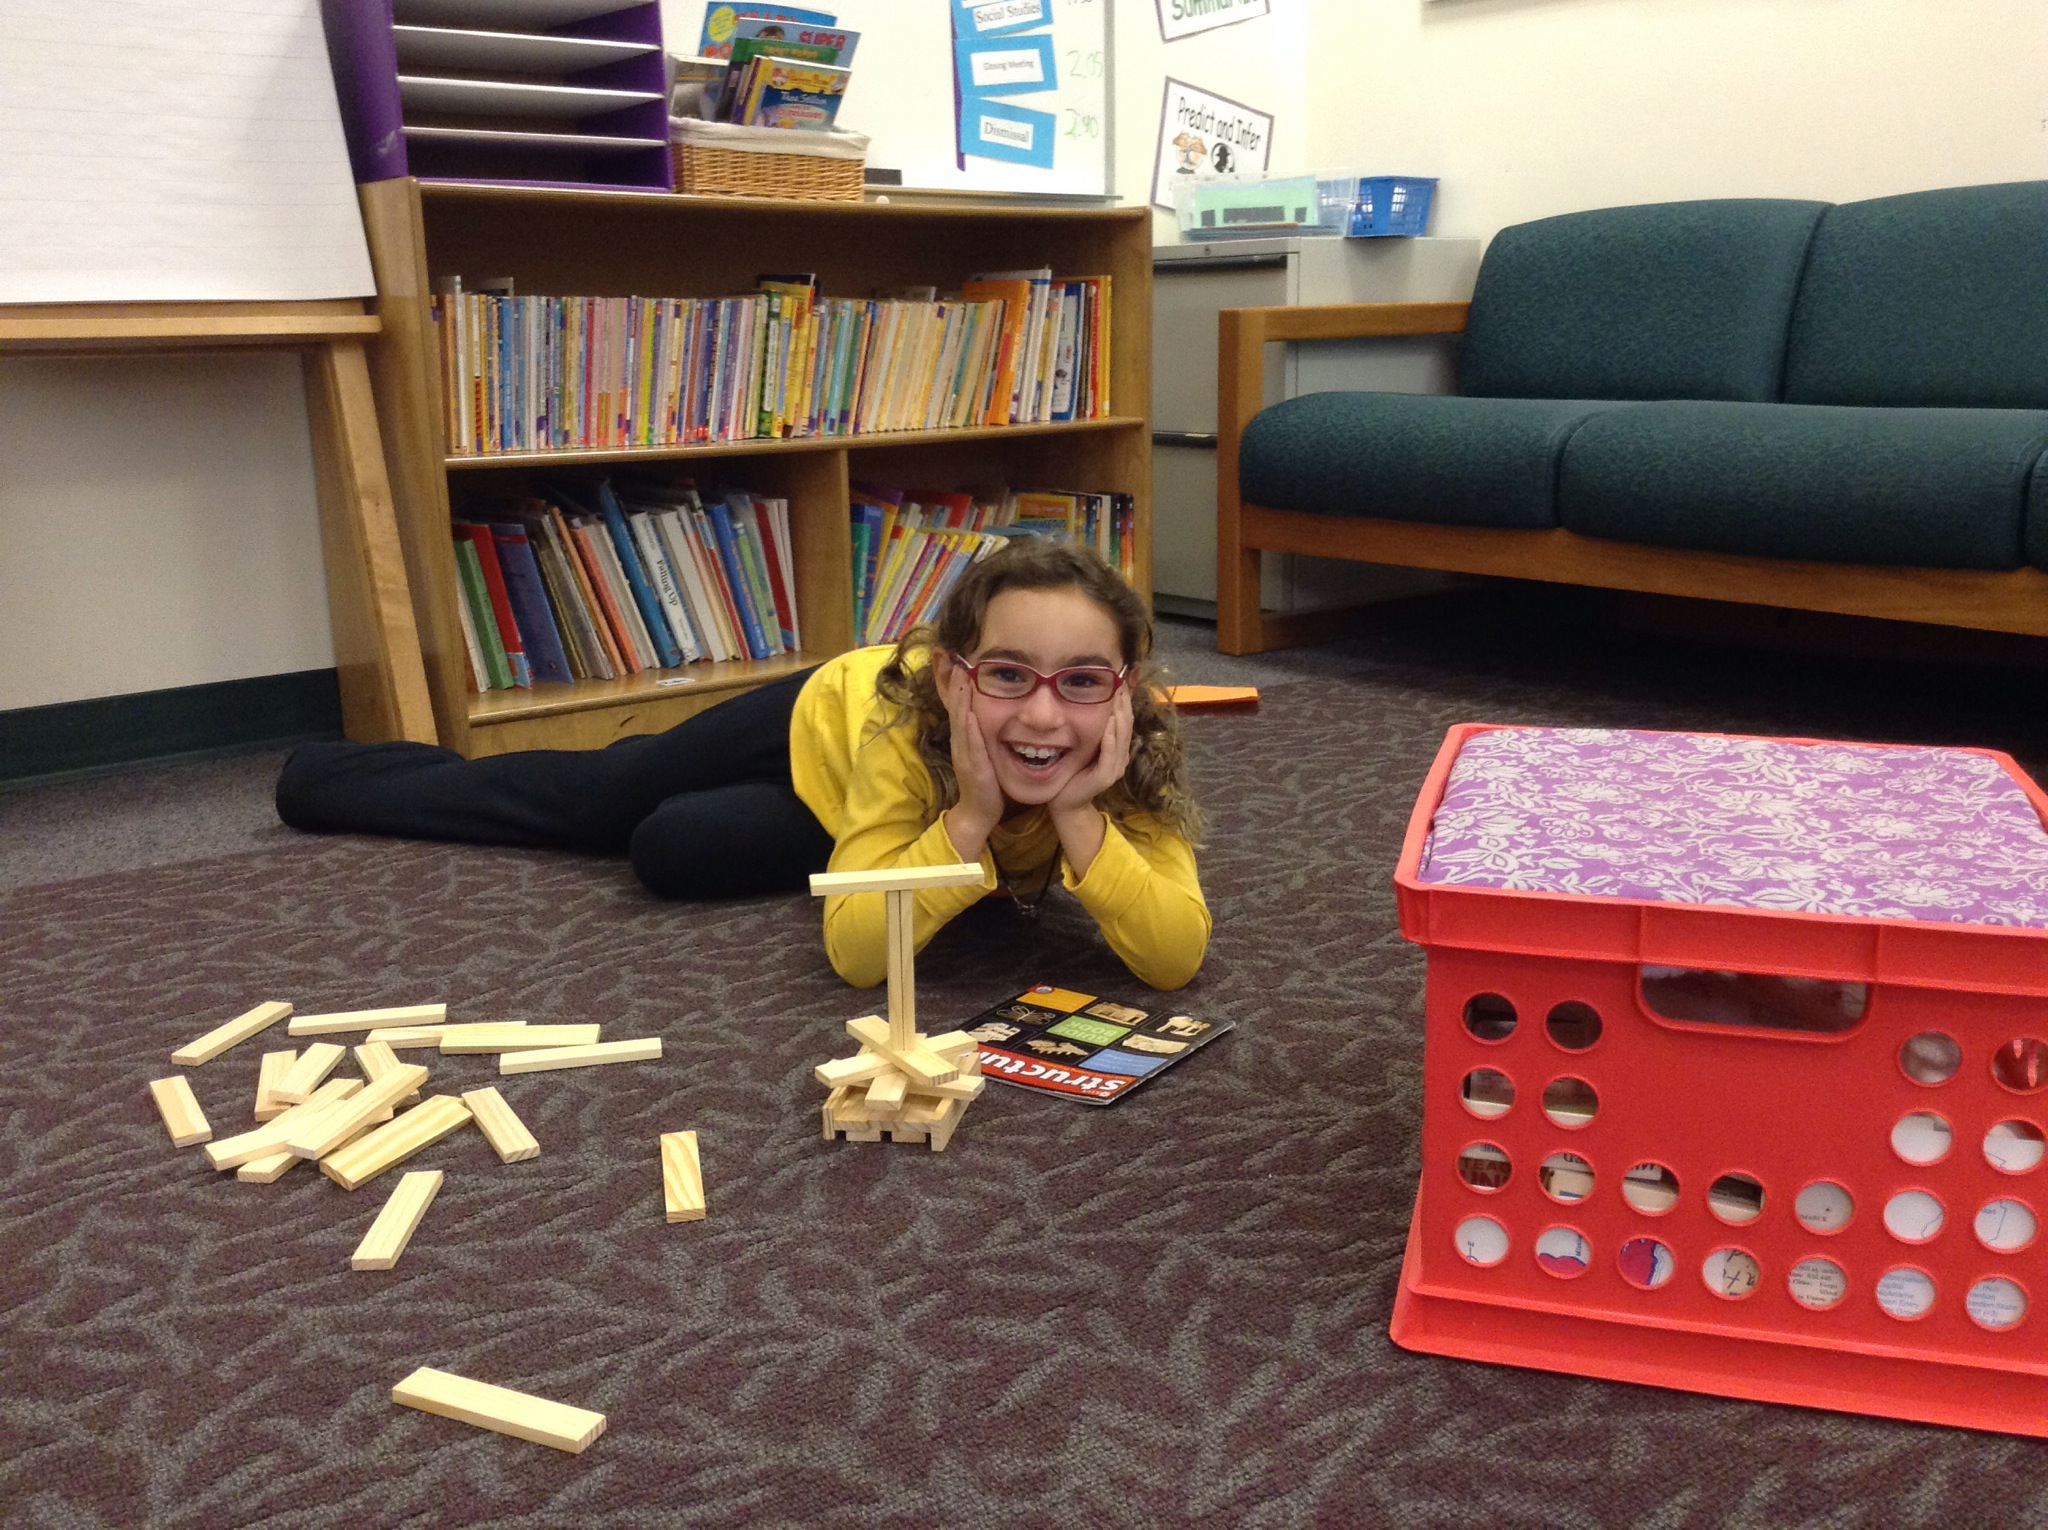
Ali is trying out the Bionic Blox – she has a great design.

image

recording grams sheet

image

Claire and Addy testing the durability – looks good to me!

image

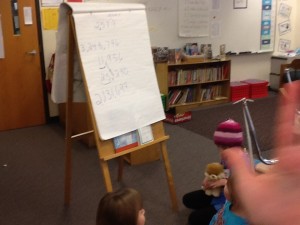
Anika is showing us where the commas go

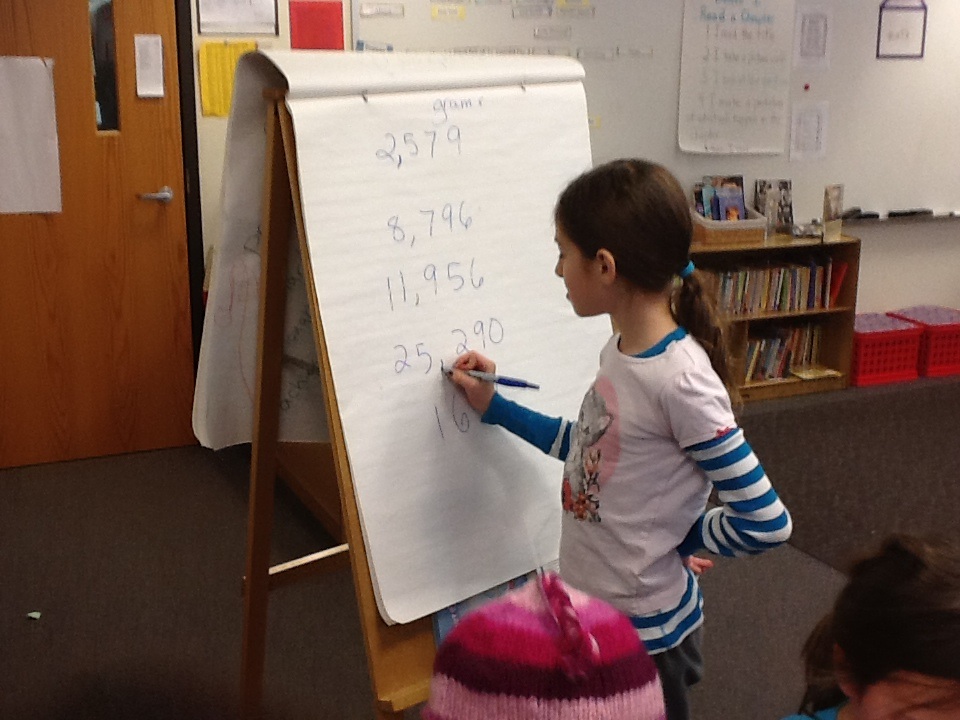
The end of our time we spent going over our numbers, improvements, and I learned quickly we needed to focus some attention on reading big numbers. Our place value unit was back in September, and most of the girls needed a refresher course.
image

Jan 15

Winter session of STEM has begun! Three Little Pigs building with spaghetti and legos

Today we started our winter adventure of girls STEM club. I was happy to have two of my girls return, plus I have two new faces. My daughter Addison joined in on the fun, too.

image

What a sweet group of girls!

Our first STEM task was based on the beloved fairy tail of the three little pigs. We read the book The True Story of the Three Little Pigs (as told by the wolf). I told them their first task was to design the house for the first little pig.
image
If the house could withstand the huffing of “The Big Bad Wolf” (my hair dryer), then the little pig is in luck! He lives! yay! They had to make their straw homes out of spaghetti and marshmallows. We began by talking about durability. The girls knew exactly what to do.
They first had to design their house on a white board.  I was impressed to see two girls start drawing their houses in 3d. We did not talk about shapes at first, because I wanted to  see what they would come up with on their own. after the first drawings were done, we talked about how homes are not flat but are 3d. We took some time out to look at some common shapes.
image

image

Madison started on a pyramid and Addy and Anika went with a cube.

image

Ali started with a cube as well, but her plan was to use more spaghetti. She was hoping it would be more durable. Elizabeth made a three dimensional trapezoid.

image

Anika’s cube sure looked good, but it wouldn’t even stand alone. She knew she had to redesign her house. She is a true engineer! Ali tried her house again, too.

image

Anika’s second house was much more stable. It was a shape I do not even know the name of. I would call it a octagon pyramid. (I think I may have to look that one up!)

Now that they had shapes in mind, the girls couldn’t wait to build. Here is what they did:

When they were finished, the durability test was done. Each girl had a chance to be the Big Bad Wolf and see if their home was sturdy and would not blow down.
imageimage
All girls had success. Our pigs live to go another day! Next week we will be using sticks and bricks!

Page 2 of 3123